6 Ways to Keep Outdoor Faucets From Freezing in Virginia
A spigot can split inside your wall in January and keep that secret until you turn it on in spring. That sneaky leak often shows up as a soggy basement wall or a puddle spreading under the siding.
Water grows about nine percent bigger when it freezes, and that push is strong enough to crack metal pipes. Plumbers say pipes face the biggest risk once outdoor temperatures slide below twenty degrees here in Virginia.
I love my garden hose like an old friend, but I learned the hard way that it hates winter. You might be surprised how a few cheap steps before the first hard frost can save hundreds of dollars.
First frost dates in Virginia run from late October near Roanoke to mid November around Norfolk.
So which simple habits keep your hose bib happy through the coldest nights, and how many are you already doing?
1. Unhook That Garden Hose Before The First Hard Freeze
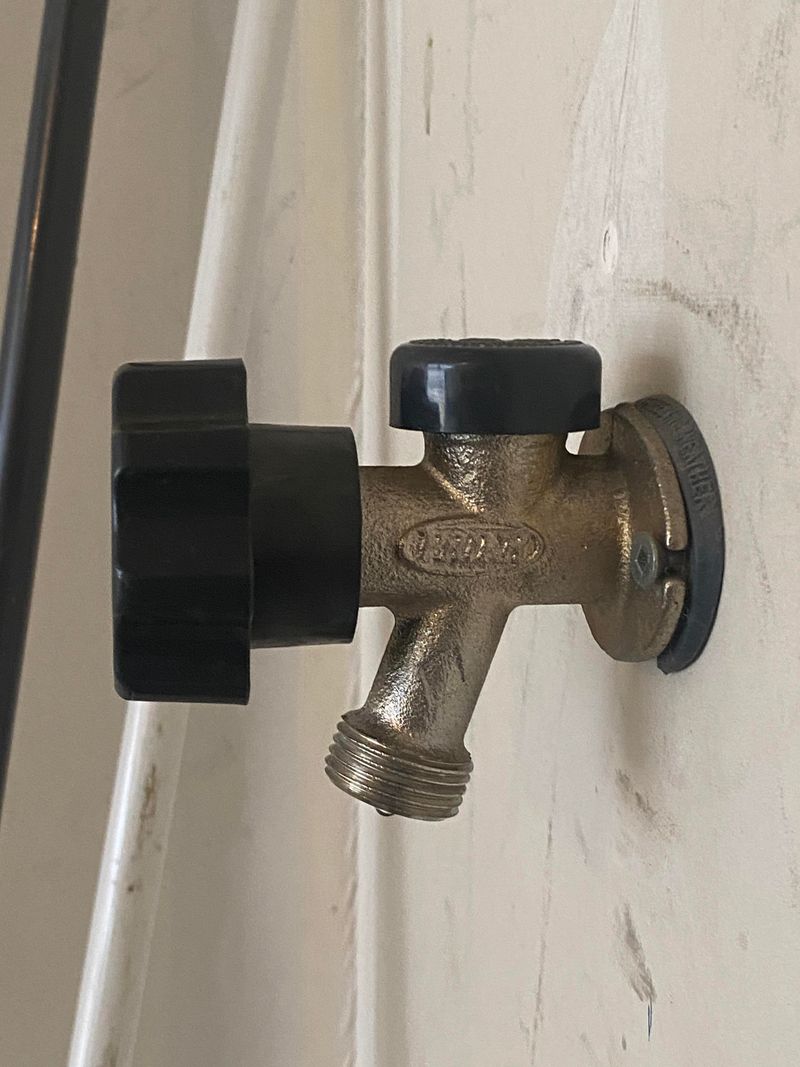
My trusty green hose looks harmless coiled by the porch, yet it can quietly trap water right inside the faucet. That little pocket of water freezes on cold nights and pushes hard against the pipe from the inside.
Even so-called frost-free spigots need a clear path to drain, and an attached hose blocks that path completely. Plumbers see split frost-free valves every spring because folks trusted the label and left their hoses hooked up.
Aim to disconnect before the first forecast night that dips to thirty-two degrees or lower in your area. Remove splitters, timers, and spray nozzles too, since each gadget can hold a surprising amount of leftover water.
Once the hose is off, stretch it down a gentle slope so gravity pulls the water out the far end. I like walking it hand over hand toward the low end, which squeezes out stubborn pockets hiding in the middle.
Coil the drained hose loosely and store it in a garage, shed, or basement away from harsh winter sun. Rubber and vinyl hoses last noticeably longer when they rest indoors instead of cracking on frozen ground all season.
Here’s a small trick I swear by after years of forgetting which week I finally put everything away. I set a phone reminder for mid October, since cold snaps sometimes arrive earlier than the average frost dates suggest.
Your future self will thank you every spring when the hose screws back on and water flows without leaks.
2. Close The Indoor Shutoff Valve And Drain The Spigot
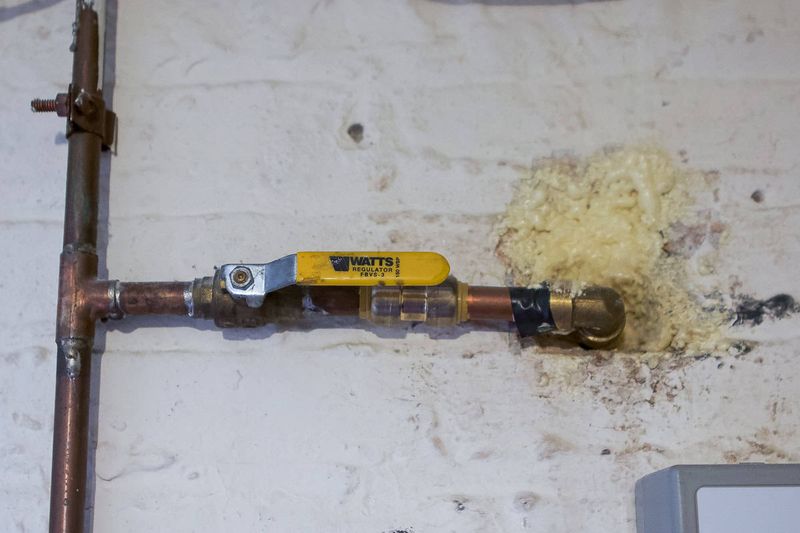
Somewhere in your basement or crawl space, a small valve is waiting for its once-a-year moment of glory. Finding it might feel like a treasure hunt, but it is the single best move for protecting that faucet.
Look along the wall nearest the outdoor spigot, since the shutoff usually sits close to where the pipe exits. Many have a round handle or a lever, and some older homes hide them behind ceiling tiles or paneling.
Turn the valve clockwise until it stops, which cuts off fresh water heading toward the outdoor faucet. Then head outside and open the spigot fully so the water trapped in that short pipe section can run out.
You might hear a gurgle or see a final trickle, and both are healthy signs the line is emptying. Leave the outdoor handle open all winter so any leftover drops have room to expand without building dangerous pressure.
Older compression valves often have a tiny brass cap on the side, called a bleeder or drain cap. Unscrew it over a small cup, because it lets air into the line so the last water drains away.
I keep a bright tag on my valve handle that reminds me which faucet it controls during spring startup. That small label has saved me from guessing games when I have muddy boots on and seedlings waiting for water.
Check each outdoor faucet separately, since many homes have two or three with their own shutoffs.
3. Snap A Foam Cover Over The Outdoor Faucet
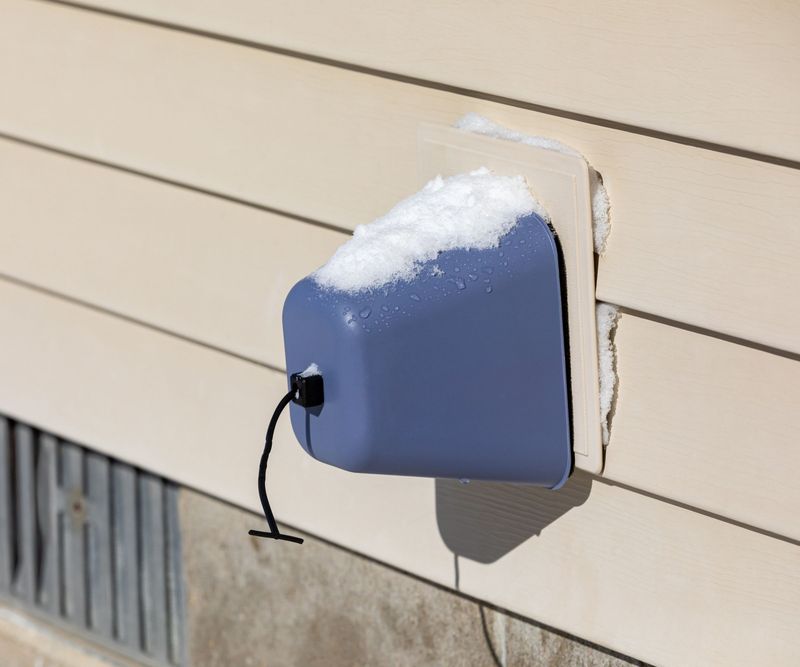
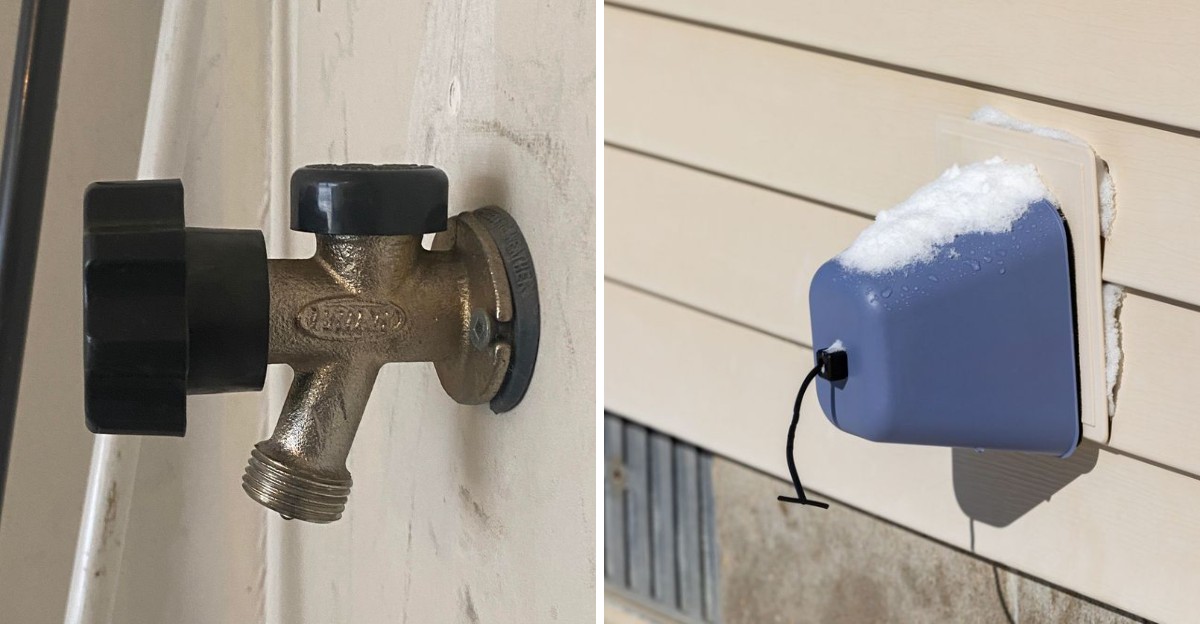
Those little foam domes look like tiny hard hats for your faucet, and honestly they make me grin every November. Silly appearance aside, they block icy wind from chilling the metal and the pipe tucked just behind the siding.
Outdoor faucets have no built-in insulation, so cold air travels straight through the metal toward the wall. A snug cover traps a pocket of warmer air coming from the house and slows that chill quite a bit.
Most hardware stores sell hard foam versions with a loop that hooks behind the spigot handle. You tighten a sliding cinch until the foam presses firmly against the wall, which keeps drafts from sneaking underneath.
Soft covers made of padded vinyl or polyester are another handy option for faucets that sit at odd angles. They fold flat for storage, and I find them easier to fit around spigots with bulky backflow preventers attached.
No cover on hand during a surprise cold snap? Wrap the faucet in several layers of old rags or worn T-shirts, then seal them under a plastic bag with sturdy tape.
Remember that a cover works best after you drain the spigot and remove the hose first. Insulation slows cold from getting in, but it cannot fully stop a long stretch of bitter nights from freezing standing water.
Peek under the cover after big storms, since wind can loosen the cinch and leave gaps behind.
4. Wrap Crawl Space Pipes In Foam Sleeves And Heat Cable
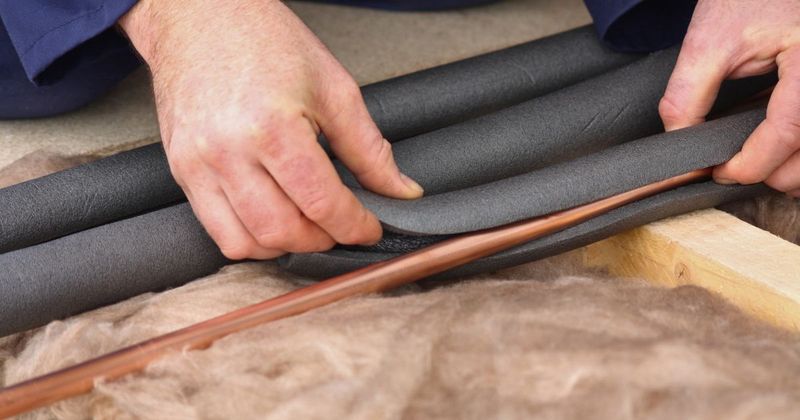
Crawl spaces get chilly enough in winter that I can see my breath when I squeeze down there with a flashlight. Pipes running through that cold zone feed your outdoor faucets, so they deserve a cozy jacket too.
Foam pipe sleeves are cheap, light, and slit down one side so they slide over pipes without special tools. Measure your pipe diameter first, because a loose sleeve leaves gaps where cold air can creep in and settle.
Tape the seams and joints with duct tape or foil tape so the sleeves stay closed through damp months. Pay close attention to pipes along exterior walls, garages, and attics, since those spots usually run coldest during deep freezes.
Homes in the Blue Ridge and Shenandoah Valley often see colder nights than the coast, so extra help may make sense. Heat tape or heat cable warms the pipe directly, and thermostat models switch on only when temperatures drop low.
Choose a product approved by a testing group such as Underwriters Laboratories, and confirm outdoor ratings if used outside. Follow the maker’s directions closely, because misused heat cables can overheat, and that creates a real fire risk.
Never wrap heat cable over itself unless the instructions allow it, and plug it into a properly grounded outlet. If wiring feels confusing, a licensed electrician or plumber can install it safely and save you some nervous evenings.
A Saturday afternoon of wrapping usually covers most homes and offers peace of mind for years.
5. Let An Indoor Tap Drip On Bitter Cold Nights
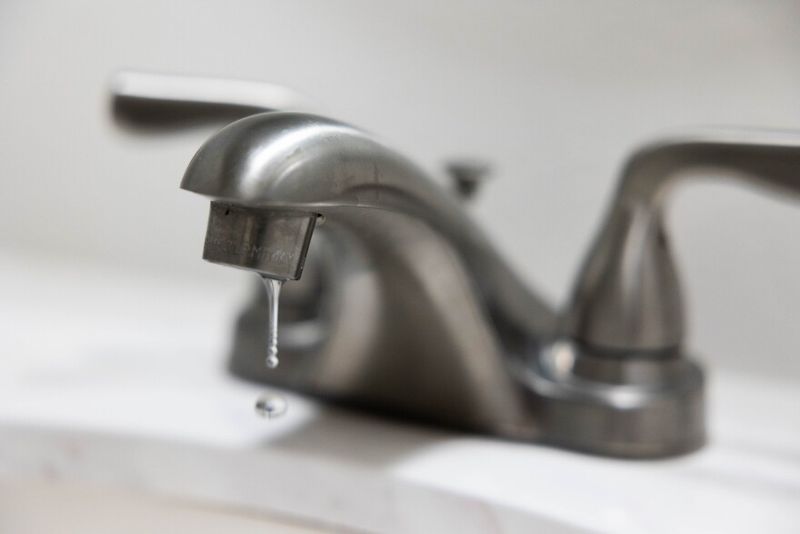
Moving water resists freezing far better than water sitting still, which feels like a neat little science lesson at the sink. A slow drip keeps water flowing and eases pressure that builds up when ice starts forming in pipes.
This trick works best during the rare deep freezes when nights plunge well below twenty degrees. Pick an indoor faucet on an outside wall, or the one farthest from where your main water line enters the house.
Aim for about one drop per second from the cold tap, which sounds tiny but makes a real difference. If you are unsure where the main line enters, many plumbers suggest letting several faucets drip on those nights.
I know wasting water bugs gardeners like us, since we usually save every drop for thirsty tomatoes. Still, a small drip for a night or two costs far less than repairing a burst pipe inside your wall.
Burst pipe repairs often run several hundred dollars, and water damage cleanup can climb into many thousands of dollars. Those numbers make my little nighttime drip feel like the smartest bargain of the entire winter season.
Open the cabinet doors under sinks on exterior walls so warm room air can reach the pipes inside. Move cleaners and other chemicals up high first, especially if curious kids or pets wander around your kitchen at night.
Turn the drip off once temperatures climb back above freezing during the day.
6. Caulk The Gaps Where Pipes Pass Through Walls
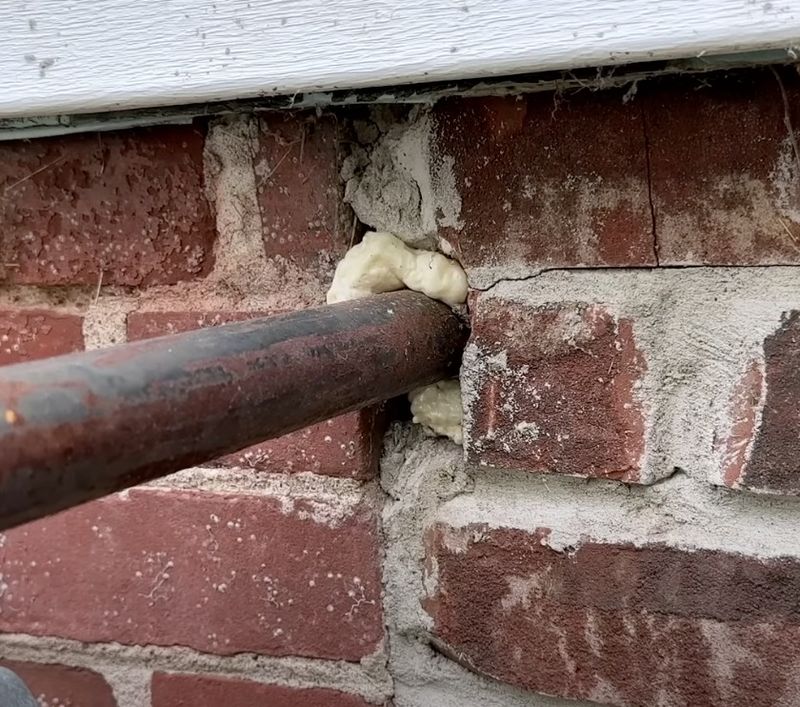
Frigid air acts like a sneaky houseguest, slipping through cracks so thin you could barely slide a credit card inside. Those tiny gaps around pipes let cold reach places that should stay comfortably warm all winter long.
Walk around your house on a breezy afternoon and run your hand near spots where pipes leave the wall. You might feel a chilly draft right beside the faucet, which tells you exactly where sealing will help most.
Exterior caulk works well for narrow cracks, while expanding foam fills larger openings around pipes and cables. Check near dryer vents and electrical lines too, because gaps there often connect to the same cold wall cavity.
Crawl space vents deserve attention as well, since open vents let winter wind blow across exposed pipes underneath. Closing foundation vents during winter can raise crawl space temperatures by several degrees, according to Virginia Beach city guidance.
I like to tackle this chore on a mild fall day when caulk cures properly and my fingers still bend easily. Most caulk needs temperatures above forty degrees to set well, so check the tube label before you start squeezing.
Remember to reopen those vents in spring so moisture can escape and the crawl space stays dry. A damp crawl space invites mold and wood rot, which nobody wants hiding beneath their kitchen floor.
A single tube of caulk and an hour of work can quietly protect your pipes for many winters ahead.