Propagating Snake Plants Has Never Been Easier With These Proven Methods
If you are asking which plant has the weirdest nicknames, then the snake plant is your answer.
If you are married, then the nickname mother-in-law’s tongue may not be one you should use (don’t ask how I know).
All jokes aside, Sansevierias are amazing plants; they’re easy to maintain and look breathtaking, so it’s no wonder that so many growers are interested in snake plant propagation.
Luckily, there are a few straightforward methods with a high success rate; new snake plants will adorn your home very soon!
But, this will only happen if you follow all of the steps below, so read carefully so you don’t miss anything!
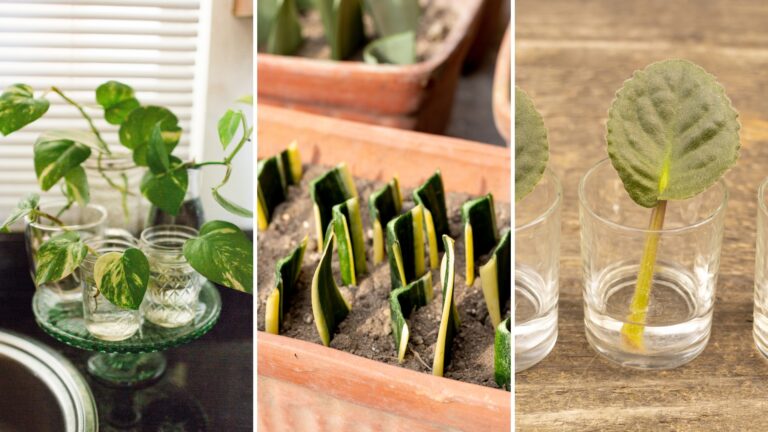
I’ll cover the four best methods for the propagation of snake plants: leaf cuttings in water, leaf cuttings in soil, division, and rhizome.
Let’s get started!
Snake Plant Propagation: Leaf Cuttings In Water
The first method I’ll show you is used the most due to its high success rate and simplicity.
Water propagation gives excellent results and works for many houseplants; luckily, the snake plant isn’t an exception.
However, it’s essential to learn all the steps if you want to get baby plants. First, you need to know about the right equipment to use for this propagation method; then, you need to learn how to take the cutting, and finally, how to root it in water and plant it in the soil.
So, let’s learn all the steps!
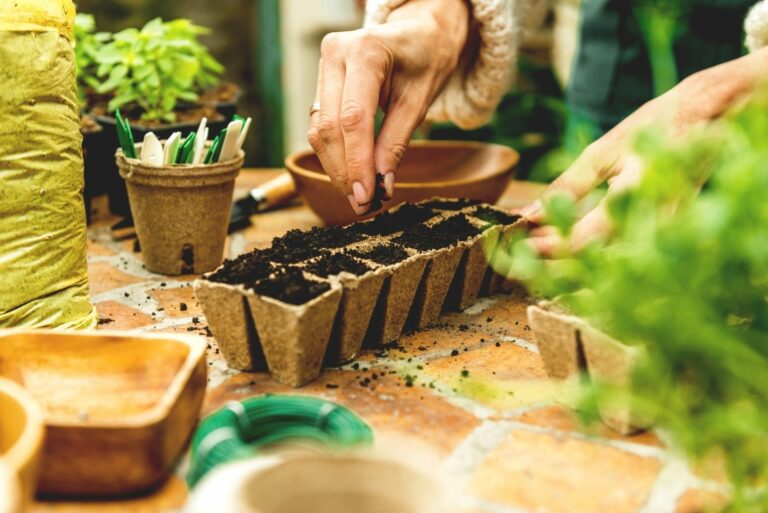
Prepare The Equipment
Propagation may seem like a messy activity, and the best bet is to prepare all the equipment before you start.
There are many tools for indoor plants that you almost certainly already have in storage, and they will come in handy when propagating.
First, start with gloves. This isn’t a rule, but if you prefer your hands to stay clean, I recommend using them. I want to remind you that the gloves shouldn’t be rough, as the cuttings are delicate and you don’t want to destroy them. Also, please pay attention to their size.
The sterilizing solution is the next thing to prepare, and I would call this a rule. You certainly don’t want to contaminate the cuttings or the original plant. There are numerous solutions on the market, but I like to stick to rubbing alcohol or bleach.
Another essential tool is the one you’ll use for cutting. A sharp knife is a perfect tool for cutting snake plants, and please make sure it’s sharp; you don’t want to break fleshy succulent leaves using a blunt knife.
Finally, prepare the rooting medium; any transparent container will work. So, it’s up to you; a vase or jar will suffice.
You can use supplements, such as a rooting hormone, to boost the development of new roots, but they’ll form even if you don’t apply this solution.
Your cutting will need to be transplanted into the soil, so keep reading to find out more.
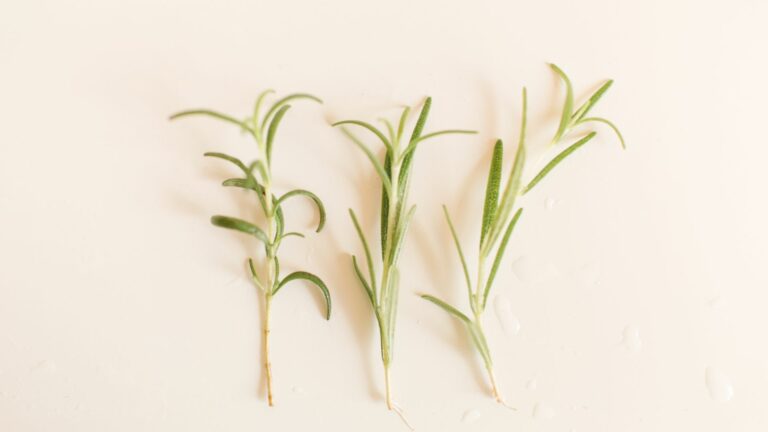
Take The Cuttings
Now that you have all the equipment, it’s time to cut the snake plant leaves!
Select a healthy leaf on your snake plant and make a cut nearest to the soil line. If your cutting tool is sharp, the cut will be clean, and your success rate will increase.
If your snake plant is mature and the leaves are larger, you can divide them into a few sections and root each section separately.
I recommend making a V-shape cut. This serves a variety of reasons and raises the likelihood that the cuttings will develop roots.
In addition to increasing the cut edge’s contact surface area with the water and preventing it from contacting the container’s bottom, it also makes it easier to distinguish the bottom end of the snake plant leaf (in case you ever get confused).
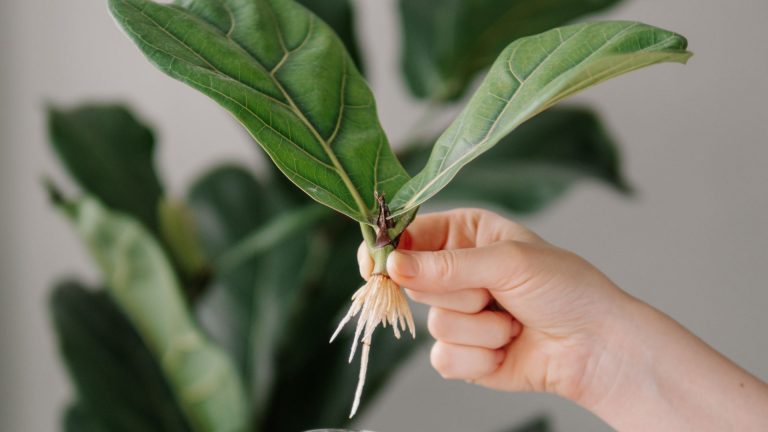
Root The Cuttings
I know what you are thinking; rooting the cutting means just putting them in water.
Well, it’s not that simple. There are a few things to consider when rooting the cuttings.
First, fill your rooting medium with fresh water. Remember, the lower part of the cutting should be immersed in water!
Please pay attention to the leaf position; it has to be oriented the exact way it was in the snake plant soil.
Due to the extremely polar nature of Sansevieria leaves, roots can only develop if the leaf’s margin nearest to the soil is submerged in water.
Unfortunately, the snake plant leaf will not develop new roots if you have it oriented upside down.
The water in the container may get dirty, so I suggest refreshing it two times a week until you notice that the new roots have formed.
Plant The Cuttings
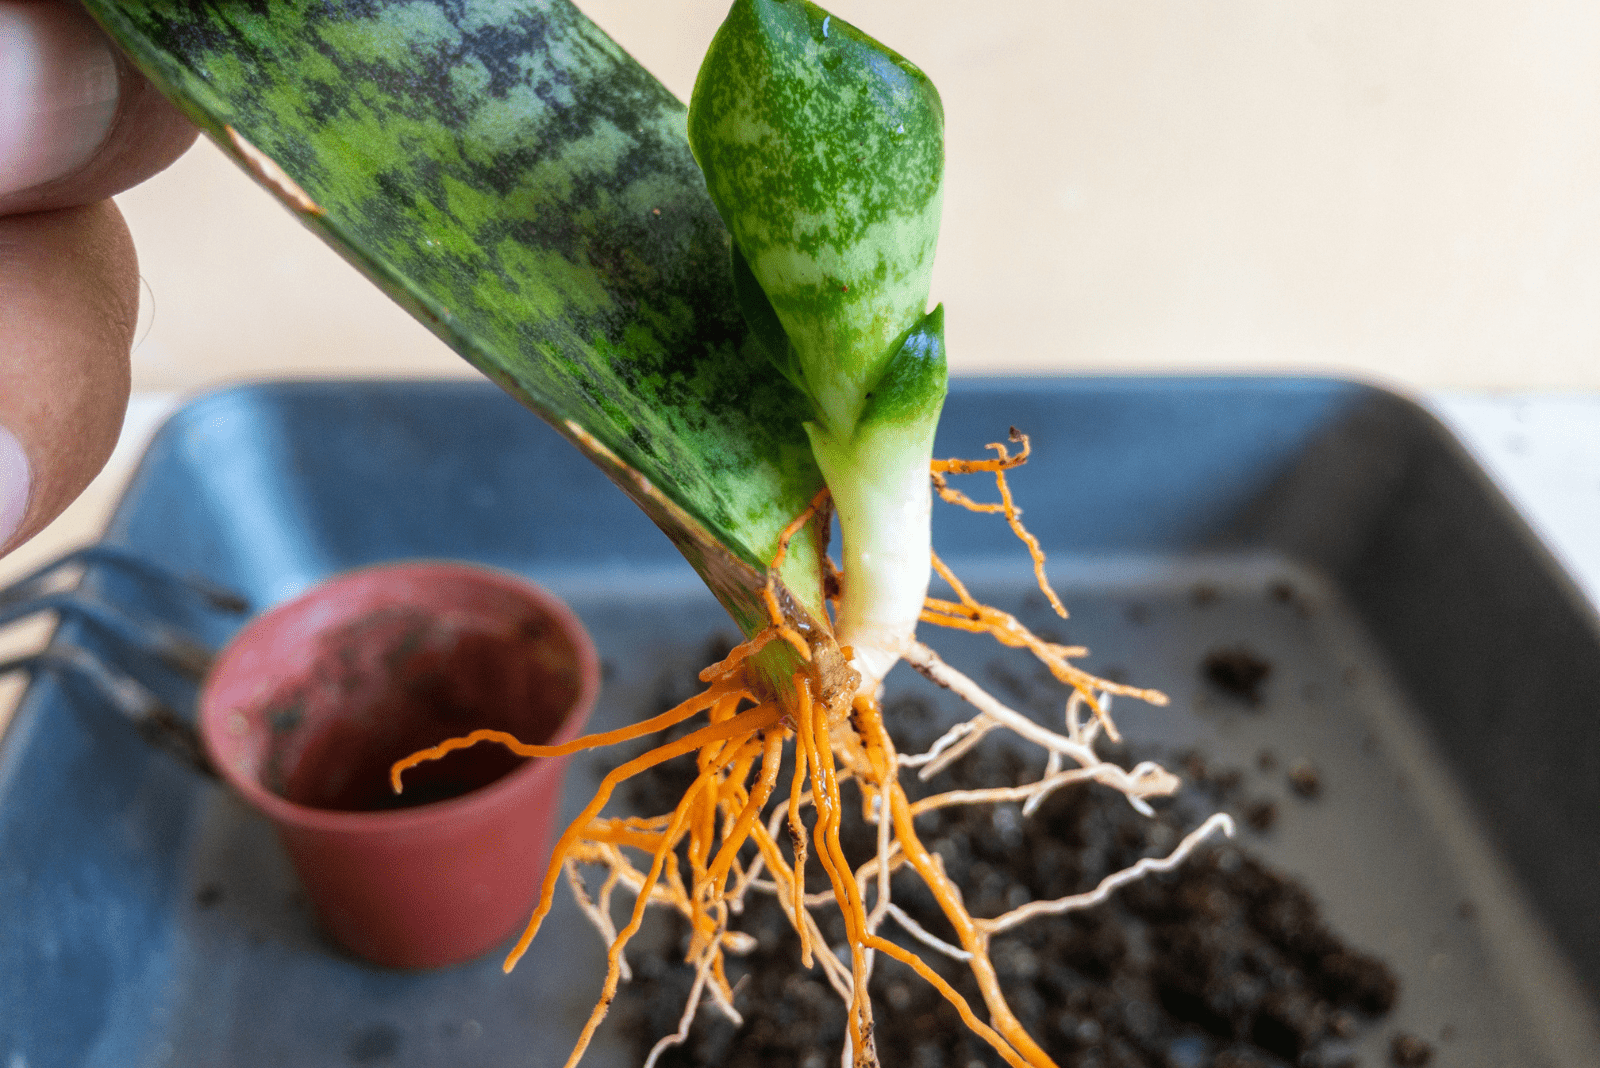
Be ready to wait a while before seeing roots appear. The time it takes for roots to emerge from your cutting will probably be around a month and a half, if not more.
Additionally, you may notice a few little growths or shoots emerging from the roots.
You can put your cutting in soil once the roots have begun to emerge. The snake plant cutting should be inserted into the soil as deeply as the leaf’s water line.
The tiny shoots are nothing to worry about; they will quickly emerge from the soil when they develop enough.
How To Propagate Snake Plant Cuttings In Soil
The equipment and process of taking the cuttings is the same as it was for the water propagation. If you decide to skip rooting cuttings in water, you can plant them directly in the potting soil.
After you take the cuttings, you can leave them for 3–5 days so that they can dry up and recover from the incision; then, you can dip the cut end in a rooting hormone to promote new growth.
Knowing the correct type of potting mix for snake plants is essential, as you don’t want to risk water pooling or any other issues.
A succulent soil mix is widely available; you can find it in plant stores or purchase it from Amazon.
If you don’t want to buy ready mix and want to make your own, there are a few materials that can improve its quality.
First, you’ll need potting soil that’s generally used for houseplants. But this type of soil retains too much water; since Sansevieria trifasciata is a succulent, it won’t withstand too much water in the soil.
Perlite, horticultural sand, pumice, and orchid bark will aid in making the well-draining soil that your snake plant needs.
Also, make sure you have the right pot for your snake plant. You can use nursery pots until the new plant is fully established and then repot it.
Again, don’t forget the leaf orientation; it has to be oriented the exact way it was in the snake plant soil.
After you plant snake plant cuttings in the soil, your goal is to keep the soil moist (but not soggy).
Propagating Sansevieria By Rhizome Division
Another great way to get new mother-in-law’s tongue plants is by using rhizomes. The rhizomes are found below the soil line, which means that your mother plant needs to come out of its pot.
Let’s first prepare the equipment.
When removing plants from their containers, be prepared to get soil everywhere. That’s why you should put something below the pot before taking the plant out.
I usually put newspapers down or take everything outside, as I don’t want soil all over my kitchen desk. You’ll also need sharp tools; in this case, I recommend shears.
Of course, don’t forget to sanitize your shears!
Now, you need the pots; if you have a smaller snake plant, you only need to prepare one pot. If your plant is mature, then prepare a couple of small pots.
Finally, prepare the appropriate potting mix (succulent soil or other well-draining soil).
How To Cut Off And Plant Rhizomes
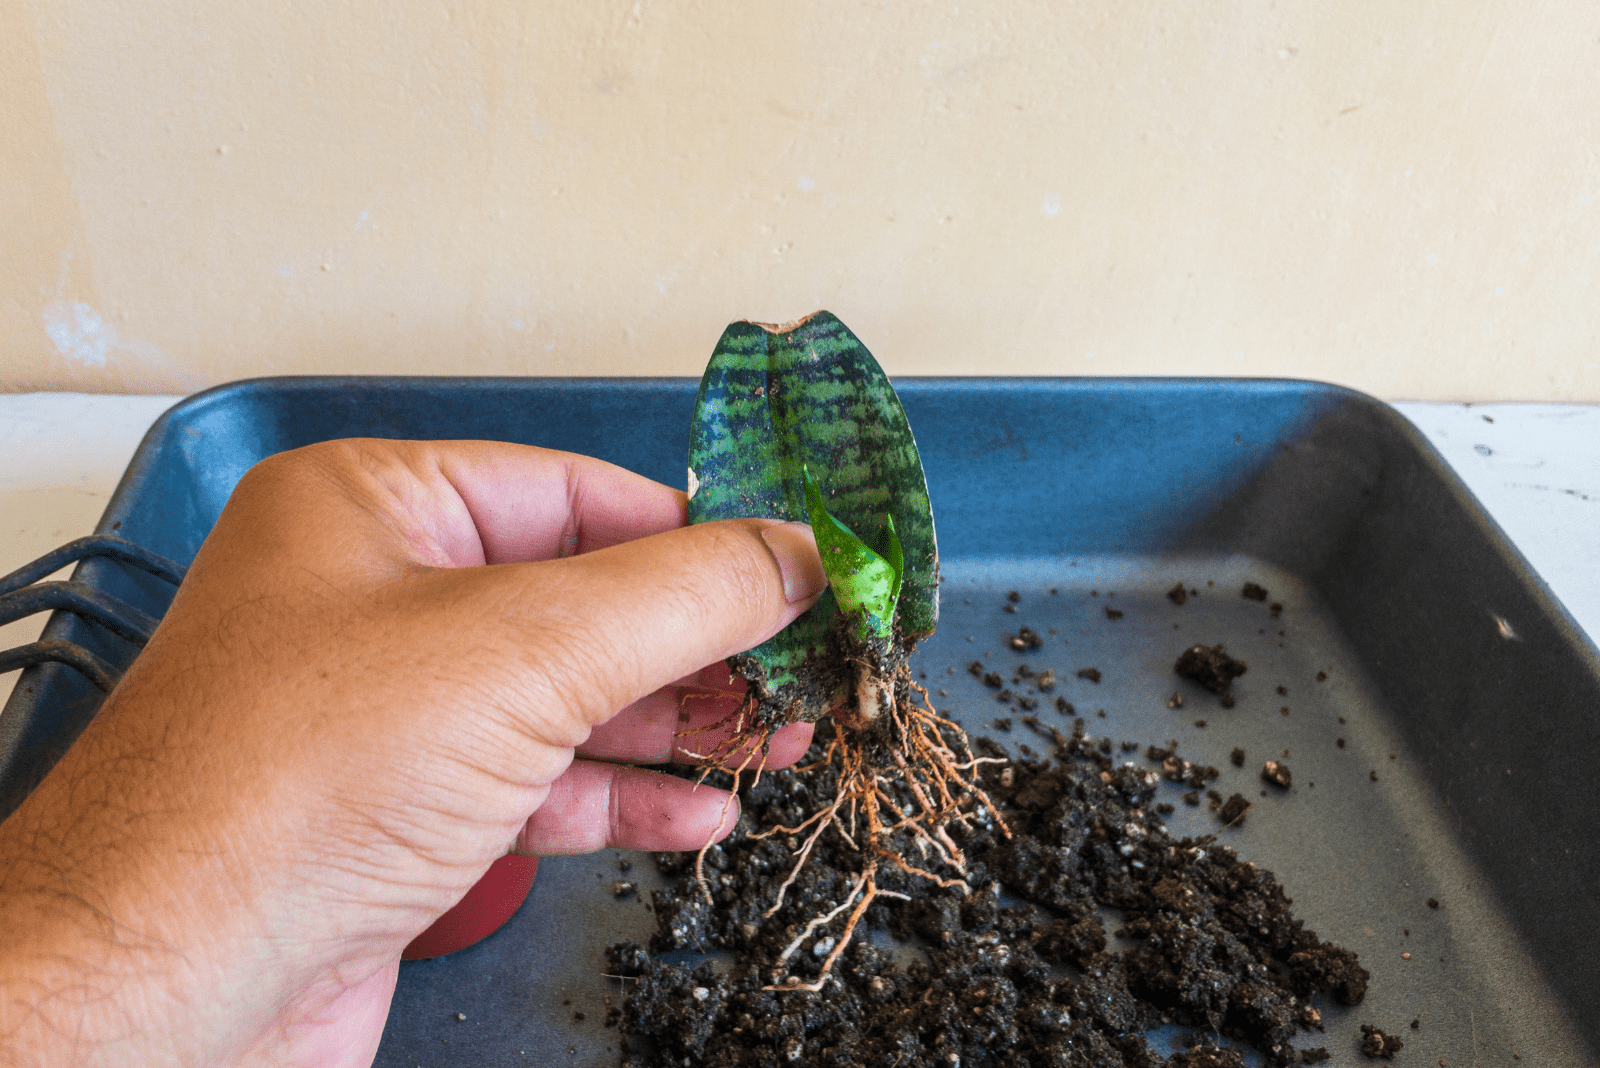
First, take your snake plant out of its pot; let it slide out by leaning its pot to one side and tapping it a little bit.
If you don’t see the root system clearly, brush off the soil until you expose the roots.
Now you need to cut the rhizomes—aim for those with 2–3-inch long roots.
Please be careful when handling the root system of your snake plant. It’s pretty delicate, and you don’t want to damage the mother plant.
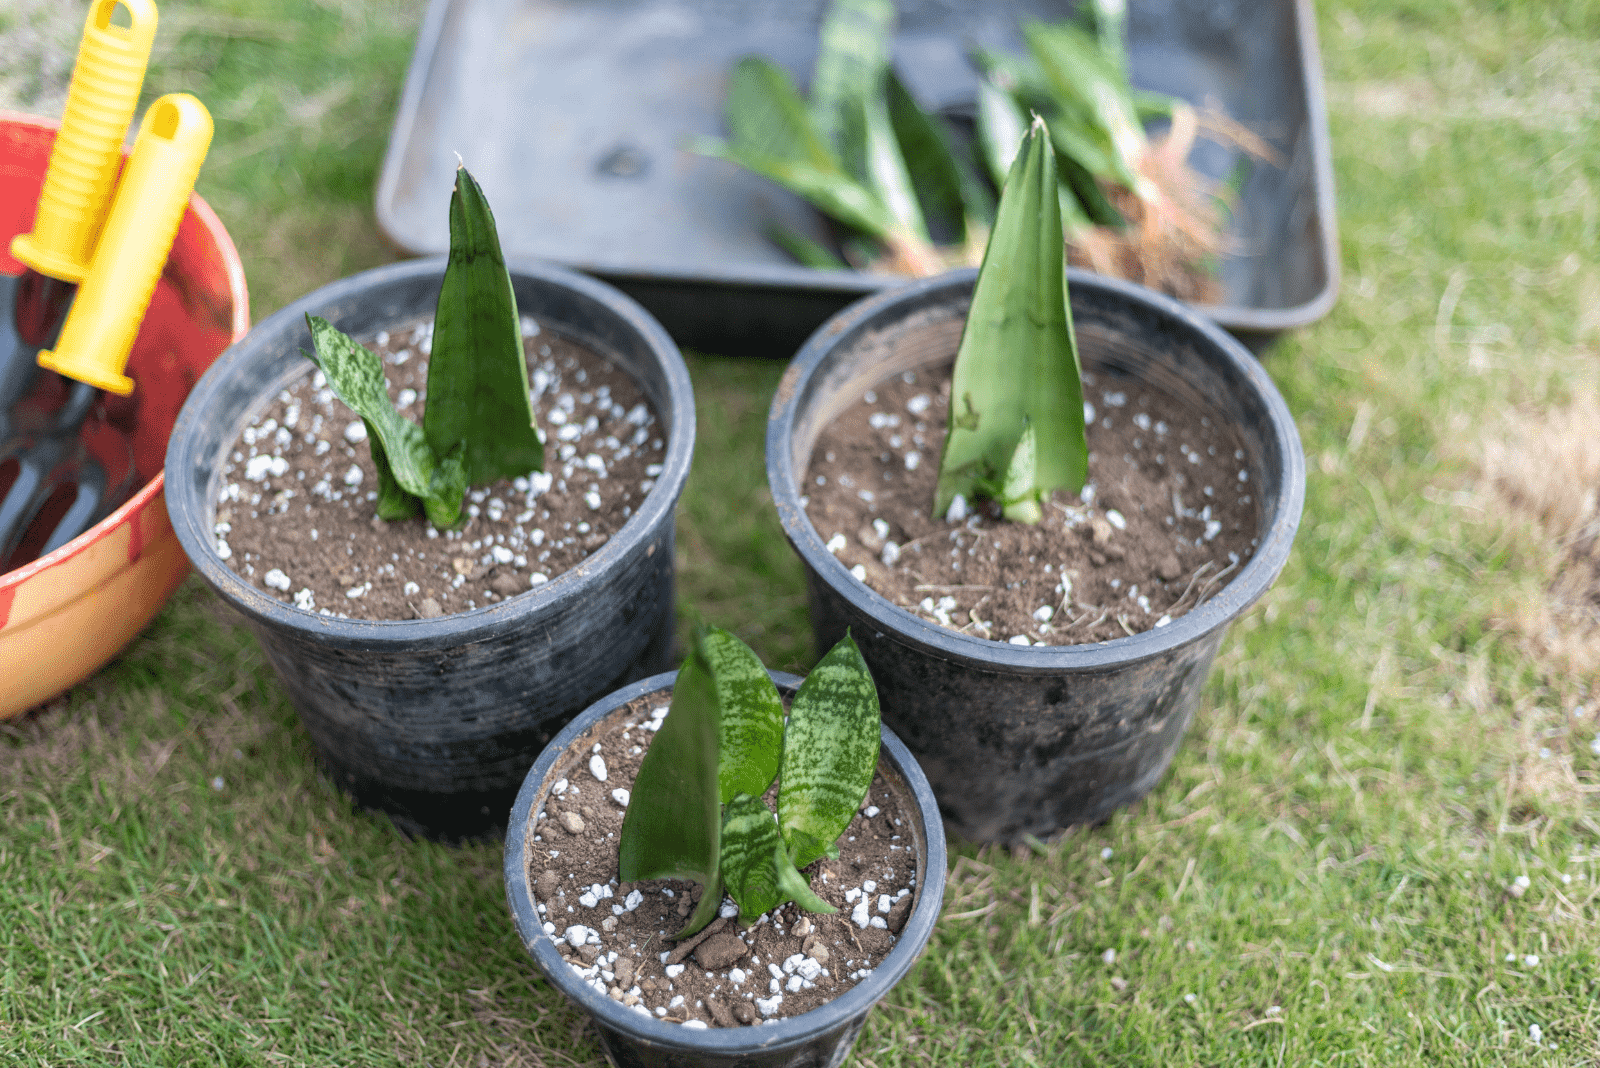
Your rhizomes will need to rest for a couple of days. As soon as they develop a callous, you can put them in a new pot filled with good potting mix.
The propagation process ends here, and now you should resume with the usual snake plant care.
How Long Does It Take For A Snake Plant To Grow From Propagation?
When it comes to the snake plant growth rate, you’ll need to be patient as it’s really slow.
That’s the reason why it takes longer for a snake plant’s roots to sprout after propagation than it does for other houseplants.
Although some claim that new growth may appear after only three weeks, I would say 4 weeks is standard.
Why? The success rate of snake plant propagation depends on many factors, such as temperature, light, humidity, and so on. Therefore, don’t panic or jump to the conclusion that something is wrong if you don’t see new roots soon.
For example, if your cuttings grow in low light, they may take about three months until they develop strong roots.
So, it may take a while until your propagated snake plant develops new leaves, but I’m sure you’ll agree when I say it’s worth it!
How To Promote Root Development
As mentioned, the success rate and time needed for the propagation of your snake plant mainly depends on the conditions that you provide.
Therefore, you can boost root growth by ensuring the right conditions. The snake plant requirements I’ll show you below won’t only help you with propagation but also with general snake plant care.
So, if you want the cuttings to sprout faster and your snake plant to grow healthily, read and apply the following.
Ensure Enough Light
Light is one of the major factors in plant growth. Plants can’t survive without at least a little bit of light, as it’s necessary for photosynthesis. Most houseplants have similar light requirements, but some may tolerate more or less light than average.
Snake plants may grow in low light, but the growth rate will significantly decrease. Taking into consideration the slow growth rate in general, not ensuring enough light isn’t a good idea.
So, low light may be one of the reasons why your snake plant isn’t growing.
The cuttings, rhizomes, and mature snake plants need bright indirect light for root sprouting and optimal growth.
What does this mean? If you place it in too much bright light, you’ll be dealing with a skinny snake plant. That’s not the only problem with direct sunlight; it can also burn the leaves and stunt snake plant growth.
However, the snake plant can tolerate direct light but only in the morning. Hence, I recommend placing these plants in east- or west-facing windows.
If you only have a spot where the light level is low, I recommend using grow lights.
Ensure Adequate Temperatures
Snake plants initially grow in tropical regions, so I suggest keeping the temperature between 65 to 85 degrees Fahrenheit if you grow them indoors.
However, snake plants may tolerate lower or higher temperatures depending on the season.
If the temperature exceeds 100 degrees Fahrenheit, your snake plant will face issues such as wilting. Also, the temperature in the room where you keep your Sansevieria shouldn’t drop below 45 degrees Fahrenheit.
We can conclude that snake plants are hardy, which is probably the reason why they are so popular among growers.
I suggest that you don’t test the tolerance but rather keep the temperature within the range I mentioned above, especially when it comes to propagation.
Use The Proper Potting Mix & Pots
A high-quality potting mix is essential for healthy snake plant growth. Remember that the soil provides nutrients for the roots, and that they can’t grow or send food to other parts of the plant if the soil mix isn’t adequate.
I mentioned the type of soil and amendments you can use, but let’s discuss why the soil matters so much for cuttings, rhizomes, and well-established snake plants.
First, a proper soil mix helps us avoid notorious overwatering, as the well-draining materials help the soil get rid of excess water.
Second, the soil mix ensures the nutrients, so that the snake plant can grow healthy. Finally, materials that aid aeration will help the roots receive enough oxygen.
The amount of soil also plays a significant role; excess soil around snake plant roots will retain more water and damage the delicate roots.
This is why choosing a pot in the right size is essential. You want the roots to have enough space to spread, but you also want to avoid having too much soil around them.
Finally, the pot’s material and drainage holes at the bottom will create a perfect environment for the roots. Terracotta pots will ensure good aeration, and drainage holes will allow excess water to get out of the pot.
Change Water Regularly
If you use water propagation for your snake plant, you need to know the importance of refreshing the water in the container while the roots develop.
Think of food leftovers and how they rot faster if they are in water; the same will happen to a cutting if you don’t change the water and inspect it regularly.
No matter how long the cutting takes to develop roots, the water must always be fresh. If you notice that the water is brownish and smells terrible, you’ll need to take the snake plant cutting out and inspect it further.
Keep The Soil Moist
When propagating snake plant leaf cuttings directly in the soil or when dividing the rhizomes, you need to always pay attention to the soil moisture.
Even if the roots are still tiny, they’ll need water to develop further. Also, when transplanting the cuttings previously rooted in water, they’ll need water to establish fully.
But keeping the soil moist doesn’t mean waterlogging it; this is an even more dangerous situation for your snake plant. It can cause root rot, and the entire propagation process will be destroyed.
Overwatering is extremely dangerous for mature plants; if snake plant leaves are splitting, you’ll need to check the soil moisture and roots.
Mushy soil, a foul odor, yellowing, browning, wilting, and drooping, are all signs of root rot, so you’ll need to intervene as soon as you notice any of these.
What Are The Benefits Of Propagating Snake Plants?
Why propagate snake plants anyway? Although many people do discuss snake plant disadvantages, I recommend growing and propagating these low-maintenance plants.
The first, and the most apparent, benefit of snake plant propagation is getting new plants FOR FREE! Instead of spending money on established snake plants or a single-leaf cutting, you can go with a DIY version.
Another benefit of propagation is saving a dying snake plant. Yes, you read it right; there’s sometimes a situation where you can’t save your snake plant from dying, and if there is a healthy leaf or rhizome left, you can still get a new plant.
Remember, Sansevieria trifasciata filters the air and removes pollutants, so I wouldn’t let it go to waste that easily!
Finally, this plant makes a great gift. Spending money on expensive flower arrangements or other gifts isn’t necessary if you have a healthy snake plant. Just multiply it and gift it to your friends.
You’ll have a lot of fun during propagation, and I’m sure your friend will appreciate it.
Common Snake Plant Propagation Problems
Now that you know how and why to propagate your mother-in-law’s tongue, I’d like to warn you about the issues that may occur during the process.
However, you can quickly solve any issue if you spot it on time, so the key is regular inspections!
Here is a list of problems that may occur during propagation and, of course, the solutions to them.
Leaf Cutting’s Edges Turning Brown
There are two possible reasons for browning. The first one is too low temperatures. Remember, the perfect temperature range for these succulents is from 65 to 85 degrees Fahrenheit.
Slightly lower temperatures may not cause browning, but anything lower than 45 degrees Fahrenheit certainly will.
The second possible reason is dehydration, which refers to the cuttings planted in the soil. Although snake plants don’t need much water, they can’t grow without any.
If the leaf edges are brown and the cutting is wilting or drooping, it is certainly lacking water.
Root Rot
If the cuttings develop roots, and you don’t transplant them into the soil, the roots will rot. This may be the most common problem of water propagation.
Brown water, a foul odor, and spots on the cuttings are the most common signs of rotting. You’ll need to dispose of the cutting if it’s severely affected.
If you were propagating in the soil only, the most common problem is water accumulation in the soil due to overwatering or poor soil mix.
If the soil is mushy and smells bad, you’ll need to take the cutting out, no matter the growth stage. If it’s severely damaged, you’ll need to dispose of it.
Root rot is also dangerous to adult snake plants; in most cases, the plants will need repotting.
New Plant Doesn’t Have Variegations
Many growers have asked me why their new snake plant isn’t variegated, despite the fact that the mother plant is.
This happens a lot, and the reason is pretty simple; your new snake plant won’t be variegated if you use the leaf cutting propagation method.
If you don’t want your baby to lose its variegations, you should use division as the propagation method.
FAQs
Can snake plants grow from cuttings?

Snake plants can easily grow from leaf cuttings; it’s a straightforward propagation method that will undoubtedly bring good results if your mother plant is healthy and if you do the procedure correctly.
You’ll only need to take the cutting and root cut leaf in water or soil. You’ll need to pay attention to the water condition in the container as it should stay fresh all the time and keep the soil moist if the cutting is growing in the soil.
It’s also essential to ensure adequate temperatures, enough light, and the proper soil mix.
Is it better to propagate snake plants in water or soil?
Both water and soil propagation methods have a high success rate, and it’s actually up to you which one you use.
Both methods have pros and cons. For example, if you are a beginner, I recommend rooting snake plant cuttings in water. The reasons are simple; you can see how the roots develop as the container is transparent and spot the issues easier than when rooting in soil.
The main issue with this method is rotting; the cutting may rot if you don’t change the water regularly.
If you are an experienced grower, I recommend skipping the water part and planting the cuttings directly in the soil.
What is the best time of year to propagate snake plants?
The best time to propagate snake plants is in spring. These succulents sleep during winter, i.e. dormancy, and start displaying new growth in spring.
They are strong and have a lot of energy to grow, and will easily recover from cutting. I also repot my snake plant at the beginning of the growing season and then take the cuttings.
Wrapping Up
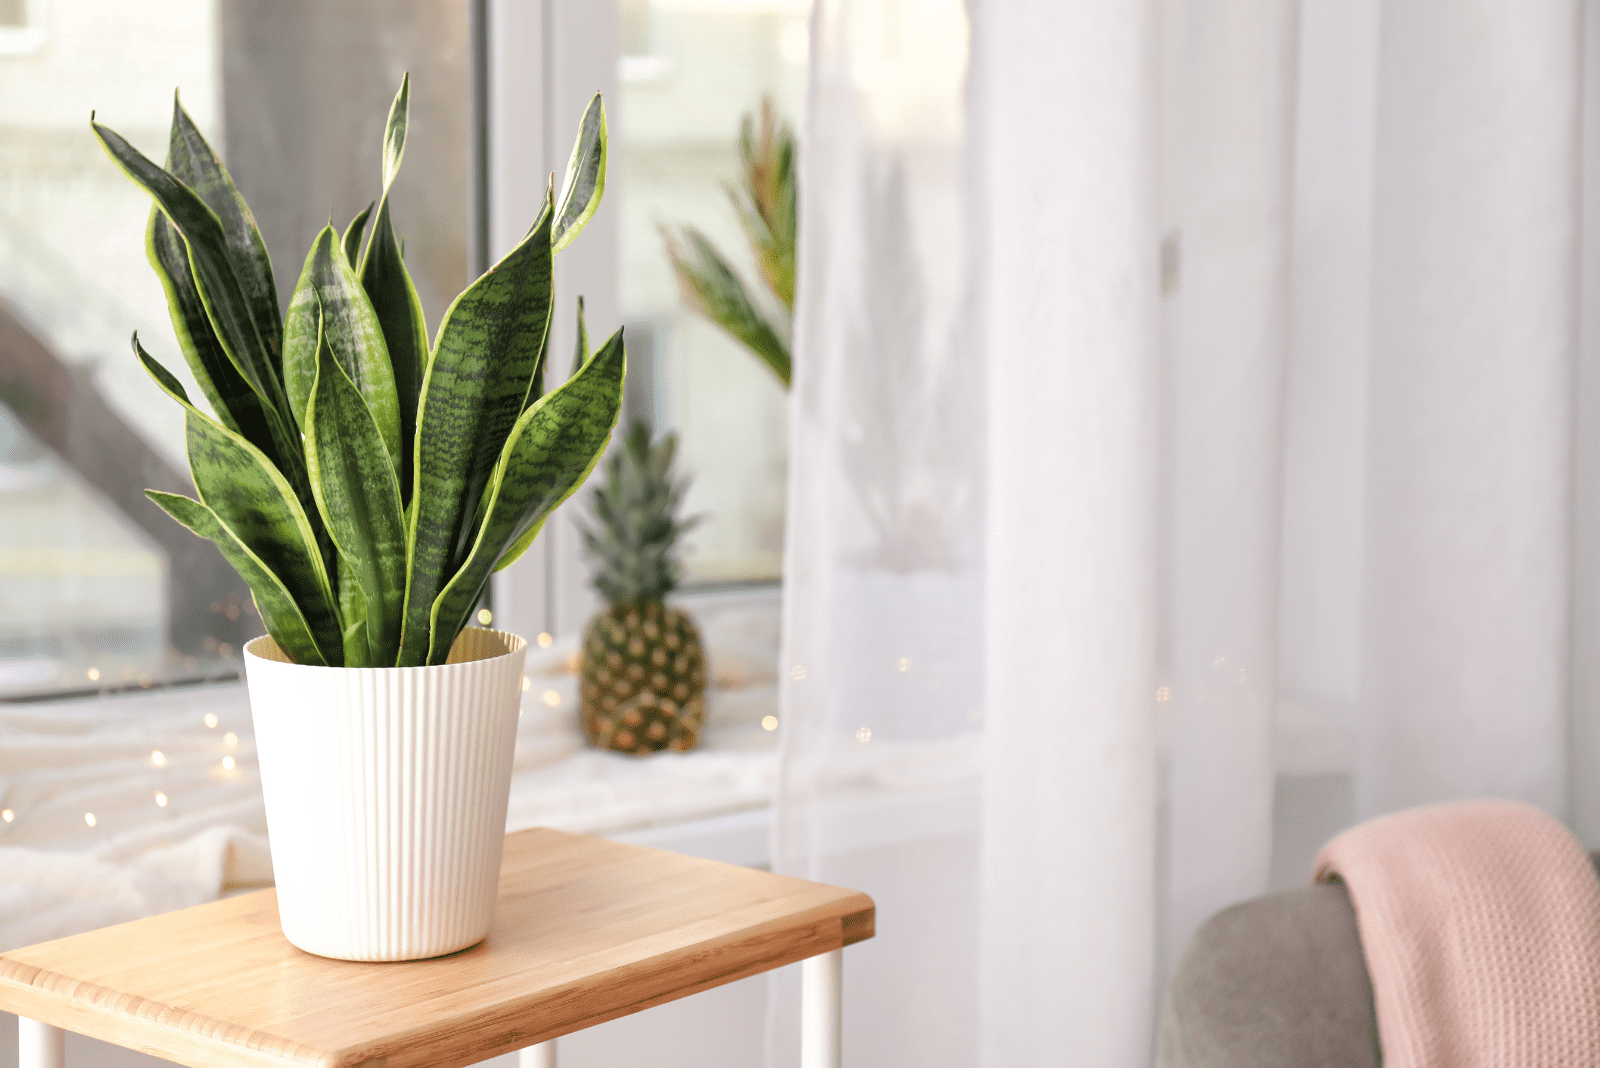
Both variegated and non-variegated snake plants make a great addition to any household. These unique plants are also air purifiers, so growing at least one is a great idea.
I have to warn you that it’s pretty hard to stop at one snake plant. Soon, you’ll want more and more of them.
Luckily, now you know all of the snake plant propagation ways, I’m sure you won’t have any issues when propagating.
Enjoy the process and gift new plants to your friends or simply admire the new addition to your own plant collection!
Until next time!
Like this post? Share or pin it for later!