The fall may not be the favorite season of gardeners but since we can’t change it, we should try to make the best out of it. One of the things you should do to finish your garden’s summer story is deadheading.
This technique may not be discussed by professionals but every flower bed owner knows that it’s as important as other gardening practices, such as watering.
Knowing how and when to deadhead perennials and annuals will help you keep your garden neat and you can even extend the flowering season by using this method.
Let’s find out everything!
Reasons To Deadhead
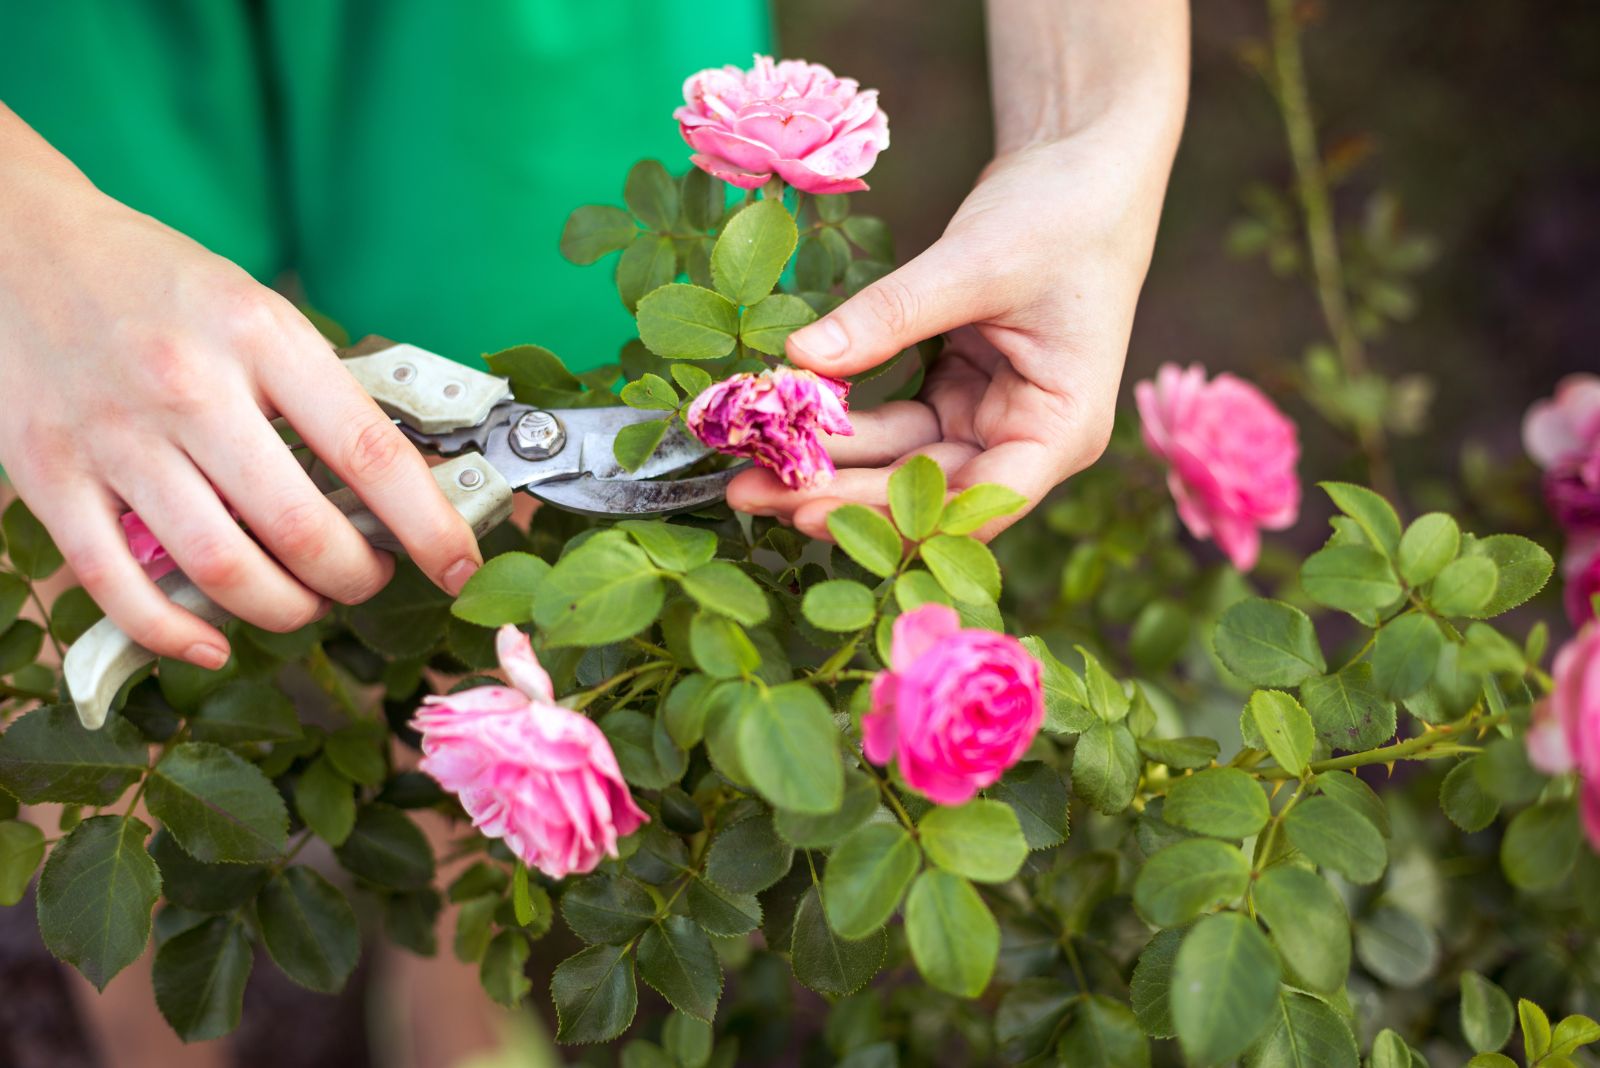
In essence, the deadheading technique refers to cutting off the dead or spent blossoms. The main goal is to encourage plants to generate further flowering.
The great thing about this method is that it doesn’t require any special skill and can help your flower garden look better than ever and last as long as possible.
It’s important to understand why deadheading actually works. No matter if the blossoms on the plant are dead, they still use the plant’s energy so by removing them, you’ll help your plant redirect its energy and produce a new set of splendid flowers.
Another reason you should deadhead your flowering plants is to prevent them from self-seeding. Some growers decide on self-seeding plants but if you’re not one of them and want to prevent new plants from emerging, you’ll need to remove the blossoms.
Last but not least, this technique will help you keep your garden tidy and well-maintained.
Now, let’s see how to deadhead!
How To Deadhead
I have already mentioned that deadheading isn’t rocket science and even beginners can easily do it. However, growers sometimes deadhead their plants all wrong so it’s essential to know exactly how the process goes.
Some of the common mistakes gardeners make when they decide on this method are doing it too late or cutting at the wrong spot.
There are some plants that produce delicate blossoms and you can easily remove them by using just your fingers.
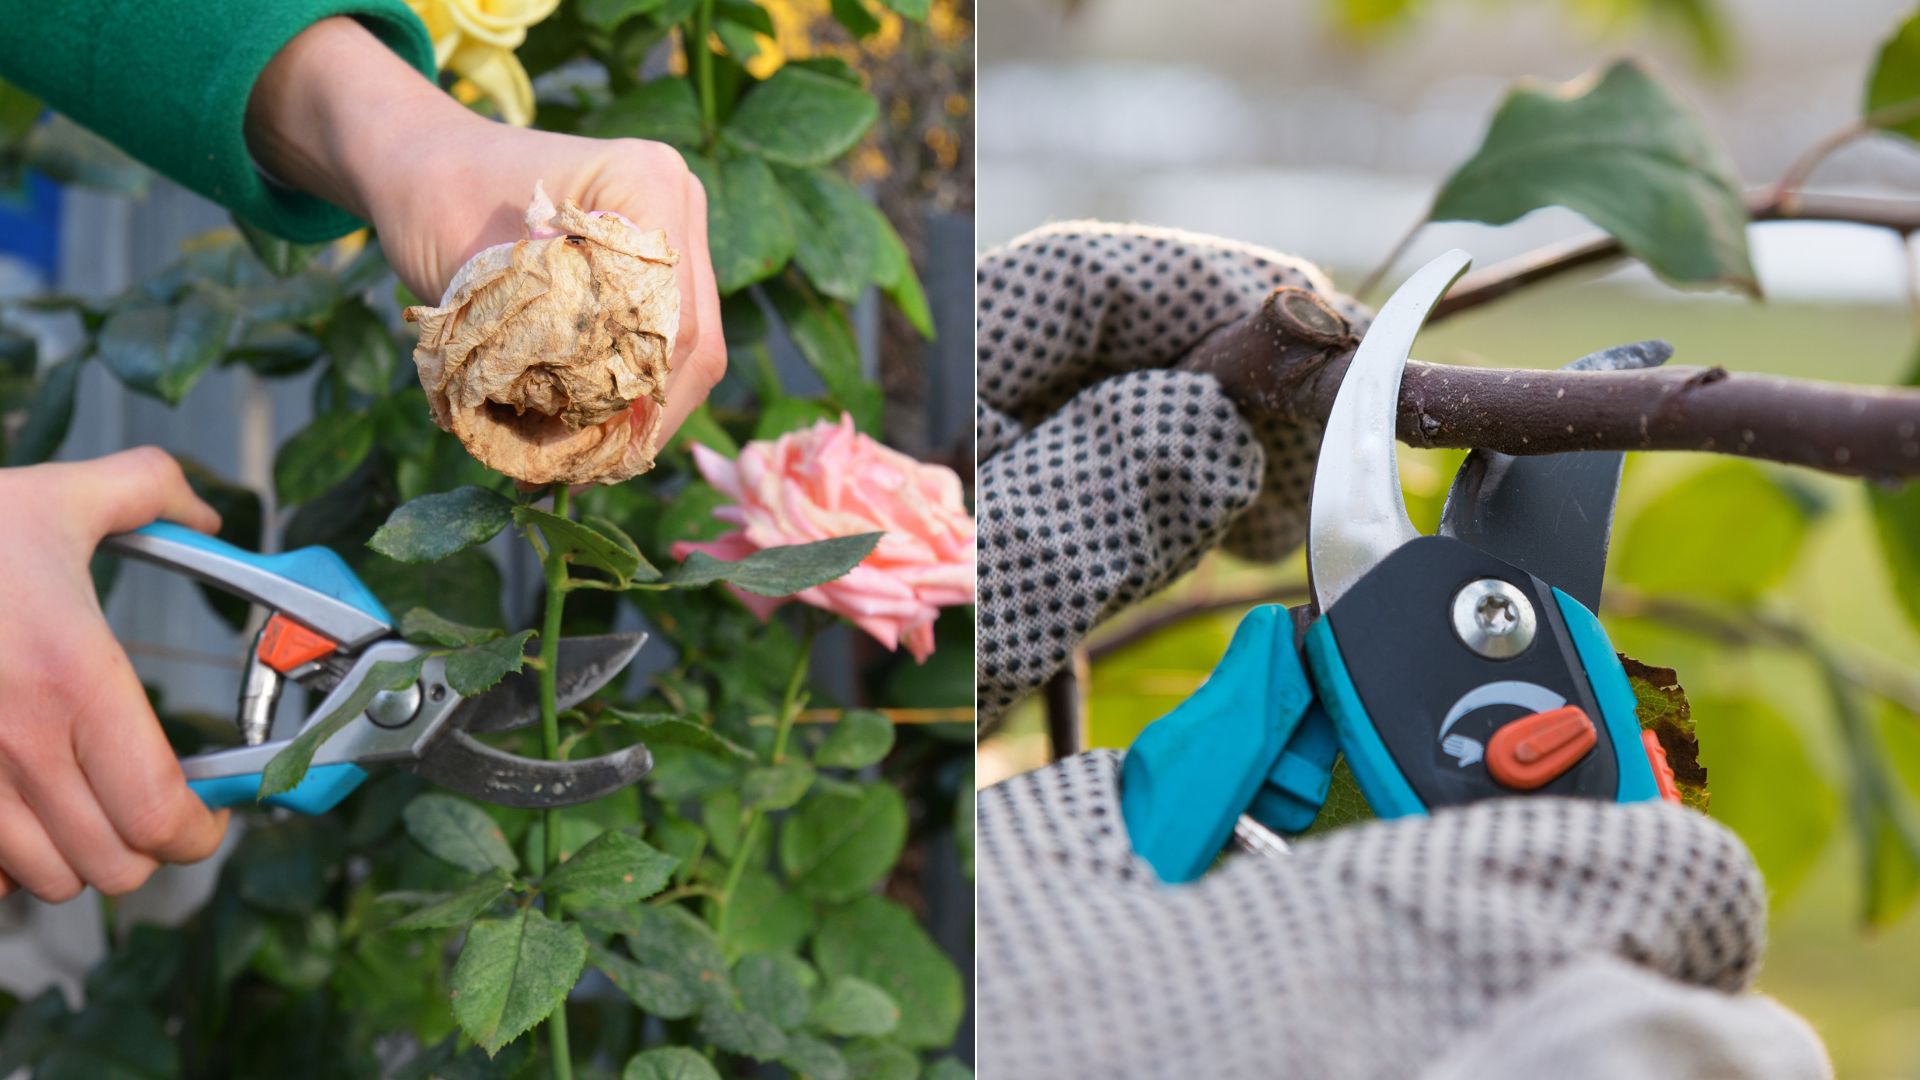
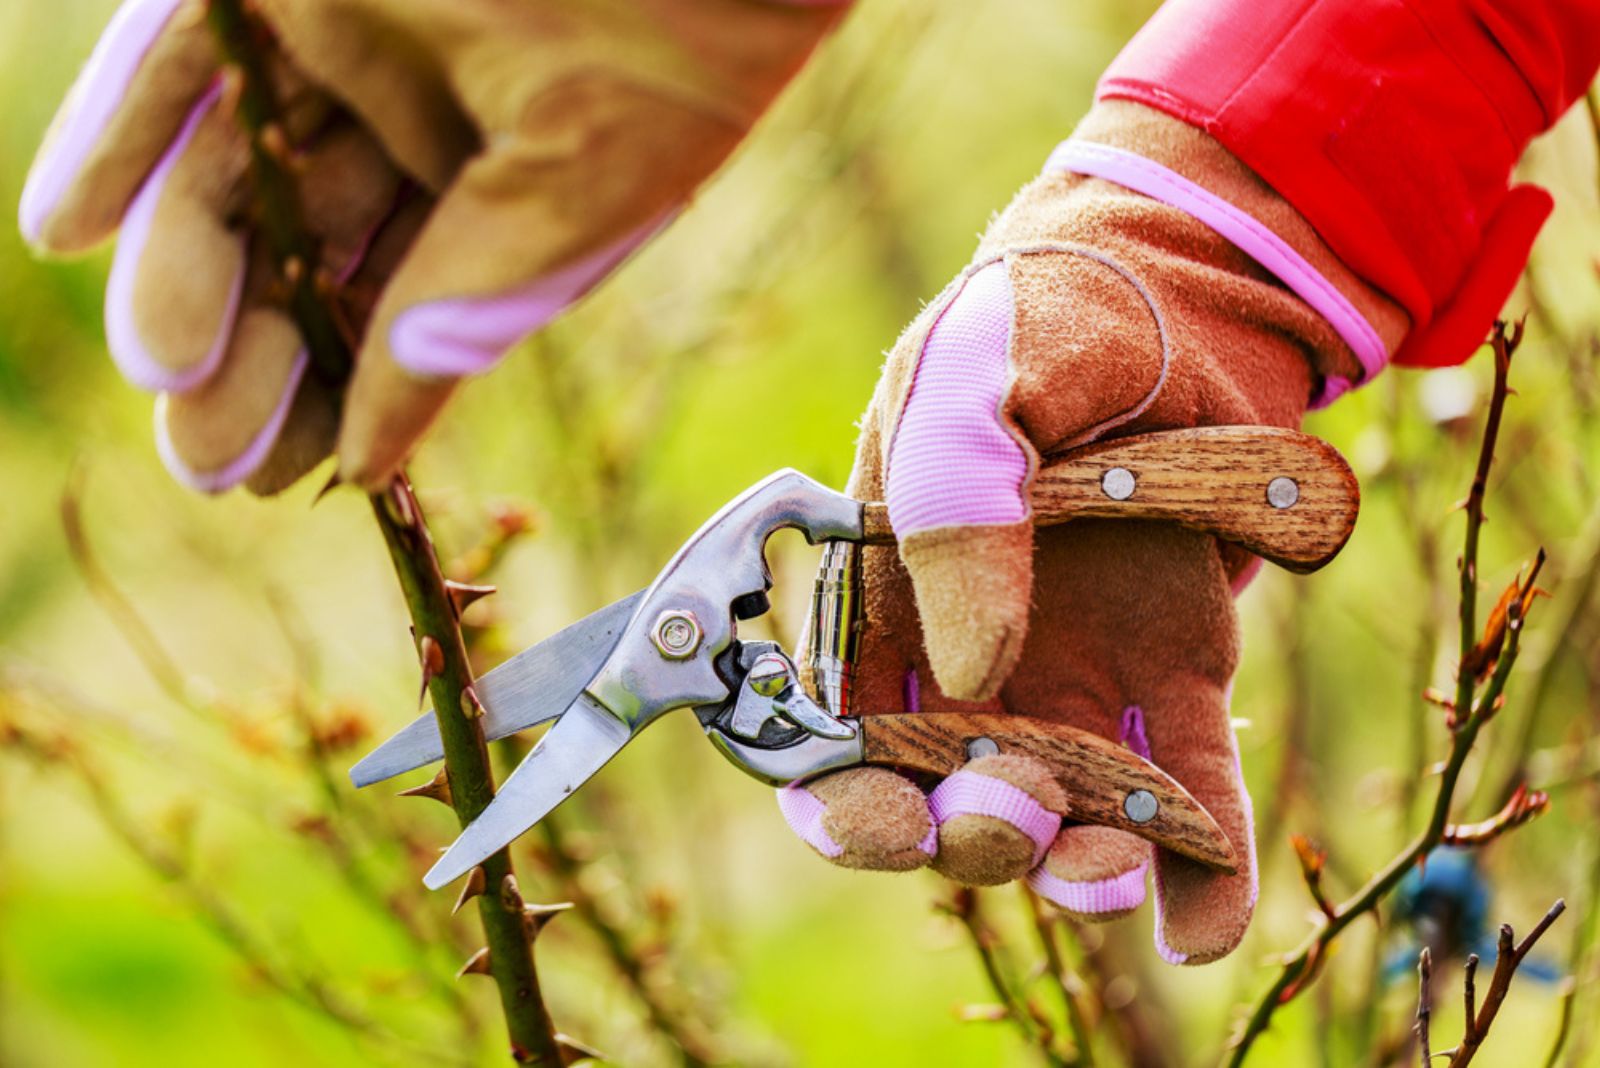
However, a sharp and clean pair of scissors is a way better choice, especially when it comes to removing woody stems, such as those of roses.
When cutting off blossoms, make sure the incision is just above the leaf node. If the blooms are very small, the best idea would be to use hedge shears and remove about one-third of the stem.
One of the most important things regarding deadheading is to dispose of all the removed plant parts. Remember that they can be infected and easily transmit the disease to other plants.
Another method you can use to prevent disease from spreading is to clean your tools before each cut. It’s not uncommon for dead blossoms to be infected so simply sanitize the cutting tools with rubbing alcohol or bleach.
The Best Time To Deadhead
The thing is that the perfect time to employ this technique depends on the plant but a rule of thumb is to remove spent blossoms throughout the flowering season. The result will be a tidy appearance and a prolonged blooming season.
One of the things growers often forget is that the spent blossoms are true magnets for pests, diseases, and mildew.
Finally, deadheading after the blooming season will help your flowering plants conserve their energy and display healthy new growth as soon as spring arrives!
When You Shouldn’t Deadhead
There are some annual flowering species that can reseed and you can encourage this process by deadheading the blossoms.
But if you want some of your annuals to reseed, then don’t remove their flowerheads. Another reason why you shouldn’t deadhead is to leave some food for the birds. Once the birds finish their meal, the empty flower heads serve as excellent shelter for small insects.
Be careful if leaving flower heads for reseeding purposes because overcrowding may become an issue once new plants emerge. This is especially the case with some colorful annuals, such as cosmos or poppies.
Follow our guidelines for deadheading perennials and annuals and keep your garden neat and healthy at the end of the season!


