Spritz This For Repeated Winter-To-Summer Orchid Blooms
I know what you’re thinking! There’s no one thing that can keep orchids thriving all season long. These tropical beauties need a lot more than that!
You’re correct! But there is something that can help you more than you’d think. And it won’t cost you anything!
I’m talking about homemade orchid fertilizer! You can make it from kitchen scraps.
Here are the steps and the best ways to use it.
Let’s get started!
4 Steps Of Making Homemade Orchid Fertilizer
Caring for orchids isn’t as difficult as it may seem. Sure, they are demanding, but you’ll quickly get the gist of it.
Fertilizer is the one thing these plants can’t live without. And what better plant food than one you make yourself?
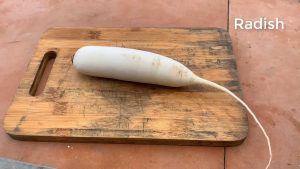
You can create your own orchid fertilizer that will promote blooming. All you need are radish and carrot peel mixed with water.
It doesn’t get simpler than that!
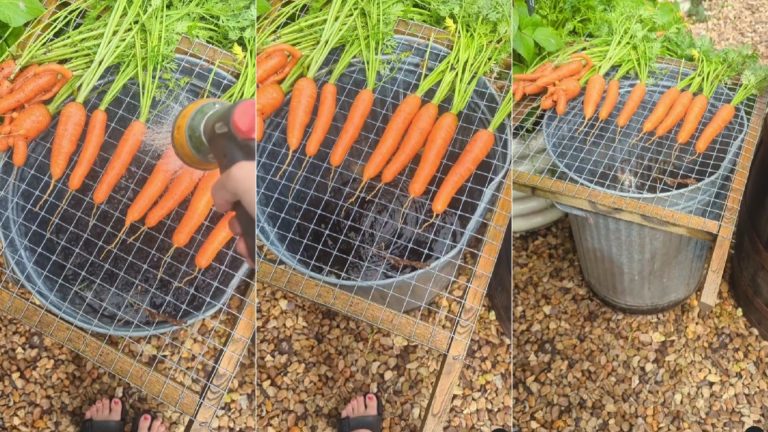
Step 1. Save The Radish And Carrot Peels

The first step is to save those radish and carrot peels you keep throwing away. That’s such a waste!
The skin of these veggies contains many nutrients both us and our plants need. And when it comes to orchids, I’m referring to potassium in particular!
This nutrient is crucial for their health and proper flowering. Lack of potassium can lead to yellow foliage and necrosis. This condition starts at the bottom and spreads upwards. Low potassium also results in poor flowering and even plant death. (1)
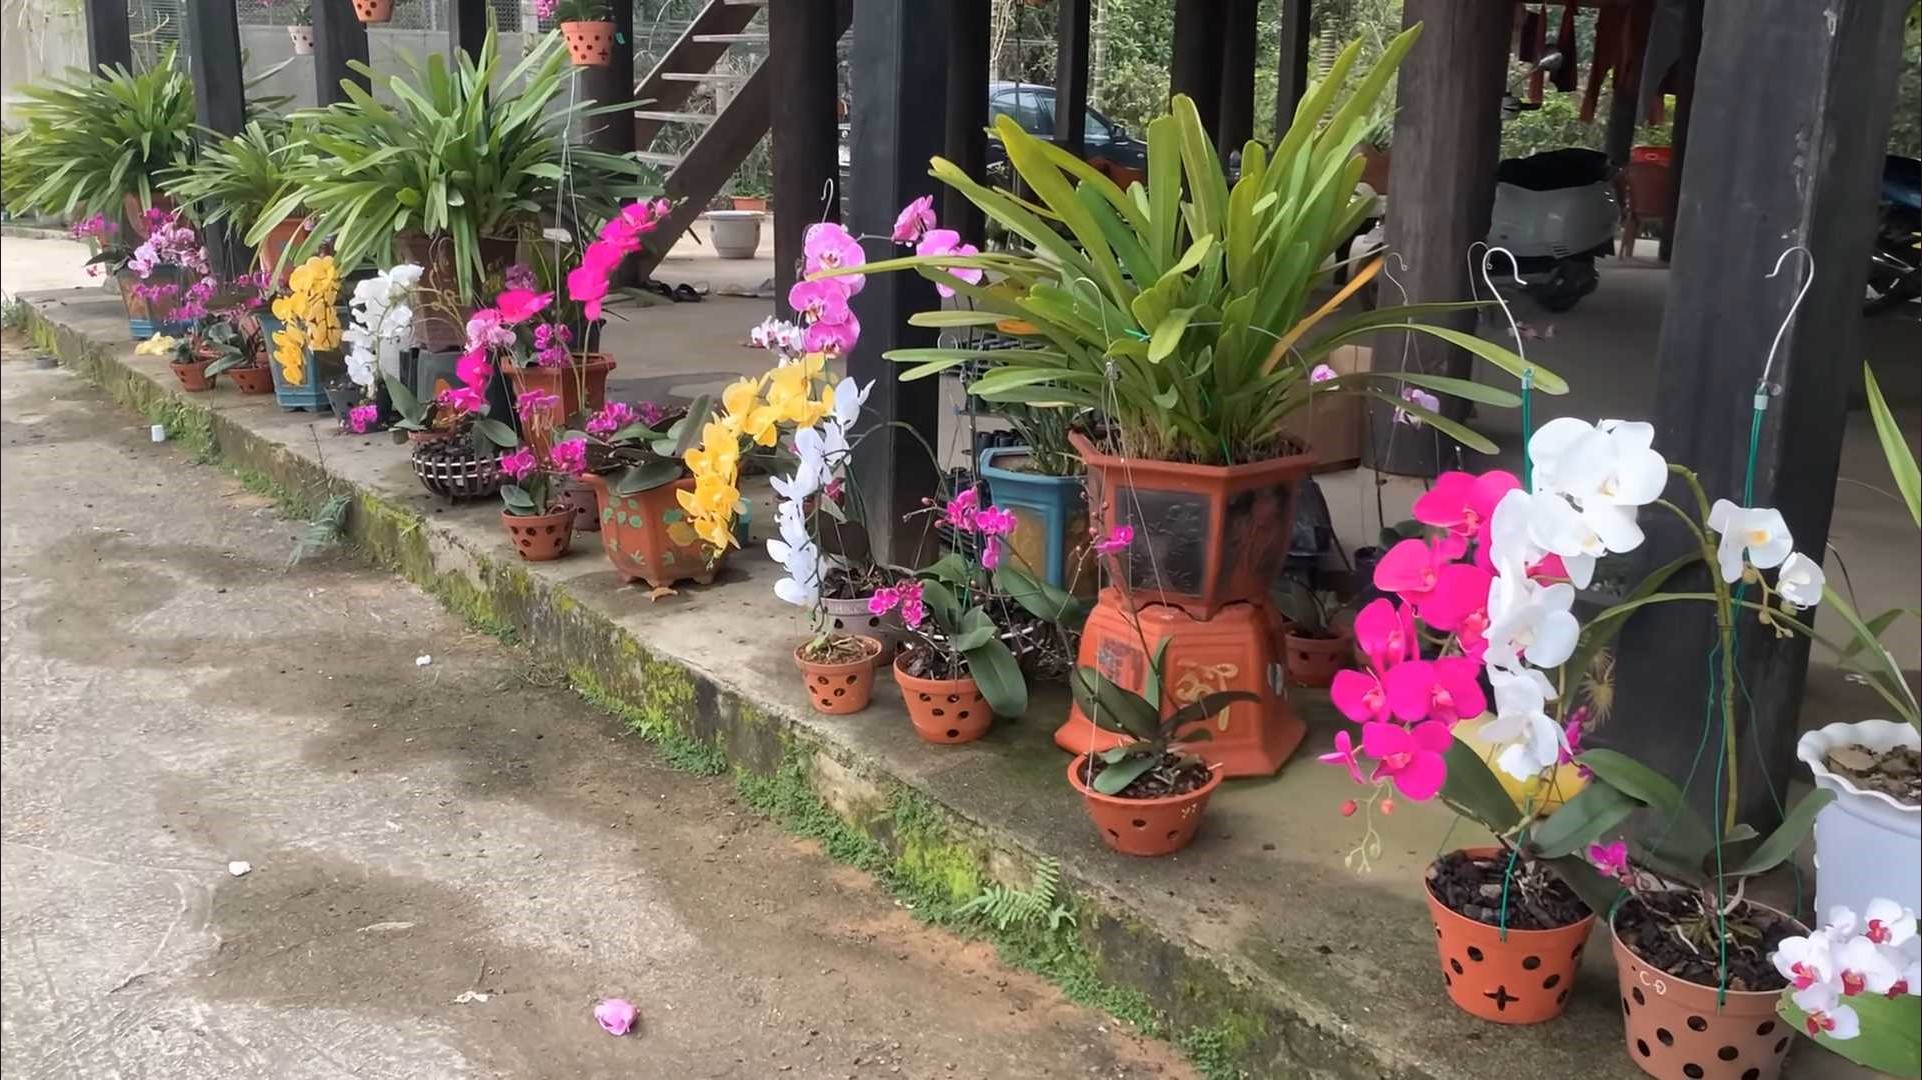
So, if you want to have your orchids blooming from winter to summer, make sure to feed them with plenty of potassium.
This nutrient will ensure your plants produce plenty of quality flowers, healthy and large leaves, and long and thick stems.
Pro tip: Don’t forget about other nutrients. Supplement your regular fertilizer with this solution for the best results.
Step 2. Chop Them Up
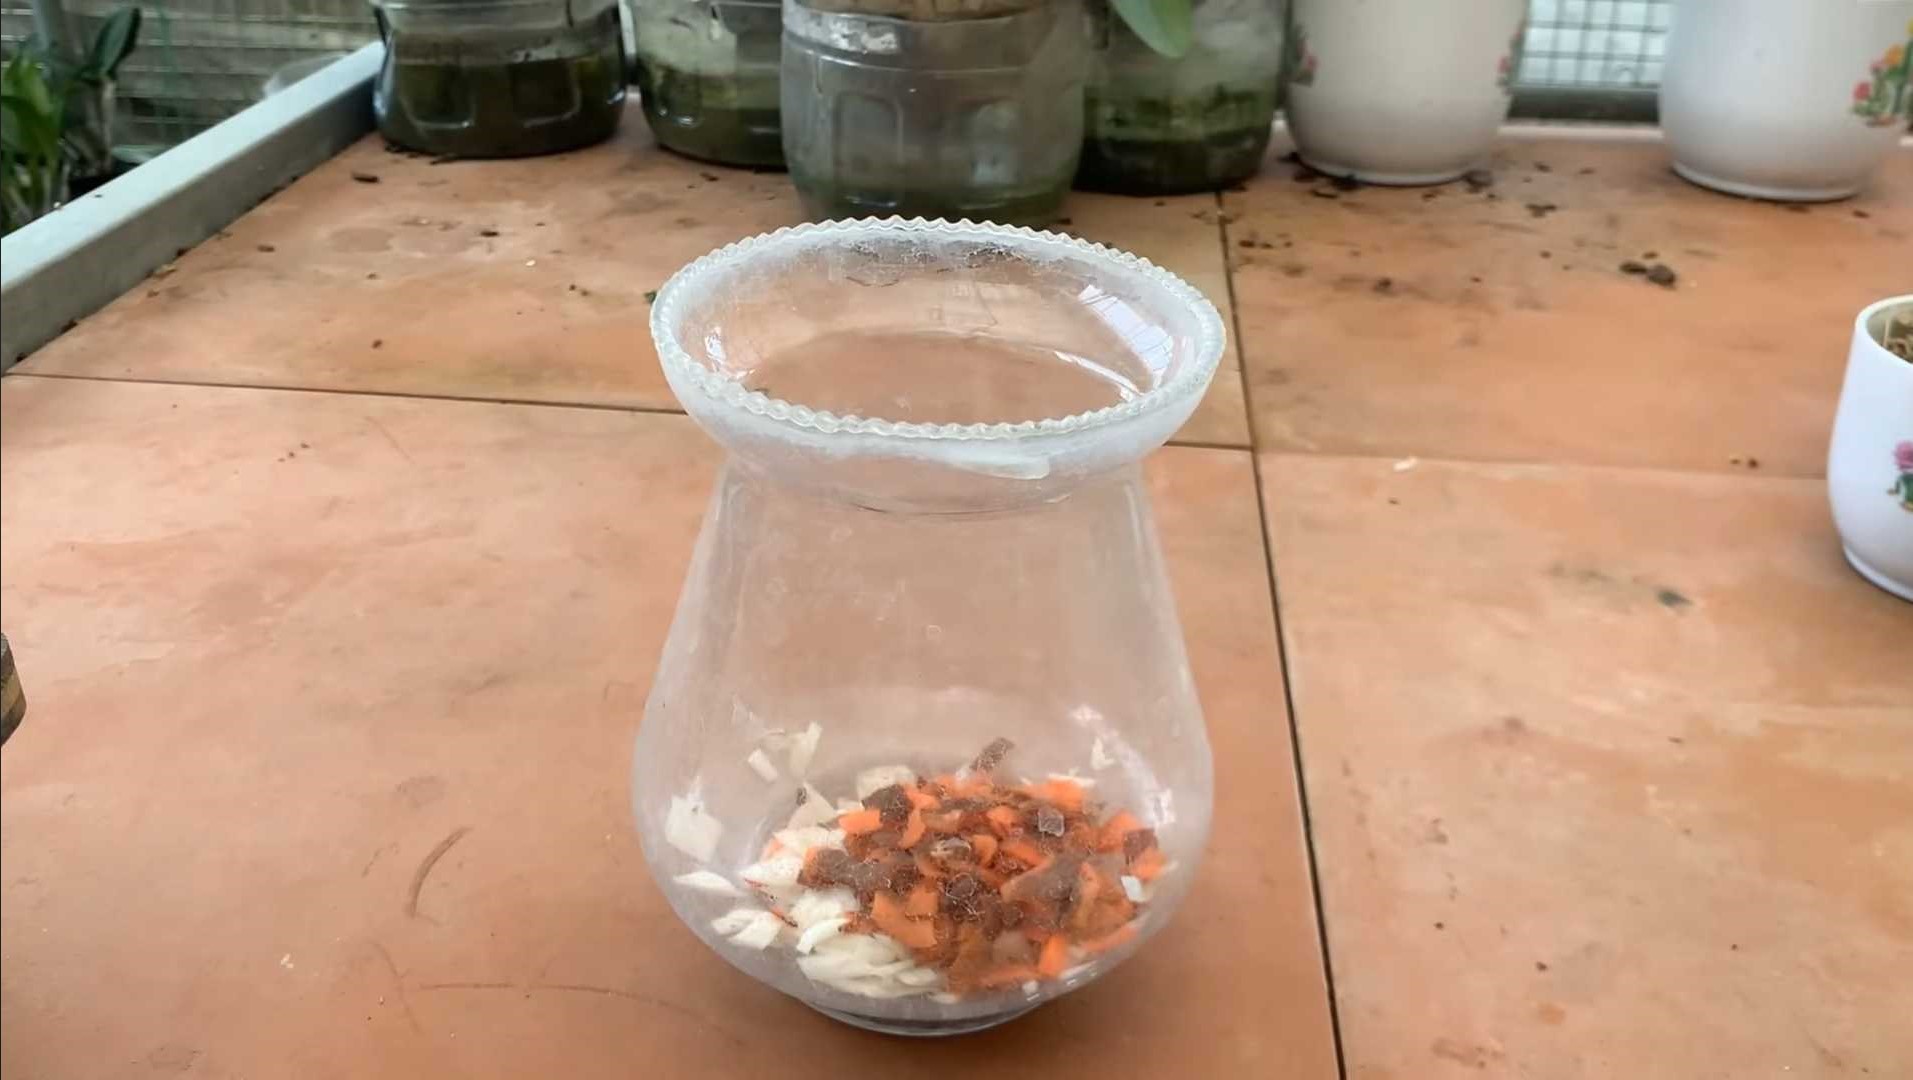
Now that you know why carrot and radish skins are so important, it is time to prepare them.
All you need to do is chop them up into tiny pieces. This will make it easier for you to fill any glass or jar with it without taking too much space.
Step 3. Soak The Peels
The next thing you need to do is soak the peels. Cover them with half a gallon of boiling water.
Of course, this measurement is for the skins of one large radish and one large carrot. If you’re using more than this, increase the amount of water you use to soak the peels.
Step 4. Remove The Peels
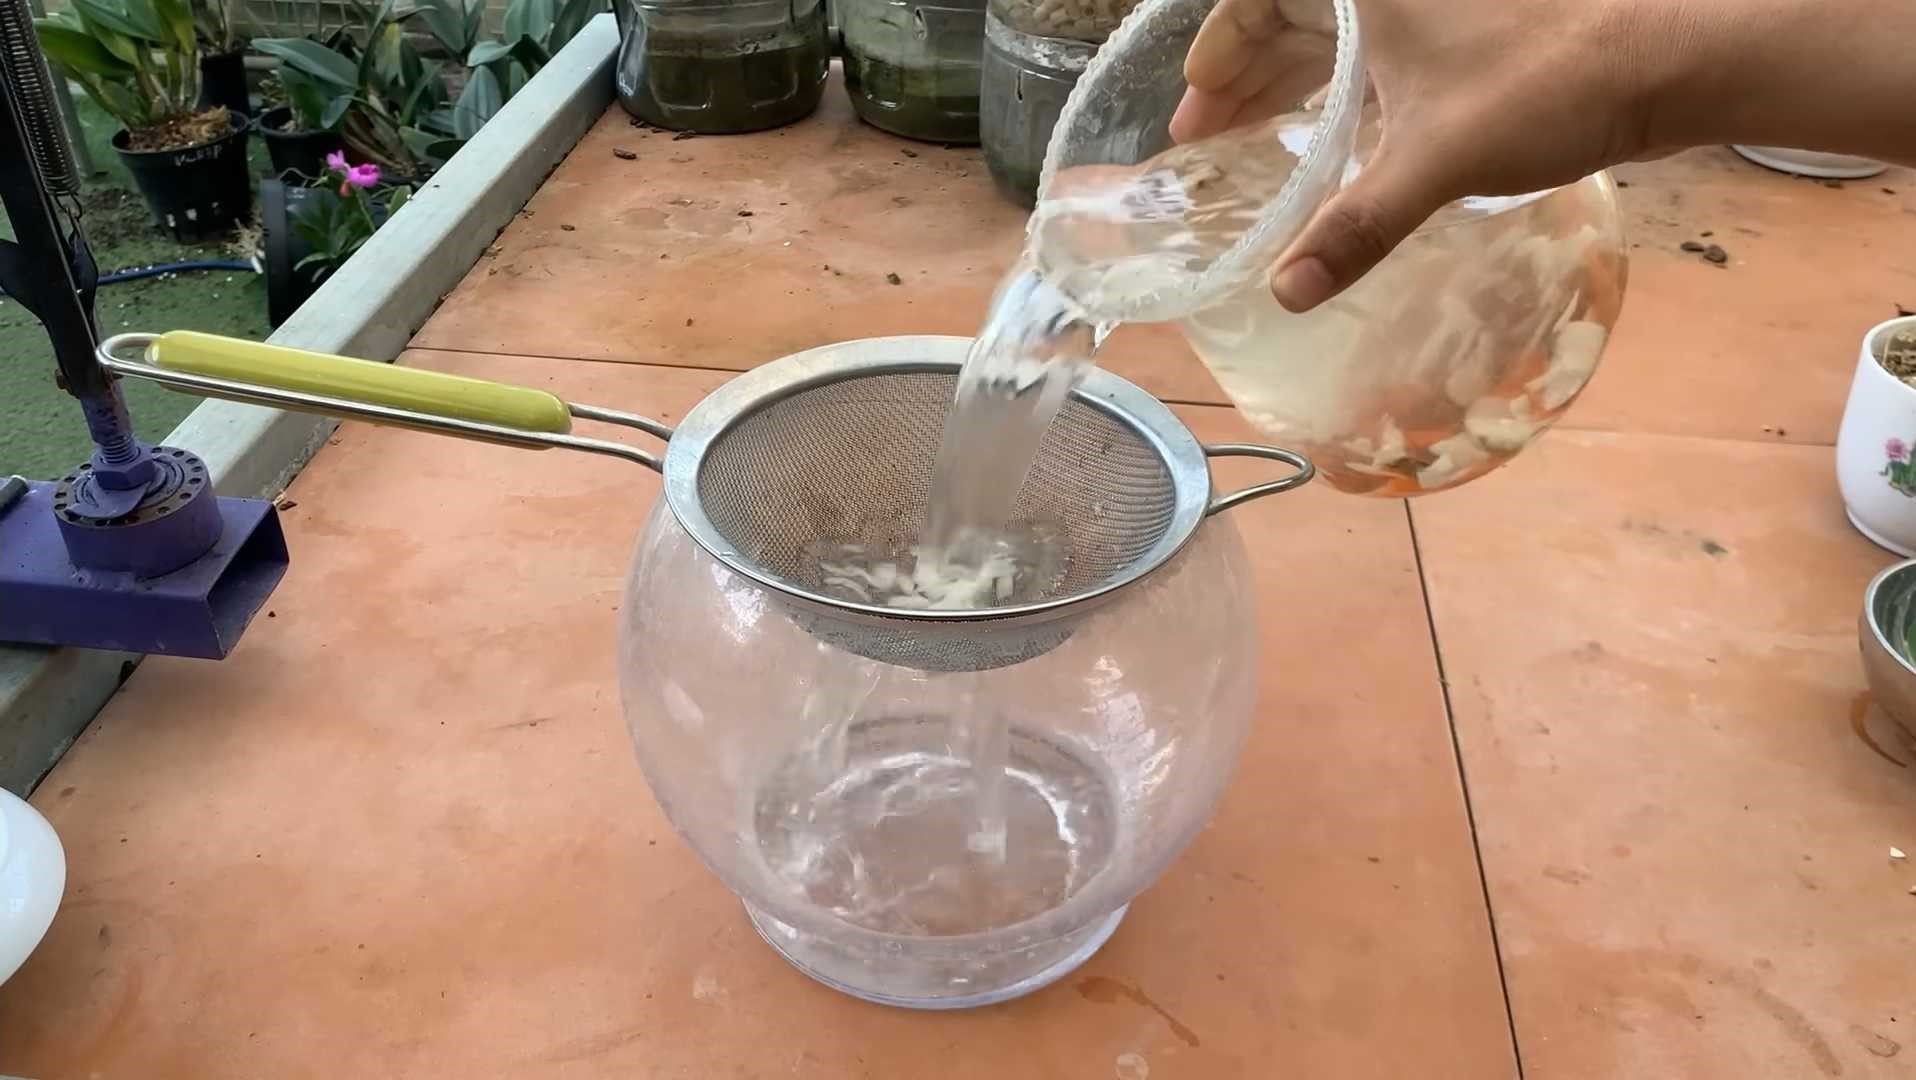
All you have to do now is wait for the mixture to cool down. Once that happens, you can strain it.
Store the remaining solution in a glass vessel and use it in your orchid garden. It’s best to use this fertilizer as soon as possible.
It doesn’t contain any preservatives, so bacteria and fungi can develop in it.
Using Radish/Carrot Fertilizer
It’s crucial to know when and how to fertilize orchids. Feed these bloomers only during their growing season. This will ensure you don’t overfertilize them.
Also, apply this radish/carrot solution 1-2 times a month for the best results. It will give your plants enough nutrients to thrive without damaging their roots.
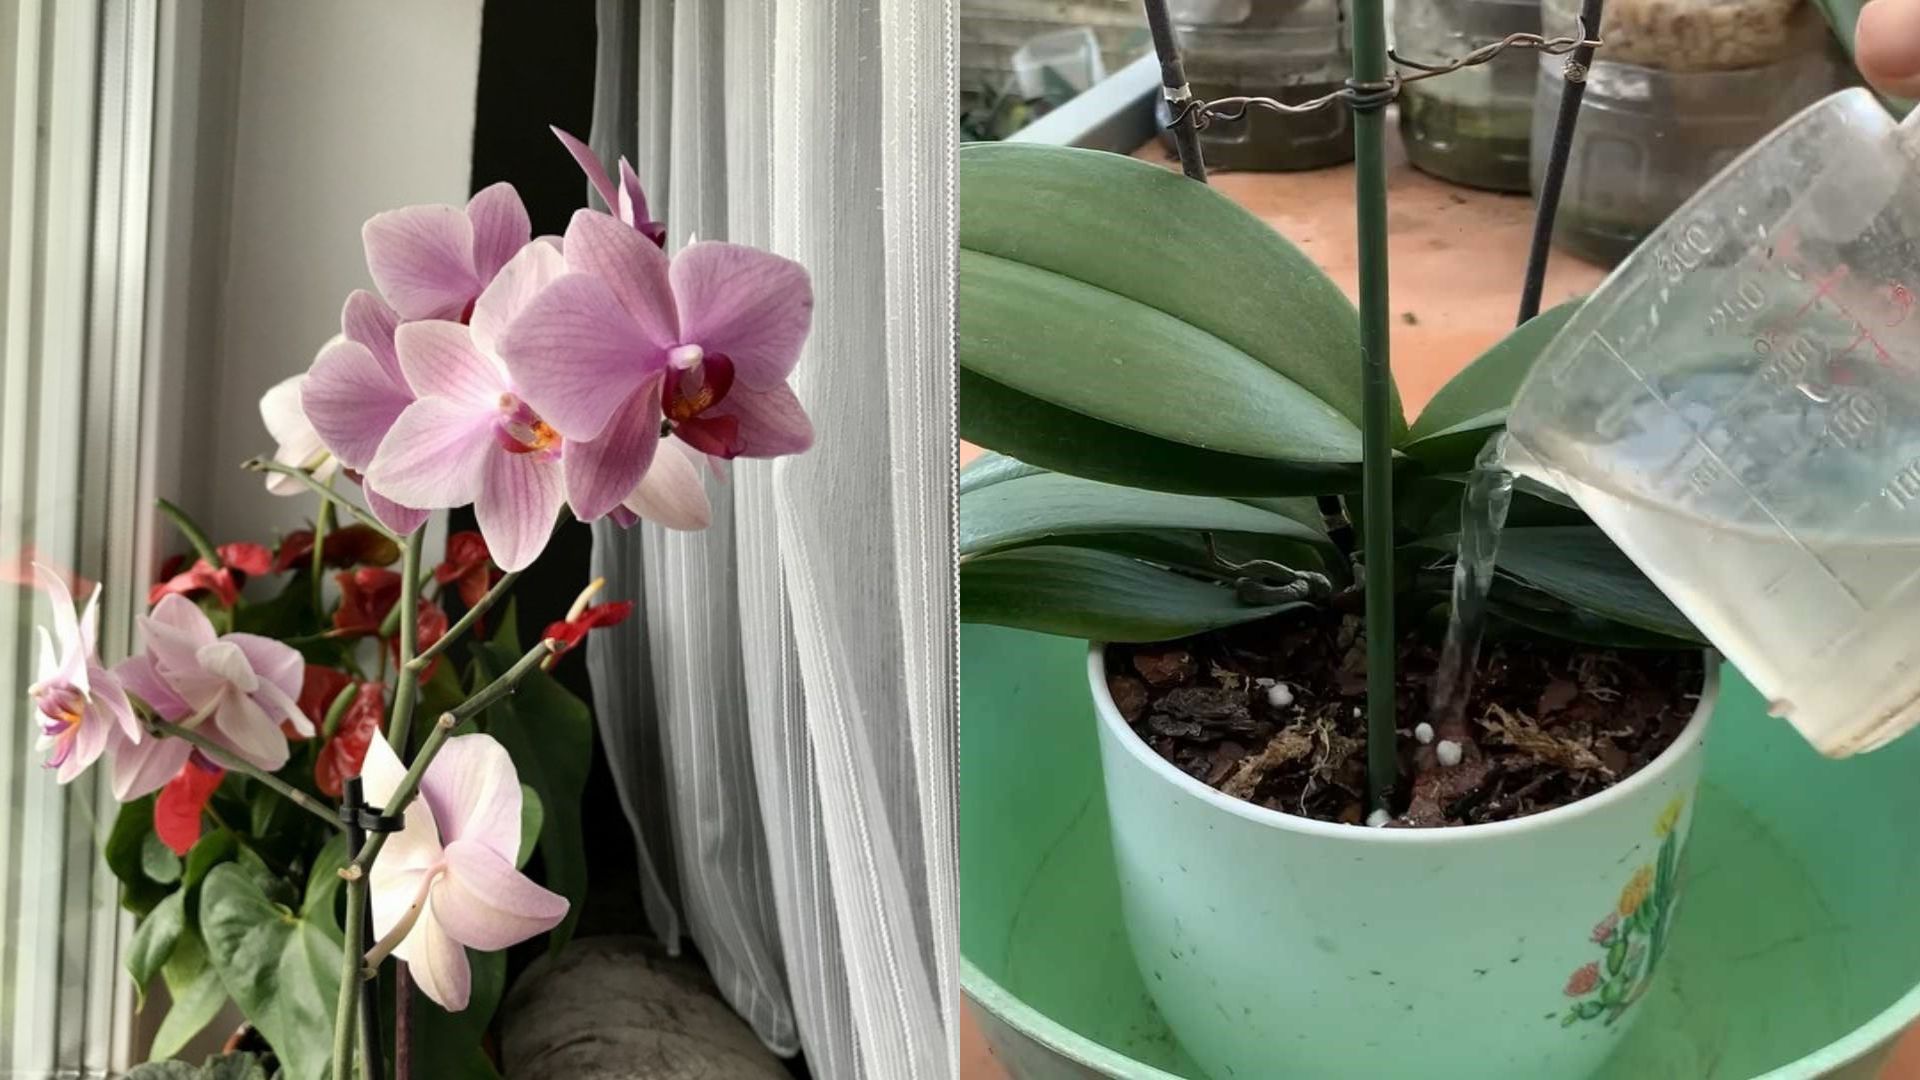
Apply To The Roots
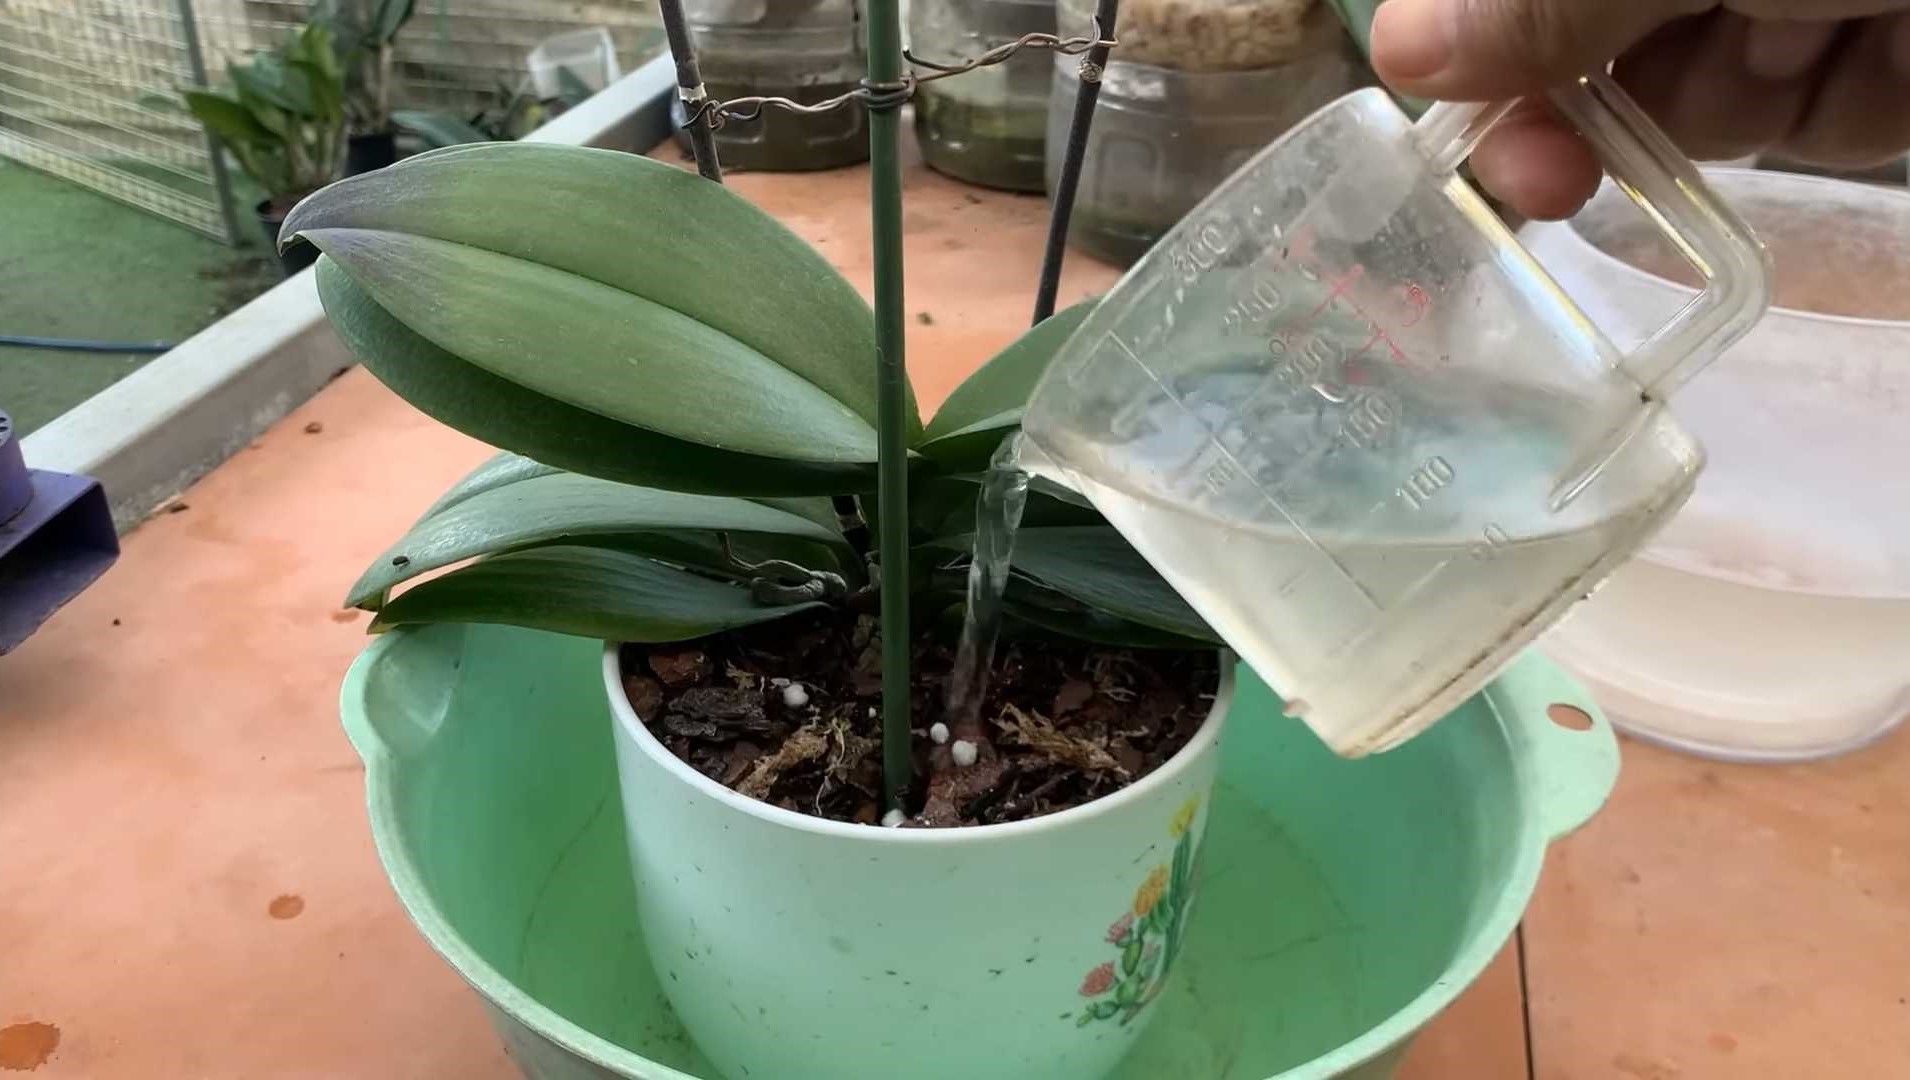
This is the easiest way to feed your orchids with this fertilizer. Keep pouring it until you notice that the excess has started to drain through the drainage holes.
Let it seep out completely before returning your orchid to its usual spot.
As I already mentioned, you should use this method every 2-4 weeks. Yet, you can practice it every time you water your orchids. Just make sure to dilute the solution to half-strength so that you don’t apply too much.
Spray On The Leaves
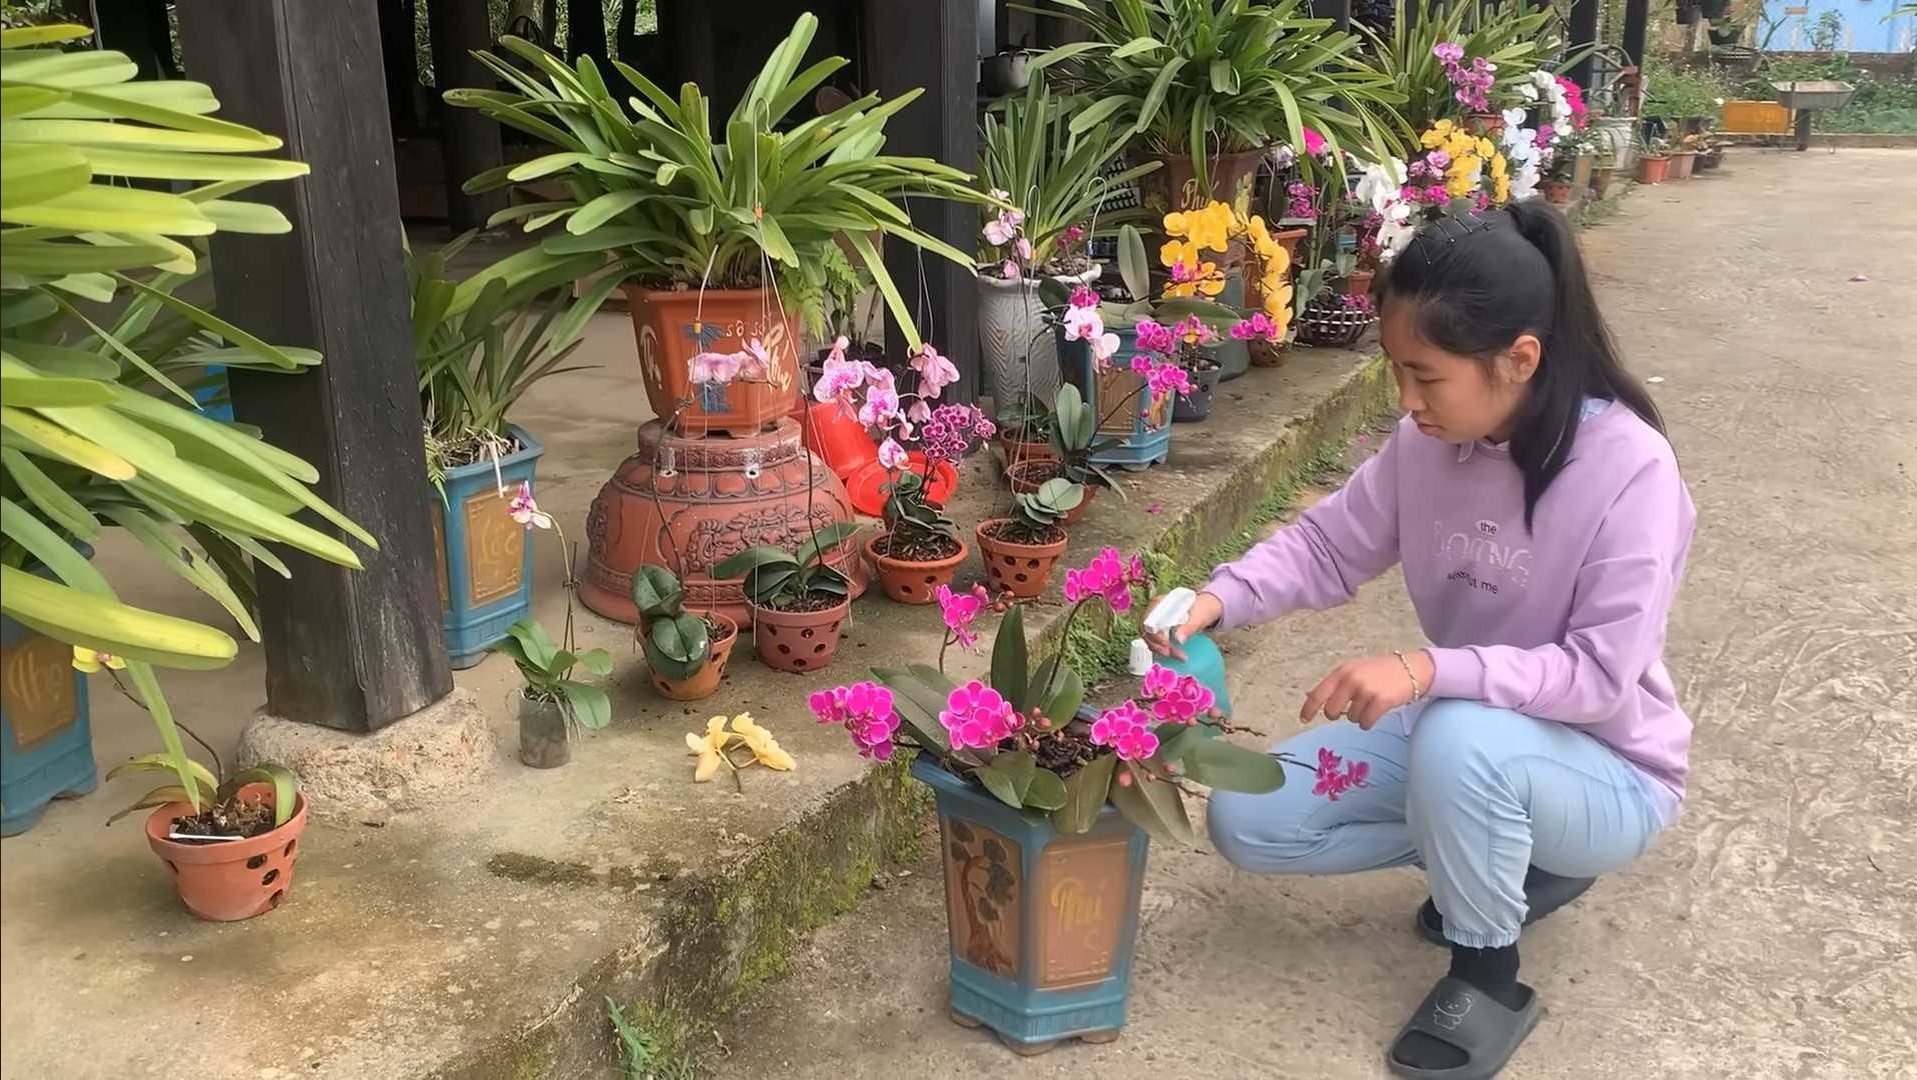
I have mixed feelings about using this solution as a foliar spray. In general, we don’t use foliar fertilizer as a main way of feeding. Instead, it is most useful for supplementing lacking micronutrients. And we certainly shouldn’t replace root feeding with foliar fertilizing! (2)
If your orchids lack potassium in such quantities, you can use this solution as a foliar spray in addition to regular feeding. But if everything seems to be going well, I’d skip this application.
It can leave salt build up on the leaves if you don’t clean them often. This can affect photosynthesis and reduce the health and quality of your orchids.
Of course, you can always try spraying this fertilizer on your orchid’s leaves. Just make sure you don’t drench them. And don’t stop your regular root fertilizer application!
Use The Solution To Clean The Leaves
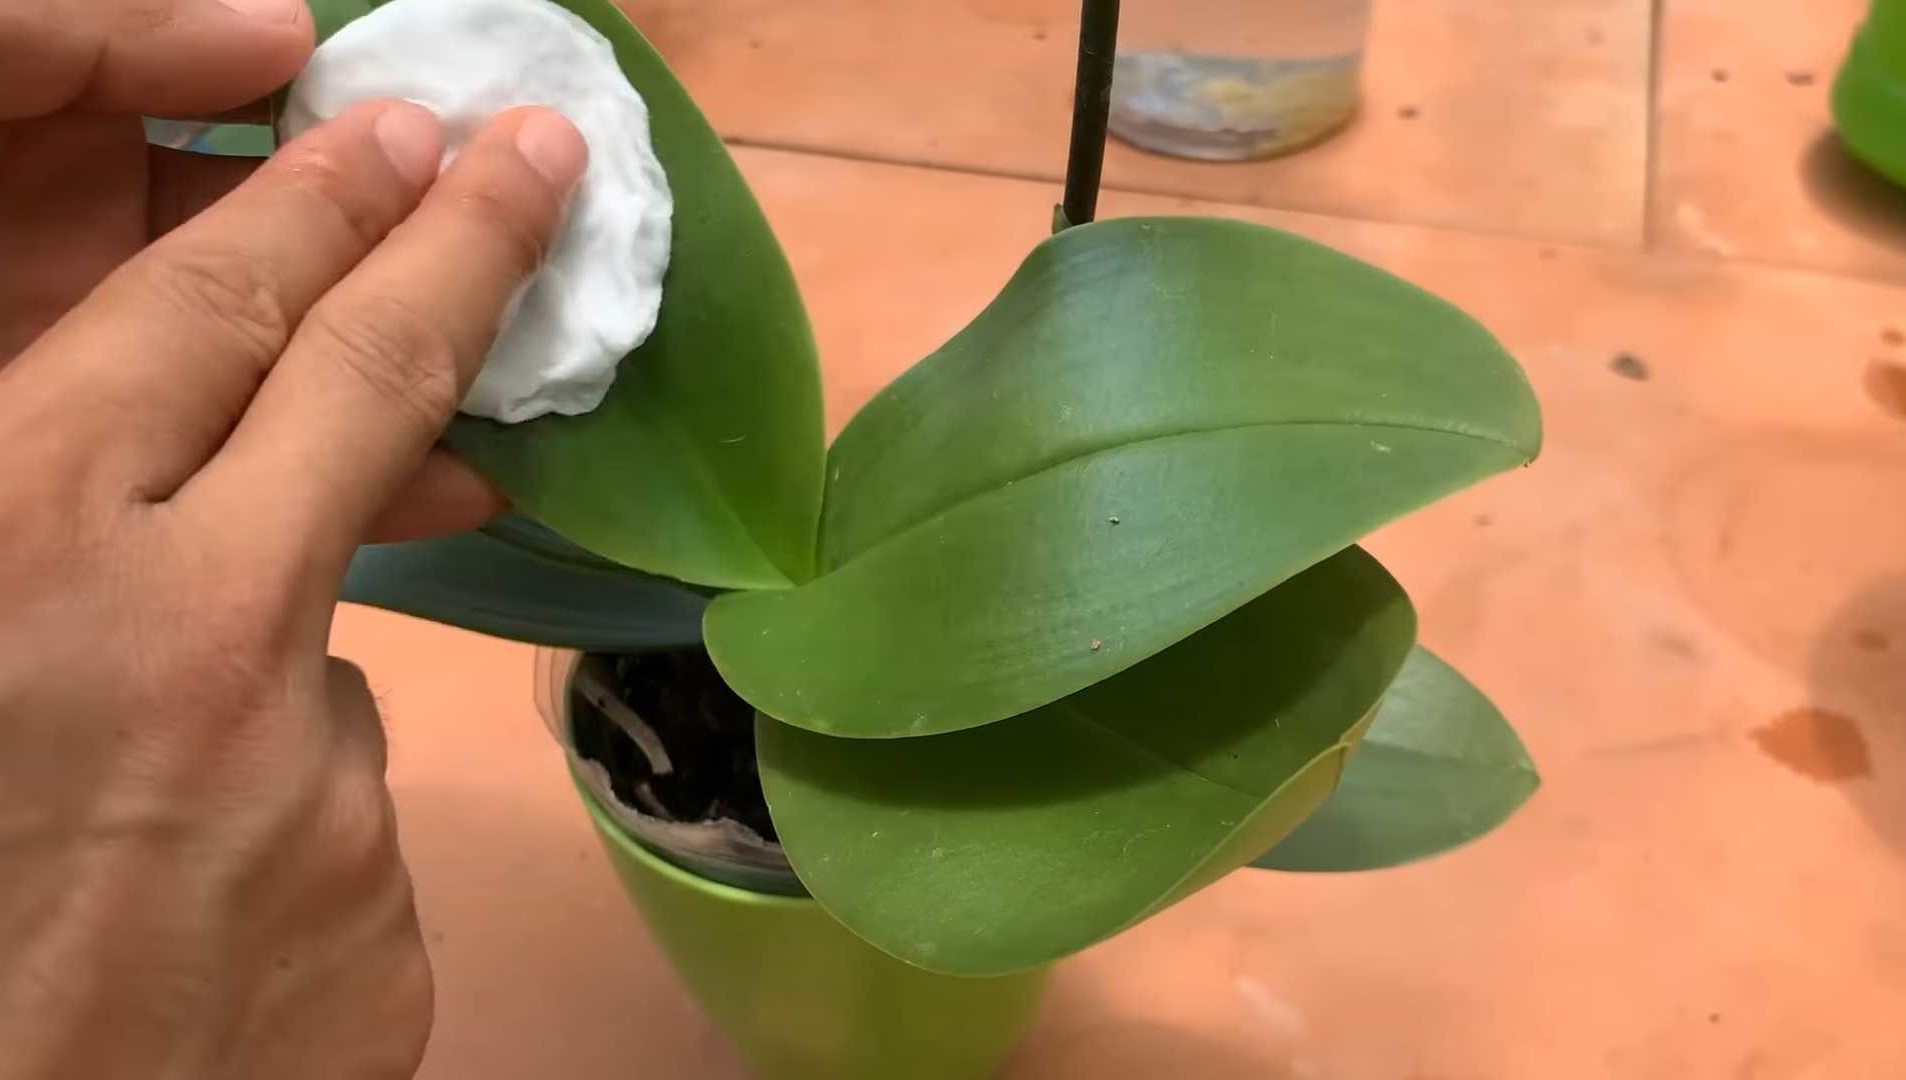
Finally, you can use this solution to clean the leaves of your orchids. As I already mentioned, it can leave a whitish build up, so be careful.
Don’t use it every time you clean your plant’s foliage. Instead, interchange it with plain old water cleaning and your orchids will thrive.
This type of cleaning won’t lead to any build up. And it will give your plants a little extra boost in case they need it.
Here are some more tips for making and using this orchid fertilizer:
References:
1. Wang, Y. T. (2007). Potassium Nutrition Affects Phalaenopsis Growth and Flowering. American Society for Horticultural Science.
2. Bottom, S. (2022). Orchid Myths – Foliar Feeding. St. Augustine Orchid Society.