How To Grow And Care For Dracaena In Florida, The Ultimate Beginner Houseplant
Ever wonder how some Florida homes managed to look like a lush tropical resort without the high-maintenance headache? The secret is often a Dracaena.
Whether it’s a dramatic Dragon Tree in the corner or a glossy Corn Plant on the lanai, these architectural beauties have quietly become the MVP of Florida’s indoor and patio spaces.
Because they naturally crave our warm, humid subtropical air and bright, indirect light, Dracaenas are the perfect “set it and forget it” companion for both beginners and seasoned plant parents.
From the sun-splashed Song of India to the classic striped varieties, keeping these tropical icons vibrant just takes a little local know-how.
Let’s dive into the simple light, water, and soil tricks that will keep your Dracaena thriving in the Sunshine State for years to come.
1. Choose The Right Dracaena Variety For Florida Homes

Walking into a Florida nursery for the first time can feel overwhelming, especially when you see an entire wall of Dracaena varieties all looking slightly different from one another.
Fortunately, most of them are beginner-friendly, and choosing the right one mostly comes down to the size of your space and the look you want.
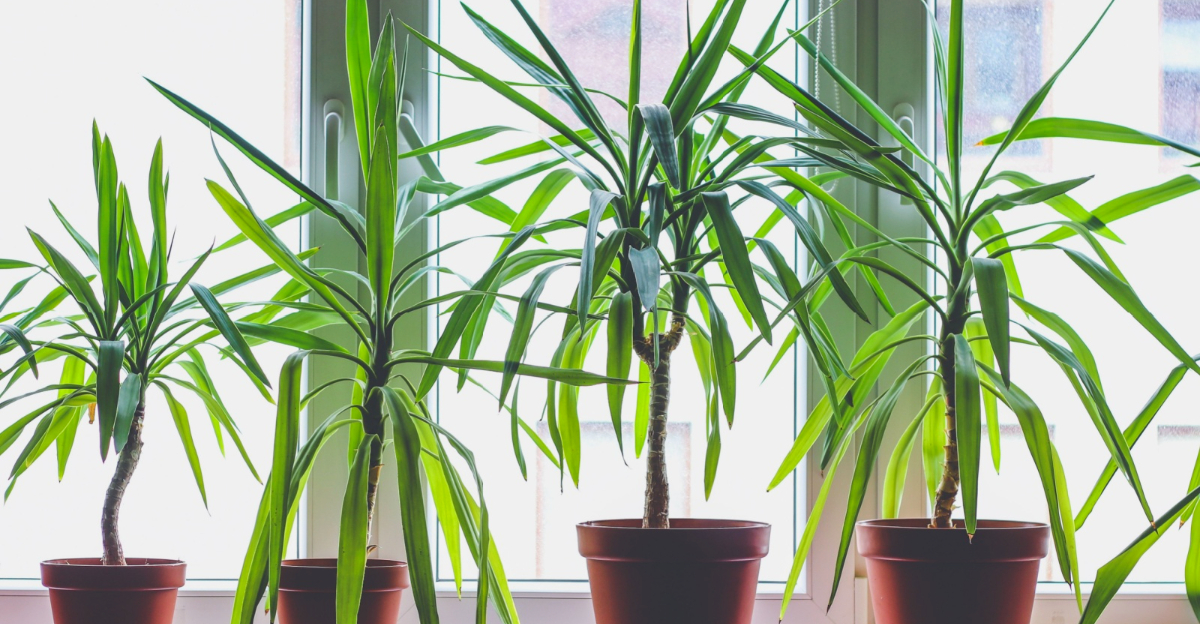
Dracaena marginata, often called the dragon tree, is one of the most popular choices for Florida homes. Its slender, arching leaves with reddish edges give it a dramatic, sculptural appearance that works well in corners and entryways.
It tolerates lower light better than many other varieties, which is a real bonus in rooms with fewer windows.
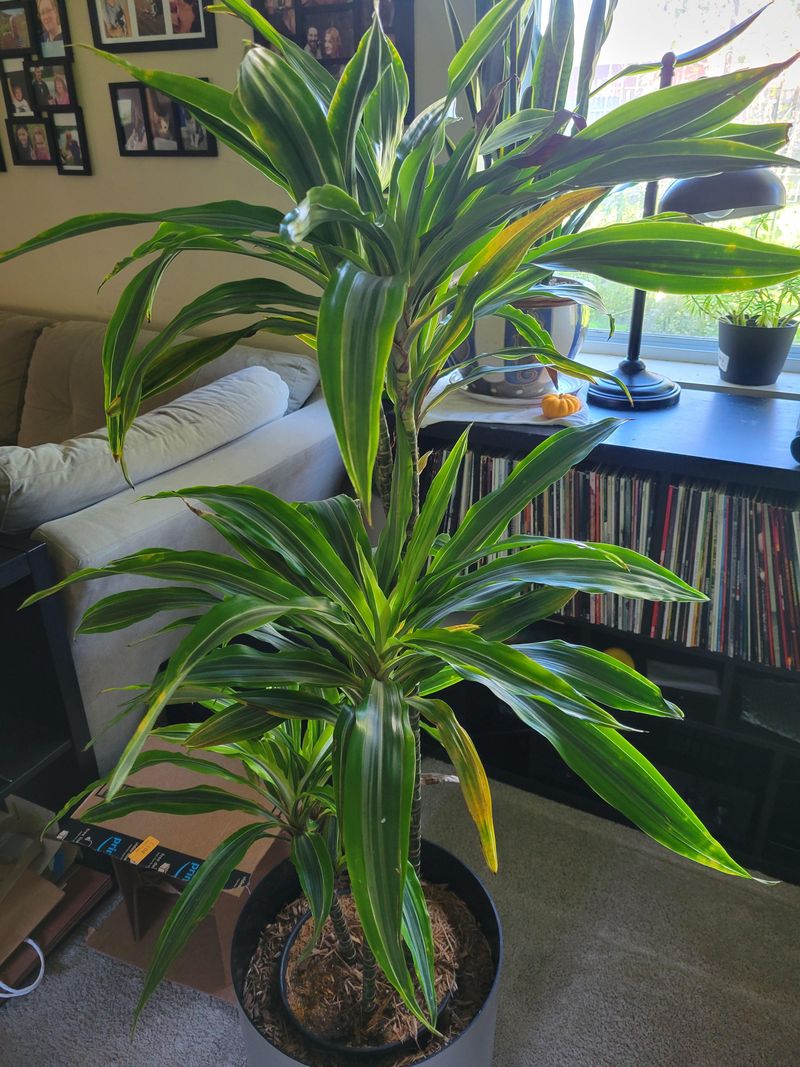
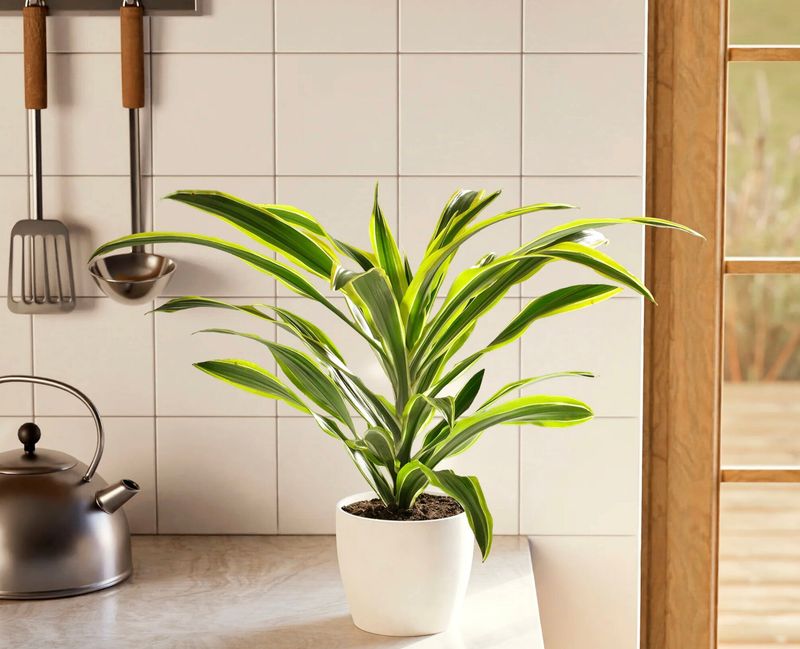
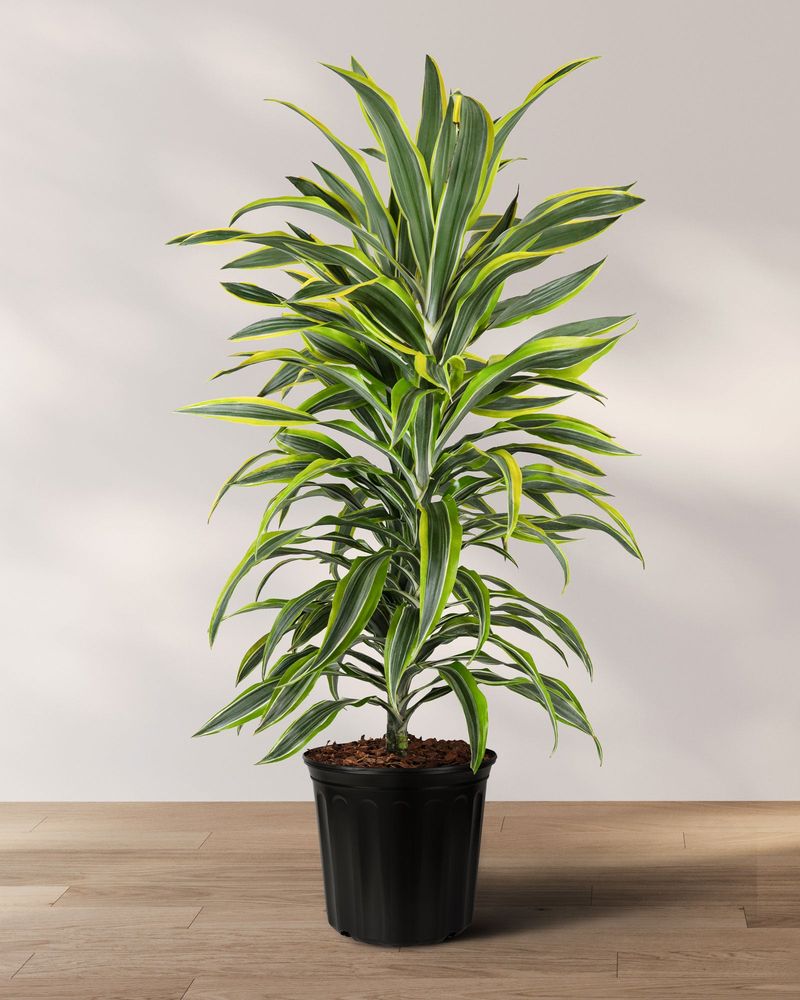
Dracaena fragrans, sometimes called the corn plant, is another solid pick for Florida beginners. It produces wide, glossy, deep-green leaves and can grow quite tall indoors over time.
For smaller spaces, Dracaena compacta stays compact and tidy, making it ideal for desks or shelves.
Dracaena reflexa, also known as song of India when it has yellow-striped leaves, adds a cheerful splash of color to bright indoor spots. Each variety has slightly different light and water needs, so read the care tag before you buy.
Matching the right variety to your Florida home’s conditions from the start will set you up for long-term success.
2. Place In Bright Indirect Light For Strong Growth
Light is one of the most important factors for keeping a Dracaena healthy, and Florida’s sunshine can be both a blessing and a challenge.
The state gets abundant natural light year-round, but direct sun pouring through a south or west-facing window can scorch Dracaena leaves, leaving brown, crispy patches that are hard to reverse.
East-facing windows are often the sweet spot for Dracaena indoors in Florida. Morning sun is gentler and provides the bright, indirect light these plants love without the intensity of afternoon rays.
North-facing windows can also work, though growth may be slightly slower in those spots.
If your home has large south or west-facing windows, simply hang sheer curtains or move the plant a few feet back from the glass. That small adjustment can make a significant difference in how well the plant performs.
Dracaena placed on a covered Florida lanai or screened porch can also thrive, as long as direct midday sun does not hit the leaves.
During Florida’s shorter winter days, you might notice your Dracaena growing more slowly or producing slightly paler leaves. Moving it closer to a window during those months can help maintain healthy color and steady growth.
Paying attention to how your plant responds to its current spot is one of the easiest ways to fine-tune its light conditions over time.
3. Use Well-Draining Soil Mix To Prevent Root Issues
Soil choice might not be the most exciting part of plant care, but it is one of the most consequential, especially in a humid state like Florida. Dracaena roots need moisture to stay healthy, but they also need air around them.
Soil that stays wet for too long creates the exact conditions that lead to root rot, which is one of the most common problems beginners face.
A well-draining potting mix is the foundation of healthy Dracaena care. A reliable blend combines a standard indoor potting soil with perlite or coarse sand to improve drainage.
Aim for a ratio of roughly two parts potting soil to one part perlite. This keeps the mix loose and airy while still holding enough moisture to sustain the plant between waterings.
Dracaena prefers a slightly acidic soil pH, somewhere in the range of 6.0 to 6.5.
Most commercial indoor potting mixes fall within that range, so you generally do not need to adjust the pH unless you are mixing your own blend from scratch.
Avoid garden soil or heavy clay-based mixes, which compact easily and restrict drainage. In Florida’s warm, humid environment, compacted soil can become a breeding ground for fungal issues.
Choosing the right mix from the beginning means you spend less time troubleshooting problems later, and your Dracaena gets off to a strong, healthy start in its new home.
4. Water Consistently But Avoid Overwatering
Overwatering is probably the single most common mistake beginners make with Dracaena, and Florida’s naturally humid air makes it even easier to water more than necessary.
The good news is that once you understand what the plant actually needs, getting the watering routine right becomes second nature.
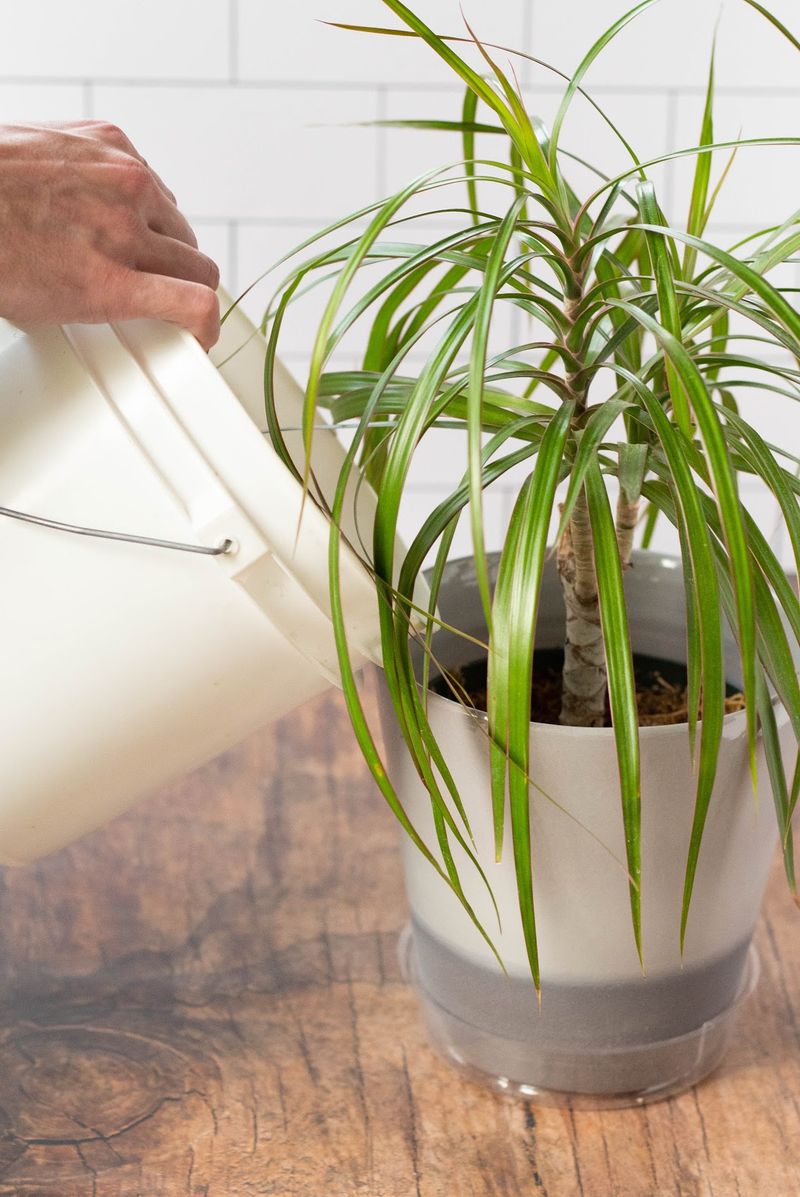
The general rule is to water when the top inch of soil feels dry to the touch. In most Florida homes during the warmer months, that typically means watering every seven to ten days.
During cooler winter months, the plant’s growth slows and it needs even less water, so you might stretch that to every ten to fourteen days.
Always check the soil before reaching for the watering can rather than watering on a fixed schedule. Florida’s indoor humidity levels can vary quite a bit depending on whether your air conditioning is running, which affects how quickly soil dries out.
A moisture meter is a helpful, inexpensive tool that takes the guesswork out of the process.
When you do water, water thoroughly until it drains out the bottom of the pot, then empty the saucer so the roots are not sitting in standing water.
Tap water in some Florida areas contains fluoride, which can cause brown leaf tips over time.
Using filtered water, distilled water, or collected rainwater helps prevent that issue and keeps your Dracaena’s foliage looking clean and healthy.
5. Maintain Humidity And Moderate Temperatures
One of the reasons Dracaena feels so at home in Florida is that the state’s warm, humid climate closely mimics the plant’s native tropical environment.
Most of the year, Florida’s outdoor humidity levels are high enough to keep Dracaena comfortable, especially when the plant is on a screened porch or near an open window.
Indoors, however, air conditioning can strip moisture from the air significantly. During Florida’s summer months, homes are often cooled aggressively, and the resulting dry indoor air can cause Dracaena leaf tips to brown and curl.
Running a small humidifier near the plant or grouping it with other houseplants can help raise the local humidity level without much effort.
Dracaena grows best in temperatures between 65 and 78 degrees Fahrenheit, which aligns well with typical Florida indoor conditions.
Problems tend to arise when the plant is exposed to temperatures below 50 degrees, so avoid placing it near drafty doors, cold air conditioning vents, or windows that let in cold air during Florida’s brief winter cool spells.
North and Central Florida gardeners should bring outdoor Dracaenas inside when temperatures drop below 55 degrees. South Florida’s warmer winters make year-round outdoor growing more practical.
Keeping an eye on the temperature near your plant’s location, especially during January and February, helps you catch potential cold stress before it causes visible damage to the leaves.
6. Feed With Balanced Fertilizer During Growing Season
Spring in Florida signals the start of Dracaena’s most active growth period, and that is the right time to begin a regular fertilizing routine.
During the warmer months, the plant is putting energy into pushing out new leaves and expanding its root system, so a modest nutrient boost helps it reach its full potential.
A balanced, water-soluble fertilizer with equal parts nitrogen, phosphorus, and potassium works well for Dracaena. Look for a formula labeled something like 10-10-10 or 20-20-20.
Dilute it to half the recommended strength before applying, as Dracaena is sensitive to excess nutrients and can develop brown leaf tips if over-fertilized.
Apply the diluted fertilizer once a month from spring through late summer. As Florida’s temperatures cool in fall and the plant’s growth naturally slows, stop fertilizing until the following spring.
Feeding during dormancy can stress the plant and lead to salt buildup in the soil over time.
If you prefer a slower approach, slow-release granular fertilizer pellets worked into the top layer of soil at the start of the growing season can provide a steady, low-maintenance nutrient supply.
Whichever method you choose, less is genuinely more with Dracaena fertilization.
A light, consistent feeding schedule during the active growing season is far more beneficial than heavy, infrequent applications that can overwhelm the plant’s root system.
7. Prune Dead Or Damaged Leaves Regularly
Pruning might sound intimidating if you are new to houseplants, but with Dracaena it is genuinely straightforward and very rewarding.
Regular light pruning keeps the plant looking tidy, encourages new growth, and removes any leaves that are pulling energy away from the healthier parts of the plant.
Start by checking your Dracaena every few weeks for yellowing, brown, or damaged leaves. These are normal as the plant ages, particularly on the lower portions of the cane.
Use clean, sharp scissors or pruning shears to snip them off as close to the main stem as possible. Wiping your cutting tools with rubbing alcohol before you start helps prevent the spread of any potential pathogens.
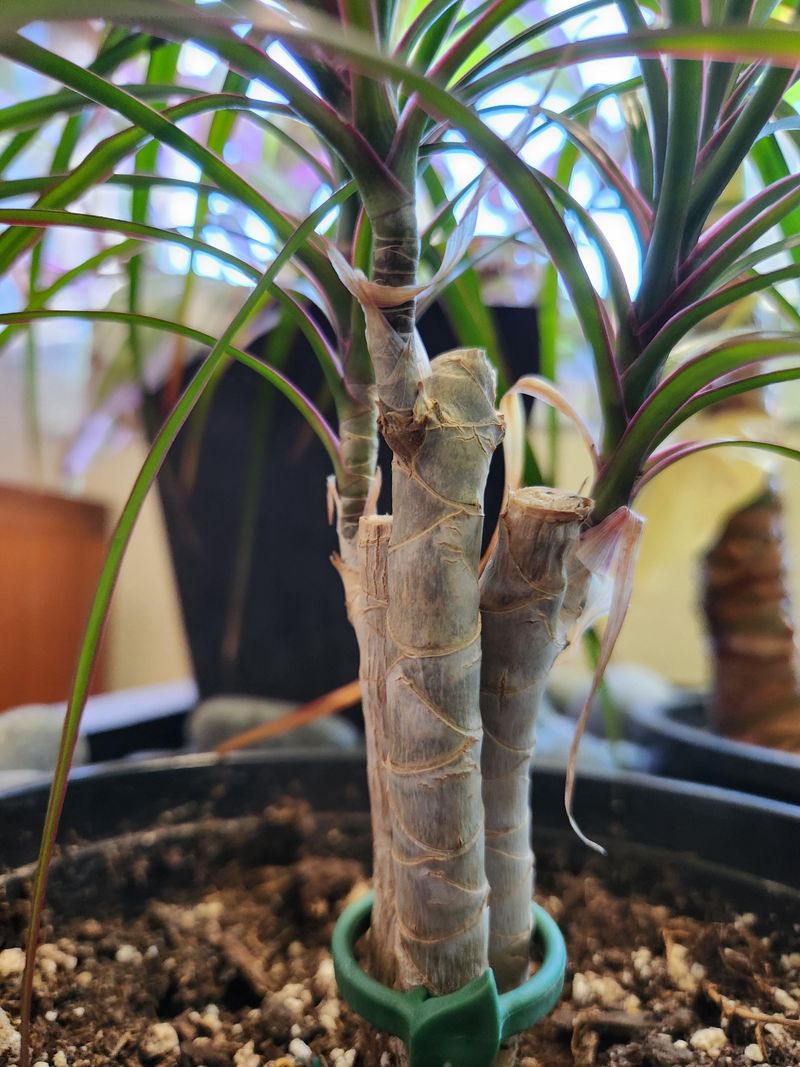
If your Dracaena has grown too tall for its space, you can cut the cane back to your preferred height during the active growing season. The plant will typically sprout new growth just below the cut within a few weeks.
This is a great way to manage height in smaller Florida apartments or condos where vertical space is limited.
Trimming brown leaf tips is also a common maintenance task. Use scissors to cut at a slight angle that mimics the natural leaf shape, which looks more natural than a straight horizontal cut.
Florida’s warm, humid conditions can sometimes accelerate the appearance of brown tips, often related to fluoride in tap water or low humidity near air conditioning vents.
Consistent pruning keeps your plant looking its best year-round.
8. Monitor For Pests Common In Florida
Florida’s warm, humid environment is wonderful for tropical plants, but it is equally welcoming to a range of common houseplant pests.
Dracaena is generally a resilient plant, but it can attract unwanted visitors, particularly when growing conditions are not quite right or when a new plant is introduced to your home without proper inspection.
Spider mites are among the most frequent offenders. They thrive in warm, dry conditions, which can occur indoors when air conditioning runs heavily.
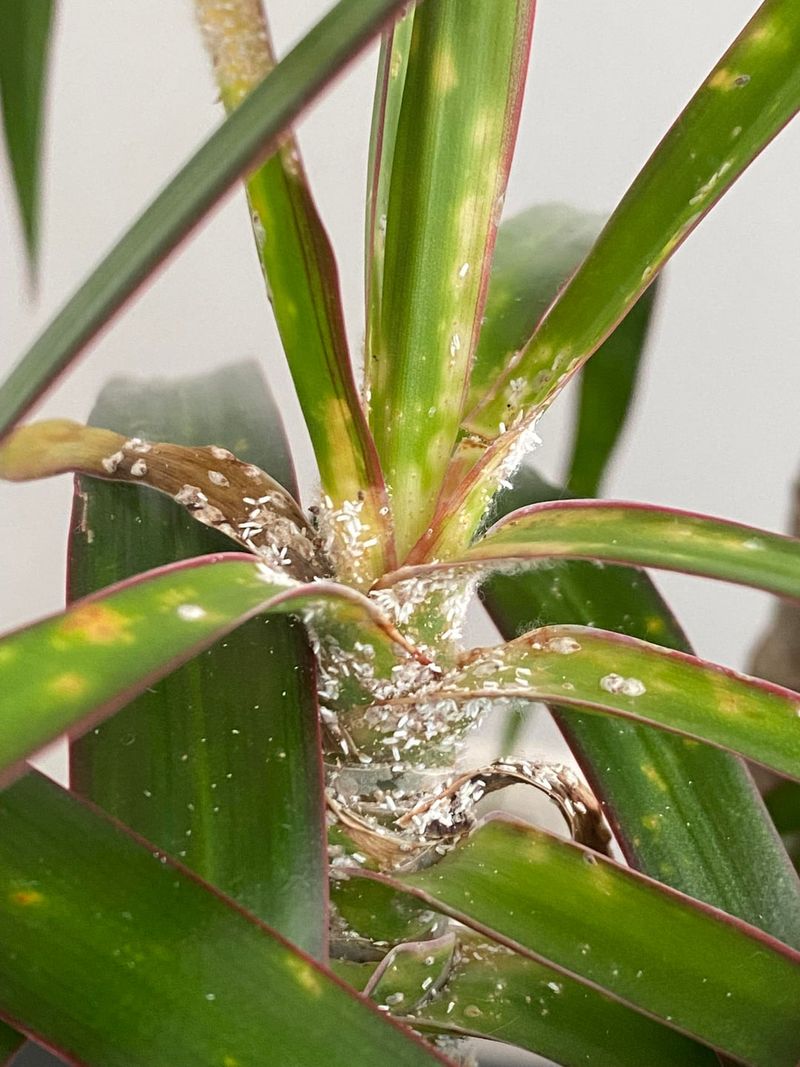
Look for fine webbing on the undersides of leaves and a dusty, stippled appearance on the leaf surface. Mealybugs are another common pest, appearing as small, white, cottony clusters in the joints where leaves meet the stem.
Scale insects can also affect Dracaena, showing up as small, brown, shell-like bumps along the canes and leaf undersides.
All three of these pests can be treated effectively with insecticidal soap spray or neem oil solution applied directly to the affected areas.
Repeat applications every seven to ten days until the infestation is under control.
Prevention is your best strategy in Florida. Check new plants carefully before bringing them indoors, and inspect your Dracaena during regular watering.
Good air circulation around the plant also reduces the likelihood of pest problems taking hold.
Keeping leaves clean by wiping them with a damp cloth occasionally removes dust and makes it easier to spot early signs of trouble before they escalate.
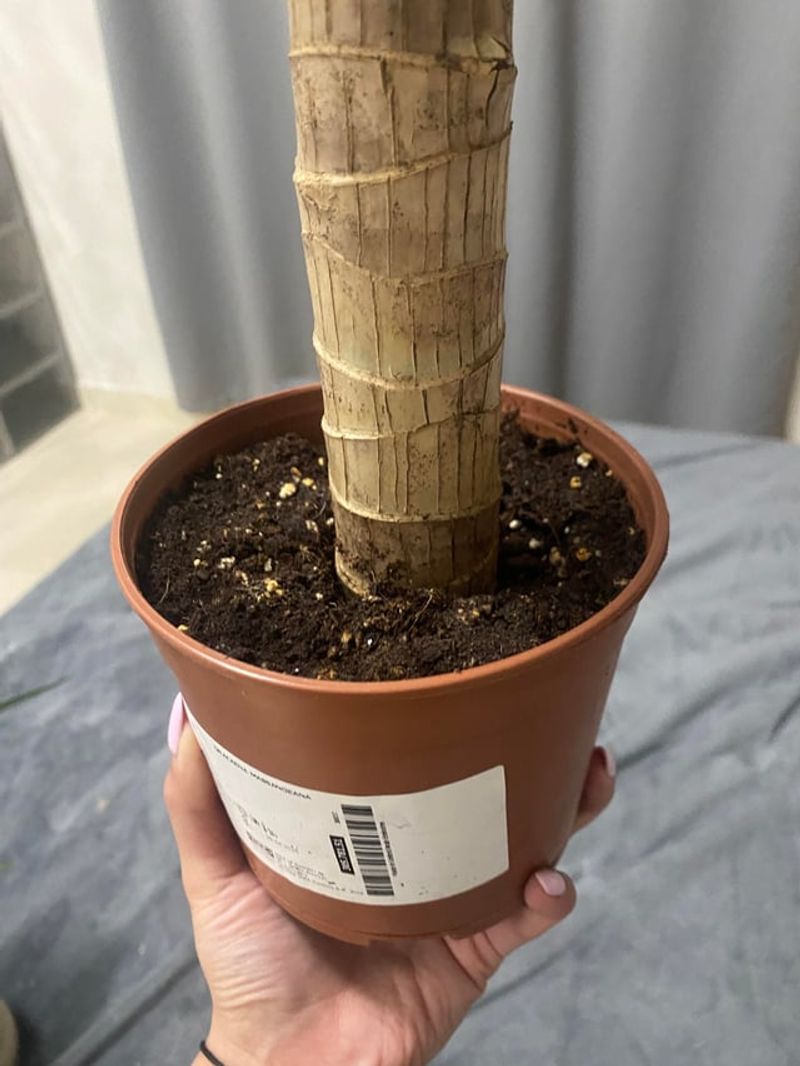
9. Repot Every 2-3 Years Or When Root-Bound
Most houseplants give you a clear signal when they are ready for a larger home, and Dracaena is no exception.
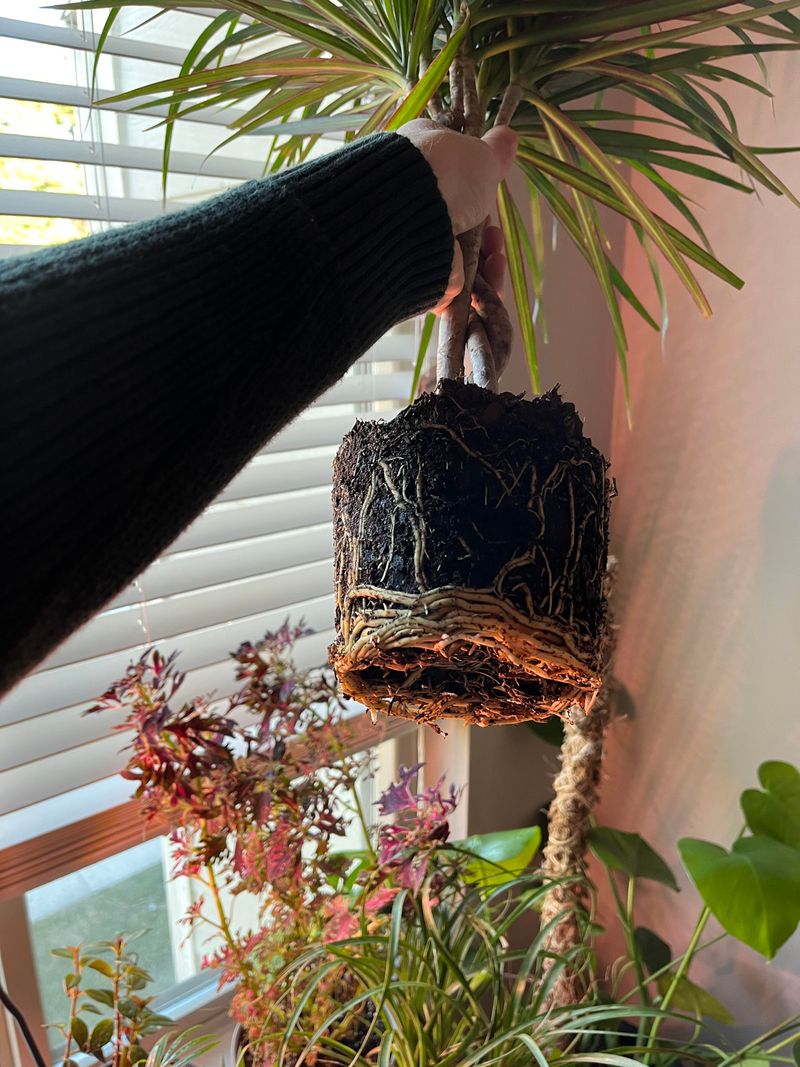
When roots start circling the bottom of the pot, poking out of drainage holes, or pushing up through the soil surface, the plant is telling you it needs more room to grow comfortably.
Repotting every two to three years is a reasonable general guideline for Dracaena, though Florida’s warm growing conditions can sometimes accelerate root development.
Spring is the ideal time to repot, as the plant is entering its active growth phase and will recover from the transition more quickly than it would in cooler months.
Choose a new pot that is one to two inches larger in diameter than the current one. Going too large too fast can lead to excess soil holding moisture the roots cannot absorb, which increases the risk of root rot.
Make sure the new pot has adequate drainage holes, and use a fresh, well-draining potting mix rather than reusing old soil, which may be depleted of nutrients.
To repot, gently ease the plant out of its current container, shake off loose old soil from around the roots, and trim any roots that appear brown or mushy before placing it in the new pot.
Water thoroughly after repotting and place the plant back in its usual bright, indirect light location.
Expect a brief adjustment period before new growth resumes, which is completely normal after a repotting.