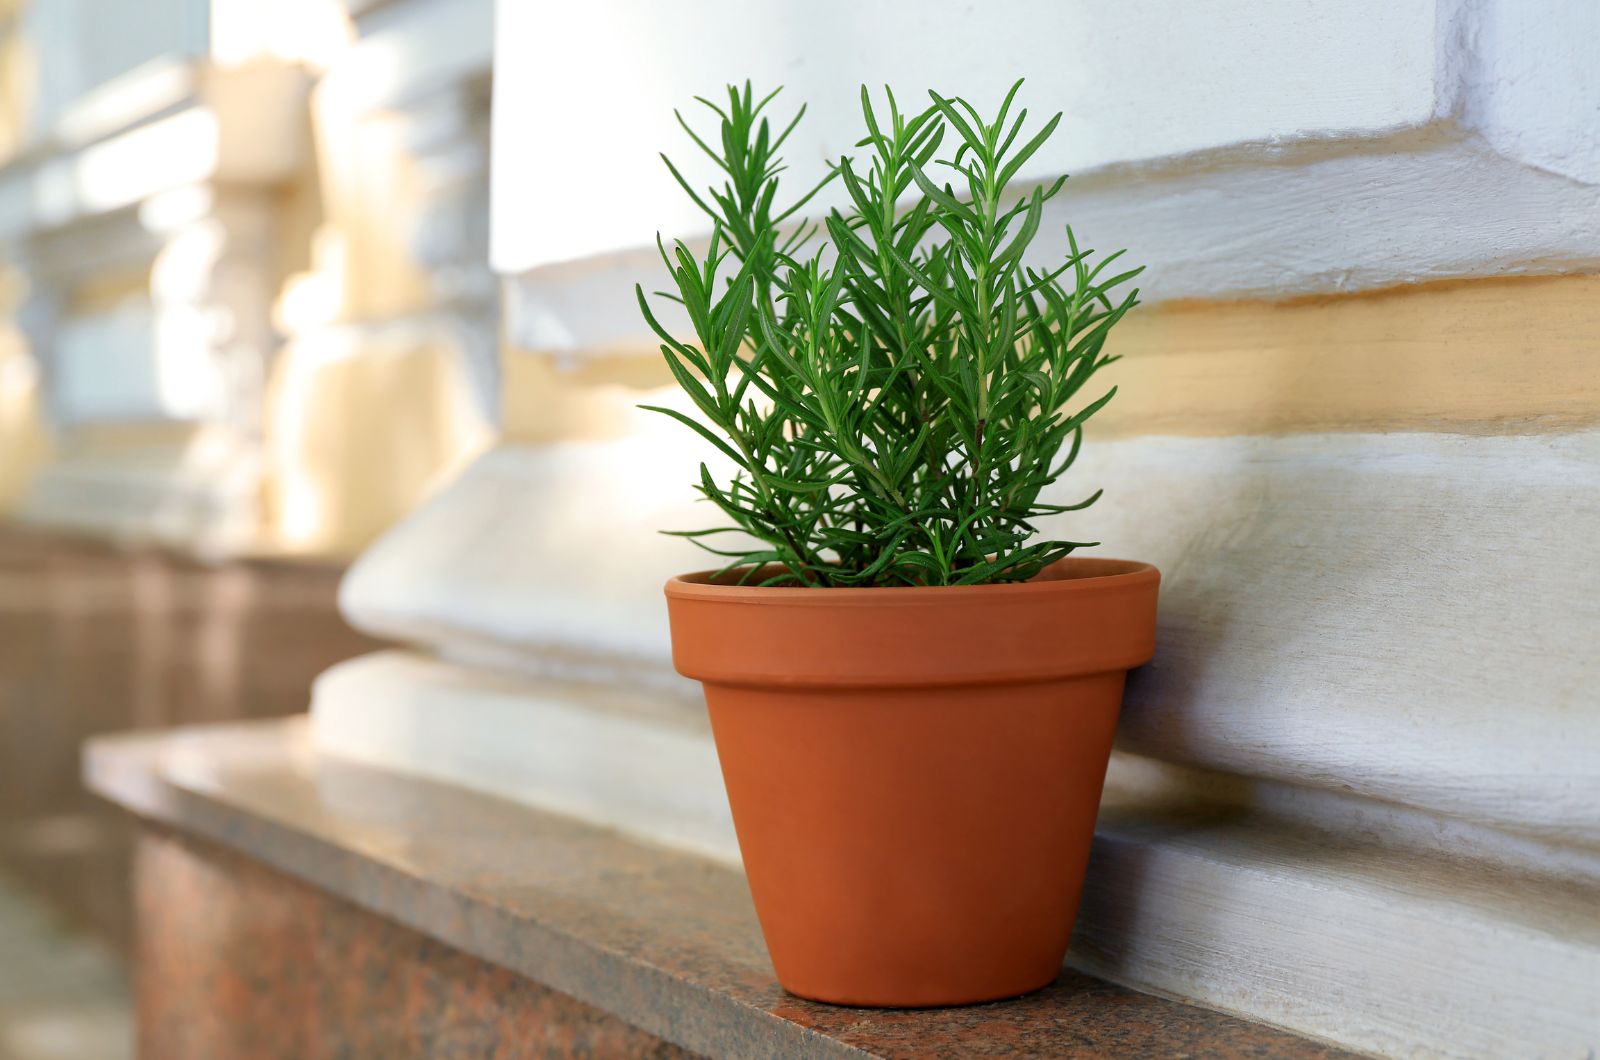
An enchanting fragrance and incredible flavor make rosemary one of the most popular herbs out there. Luckily, expanding your rosemary collection is an easy and cost-effective task.
All you need is a healthy rosemary plant and a rooting medium.
In this article, I’ll show you how to propagate rosemary in soil or water and give you some care tips for rooted rosemary cuttings!
Let’s get started!
When To Propagate Rosemary
One of the things I especially like about rosemary propagation is that you can take the cuttings at any time of the year and they’ll show new growth.
But you can speed up the process of getting new plants by taking cuttings in late spring or early summer, preferably before your herb starts flowering.
If you’re overwintering your rosemary indoors, you can take the cuttings in the fall before the first frost. Make sure there aren’t any pests on the cuttings/plants before you take them indoors.
Soil Propagation
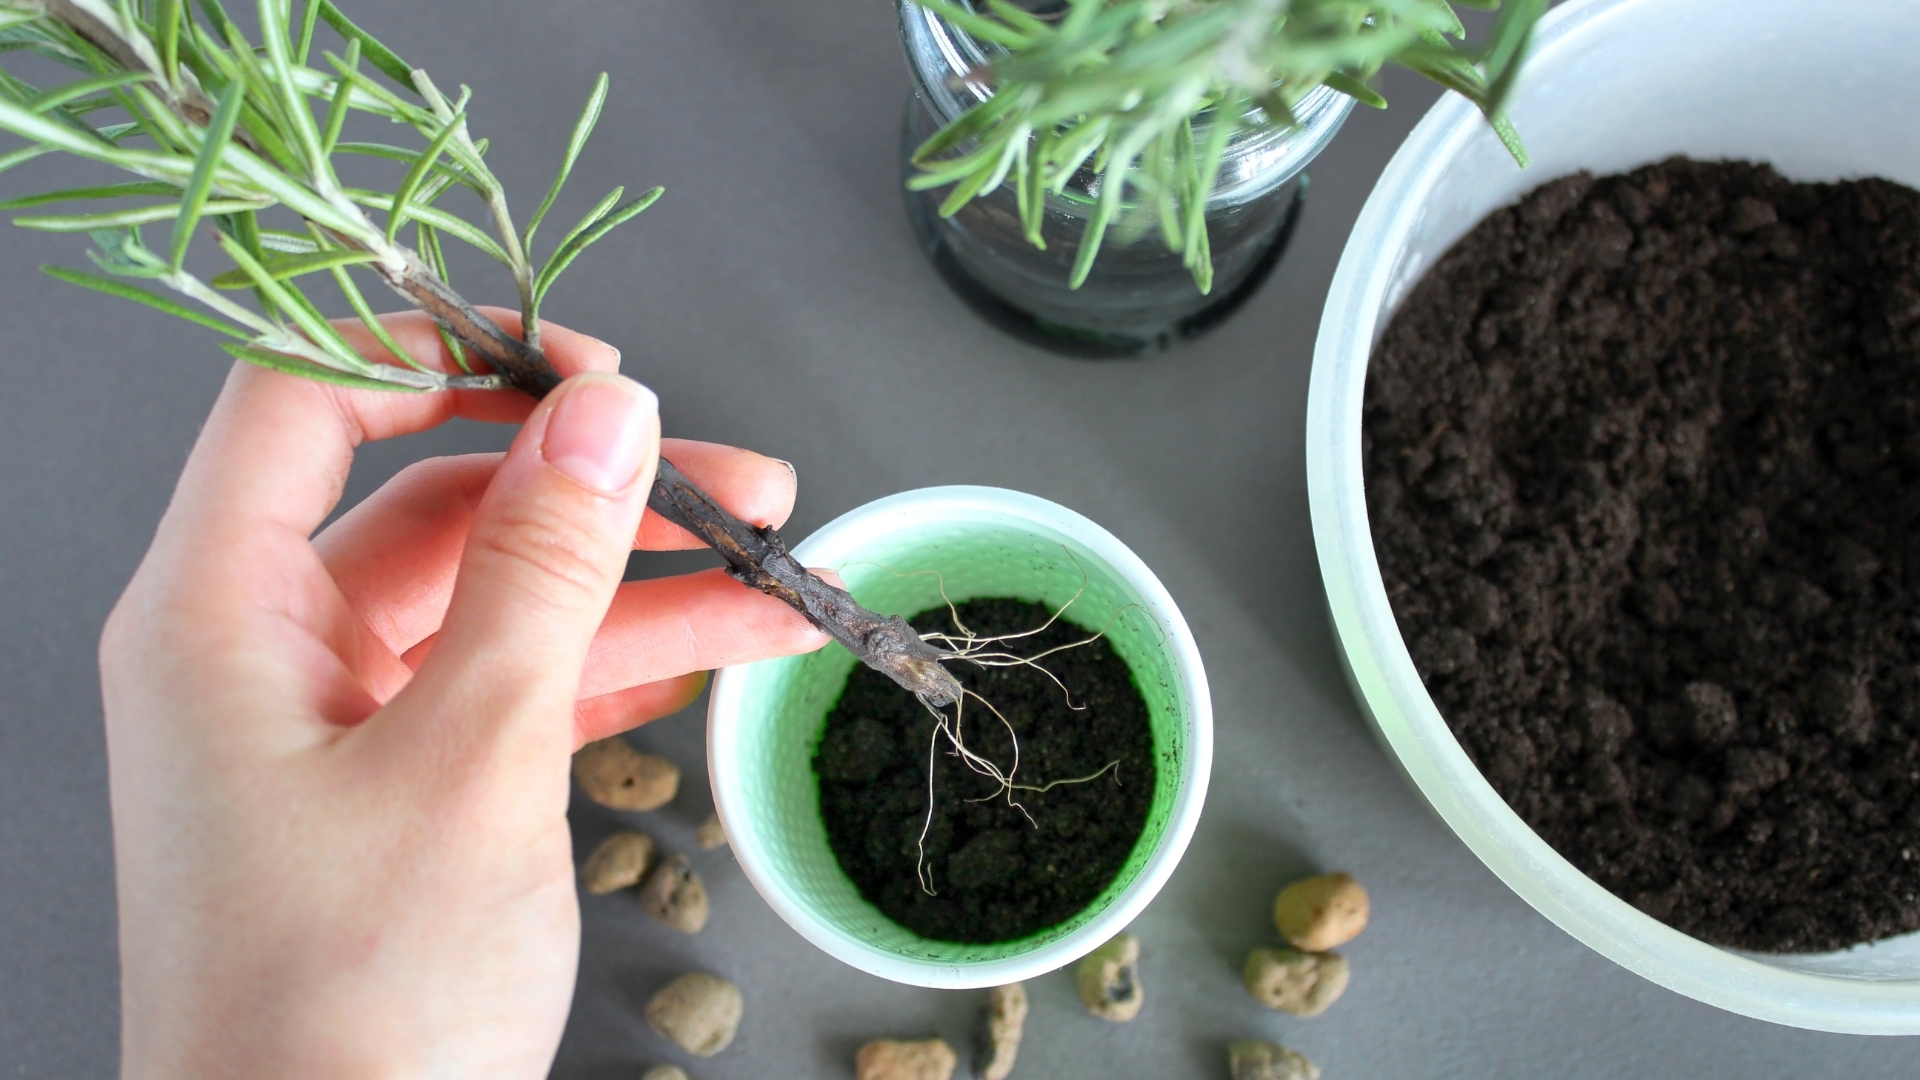
You can use soil or water as a rooting medium for your rosemary cuttings. Propagating this herb in growing substrate may take a bit longer, but the roots that form are generally more robust and, in certain cases, transplanting might be unnecessary.
Step #1: Take The Stem Cuttings
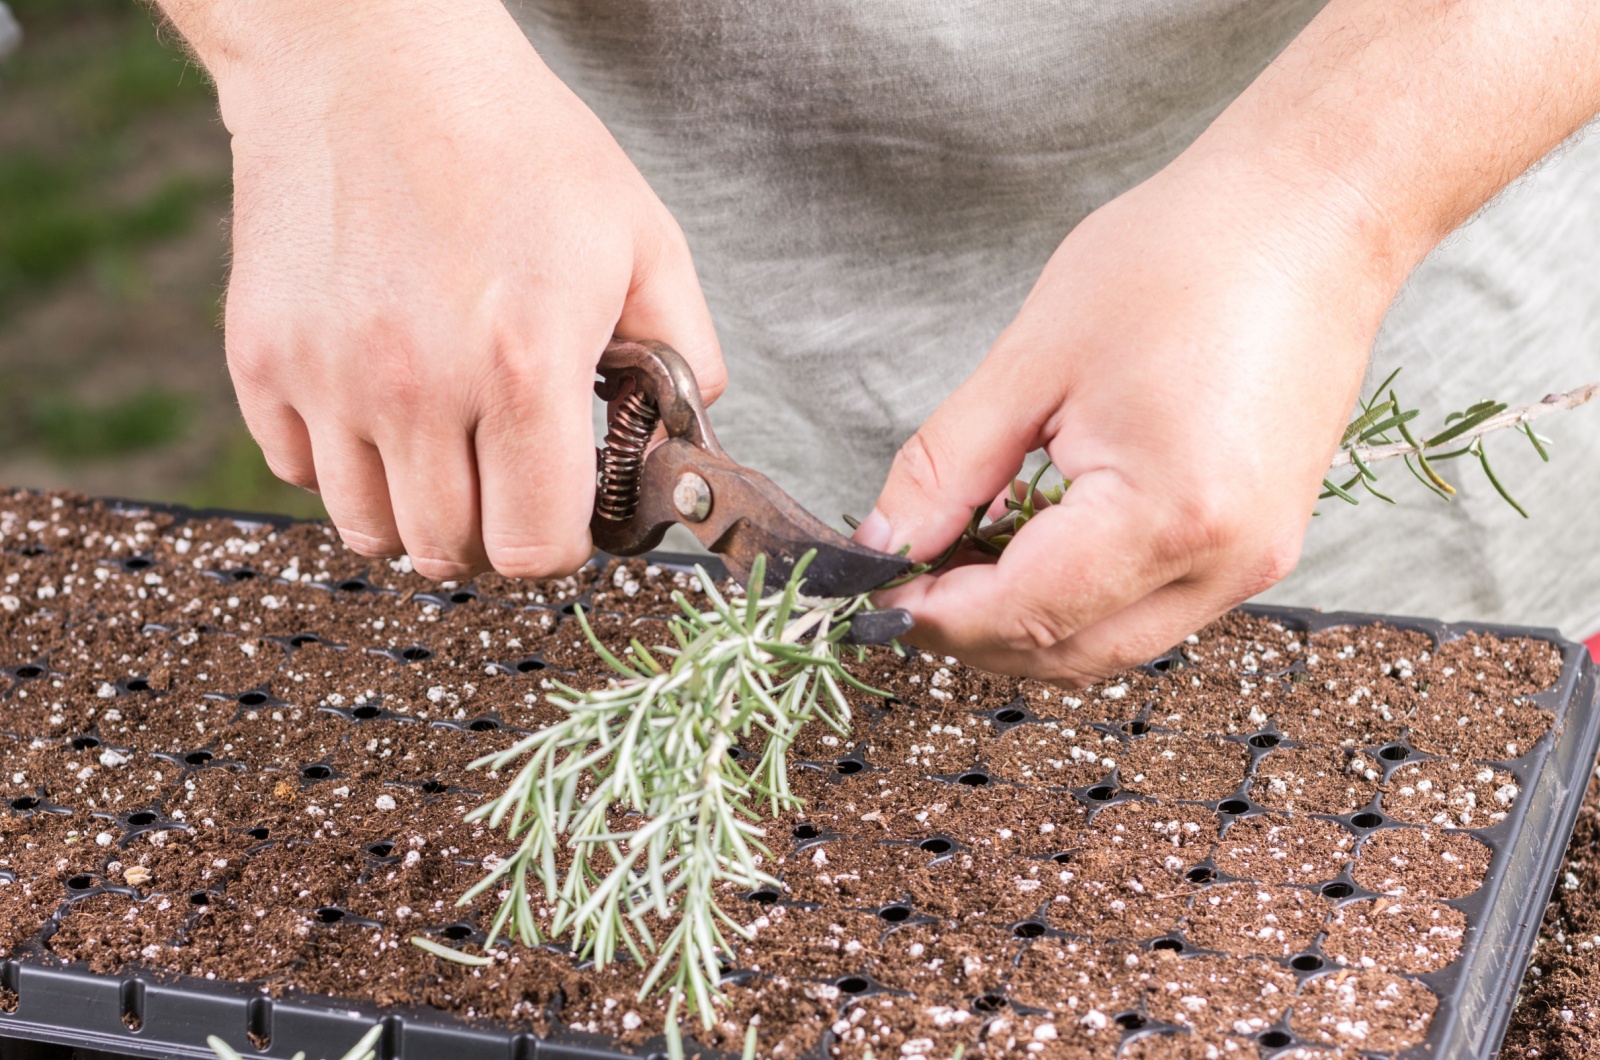
Your first step is to take the cuttings from your healthy rosemary plant. The cutting should be approximately 3-6 inches long, and you can take it using sharp and clean garden shears or scissors.
Make sure you make a cut just above the leaf node so that the mother rosemary plant can continue producing new branches.
You should also remove the leaves on the lower 2 inches of the rosemary cutting.
Remember that the stem should be healthy, in the active growth stage, flexible, and include a lot of leaves.
This herb becomes woodier as it develops, and propagating woody stems is harder and more time-consuming.
Step #2: Apply Root Hormone
Rosemary cuttings typically don’t struggle with producing new roots. But if you want to enhance their growth, you can use a rooting hormone.
Simply put some powder in a shallow dish and dip the cut end of your cuttings in it.
Step #3: Root The Cuttings
For this step, you’ll need to prepare a few smaller containers and a new and fresh potting mix.
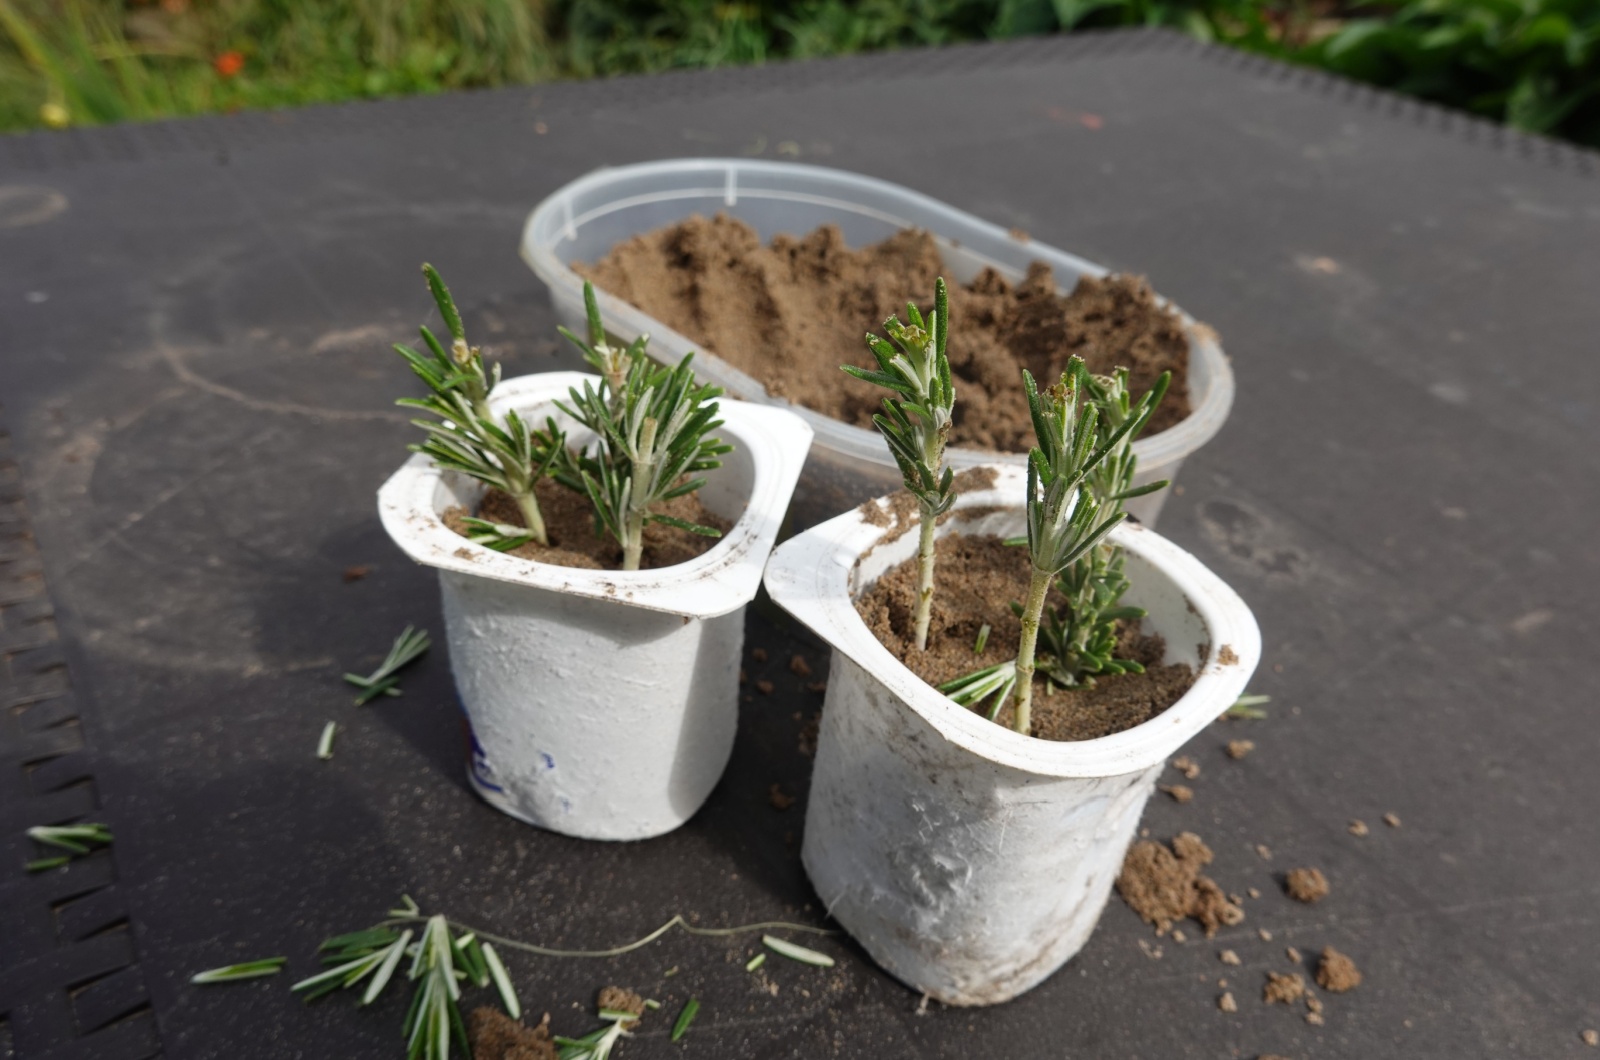
Fill the planters with potting mix and make holes in the center using a chopstick or a pencil. Put the cuttings into each hole but make sure the leaves remain above the surface of the growing substrate and pack the soil around the rosemary cutting base.
If you want a bushier rosemary plant, or you have a larger container, you can group the cuttings, just make sure there’s about 3 inches of space between each.
Step #4: Ensure The Necessary Conditions
First, you need to irrigate your rosemary cuttings and keep doing it until you see the water draining from the planter’s holes.
Rosemary cuttings will root if the humidity around them is higher, so simply put a plastic bag over them to trap humidity.
You’ll need to check the growing substrate regularly and mist it if it starts to dry.
Finally, select a spot for your rosemary cuttings where they’ll receive bright but indirect light. If you don’t have a sunny windowsill, you can install artificial lights for your rosemary.
Step #5: Inspect For The Roots
It typically takes between four and eight weeks for the cuttings to produce roots if propagated in potting soil. If you notice some cuttings have turned brown or dropped some leaves, I recommend disposing of them in a compost bin.
Successfully propagated rosemary cuttings will display new leaf growth and show resistance when you carefully tug them.
Now you can either transplant your rooted rosemary cuttings into a new container or harden off the seedlings and plant them in your garden once the danger of frost ends.
Propagating Rosemary In Water
You may have heard that many gardeners propagate plants solely in water, and I have to say that this method is amazing and gives excellent results.
However, cuttings taken from herb species are more susceptible to rotting and you’ll need to be more careful if you decide to use water as a rooting medium.
Keeping the container clean and replacing the water regularly will prevent rotting and your rosemary cuttings will root faster.
Your first step is to remove a few cuttings from a healthy parent plant in the way described in the previous section.
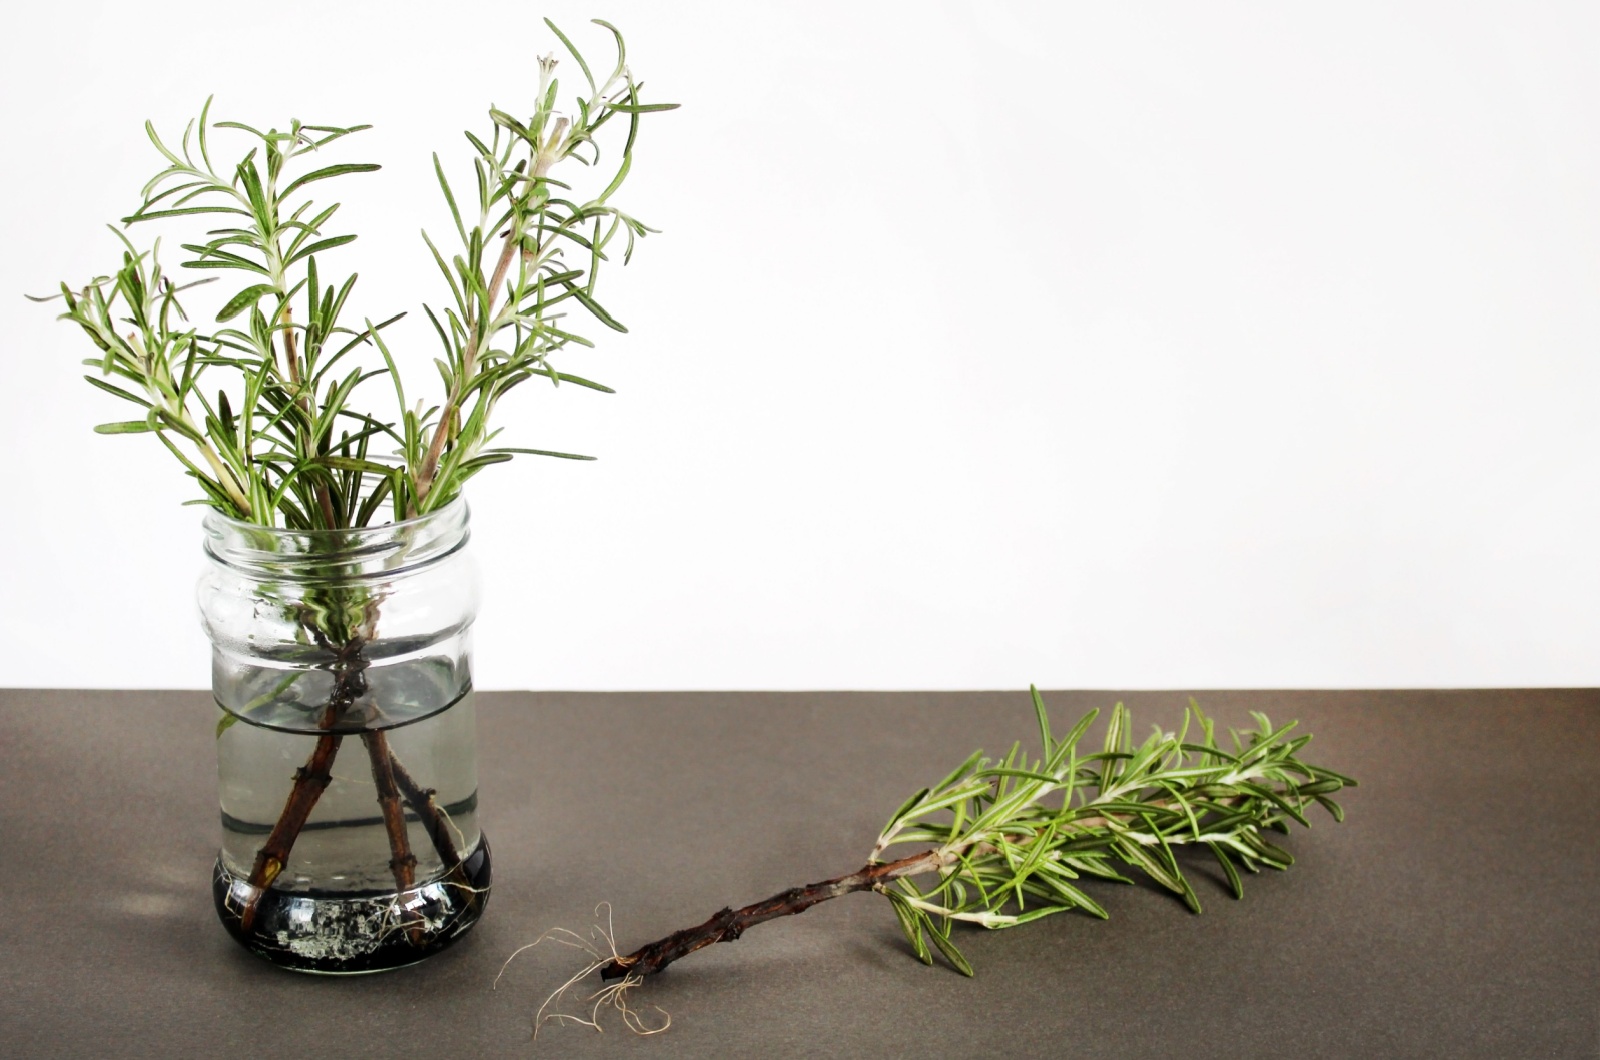
Now take a smaller clear vase or glass and fill it with approximately an inch of clean and fresh room temperature water.
Remember that there shouldn’t be any leaves of your rosemary cutting below the water line. Additionally, change the water every couple of days to prevent your rosemary cuttings from rotting.
As mentioned, rooting in water takes less time and you should notice new rosemary growth in about 6 weeks.
Your cuttings will be ready for transplantation to the soil once they develop approximately 5 to 6 roots and they’re half an inch long.
Keep the growing substrate of your rooted rosemary cuttings consistently moist and ensure a lot of bright indirect light.
How To Care For Rooted Rosemary
You can keep your rosemary indoors or plant the seedlings outdoors when the danger of frost ends.
The two most important things to do if you decide on indoor cultivation are to keep the soil consistently moist and provide your rosemary with bright indirect light.
Remember that all herbs, including rosemary, are sensitive to overwatering, so make sure the growing substrate is never waterlogged.
I always check the growing substrate and water my rosemary only if the top inch of the soil is dry.
When it comes to in-ground grown rosemary, the essential thing is to inspect it for pests regularly.
There are many ways to use rosemary, and since getting new plants is so easy, grab your gardening gloves and start propagating!

