7 Easy Steps To Propagate Rosemary From Cuttings In Georgia
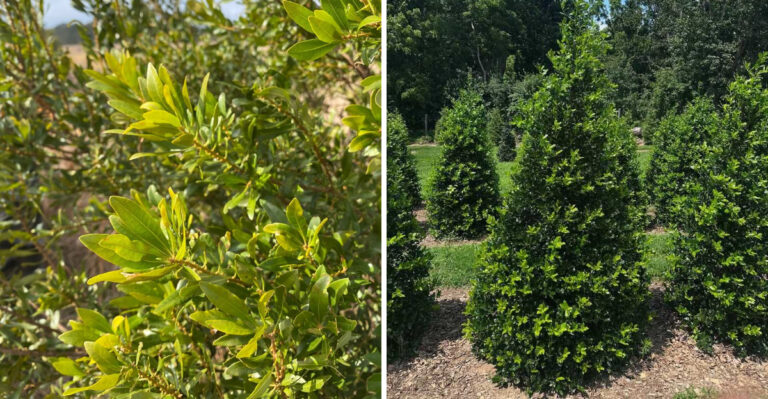
Rosemary grows well in Georgia, which makes it even more surprising when cuttings refuse to take off the way you expect. You take a healthy stem, set it up carefully, and still end up with results that feel slow or uncertain.
At first, everything looks promising, yet nothing really happens beneath the surface. Days pass, then weeks, and it becomes hard to tell if the process is working at all.
Some gardens seem to get it right without effort, while others never quite reach that point, even when the plant itself looks strong and established.
There is a reason behind that difference, and it usually comes down to how those early steps are handled right from the start.
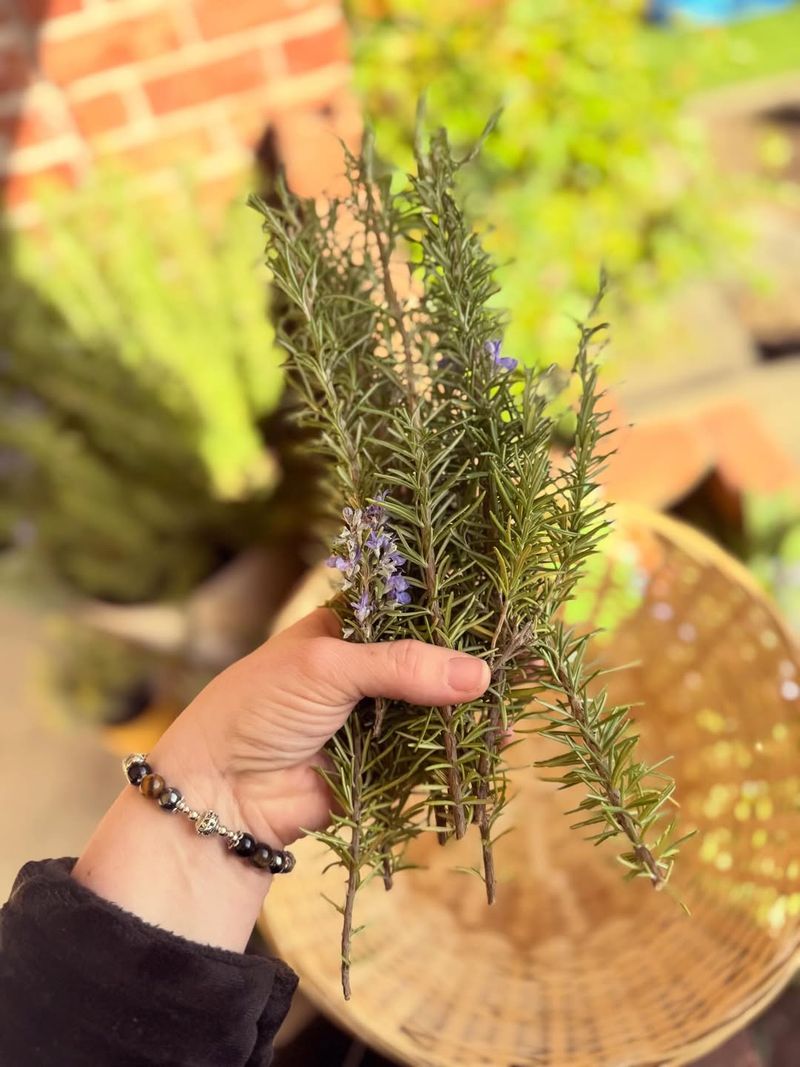
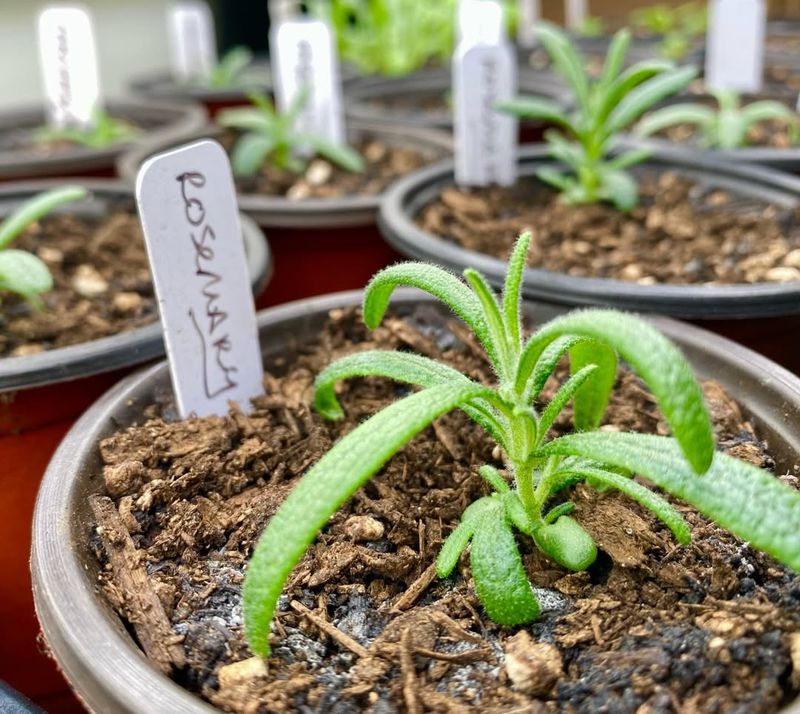
1. Take Soft Green Cuttings From Healthy Stems
Not every stem on a rosemary plant is going to root well, and that’s just the honest truth. Soft, green, non-flowering stems are what you want — the kind that bend slightly without snapping.
Woody stems near the base of the plant have already hardened off too much to produce roots reliably.
Late spring through early summer is the sweet spot for taking cuttings in Georgia. The plant is actively pushing out new growth during this time, which means the stems carry more energy for rooting.
Aim for pieces that are about 4 to 6 inches long, cut just below a leaf node.
Use clean scissors or pruning snips when you take your cutting. A clean cut reduces the chance of introducing any unwanted bacteria or fungal issues.
Dull blades can crush the stem end, which makes it harder for roots to push through later.
Look for stems that have good color — bright green, not yellowing or pale. If the rosemary plant itself looks stressed from heat or drought, wait a week and water it well before taking cuttings.
Stressed plants produce cuttings that struggle more than those taken from a well-hydrated, healthy shrub.
Georgia summers can be brutal, so try to take your cuttings early in the morning when temperatures are cooler. Drop them into a small cup of water right away to keep them from wilting before you’re ready to prepare them.
2. Remove Lower Leaves To Expose The Stem
Bare stem equals better roots — that’s the simple logic behind this step. Stripping the leaves from the lower 2 to 3 inches of your cutting gives the stem direct contact with the soil, which is exactly where you want root growth to begin.
Leaves left on the buried portion of the stem will rot in the soil. That rotting can spread upward and affect the whole cutting before roots ever get a chance to form.
Pulling those lower leaves off before planting removes that risk entirely.
Pinch or gently slide the leaves off with your fingers rather than cutting them. Cutting can leave small wounds that attract rot, while a clean pinch tends to leave a smoother surface.
Work from the bottom up and stop about halfway up the stem.
Keep the top leaves intact — those are doing real work. Upper leaves continue photosynthesizing and feeding the cutting while it waits to grow roots.
Removing too many leaves can slow the whole process down considerably.
In Georgia’s humidity, especially during summer months, any buried organic material breaks down faster than it might in drier climates. Being thorough about leaf removal at this stage actually matters more here than in cooler, drier states.
A clean stem going into the soil gives the cutting its best start.
Once you’ve stripped the lower portion, your cutting should have a clean, smooth section at the base and a leafy top ready to support root development.
3. Dip The Cut End In Rooting Hormone
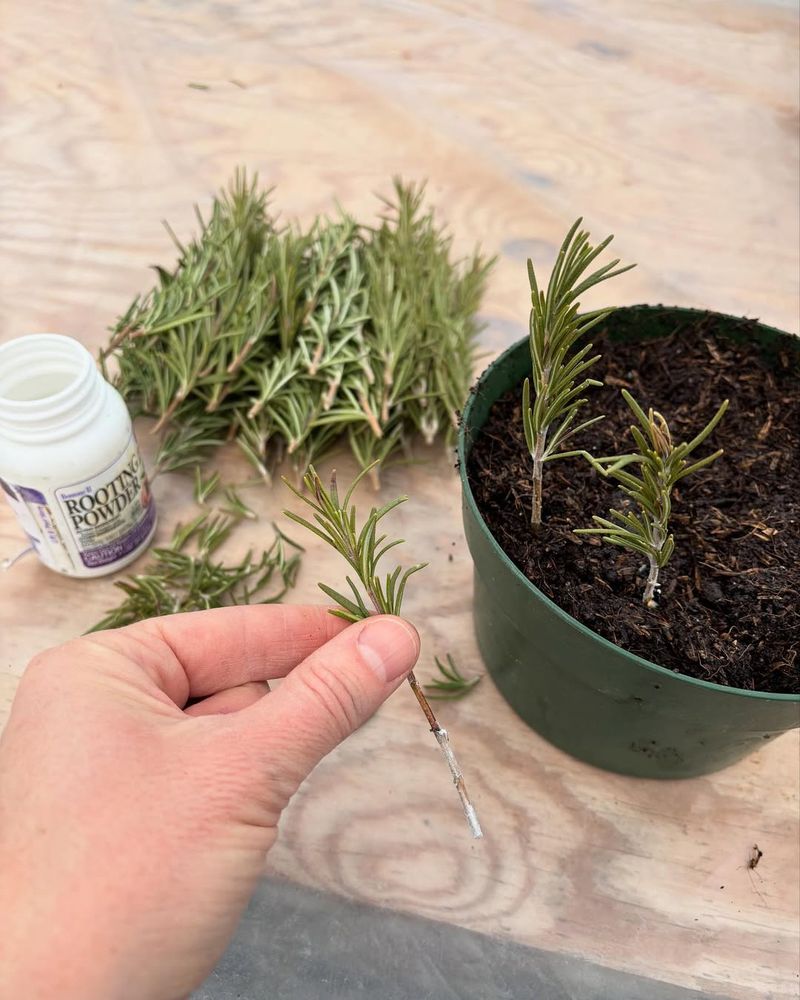
Rooting hormone is not magic, but it does give cuttings a genuine head start. The active ingredient in most rooting powders or gels is indole-3-butyric acid, a compound that encourages root cell development at the cut end of the stem.
You can skip this step and still get results — rosemary does root on its own. But using a rooting hormone, especially for beginners, tends to produce roots faster and more consistently.
In Georgia’s warm, sometimes unpredictable weather, faster rooting means less time the cutting spends vulnerable.
Powdered rooting hormone is widely available at hardware stores and garden centers across Georgia. Dip the bottom inch of the stripped stem into the powder, tap off the excess, and proceed to planting.
Too much powder sitting on the stem can actually slow things down rather than help.
Gel-form rooting hormones work slightly differently — you dip and plant without tapping off excess. Either form works well for rosemary.
What matters more is that the cut end makes good contact with the hormone before it goes into the soil.
Store your rooting hormone in a cool, dry spot and check the expiration date before using it. Old or degraded hormone loses effectiveness and won’t do much for your cuttings.
A fresh product from a local Georgia garden center will perform far better than something that’s been sitting on a shelf for two or three seasons.
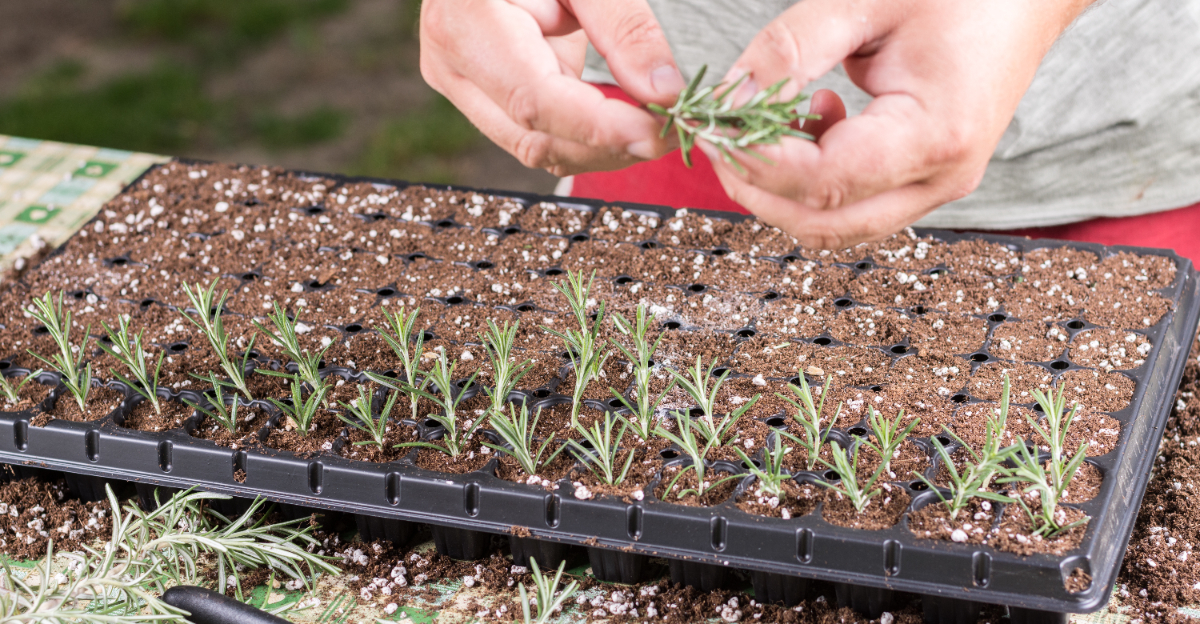
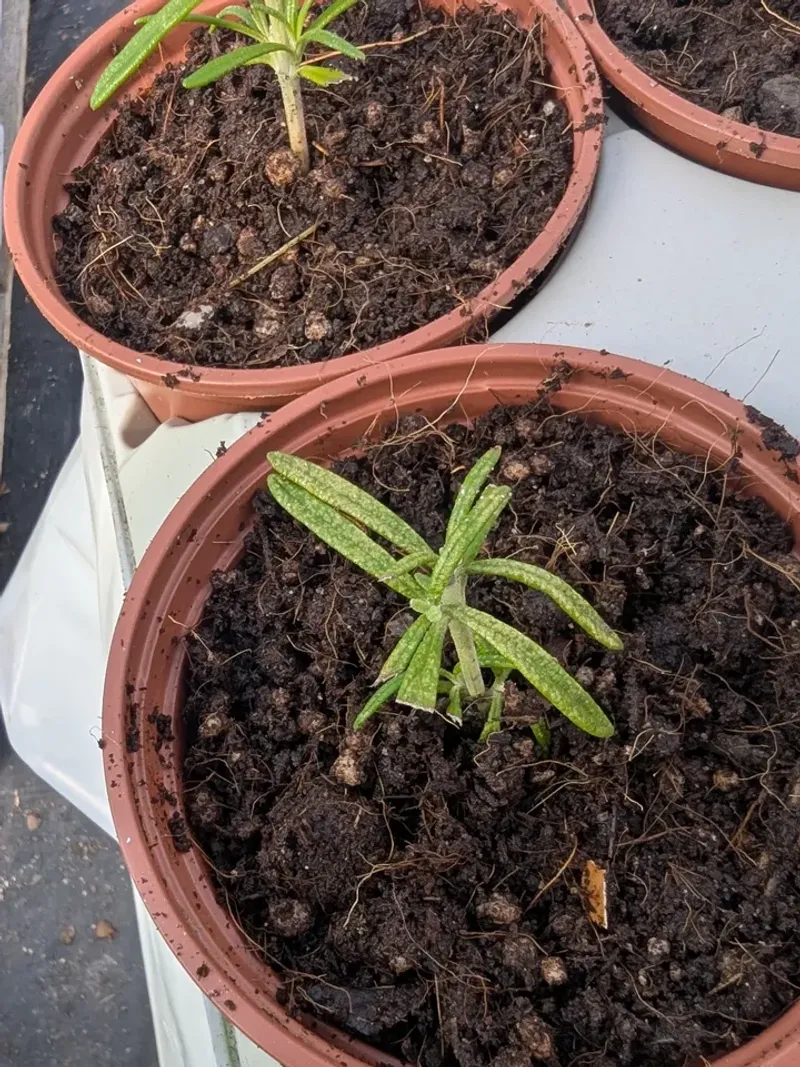
4. Place Cuttings In Well Draining Soil
Soggy soil is the fastest way to end a propagation attempt before it even gets started. Rosemary roots need air around them as they develop, and heavy, water-retaining soil cuts off that airflow entirely.
Well-draining mix is non-negotiable for this plant.
A simple mix that works well is one part perlite to one part standard potting soil. The perlite keeps things loose and drains fast, which suits rosemary’s preferences perfectly.
Avoid mixes that contain a lot of peat or moisture-retaining additives — those are designed for plants that want consistent moisture, not rosemary.
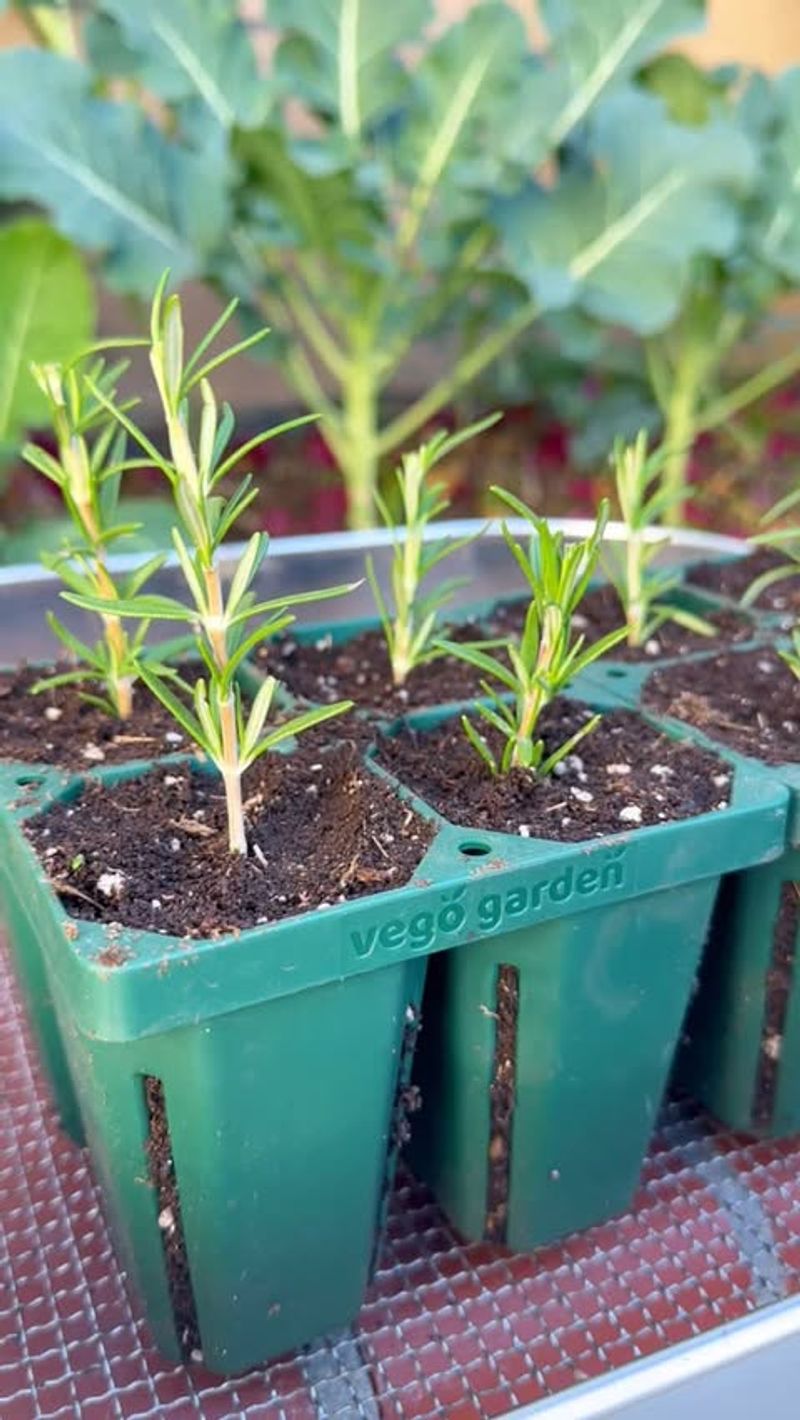
Use small pots with drainage holes, not containers that hold water at the bottom. A 4-inch pot is usually plenty of room for a single cutting.
Make a small hole in the soil with a pencil or stick before inserting the cutting — pushing the stem in without a hole can scrape off your rooting hormone.
Push the stripped end of the cutting about 2 inches into the soil and press lightly around it to close the hole. The cutting should stand upright on its own without wobbling.
If it leans or falls over, it won’t have consistent contact with the soil where roots need to form.
Georgia’s clay-heavy native soil is not suitable for this stage. Stick with a container and a prepared mix until the cutting has developed a solid root system.
After that, you can think about transplanting into garden beds or larger containers with amended soil.
5. Keep Soil Lightly Moist Not Wet
Watering cuttings is more about restraint than generosity. Rosemary comes from dry Mediterranean regions and holds onto very little tolerance for sitting in wet conditions, even as a young cutting trying to root.
Keeping the soil barely moist is the goal.
A spray bottle works better than a watering can at this stage. Light misting keeps the surface from drying out completely without drenching the soil below.
Check the top inch of soil with your finger — if it feels damp, leave it alone. If it feels dry, give it a light mist.
Georgia summers bring heat and humidity, which can make it tricky to judge soil moisture. The surface might look dry while the lower portion of the pot is still wet from the last watering.
Tipping the pot slightly can help you feel whether it’s heavier than expected, which usually means there’s still moisture inside.
Overwatering is the most common reason rosemary cuttings fail. Root rot moves fast, especially in warm conditions, and there’s no recovering a cutting once the stem base turns soft and brown.
Err on the side of slightly dry rather than slightly wet.
Watering in the morning is a good habit during this stage. It gives excess surface moisture time to evaporate during the day rather than sitting overnight.
In Georgia’s warm climate, even lightly moist soil dries out faster than you might expect, so check every day or two rather than following a fixed schedule.
6. Give Bright Light Without Direct Sun
Bright light matters, but blasting young cuttings with full afternoon sun in Georgia is asking for trouble. Before roots form, the cutting has no way to pull water up from the soil, which means intense direct sun can dry it out faster than it can handle.
A spot near an east-facing window indoors works well during the rooting period. Morning light is gentler and gives the cutting several hours of brightness without the intensity of midday or afternoon sun.
North-facing windows don’t provide enough light and tend to slow root development.
Outdoors, a shaded porch or a spot under a large tree that gets dappled light can work fine. Just make sure the cuttings aren’t sitting in deep shade all day — that’s not enough light either.
A few hours of filtered or indirect brightness each day is the target.
If you’re using a plastic bag or humidity dome over the cuttings to hold in moisture, be extra careful about sun placement. A plastic-covered pot in direct sun can heat up fast, essentially cooking the cutting inside.
Move it somewhere with bright but indirect light if you’re using any kind of cover.
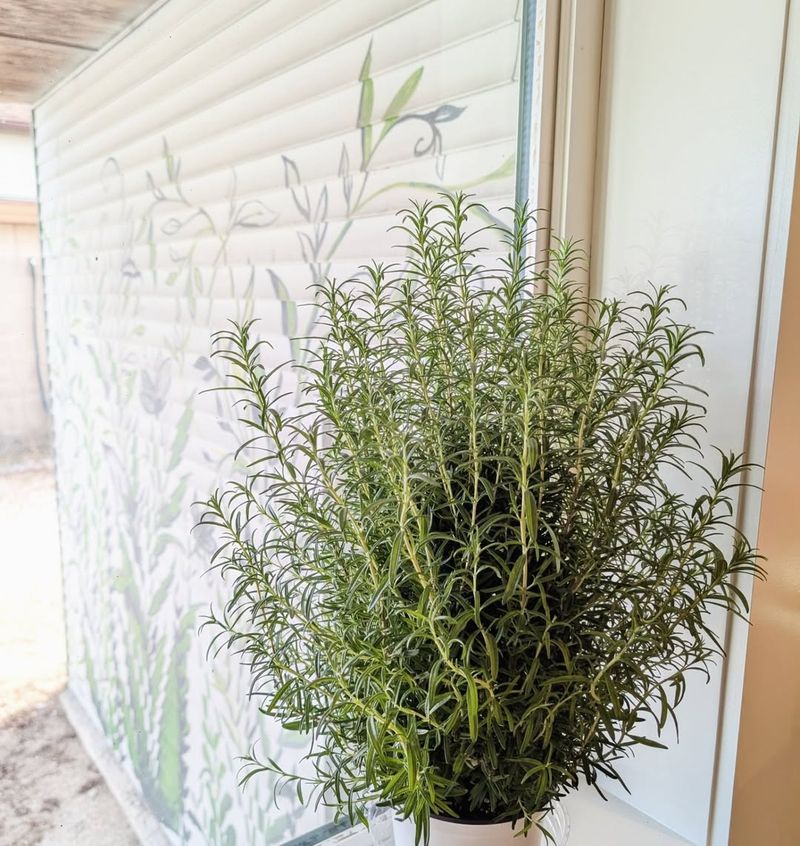
Once roots develop and you start transitioning the cutting to a more permanent spot, you can gradually introduce it to more direct sun over a week or two.
Rosemary in Georgia thrives in full sun once it’s established, but the rooting stage calls for something a little more sheltered and forgiving.
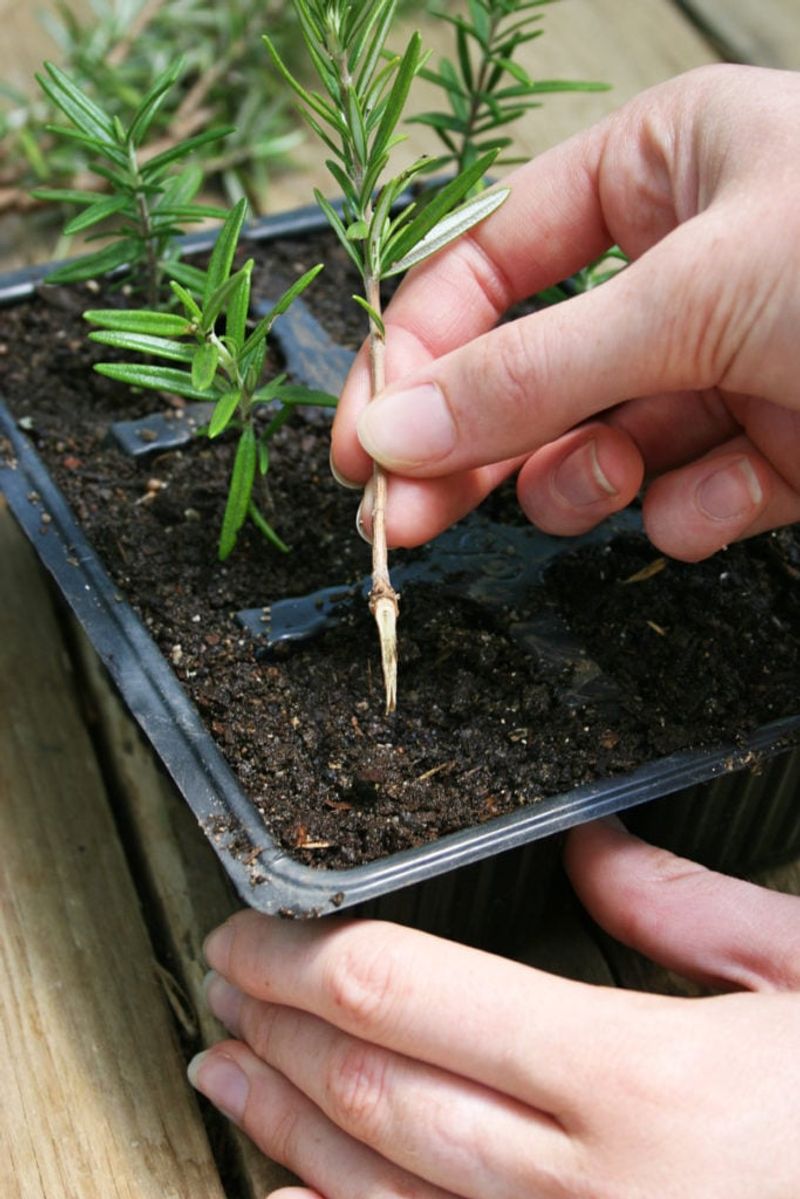
7. Wait For Roots To Form Before Transplanting
Patience is genuinely the hardest part of propagating rosemary. Roots aren’t visible from the outside, so it’s tempting to check too early or move the cutting before it’s ready.
Pulling it out of the soil too soon can snap off whatever small roots have just started to form.
Under good conditions in Georgia, rosemary cuttings typically show signs of rooting in about three to six weeks. Warmer temperatures speed things up slightly, but the process still takes time.
A cutting that looks green and healthy on top is a good sign, but it doesn’t confirm that roots are present yet.
One reliable way to check is a gentle tug test. Hold the stem near the base and pull very lightly.
If there’s resistance, roots have likely anchored into the soil. If the cutting slides out easily, give it more time and check again in another week.
Another sign that roots are forming is new top growth. When a cutting starts pushing out new leaves at the tip, it’s usually drawing on root-supplied water and nutrients.
That’s a strong indicator that transplanting is getting close.
Wait until roots are at least 1 to 2 inches long before moving the cutting to a larger pot or into the ground. In Georgia, fall is a good time to transplant rooted cuttings into garden beds, giving them a chance to settle in before the following summer’s heat arrives.
Moving too early can set the young plant back significantly, so hold off until you’re confident the roots are genuinely ready.