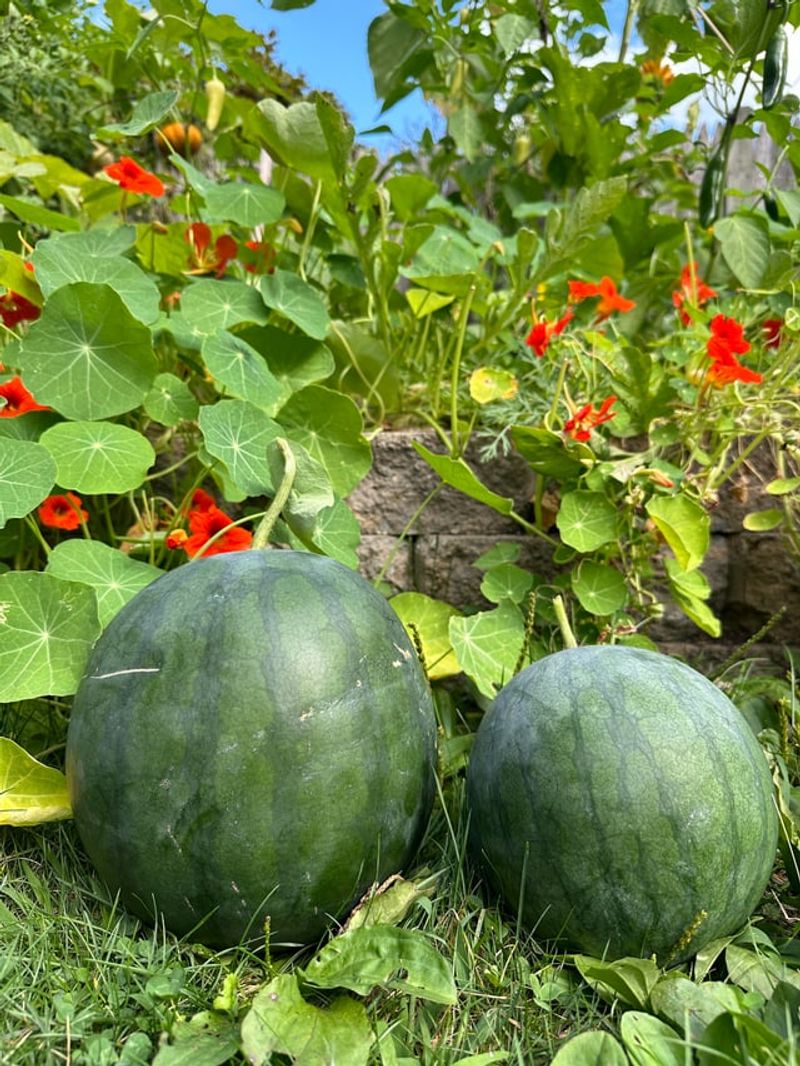
How To Grow Large Watermelons In Georgia With A Simple Pallet Trick
Warm soil and steady sun give Georgia a real advantage when it comes to watermelon, but size does not come down to luck. Vines can spread everywhere and still fall short when space and support are not handled the right way.
A simple pallet can change how those vines grow and how fruit develops without turning the setup into a complicated project.
Lift the plant slightly, guide its direction, and suddenly the whole patch feels more controlled while still staying natural.
Results often come down to a few smart choices made early, not constant effort later. Set things up right, and those melons have a much better chance to reach the size most gardeners hope for.
1. Wait For Warm Soil And Prepare The Planting Spot
Cold soil is one of the biggest reasons watermelons struggle early in the season. Georgia gardeners sometimes get eager after a warm week in April, but watermelon roots really need soil temperatures sitting above 70 degrees Fahrenheit before they start working properly.
Planting too soon usually means slow, weak seedlings that never quite catch up.
A simple soil thermometer from any garden center takes the guesswork out of timing. Push it a few inches into the ground in the morning and check the reading for several days in a row.
Consistent warmth matters more than one warm afternoon.
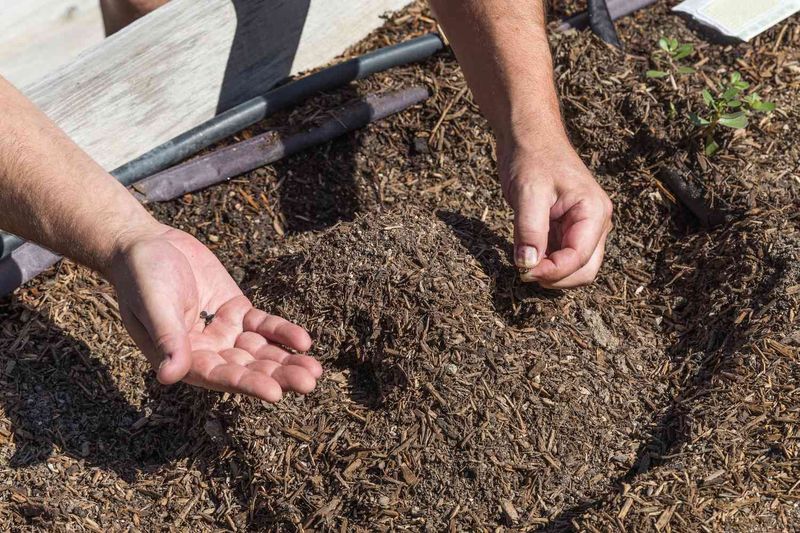
Pick a spot that gets full sun from morning through late afternoon. Watermelons are heavy feeders, so work in a generous amount of compost before anything goes in the ground.
Sandy loam soil drains well and warms up faster, which is common across many parts of Georgia and actually works in your favor here.
Remove weeds completely from the planting area because they compete hard for moisture and nutrients. Raised beds or slightly mounded rows also help with drainage during Georgia’s unpredictable summer rain events.
A few extra minutes of soil prep at this stage can make a noticeable difference in how your plants perform two months later.
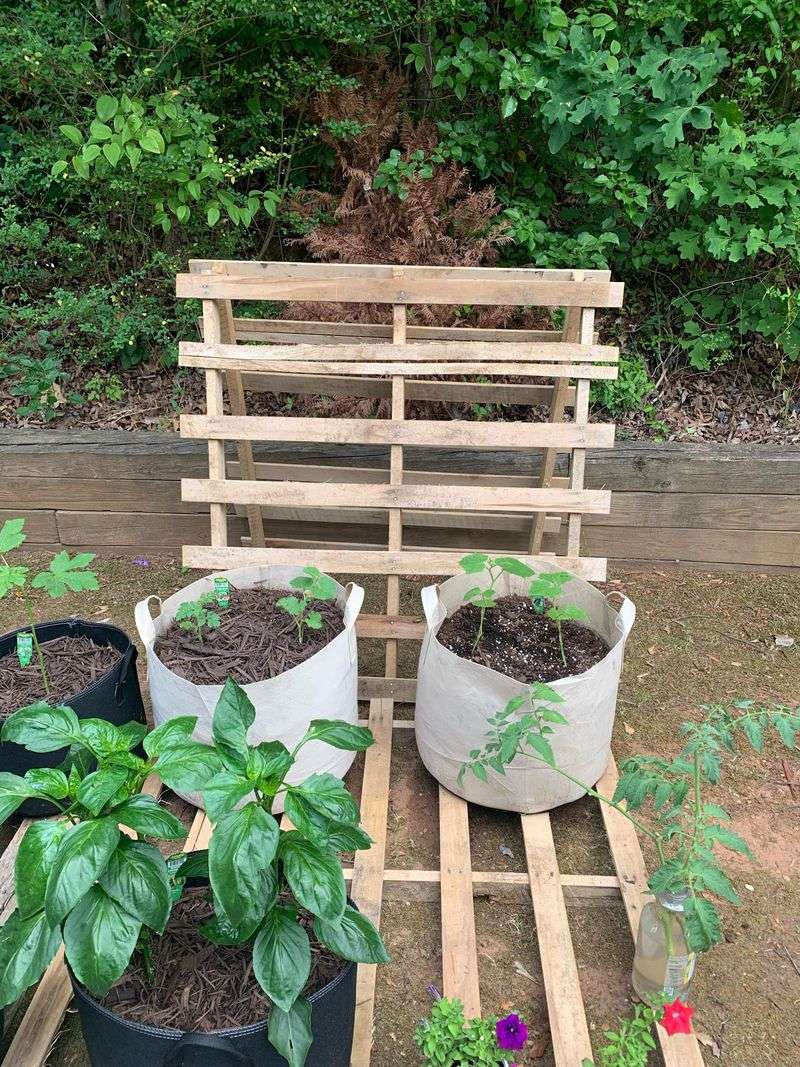
2. Place The Pallet Securely And Plant At The Base
Not every pallet is safe to use around food plants, so checking the stamp before you grab one is worth the extra minute. Look for the letters HT burned or printed into the wood, which means heat-treated.
Pallets marked MB were treated with methyl bromide, a fumigant you absolutely want to keep away from your vegetable garden.
Standard 40 by 48 inch pallets work well for this project. Sand down any rough or splintered edges before setting it up so you are not fighting snags every time you walk past.
A quick scrub with water and a stiff brush removes surface grime and any debris hiding between the slats.
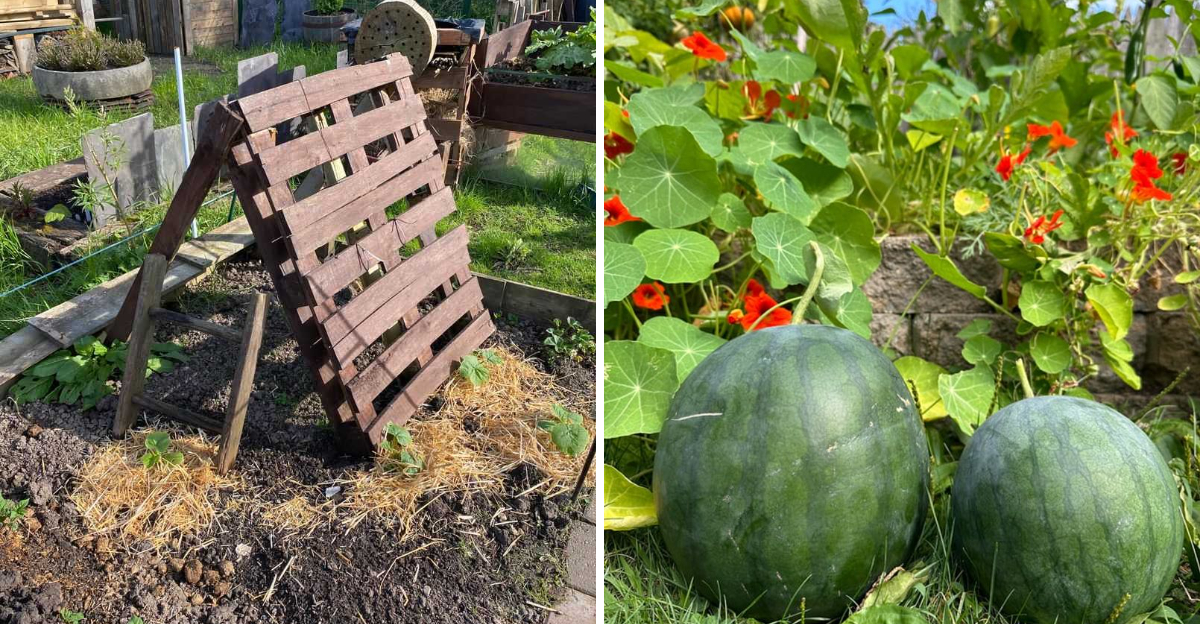
Stand the pallet upright and drive two or three wooden stakes into the ground along the back side to keep it from tipping over in wind or under the weight of climbing vines.
Georgia afternoons can bring sudden thunderstorms that show up fast, so a wobbly pallet is a real liability once the plants start growing up it.
Plant your watermelon seedlings right at the base of the pallet, about six inches from the wood. Two plants per pallet is a practical number that keeps things manageable.
Crowding more plants in does not lead to bigger fruit and actually makes pest and disease problems harder to spot and handle.
Varieties like Crimson Sweet and Sugar Baby tend to do well in Georgia’s climate and fit nicely with this vertical growing setup. After planting, water in slowly at the base and avoid splashing the leaves.
3. Guide Young Vines Onto The Pallet As They Grow
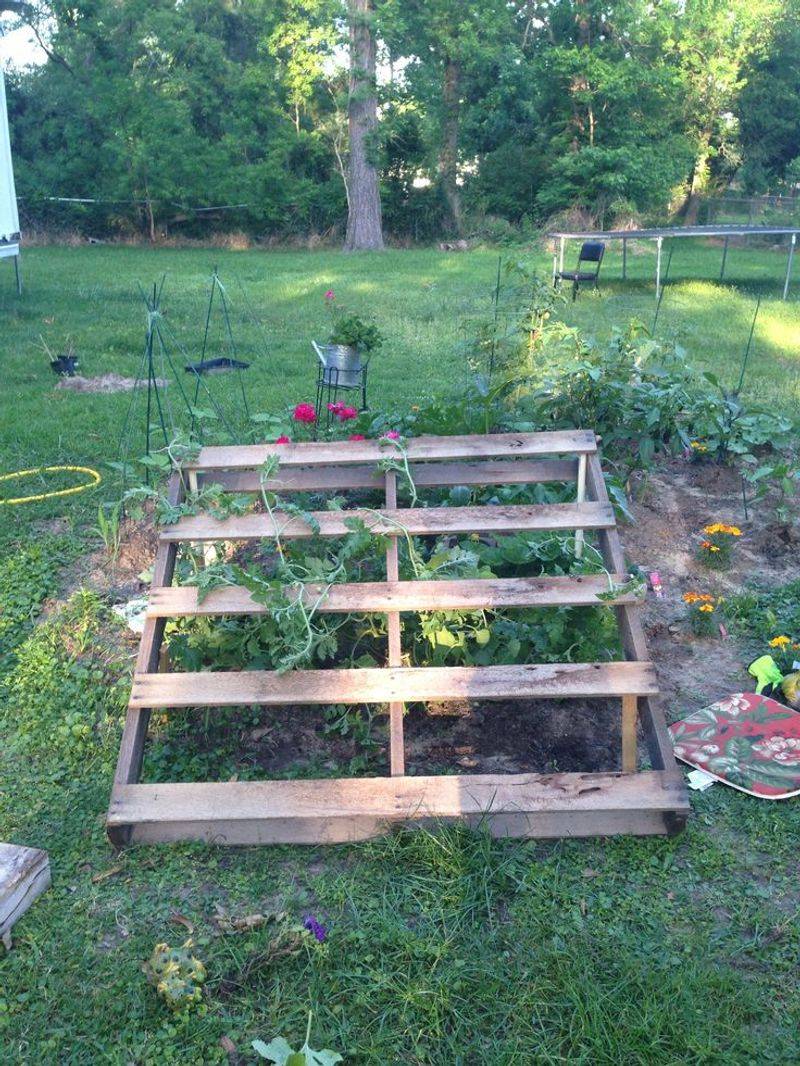
Young watermelon vines move fast once the weather heats up, and without some early guidance they will sprawl wherever they feel like going.
Spending five minutes every few days weaving new growth through the pallet slats keeps things organized before the vines get long and tangled.
Waiting too long makes the job frustrating because older vines are stiffer and more likely to snap if you try to redirect them.
Start guiding the main vine upward through the lower slats as soon as it is long enough to reach. Avoid forcing or bending the stem sharply since watermelon vines are surprisingly brittle near the base.
A gentle curve upward works better than trying to make a sharp turn through a tight gap.
Secondary vines will branch off as the plant matures. Letting one or two of these grow alongside the main vine adds leaf coverage and helps the plant photosynthesize more efficiently through Georgia’s long summer days.
Pinching off excessive side shoots keeps energy focused on fruit rather than endless foliage.
Soft plant ties, strips of old cotton fabric, or even loose loops of garden twine work well for holding vines in place without cutting into the stems. Avoid anything with a sharp edge or anything tied too tightly.
The goal is to suggest a direction, not clamp the vine down.
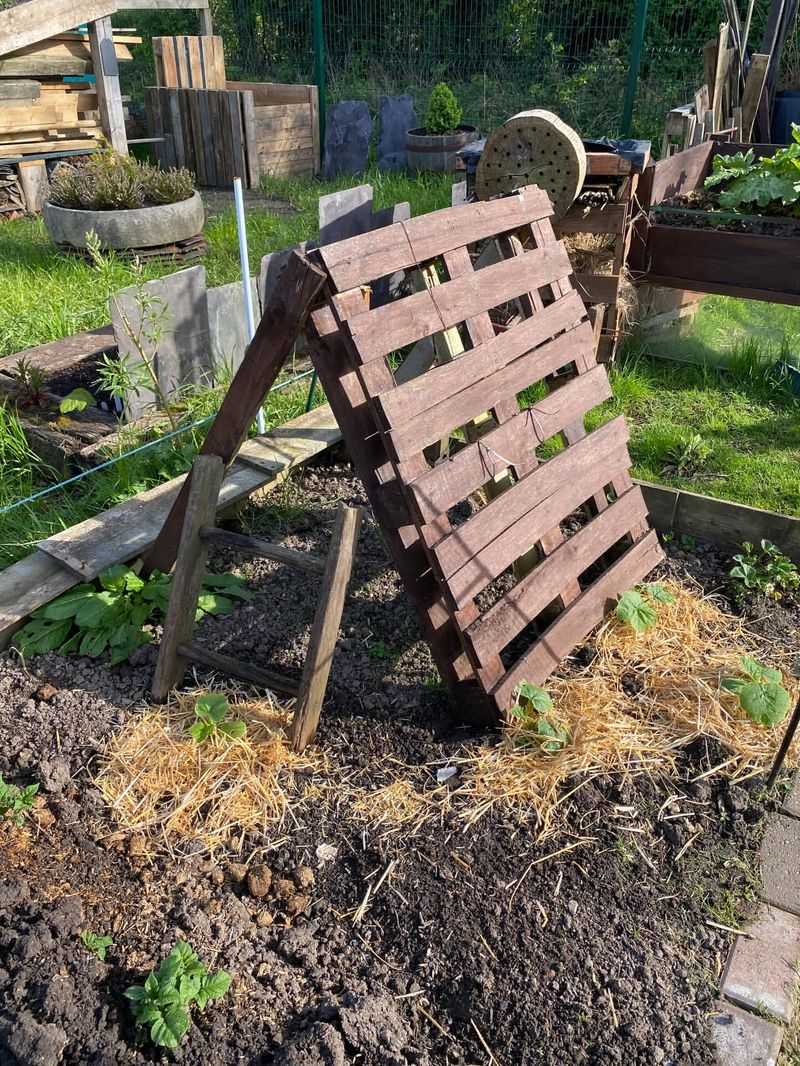
4. Tie And Train Vines To Keep Them Climbing Up
Somewhere around three to four weeks after planting, watermelon vines start moving with real purpose. At that point, casual guiding gives way to actual tying if you want the plant to follow the pallet upward instead of flopping sideways.
Loose, soft ties made from old t-shirt strips or stretchy garden tape work better than rigid clips that can bruise the stem as it thickens.
Tie the vine at several points along its length rather than relying on one anchor near the base. Spacing ties every eight to twelve inches gives the vine consistent support and reduces the chance of a heavy section pulling everything down after a rain.
Georgia summer storms can be rough, and a well-tied vine handles wind far better than one loosely draped over a slat.
Keep an eye on where tendrils are grabbing naturally. Watermelon plants send out curling tendrils that latch onto surfaces on their own, and working with those attachment points rather than against them makes training much easier.
If a tendril has already wrapped itself around a slat in the right direction, that is one less tie you need to make.
Avoid tying directly over a node or leaf joint since those spots are more vulnerable to pressure damage. Tie just below or above instead.
It is a small detail but one that experienced growers pay attention to when managing heavy-producing plants through a long season.
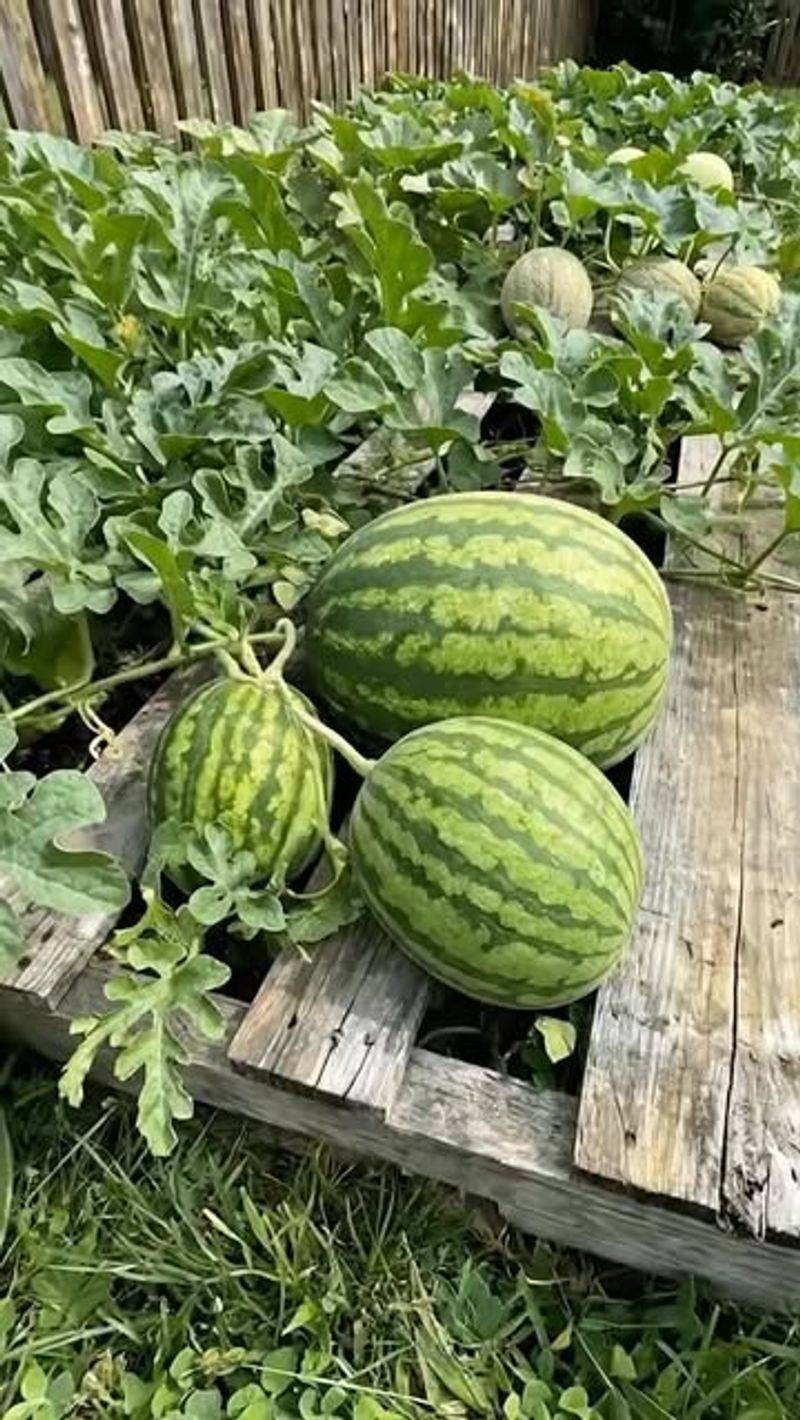
5. Support Each Fruit As It Starts Getting Heavy
A watermelon that weighs ten or fifteen pounds hanging from a vine without any support is asking for trouble.
The stem connection point is strong early on, but as the fruit grows heavier through Georgia’s peak summer heat, that attachment can stress and eventually fail.
Catching this before it becomes a problem saves the fruit and protects the vine.
Mesh produce bags, sections of old pantyhose, or pieces cut from a worn-out t-shirt all make solid fruit hammocks.
Tie each end securely to the pallet slats at roughly the same height as the fruit so the hammock cradles the melon without pulling the vine sideways or downward at an awkward angle.
The hammock should hold the weight, not the stem.
Check each hammock after it is in place to confirm the fruit sits comfortably without being squeezed. A too-tight sling can leave marks on the skin or press unevenly as the watermelon continues expanding.
A loose, relaxed cradle that distributes weight across the bottom of the fruit is the goal.
Limit each vine to one or two fruits for the best results. Allowing a plant to carry three or four watermelons simultaneously spreads its energy thin and typically results in several smaller, less flavorful melons rather than one or two genuinely large ones.
Removing extra fruits early feels counterintuitive but usually pays off at harvest.
Inspect the hammocks every few days as the watermelons grow. Fabric stretches over time and knots can loosen, especially after rain soaks the material.
A fruit that drops from height can bruise badly or split open on impact.
6. Maintain Water And Feeding Until Harvest
Watermelons are about 92 percent water by weight, which tells you something about how much moisture they need during the growing season.
Deep, infrequent watering works better than shallow daily splashes because it encourages roots to grow downward where soil stays cooler and more consistently moist.
Aim to water at the base of the plant and keep the leaves as dry as possible.
In Georgia, summer rain can be heavy and unpredictable. During rainy stretches, cut back on supplemental watering to avoid waterlogged soil around the roots.
During dry spells, which can arrive fast in July and August, plan to water every two to three days depending on how quickly the top few inches of soil dry out.
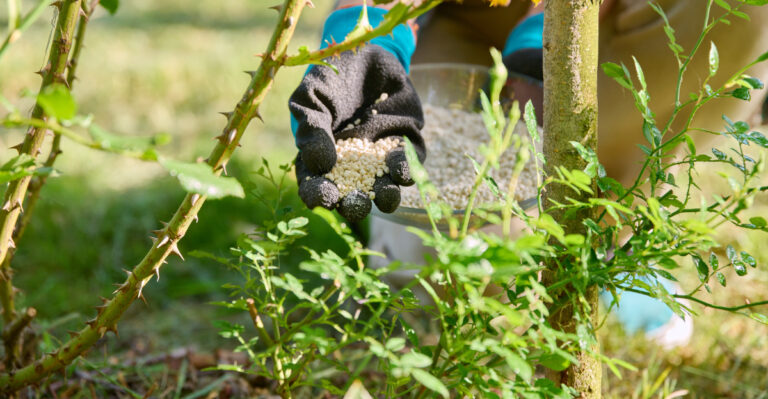
Fertilizer needs shift as the plant moves through different growth stages. Early on, a balanced fertilizer supports vine and leaf development.
Once flowers appear and small fruits start forming, switch to a fertilizer lower in nitrogen and higher in phosphorus and potassium. Too much nitrogen late in the season pushes leafy growth at the expense of fruit size and sweetness.
Foliar feeding is not necessary if you are maintaining a solid soil-feeding routine. Keep it simple and consistent rather than throwing multiple products at the plant hoping for faster results.
More is not always better with fertilizer, and over-feeding can cause its own set of problems including burned roots and excessive foliage.