Your Garden Compost Will Be Super Healthy If Worms Get This Perfect Diet

One of the best decisions on my gardening journey was to start vermicomposting – it was truly a game changer. I have to admit it took me a while to start using worms because, well, it was a stomach-turner at first.
Once I learned how quickly these creatures can turn kitchen scrap into ideal food for my plants, they became my favorites.
Worms are big eaters and they’ll be happy to feast on everything you offer them.
But you shouldn’t really put everything on their menu because your goal is to get the healthiest compost possible.
Before you start vermicomposting, learn all the do’s and don’ts so you don’t throw a wrench in the works!
Put This On The Menu For Worms!
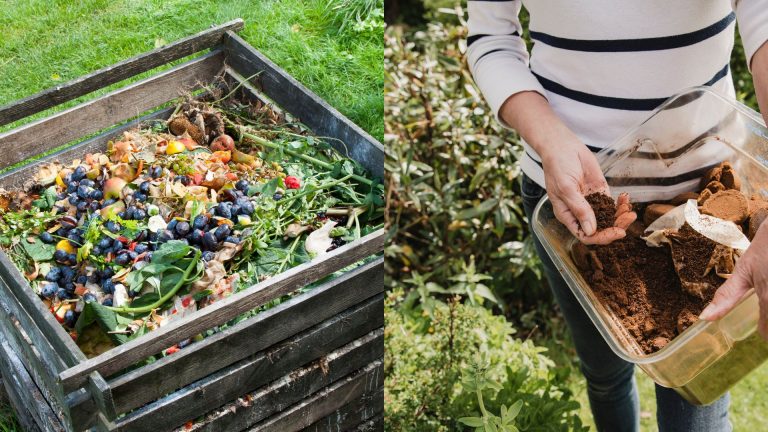
Kitchen scrap contains many fruits and veggies, but for worms, these are the perfect options:
• Pumpkins
• Watermelon rind
• Apple cores
• Kale
• Melons
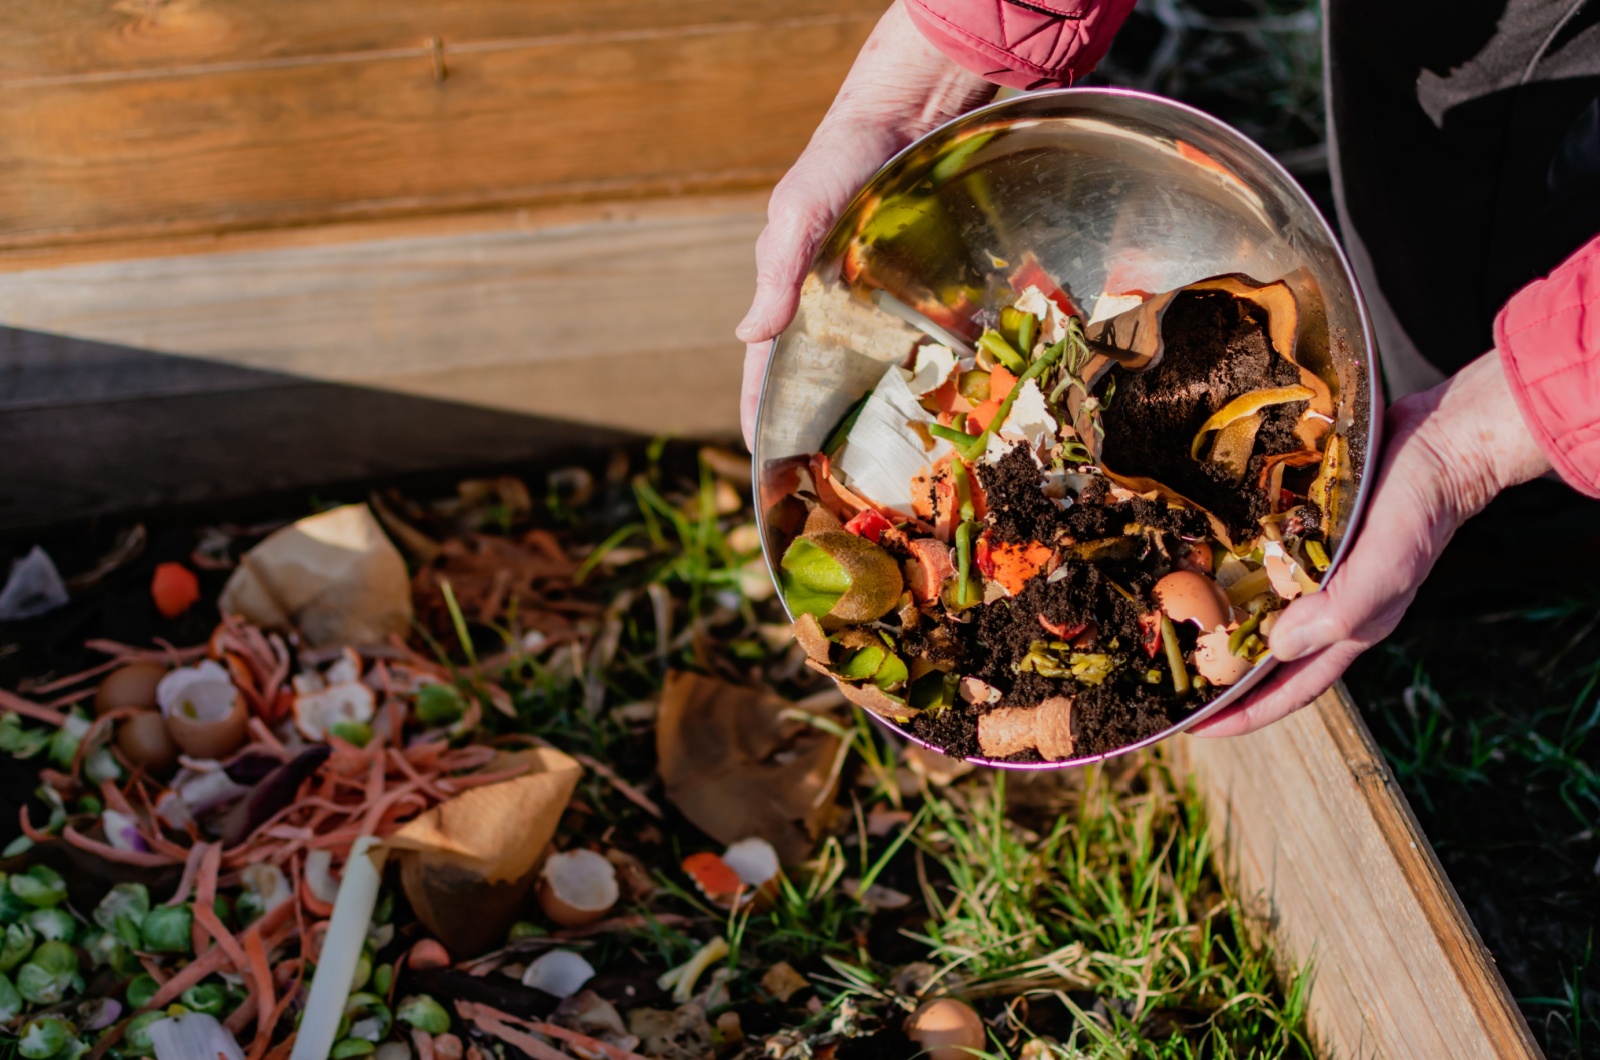
So, the first step is to take a worm bin and fill it with these materials. Now it’s time to spice things up!
Coffee grounds and tea leaves are the two ingredients I always add to my worm bin. The first reason is because they make our compost richer. And second, they help maintain moisture, which is essential for the overall health of worms.
Consistent moisture is one of the main rules of vermicomposting. But you don’t want it to be overly wet because it will affect the oxygen flow.
This is why I always chop all the ingredients before adding them to my worm bin. This way, these creatures can quickly devour their breakfast.
When making this green part of your compost, you should avoid hot peppers, garlic, onion, and citrus fruits.
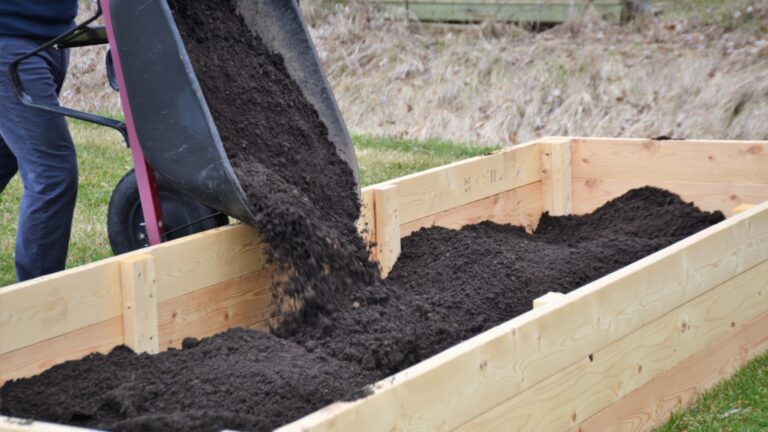
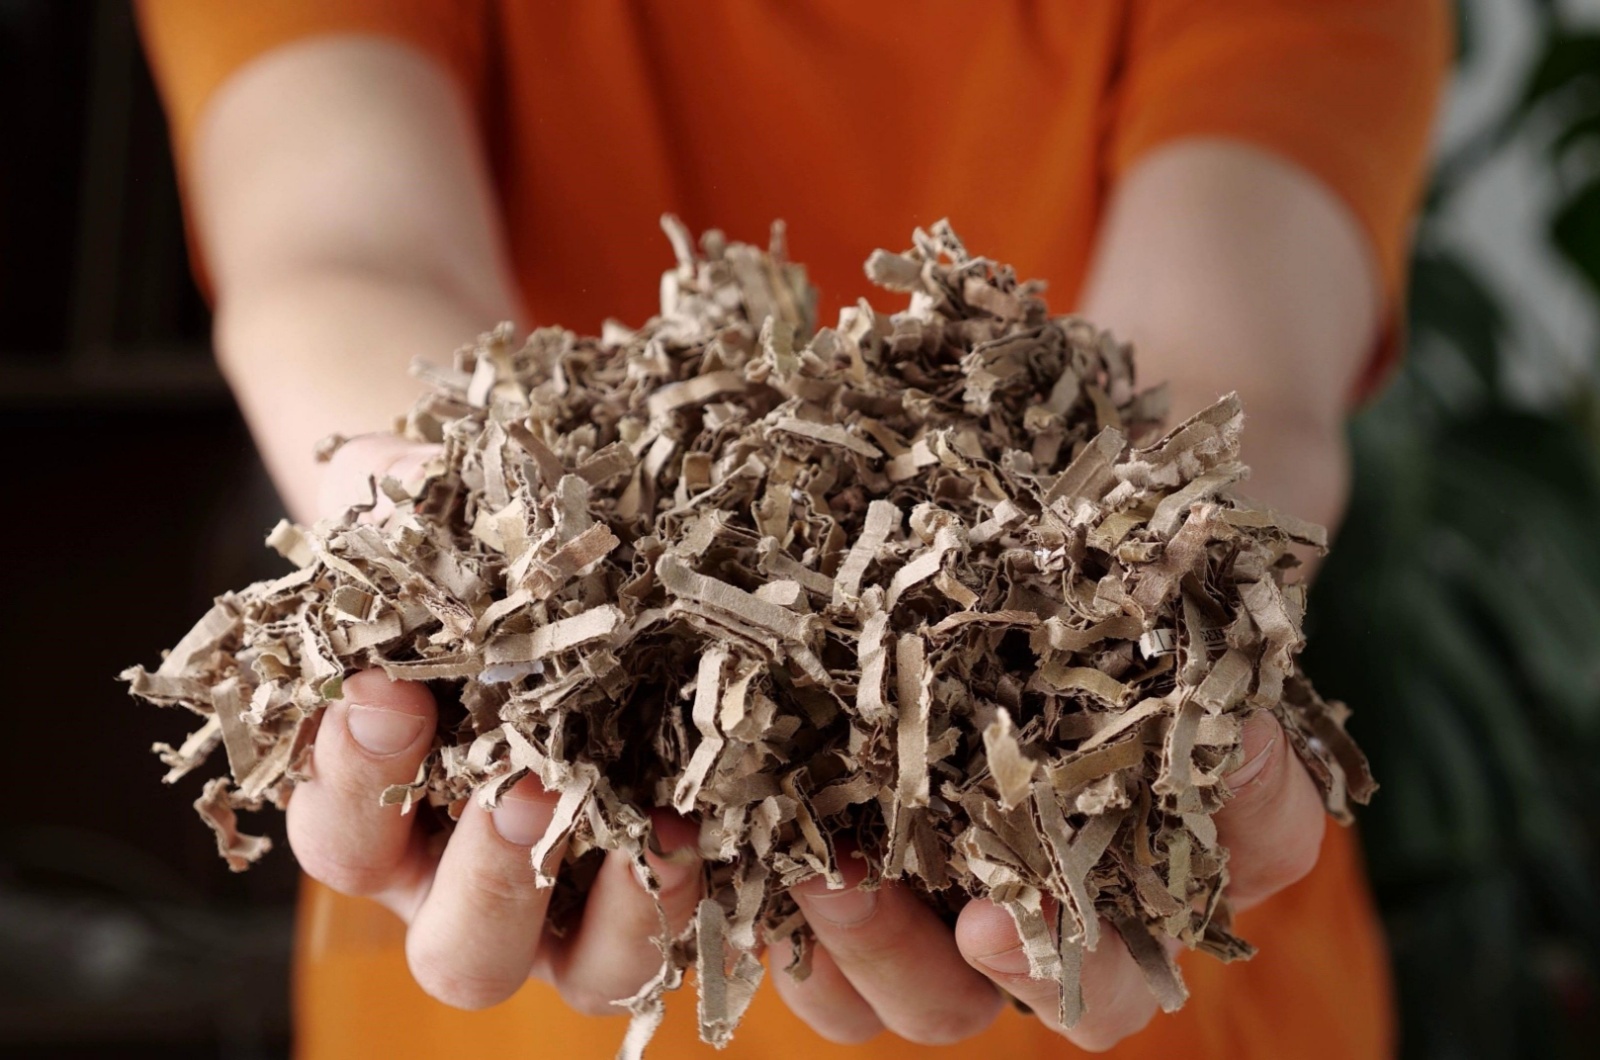
Now let’s move to the brown part of your compost. No, you can’t skip this step since your compost won’t be complete. These materials add carbon, which is essential for plant development. As an added bonus, brown materials will serve as bedding for worms.
Luckily, you have a lot of options here. For instance, shredded paper, egg cartons, and toilet paper rolls make perfect brown materials.
Stay away from cardboard with a waxy coating because you don’t want any chemicals in your compost.
And These Materials Are A Big No-No For Compost
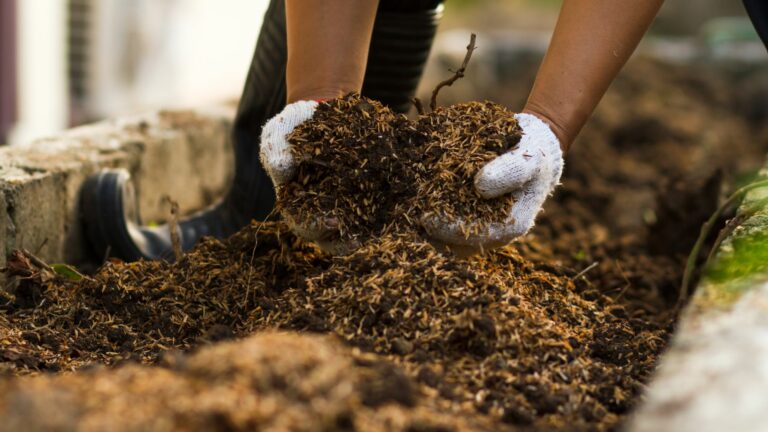
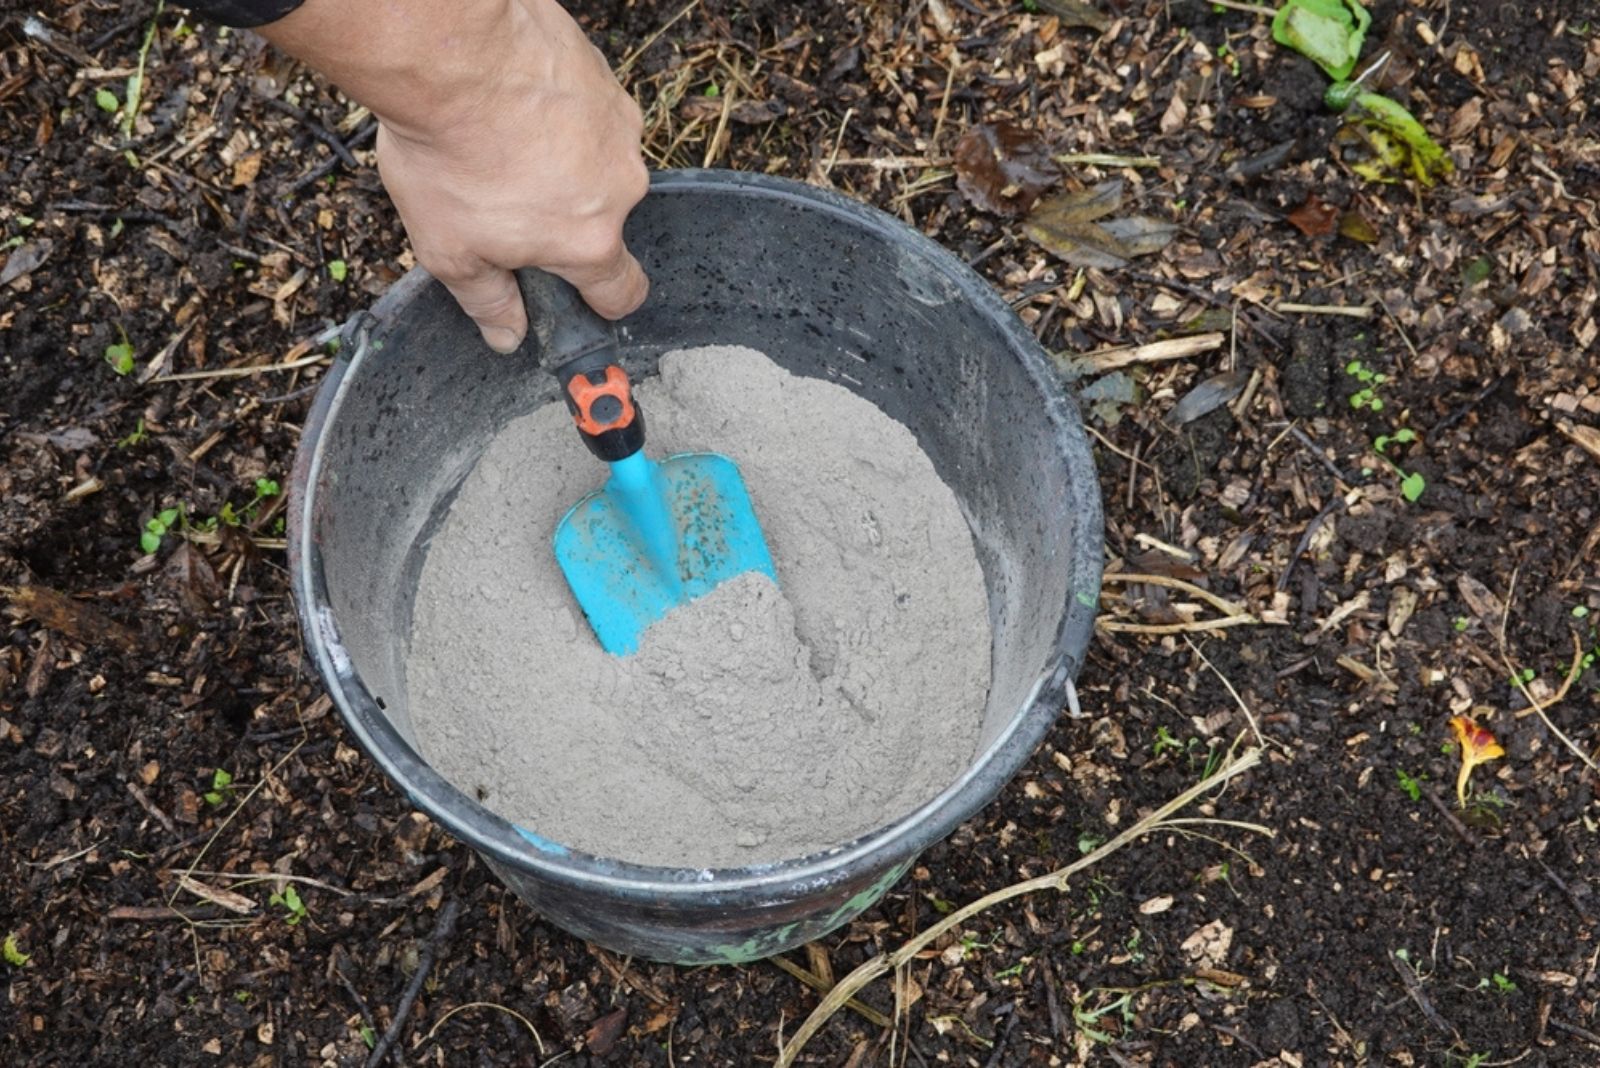
Once you put green and brown materials in the bin, the last thing to add is grit. It helps the worms break down all the ingredients and turn them into rich compost.
Oyster shells and vermiculite are good choices as grit, but my favorite is egg shells. It seems that I don’t throw away anything.
I highly recommend adding about a half cup of grit every eight weeks for best results.
And now, to the no-no part. Dairy and meat do not make good ingredients for a worm bin. No matter what you hear about their benefits, they aren’t something you want in your compost. They most likely contain bacteria which could end tragically for your worms.
Rice, beans, and bread are also things you should avoid adding to your worm bin. They can ferment, which will quickly inhibit oxygen flow. Not to mention the odor you get once they ferment…
And the last thing you shouldn’t do when vermicomposting is give your worms too much food. If your worms can’t consume all the food fast, it’ll soon rot, resulting in awful smells and fermentation.
The rule I always use is to add a quart of kitchen scrap weekly to a bin consisting of approximately 500 worms. And I have to say it works perfectly!
Grass Clippings
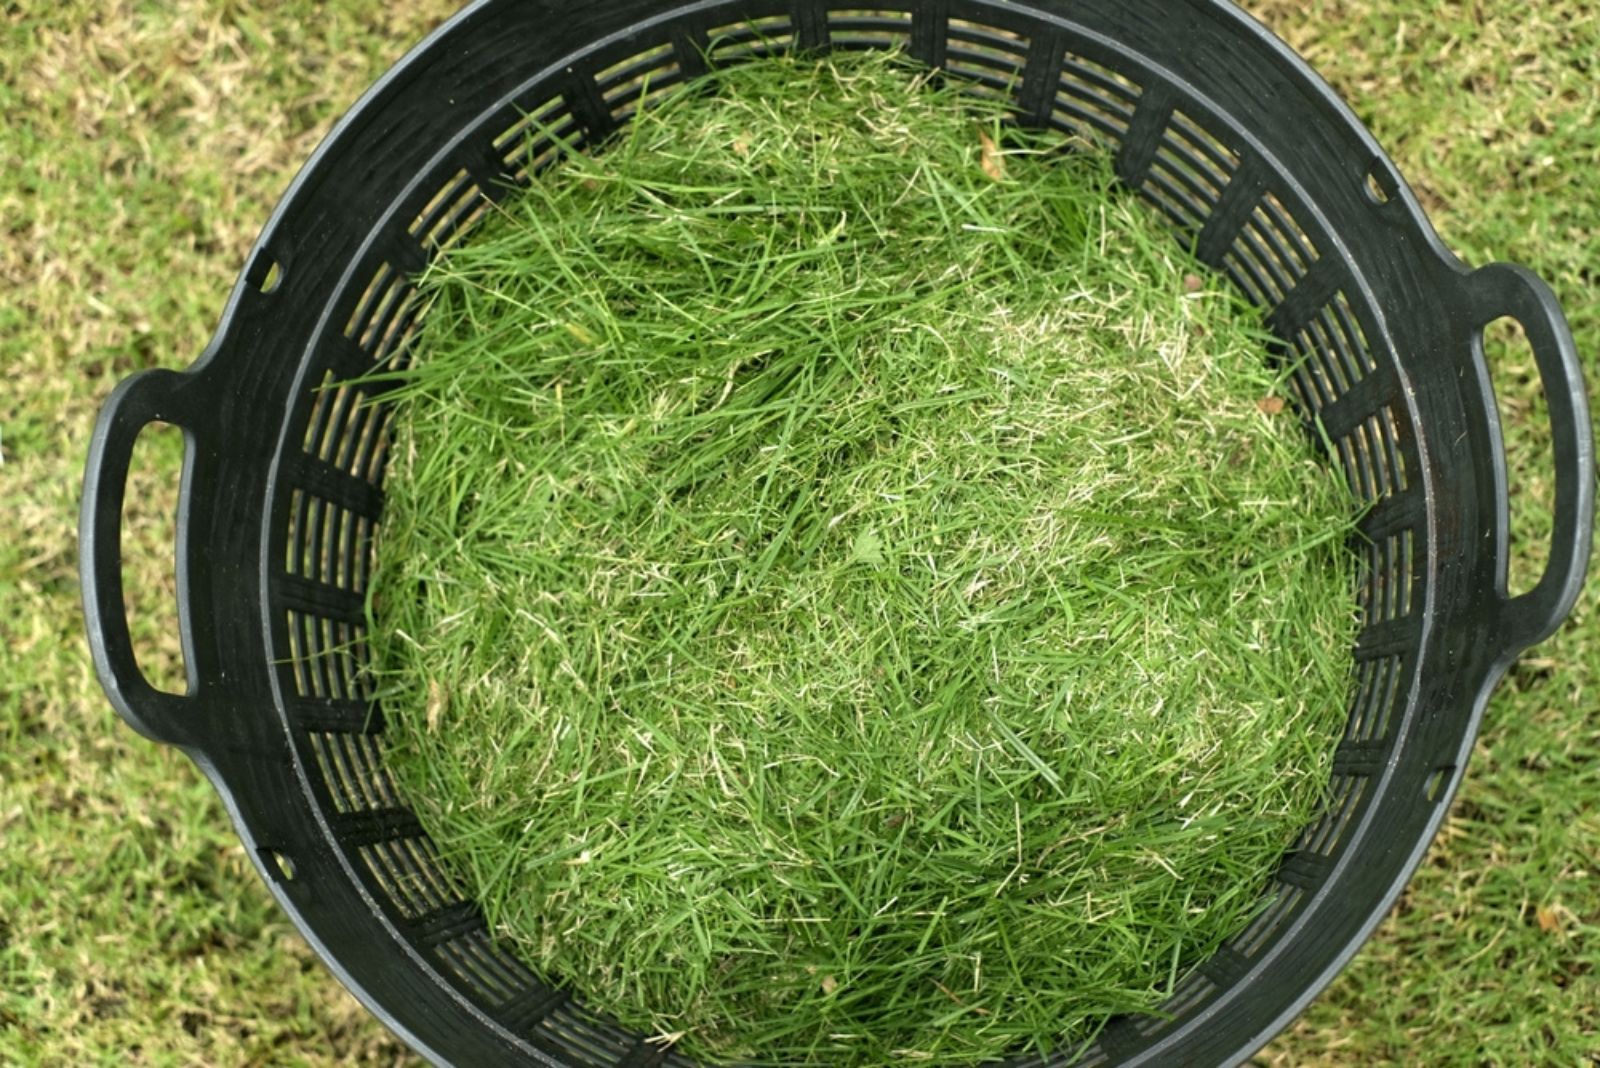
Grass clippings are a valuable addition to compost because they are rich in nitrogen, which helps accelerate the decomposition process and creates nutrient-dense compost.
However, they should be added in thin layers or mixed with brown materials like dried leaves to prevent them from becoming compacted and creating a slimy, smelly mess.
Wood Ash
Wood ash from untreated firewood is another great compost booster, as it provides calcium, potassium, and other trace minerals that improve soil health.
It also helps neutralize overly acidic compost piles. However, it should be used in moderation, as too much can raise the pH too high and affect microbial activity.
That’s it! The menu for your prized worms is complete! By adding the right ingredients to your worm bin, you’ll get the healthiest and richest compost you could possibly dream of – it’s a recipe for success!