7 Things To Know Before Leveling A Bumpy New Jersey Lawn Without Heavy Machinery
A bumpy lawn is more than an eyesore. It is a twisted ankle waiting to happen, hard on your mower, and the reason your garden hose keeps pooling in the same soggy corner every spring.
New Jersey homeowners deal with this more than most, the state’s clay-heavy soil shifts with every freeze-thaw cycle, and those shifts add up over the years.
The good news is that you do not need a bulldozer, a landscaping crew, or a second mortgage to fix it.
Leveling a bumpy lawn by hand is genuinely doable, and many homeowners finish the job over a weekend with tools they already own.
The process does take some patience, but the payoff is real, a smooth, even surface that drains properly, mows cleanly, and does not send your guests home with sprained ankles.
Here is exactly how to get there.
1. Small Bumps And Shallow Low Spots Respond Well To Top Dressing

That spongy, uneven feeling underfoot is one of the most satisfying problems to fix in a yard. Small bumps and shallow low spots, anything under an inch or two deep, respond beautifully to a method called top dressing.
Top dressing simply means spreading a thin layer of a sand and soil blend directly over the low areas of your grass. The mix settles down into the gaps and fills them gradually without smothering your turf.
Start by mowing your lawn short before you begin. A close cut lets the top dressing material reach the soil surface more easily and makes it simpler to see where the true problem spots are hiding.
Apply no more than half an inch of your leveling mix at a time. Going thicker than that in one pass can block sunlight from reaching the grass blades and cause brown patches that take weeks to recover.
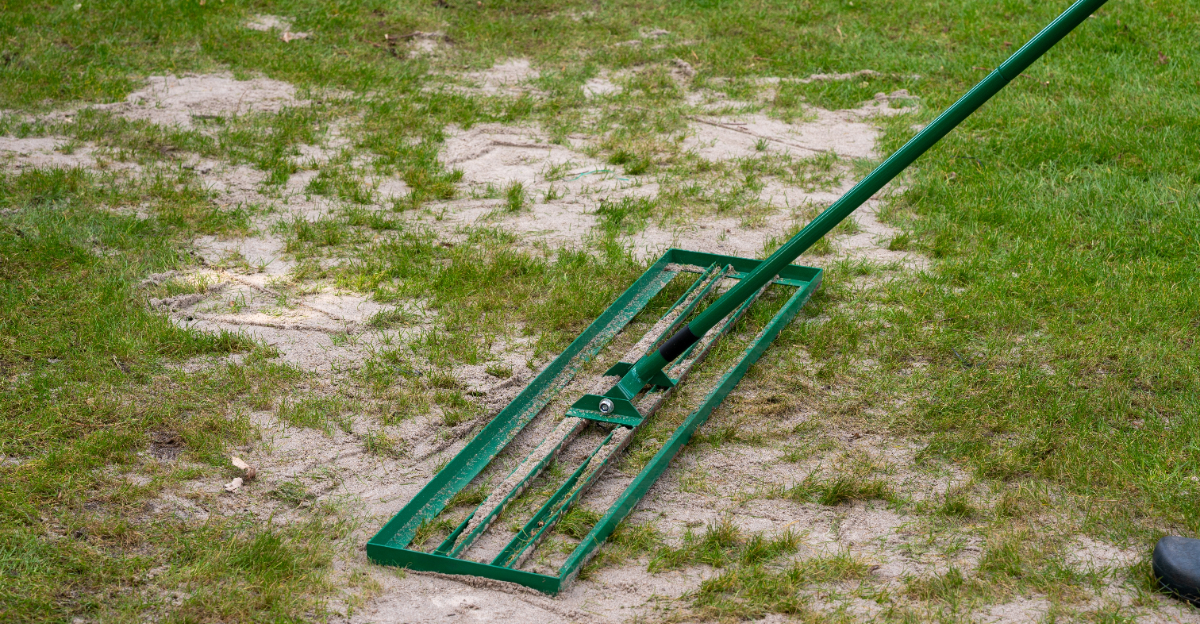
After spreading the material, use a landscaping rake or a straight two-by-four board to drag it evenly across the surface. Work in multiple directions to push the mix into low spots rather than piling it up in one place.
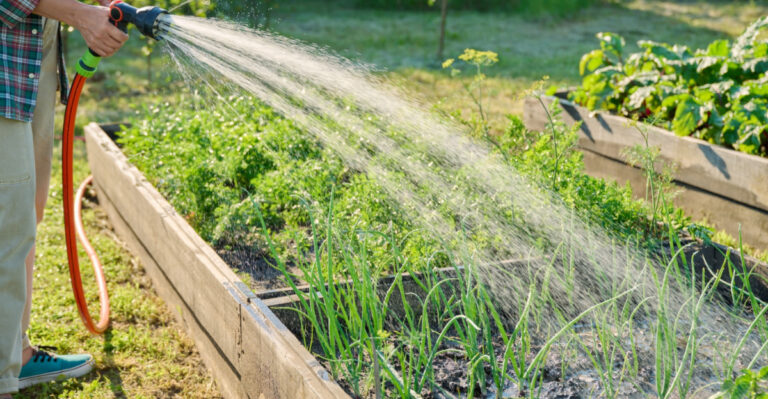
Water the area lightly after application to help the material settle. Within a few weeks, the grass will grow up through the mix and blend seamlessly into the surrounding lawn.
Leveling a bumpy New Jersey lawn without any heavy machinery starts right here, with this simple and surprisingly rewarding technique that almost anyone can pull off on a weekend.
2. Larger Uneven Areas Need Soil Removal Or Filling Before Anything Else

When a low spot drops more than two inches below the surrounding lawn, top dressing alone simply will not cut it. Larger uneven areas demand a more hands-on approach before you spread a single shovelful of leveling mix.
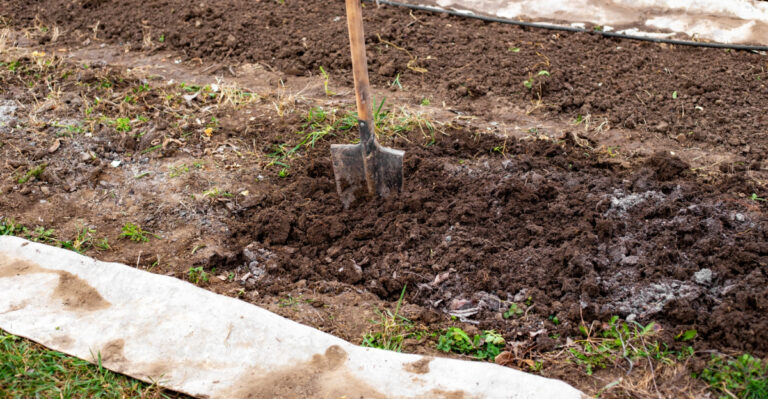
For deep low spots, the best move is to carefully cut and peel back the existing sod. Use a flat spade to slice around the perimeter of the problem area, then roll the sod back like a carpet to expose the bare soil underneath.
Once the sod is out of the way, add fresh topsoil to the low area and pack it down firmly with your foot or a hand tamper. You want to build the ground up to match the height of the surrounding yard before you replace the grass.
High bumps require the opposite approach. Peel back the sod the same way, remove the excess soil causing the bulge, then relay the grass over the newly flattened surface.
After repositioning the sod, press it firmly back into place and water it thoroughly. Roots need consistent moisture to re-establish, especially if you are working during warm or dry stretches of weather.
Check the repaired spot every few days for settling. Sometimes the soil compresses a little more than expected, and you may need to add a thin layer of top dressing to bring it perfectly flush.
Patience is your best tool here, a properly fixed large low spot stays level for years and makes every future mow dramatically smoother.
3. The Right Sand And Soil Mix Makes All The Difference

Not all fill material is created equal, and using the wrong mix is one of the most common mistakes. Grabbing straight play sand or plain topsoil might seem like an easy fix, but neither one alone does the job well.
A good leveling mix for most lawns is a blend of coarse sand, topsoil, and compost, roughly 40 percent sand, 40 percent topsoil, and 20 percent compost by volume. This combination drains well, supports root growth, and resists compaction over time.
Coarse sand creates air pockets in the mix that allow water to move through freely. Fine sand, by contrast, tends to pack down tight and can actually worsen drainage issues in already-compacted yards.
Compost adds organic matter that feeds the grass as it grows into the new fill. Healthy turf roots anchor the leveled surface in place and prevent the area from settling unevenly again after the first few rainstorms.
You can buy pre-mixed lawn leveling sand at many garden centers and home improvement stores across the state. Some landscaping supply companies will even deliver bulk quantities for larger projects, which works out cheaper per cubic foot than bagged material.
Mix your blend thoroughly in a wheelbarrow before applying it to the lawn. An inconsistent mix can create pockets of pure sand or pure clay that grass roots will struggle to penetrate.
Getting the blend right from the start reduces the chances of having to repeat the process six months down the road.
4. New Jersey’s Clay-Heavy Soil Requires Extra Prep Work

Anyone who has gardened in the Garden State knows the soil here has a personality of its own. That personality is thick, heavy, and stubborn.
Many parts of New Jersey sit on a base of dense clay that compacts easily and drains poorly. That combination directly contributes to the lumpy, uneven lawns so many homeowners deal with every spring.
Clay soil expands when it absorbs water and shrinks when it dries out. That constant swelling and shrinking, combined with winter freeze-thaw cycles, is what pushes the ground up in some spots and pulls it down in others over time.
Before you level a clay-heavy lawn, aerate the problem areas first. A manual core aerator pulls small plugs of soil out of the ground, opening up channels that allow your leveling mix to penetrate deeper rather than just sitting on top of the clay layer.
Work your coarse sand blend into the aeration holes before spreading the top dressing layer. This step begins to change the soil structure at a deeper level and makes a real difference in long-term drainage and stability.
Avoid working in the yard when the soil is soaking wet. Clay becomes slippery and even more compacted when you walk on it while saturated, which undoes the prep work you just put in.
Adding organic matter like compost each season gradually improves clay soil over multiple years. Think of it as a slow renovation project, each pass gets the ground a little closer to the loose, well-draining base your lawn deserves.
5. Timing Your Leveling Project Around The Growing Season Matters

Picking the wrong time to level your lawn is a little like painting a fence in the rain. The effort is real, but the results are disappointing.
Timing is one of the most overlooked factors in a successful leveling project. Getting it right can mean the difference between lush recovery and a patchy mess.
For cool-season grasses like tall fescue and Kentucky bluegrass, the most common types in the state, early fall is the sweet spot for leveling work. Soil temperatures are still warm enough for root growth, but the air is cooler and less stressful for the grass.
Early spring is the second-best window, right after the ground thaws and before the lawn enters its peak growth phase. Grass can fill in quickly during spring, which helps the leveled areas blend in faster and reduces the window for weeds to move in.
Avoid leveling during the heat of summer if you can help it. High temperatures stress grass that has been disturbed, and the combination of heat and disrupted roots can lead to brown, struggling patches that take all season to bounce back.
Late fall leveling is also risky because there is not enough growing time left before the ground freezes. The fill material can shift and heave over winter, which can leave you with an uneven surface again come spring.
Mark your calendar for late August through October or mid-March through April. Those windows give your lawn the best shot at a smooth, even recovery that sticks through the seasons ahead.
6. Watering And Foot Traffic Rules Change After You Level

Finishing a leveling project feels great, smooth, flat, and full of potential. But what happens in the first few weeks after you put down the fill material is just as important as the leveling itself.
Watering needs to increase right after leveling. This is especially true if you have disturbed any sod or seeded bare patches.
New fill material dries out faster than established soil. Consistent moisture keeps grass roots growing down into the blend rather than stalling at the surface.
Water lightly but frequently for the first two weeks, about ten to fifteen minutes per zone, twice a day if you can manage it. Deep, infrequent watering comes later once the roots have had time to anchor into the new material.
Keep foot traffic off freshly leveled areas for at least two to three weeks. Even light pressure from walking can compress the fill before it has settled naturally, creating new depressions in the spots you just worked so hard to smooth out.
If you have kids or pets, use temporary fencing or garden stakes with string to mark off the repaired zones. A little inconvenience now prevents a lot of re-work later in the season.
Hold off on mowing the leveled areas until the grass has grown at least three inches tall. Mowing too soon pulls up newly rooted grass and disturbs the fill material before it has fully bonded with the existing soil.
Leveling a bumpy New Jersey lawn without any heavy machinery pays off most when you protect the work you have already done. A little patience in the weeks after goes a long way.
7. Seed Bare Spots And Fill Gaps To Lock In Your Level Surface

A level surface without grass coverage is just a dirt patch waiting to wash away. Seeding bare spots after leveling is the final step that locks everything in place and gives your yard that full, finished look you were going for from the start.
Choose a grass seed blend that matches what is already growing in your lawn. Using the wrong variety creates a patchwork of different textures and colors that looks worse than the original bumps did.
Tall fescue blends work well across most of the state because they handle both the humid summers and cold winters that come with this region. Look for blends labeled for sun and shade if your yard gets a mix of both conditions throughout the day.
Spread seed generously over any bare areas, then rake it lightly into the top dressing material so it makes good contact with the soil. Seeds that sit on top of loose material without contact dry out quickly and fail to germinate reliably.
Cover seeded areas with a thin layer of straw or peat moss to hold moisture and protect the seeds from birds. Even a light covering makes a noticeable difference in germination rates, especially during dry stretches.
Fertilize lightly with a starter fertilizer after seeding to give new grass the nutrients it needs to establish strong roots fast. Avoid high-nitrogen products at this stage, which push leaf growth before the roots are ready to support it.
A well-seeded, leveled lawn is one of the most satisfying weekend projects you can finish on your own. Leveling a bumpy New Jersey lawn without any heavy machinery is more straightforward than most homeowners expect.