These Are The Signs Your Pennsylvania Boxwood Has Blight And What To Do Immediately
Boxwood blight is a fast-moving disease that can turn a healthy, established planting into a serious problem in a matter of weeks, and Pennsylvania’s warm humid summers create exactly the conditions that allow it to spread most aggressively.
The frustrating part is that the early signs are easy to overlook or misread as normal seasonal stress, and by the time the damage becomes unmistakable, the disease has often already moved further through the planting than it appears on the surface.
Pennsylvania gardeners who have dealt with boxwood blight describe how quickly the situation can escalate, and most say they wished they had acted on the first signs rather than waiting to see if the plant would recover on its own.
Knowing what the early indicators actually look like, what separates blight from other common boxwood problems, and what steps to take the moment you suspect it can make the difference between containing the situation and losing the entire planting.
1. Leaf Spots Or Lesions

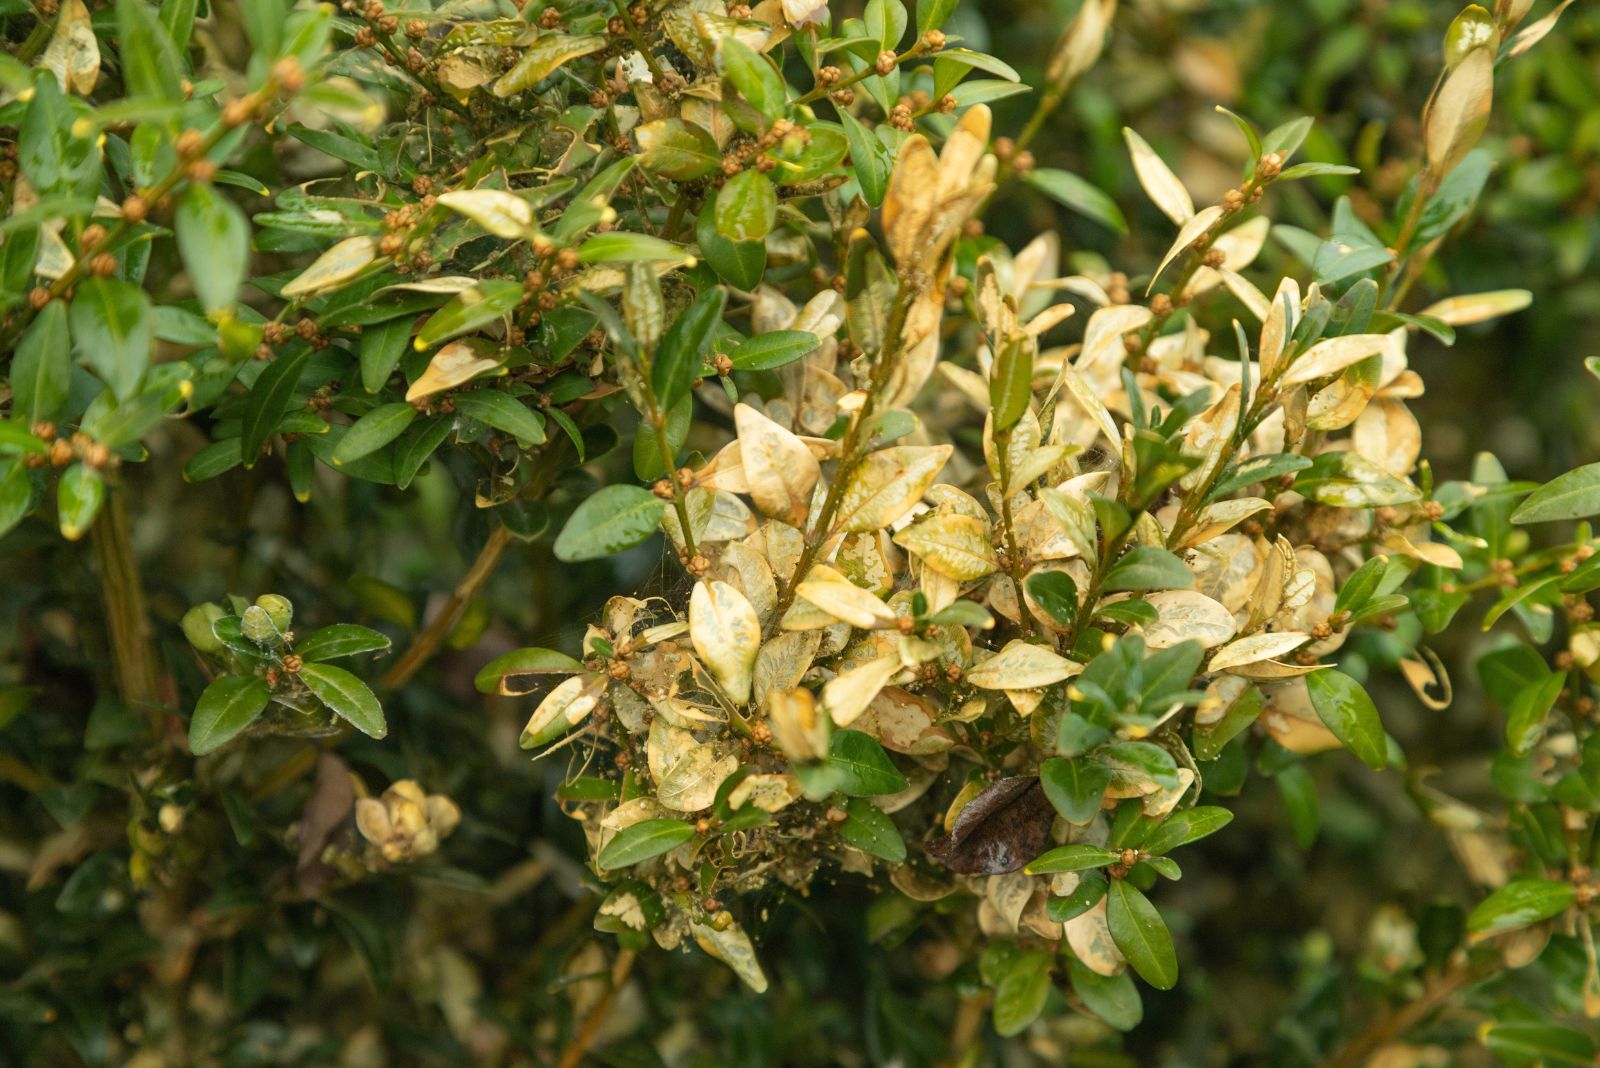
Brown or black circular spots showing up on your boxwood leaves are one of the earliest and most telling signs that something is seriously wrong.
These spots often have a pale center with a darker edge, and many will be surrounded by a yellowish halo that makes them stand out clearly.
They can start small but spread across the leaf surface surprisingly fast, especially during warm and humid Pennsylvania summers.
Many gardeners mistake these spots for simple sunburn or pest damage at first. However, boxwood blight lesions have a very distinct look compared to other problems.
If you press a magnifying glass close to the spots, you may even see tiny dark fungal structures forming in the center of each lesion.
Once you confirm the spots match this pattern, act quickly. Remove every affected leaf you can find and place them directly into a sealed plastic bag.
Do not toss them into a compost pile, because the fungal spores will survive and spread right back into your garden. Dispose of the bag in the trash instead.
After removing the leaves, clean up any fallen debris around the base of the plant. Fallen leaves on the soil can harbor spores just as easily as leaves still on the shrub. Rake carefully and bag that material too.
Wearing gloves during this process is smart, and washing your hands and tools thoroughly afterward will help prevent spreading spores to healthy plants nearby. Catching leaf spots early and responding fast gives your boxwood a much stronger chance of pulling through.
2. Premature Leaf Drop

Watching your boxwood drop leaves when it should still be full and green is a gut-punch moment for any gardener. Boxwoods are evergreen plants, so they should hold onto their leaves through most of the year.
When leaves start falling off in large numbers well before autumn, that is a serious red flag that blight may be taking hold inside the plant.
Premature leaf drop happens because the fungus damages the connection between the leaf and the stem, cutting off the flow of water and nutrients. The plant essentially loses its grip on the leaves.
You might notice leaves turning yellow or tan before they fall, or they may drop while still green, which is especially alarming.
Pruning is your best tool at this stage. Identify branches that are losing leaves and cut them back carefully, making sure to trim past the visibly affected area into healthy-looking tissue.
This limits how far the fungus can travel through the plant. Use clean, sharp pruning shears and sterilize them with a diluted bleach solution or rubbing alcohol between every single cut.
Improving air circulation around your boxwood is equally important. Overgrown or tightly packed plantings trap moisture and create the warm, humid conditions that fungal diseases love.
Thinning out nearby plants or trimming your boxwood to open up its interior can reduce humidity significantly.
Avoid overhead watering whenever possible. Watering at the base of the plant rather than spraying the foliage keeps leaves drier and less inviting to fungal spores looking for a new home to settle into.
3. Twig And Stem Dieback

Branch tips turning brown or black and shriveling up is a sign that boxwood blight has moved beyond the leaves and into the woody parts of the plant.
Stem dieback is a more advanced stage of the disease, and it means the fungus has been working its way through the tissue for some time already. When you see this happening, it is time to respond with urgency.
Did you know that the fungus responsible for boxwood blight can travel through stem tissue faster during warm, wet conditions?
Pennsylvania weather in late spring and summer creates exactly those conditions, which is why dieback can seem to appear almost overnight after a rainy stretch.
To address stem dieback, prune back every affected branch until you reach tissue that looks completely healthy and green inside when cut.
Do not leave any brown or discolored wood behind, because the fungus can continue spreading from even a small amount of infected tissue left on the plant.
Sterilizing your cutting tools between each and every cut is absolutely critical here. Use a solution of one part bleach to nine parts water, or wipe blades down with undiluted rubbing alcohol.
This small step prevents you from accidentally transferring spores from a sick branch to a healthy one with your own tools.
Bag and remove all pruned material immediately. Leaving cut branches on the ground near the plant is like leaving a welcome mat out for the fungus to reinfect the shrub.
Proper disposal makes your pruning efforts count and gives the plant a real fighting chance to bounce back strong.
4. Black Streaks On Stems

Spotting dark streaks running along the stems of your boxwood is one of the more unsettling signs of blight. Unlike simple surface discoloration, these black streaks indicate that the fungal infection has pushed deeper into the plant’s vascular system.
The streaks can run vertically along the stem and may look almost like someone drew a dark line with a marker under the bark.
Peeling back a small section of bark near a streaked area often reveals discolored tissue underneath, confirming that the damage goes beyond the surface. At this point, the fungus has been active for a while.
Waiting any longer to act will only allow it to spread further into the main stems and crown of the plant.
Remove every infected stem you can identify. Cut well below the streaked section to make sure you are getting into clean, unaffected tissue.
As always, sterilize your pruning tools between cuts to avoid spreading the pathogen to areas of the plant that are still healthy.
After removing infected stems, keep a close eye on the plants growing nearby. Boxwood blight spores travel easily on wind, water droplets, tools, gloves, and even clothing.
Check neighboring boxwoods and other susceptible plants like pachysandra or sweet box for any early warning signs appearing on their foliage.
Marking which plants were near the infected one is a helpful habit. It lets you monitor those specific plants more closely over the coming weeks.
Early detection of a new infection on a nearby plant can make the difference between a quick recovery and a much larger, harder-to-manage outbreak across your whole planting bed.
5. Rapid Spread Across Plant

One of the most alarming things about boxwood blight is just how fast it can move. What starts as a few spots on one branch can sweep across the entire plant within days under the right conditions.
If you notice that new branches are getting affected every time you check the plant, you are likely watching rapid spread in real time, and that calls for immediate action.
Warm temperatures combined with high humidity and wet foliage create the perfect storm for explosive fungal growth. Pennsylvania summers deliver exactly those conditions regularly, especially after prolonged rain events.
The spores of Calonectria pseudonaviculata are sticky and cling easily to surfaces, making it simple for the disease to jump from branch to branch or plant to plant.
Isolating the affected boxwood from your healthy plants is a smart and necessary move at this stage. If the shrub is in a container, move it away from the garden immediately.
If it is planted in the ground, create a physical barrier and stop all foot traffic through that area to reduce the chance of tracking spores elsewhere.
Avoid working with healthy plants right after handling the infected one without changing gloves and cleaning tools thoroughly first. Even brushing against an infected shrub and then touching a healthy one can be enough to transfer the disease.
Calling a local Penn State Extension office for guidance is a genuinely helpful step here. They can confirm the diagnosis and recommend the best fungicide options registered for use in Pennsylvania. Getting professional input can save you time, money, and the rest of your garden.
6. Soft, Decaying Tissue

When leaves or stems on your boxwood start to feel soft and mushy to the touch, the blight has reached an advanced stage. Healthy boxwood tissue should feel firm.
Soft, squishy, or slimy plant material means the fungus has broken down the cell structure inside the tissue. This is a sign that the disease has been progressing for longer than you may realize.
A slightly sour or unpleasant smell near the affected areas can sometimes accompany this stage of decay. You might also notice the color of the tissue turning darker or almost translucent in spots.
These are clear signals that the fungal infection has done significant internal damage and needs to be addressed without delay.
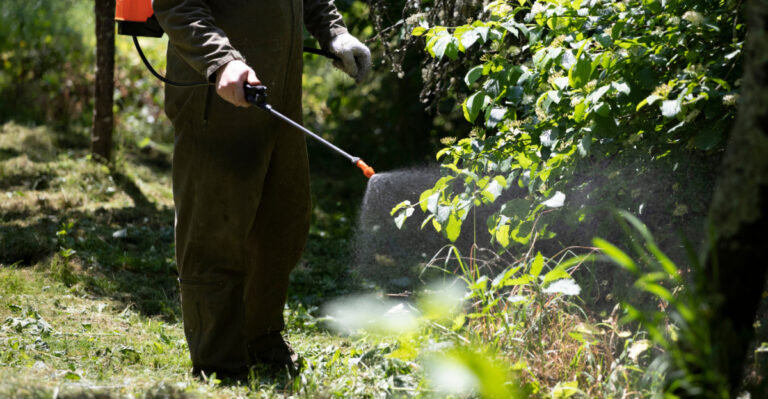
Applying a fungicide is an important step at this point. Look for products containing chlorothalonil, tebuconazole, or fludioxonil, which are commonly recommended for boxwood blight management.
Always read the label carefully and follow the instructions exactly, including the recommended application rate and timing.
Maintaining proper airflow around the plant is just as important as applying fungicide. Trim surrounding plants and avoid placing mulch too close to the base of the boxwood, since piled-up mulch traps moisture and keeps the root zone wetter than it should be.
Water your boxwood at the base only, using drip irrigation or a slow ground-level hose rather than a sprinkler that wets the foliage. Keeping leaves dry as much as possible removes one of the key conditions the fungus needs to keep spreading.
Consistent care and attentive monitoring after treatment will give your boxwood the best possible path to recovery.