6 Proven Steps To Save Your Overwatered Christmas Cactus
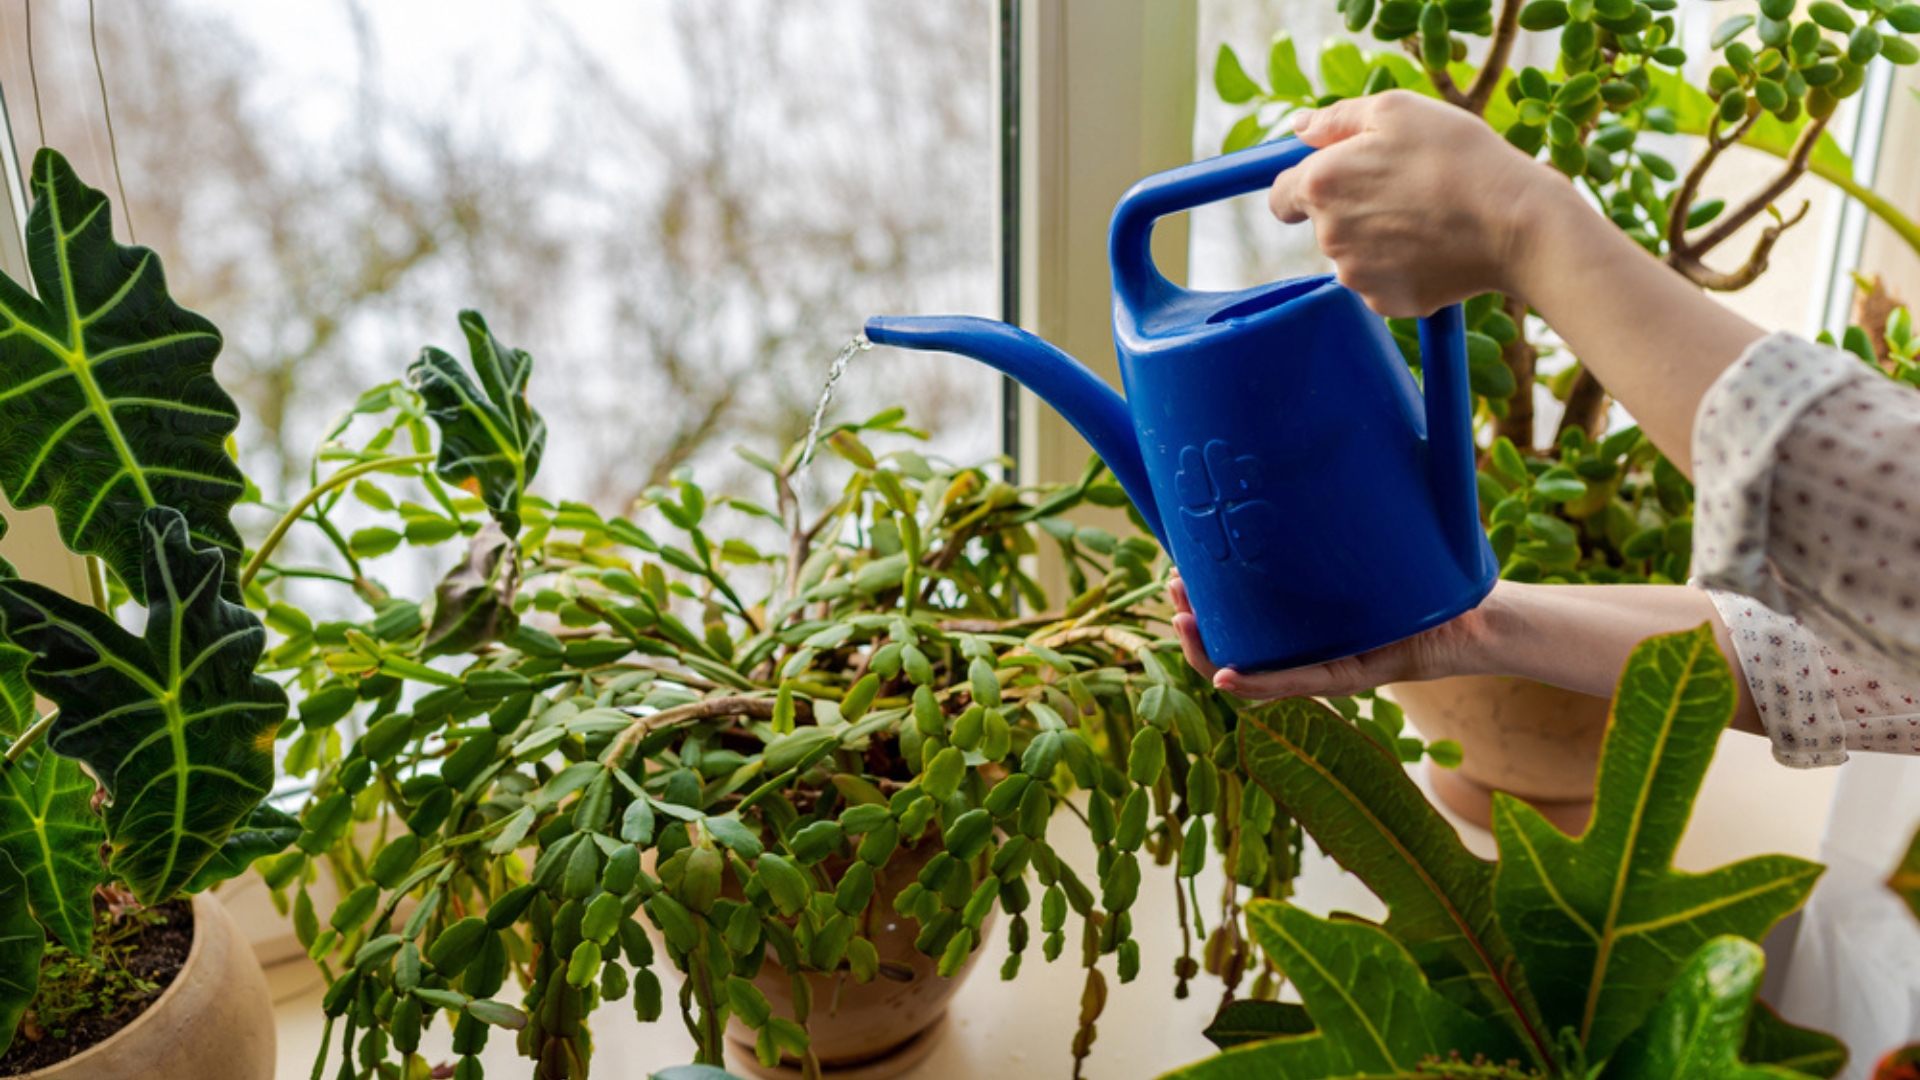
A thriving Christmas cactus can brighten any home, but overwatering can quickly turn it into a disaster!
Well, I’ve been there. One minute, your plant is thriving, and the next, you’re frantically Googling how to fix soggy roots. It was a slow recovery, and after nearly five weeks of careful care, it finally regained its vibrant look.
To save you from the stress I went through, I’m breaking down the exact steps that worked for me. Don’t worry, they’re simpler than you’d think.
Step #1: Stop Watering Immediately
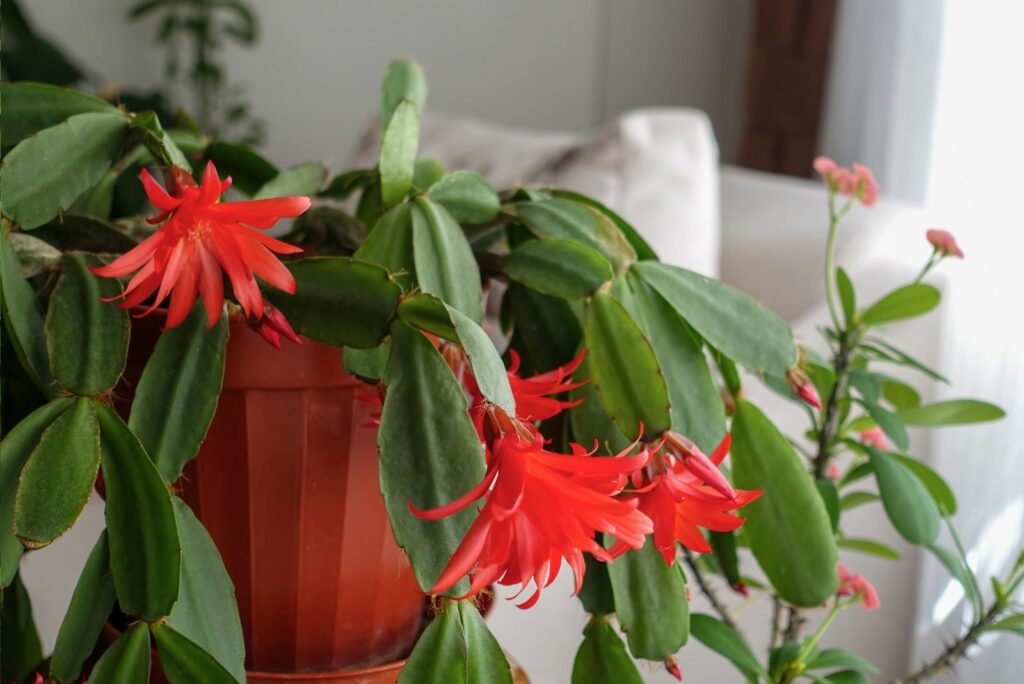
If you’re seeing yellowing leaves, mushy stems, or a drooping Christmas cactus, chances are you’ve been overwatering.
Look, more water isn’t the answer here. If you want to save your cactus, the first step is to hold off on watering for a while.
Think of this as pressing the pause button. The less water you add now, the better chance your plant has to heal. So, take a step back and give the soil some time to dry out – it’s the first step to recovery.
Step #2: Remove Your Christmas Cactus From The Pot For Inspection
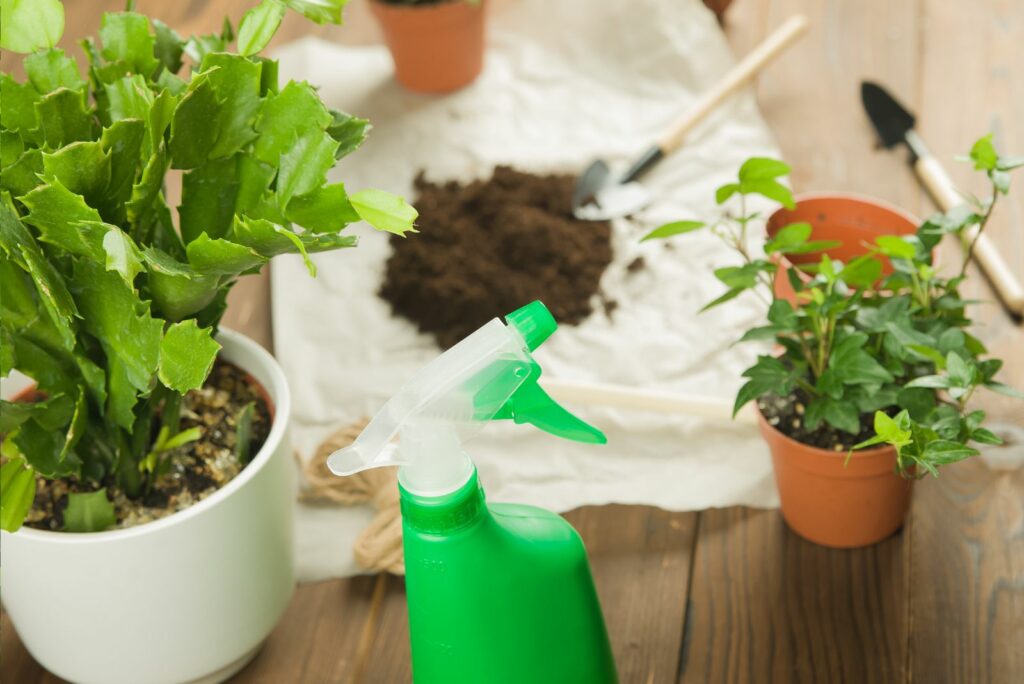
I didn’t think much of the slightly limp leaves on my Christmas cactus until they started falling off at the slightest touch.
Then, I noticed the soil felt heavy and smelled musty even days after watering. That’s when I realized my cactus was overwatered and needed a fresh potting mix to survive. Repotting it gave me a chance to cut away the damaged roots and start fresh.
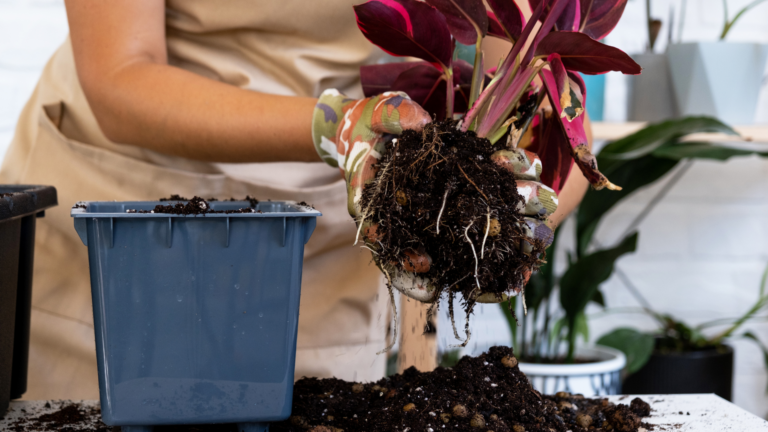
Wondering how to do it? Simply place the pot on a flat surface and tilt it slightly while holding the base of the plant. If the Christmas cactus doesn’t slide out easily, run a butter knife or your fingers along the inside edges of the pot to loosen the soil.
Be patient and avoid pulling too hard. Remember, it’s all about being gentle!
Step #3: Inspect And Trim Diseased Roots
When I pulled my Christmas cactus out of its pot, I immediately noticed some roots looked darker and felt slimy compared to the healthy, firm, white ones. These are clear signs of root rot, which can quickly spread if left untreated.
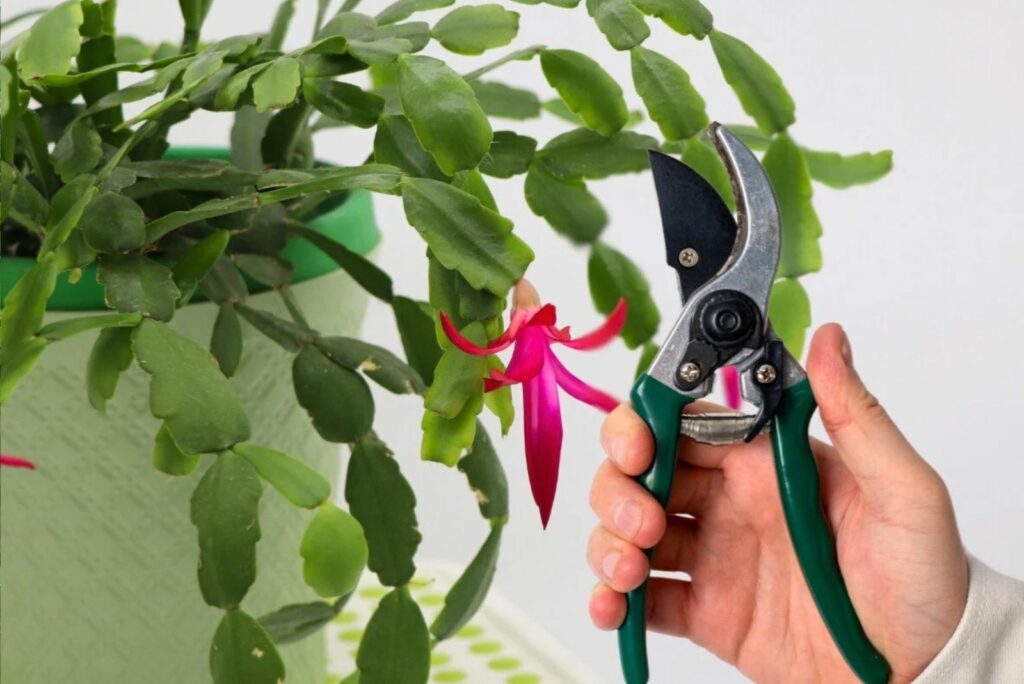
I grabbed a pair of sharp scissors and cleaned the blades thoroughly with rubbing alcohol. You see, using sanitized tools helps prevent introducing new bacteria to the already vulnerable plant.
Once you get the scissors ready, trim away the dark, mushy roots, cutting just above the rot to ensure only healthy tissue remains.
Make clean cuts to minimize damage and give the remaining roots the best chance to heal.
Now discard the diseased roots to prevent any contamination but make sure not to add them to a compost pile.
Step #4: Let The Roots Breathe!
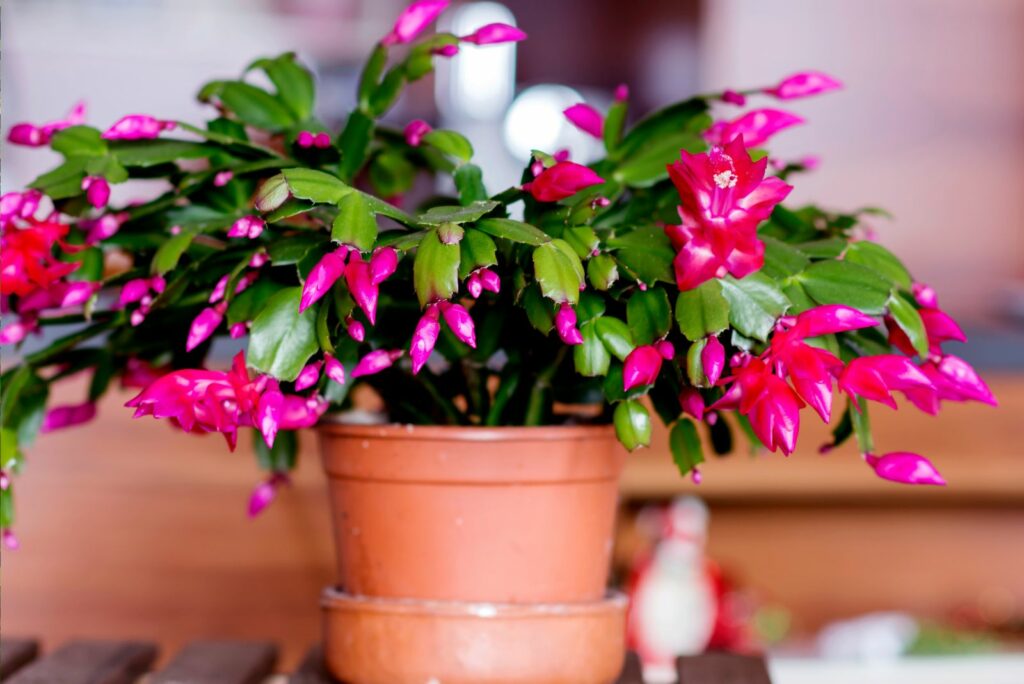
After trimming the roots, I set the plant aside to let the remaining roots air-dry.
Look, wet roots need time to heal and callus over before they’re ready for fresh soil. Placing the plant in a dry, airy location for several hours helps it recover and prepares it for the next step.
Oh, and don’t leave your Christmas cactus in direct sunlight while it dries because the stems will dry out too quickly and add unnecessary stress.
Step #5: Repot In Fresh Soil For A Happy Christmas Cactus
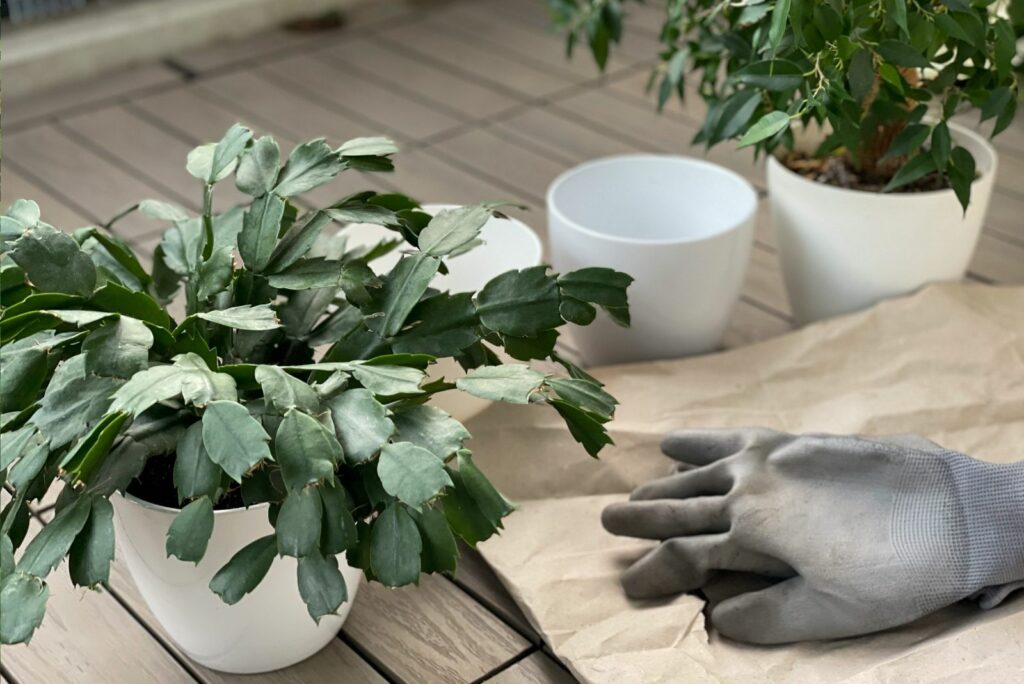
And now it’s time to repot your Christmas cactus! Start by preparing the pot. If you’re using a new pot, simply rinse it with water. I used the old pot but washed it with soap and disinfected it with a diluted bleach solution.
The next step is to prepare a potting mix for your Christmas cactus. These plants thrive in a mix that drains quickly but holds enough moisture for their needs.
Fill the pot halfway with the soil, place your Christmas cactus, and add more soil. Once it’s snug in its new pot, leave it in a spot with bright indirect light for a few days to adjust.
Step #6: Water Wisely, Watch Closely!
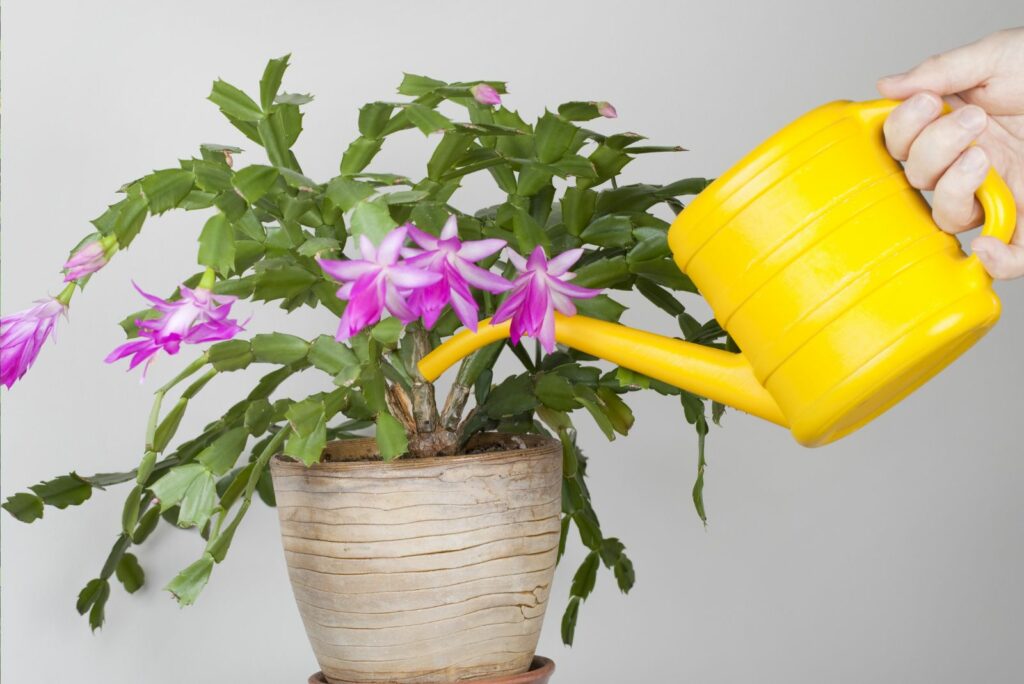
After repotting, hold off on watering your Christmas cactus for about a week to give the roots time to settle into the fresh soil.
Use a little water and pour it evenly around the base of the plant. Be careful not to flood the roots, and make sure no water is left sitting in the saucer to avoid sogginess.
Pay close attention to what your cactus is telling you. Wrinkled leaves are a sign it’s thirsty, while soft or yellowing leaves mean you might be overdoing it. By watching these signals, you’ll quickly learn what your plant needs to thrive.
Create a routine to check the soil every week and water only when it’s dry to touch. Watering wisely and paying close attention will ensure your cactus stays vibrant and happy!
That’s all it takes! By following these steps, you’ll give your Christmas cactus the second chance it deserves. Best of luck, and happy plant care!

