What Yellow Leaves On Your North Carolina Tomatoes Really Mean And How To Fix Them
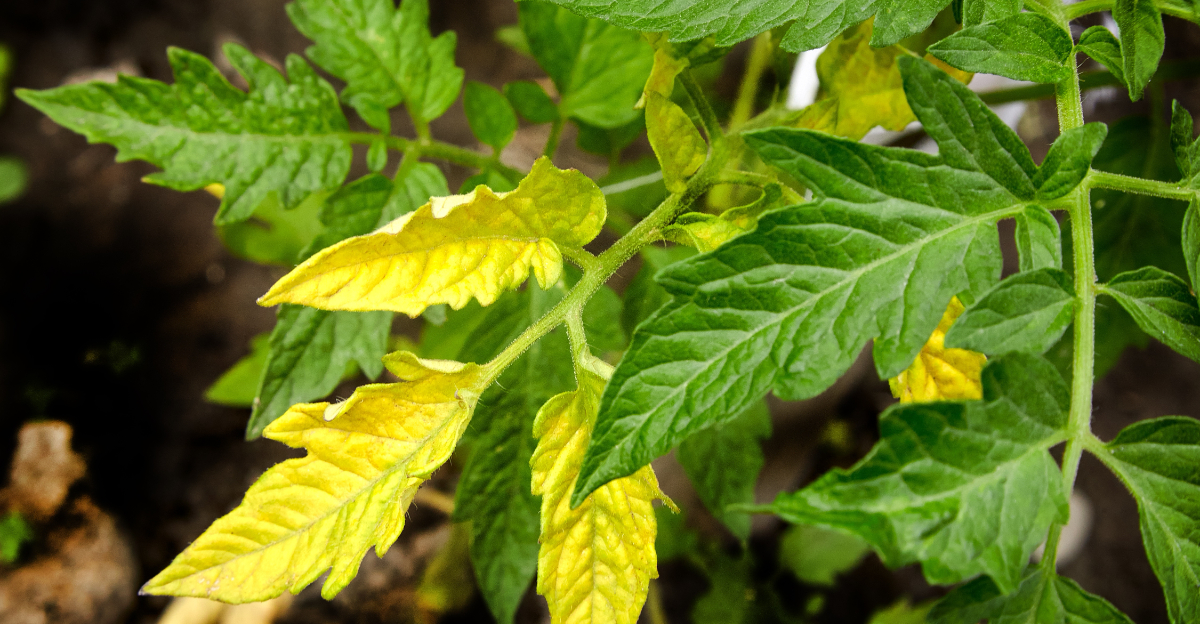
Yellow leaves on a tomato plant could mean five or six completely different things, and guessing wrong wastes time the plant does not have during a North Carolina summer.
Nitrogen deficiency, overwatering, early blight, and root stress all produce yellowing that looks similar enough to confuse even experienced gardeners at first glance.
The pattern of where the yellowing starts, how it spreads, and what else is happening on the plant actually tells a fairly specific story once you know what to look for.
Reading those signals correctly is the difference between fixing the real problem this week and watching the plant decline while treating the wrong cause.
1. Yellow Lower Leaves May Mean Nitrogen Is Low
After a heavy North Carolina rainstorm, you might walk out to your garden and notice the bottom leaves of your tomato plants looking pale and washed out.
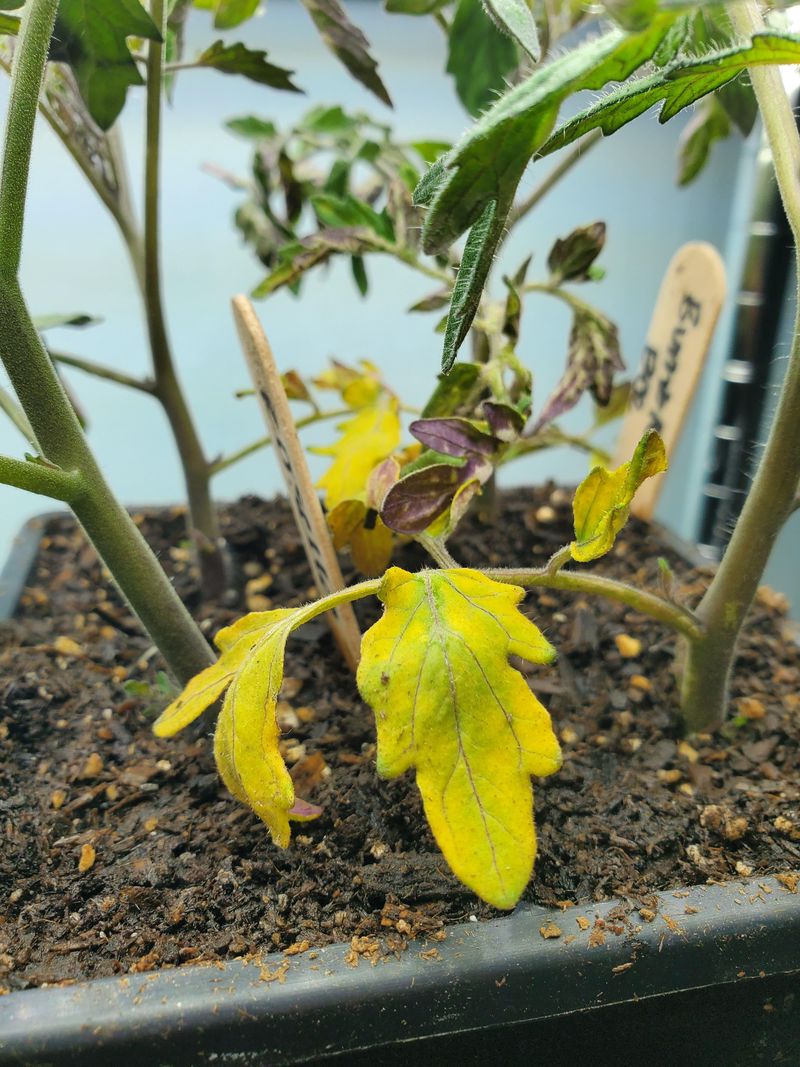
Plain, even yellowing on the older lower leaves is one of the most common signs that nitrogen has been flushed out of the soil.
Nitrogen moves quickly in water, especially in sandy or fast-draining vegetable beds, and heavy rain can strip it away faster than most gardeners expect.
Tomatoes are hungry growers. They push out new leaves, flowers, and fruit all at once, and they need a steady supply of nitrogen to keep that green color strong.
When nitrogen runs low, the plant pulls what little it has from the oldest leaves first, which is why the bottom ones go yellow before anything else does.
Before you grab a fertilizer bag and start pouring, take a breath. A soil test from your local North Carolina Cooperative Extension office costs very little and tells you exactly what your soil needs.
Guessing can lead to over-fertilizing, which creates its own set of problems.
If a test confirms low nitrogen, a slow-release organic fertilizer worked gently into the soil around the base of the plant is a smart, steady fix that feeds without overwhelming your tomatoes.
2. Yellow Leaves With Spots May Mean A Leaf Disease
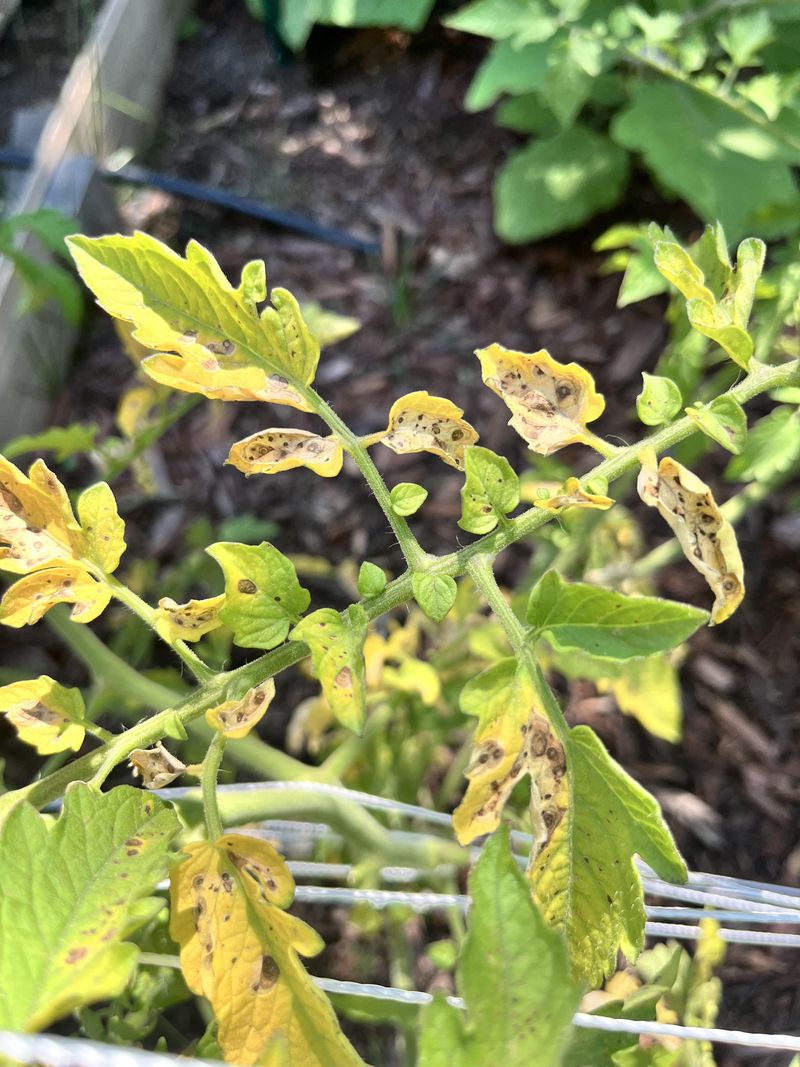
Not all yellow leaves look the same, and that difference matters a lot.
When you spot yellow areas on the leaf that come with brown edges, dark centers, or small scattered spots, you are likely looking at a fungal disease rather than a simple nutrient problem.
Early blight and Septoria leaf spot are two of the most common culprits in North Carolina, and both love the warm, humid summers the state is known for.
Both diseases tend to start at the bottom of the plant and slowly work their way upward if nothing is done. Spores travel easily through splashing water, so overhead watering or heavy rain can help them spread from leaf to leaf faster than you might think.
Crowded plants make things even worse because the leaves stay wet longer when air cannot move through freely.
Catching these diseases early gives you a real advantage. Remove affected lower leaves carefully, seal them in a bag, and throw them away rather than composting them.
Your North Carolina Garden Changes Every Week. Your Plan Should Too.
Gardening in North Carolina changes quickly throughout the season. Every Friday you’ll receive a simple weekly plan showing exactly what to plant, prune, fertilize, harvest, and protect so you never miss the right timing.
Water at the base of the plant instead of from above, and try to water in the morning so leaves dry out during the day. Giving your plants more breathing room by thinning or staking also helps a great deal.
If the problem keeps spreading, a copper-based fungicide approved for vegetables can offer extra protection when used as directed.
3. Wet Soil Can Make Tomato Leaves Turn Yellow
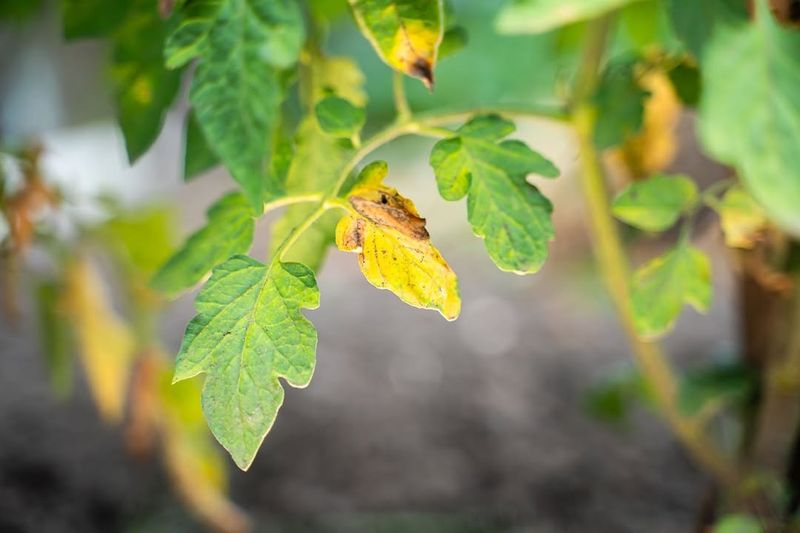
Tomatoes love water, but they absolutely cannot stand sitting in it. When soil stays soggy for too long, the roots run out of oxygen, and a stressed root system cannot deliver nutrients the way it should.
That stress shows up quickly in the leaves, which start turning yellow as the plant struggles to function properly.
North Carolina gardeners deal with this more often than they might realize. Clay-heavy soils in the Piedmont region, for example, can hold water for a long time after a rain event.
Even gardeners with good intentions can accidentally overwater, especially when they water on a schedule rather than checking what the soil actually needs first.
A simple fix starts before you ever pick up the hose. Push your finger about two inches into the soil near the base of the plant.
If it still feels moist, skip watering that day. If the garden bed stays wet after rain, consider raising it slightly or working in compost to improve drainage over time.
Watering deeply but less frequently encourages roots to grow down where moisture is more stable, rather than staying shallow where soil dries and floods in cycles.
Consistent, thoughtful watering is one of the single best things you can do for tomatoes in a warm, unpredictable North Carolina growing season.
4. Dry Soil Can Also Cause Yellowing
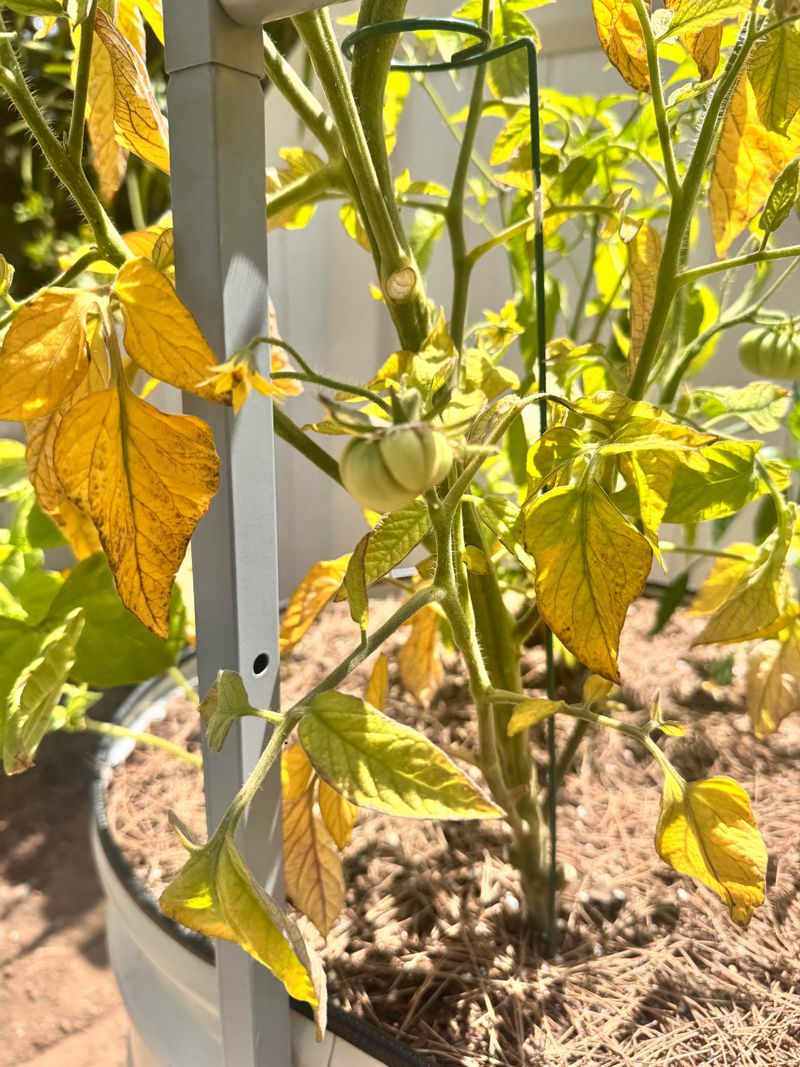
Here is something that surprises a lot of new gardeners: both too much water and too little water can cause yellow leaves on tomatoes. During North Carolina’s hot summer months, soil can dry out shockingly fast, especially during stretches without rain.
When tomato plants go through dry spells, they struggle to pull nutrients up through their roots, and the leaves start to show it.
Uneven moisture is actually one of the sneakier problems. A plant that gets flooded on Monday and bone-dry by Friday cannot regulate itself properly.
That back-and-forth stress weakens the plant over time, making it harder to absorb calcium, magnesium, and other key nutrients even when they are present in the soil.
Yellow leaves are often the first visible sign that something is off with the plant’s water balance.
Mulch is genuinely one of the best tools a tomato gardener has. A two to three inch layer of straw or wood chip mulch around the base of each plant slows evaporation dramatically, keeping soil moisture more stable between waterings.
Water deeply at the base of the plant rather than giving shallow splashes every day, since deep watering encourages stronger root growth.
Drip irrigation or a soaker hose is worth considering if you have a larger garden, because it delivers water right where the roots need it most without wetting the foliage.
5. Container Tomatoes May Need More Frequent Checks
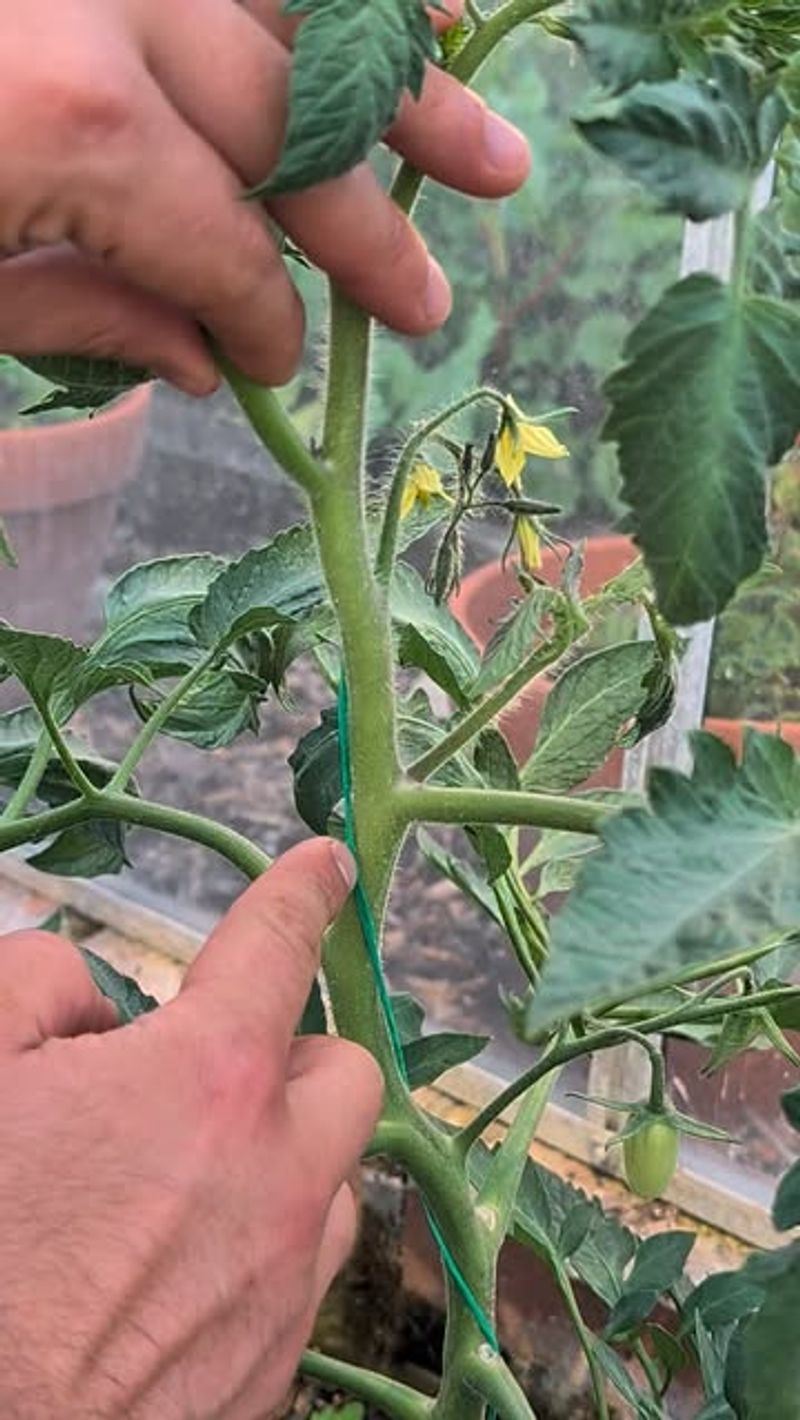
Growing tomatoes in containers is a fantastic option if you have limited garden space, but potted plants play by slightly different rules.
Yellow leaves tend to show up faster in containers than in garden beds, and the reasons can go in two completely opposite directions at the same time.
Containers dry out quickly in summer heat, especially on concrete patios or sunny decks where temperatures run higher than you might expect.
On the flip side, a pot with poor drainage or a blocked drainage hole can hold water at the bottom, leaving roots sitting in wet conditions even when the top of the soil feels dry.
This creates a confusing situation where the plant looks thirsty but is actually being overwatered at the root level.
Sticking your finger deep into the potting mix rather than just touching the surface will give you a much more accurate read on what is actually happening.
Container tomatoes also run through nutrients faster than garden plants because watering flushes the potting mix more thoroughly over time.
A balanced slow-release fertilizer added at planting, followed by a liquid feed every couple of weeks during the growing season, helps keep things steady.
Check that drainage holes are clear before every watering, use a quality potting mix designed for vegetables, and move containers to shadier spots during the hottest part of the afternoon if your plants show signs of heat stress.
6. Yellowing Can Mean The Plant Is Too Crowded
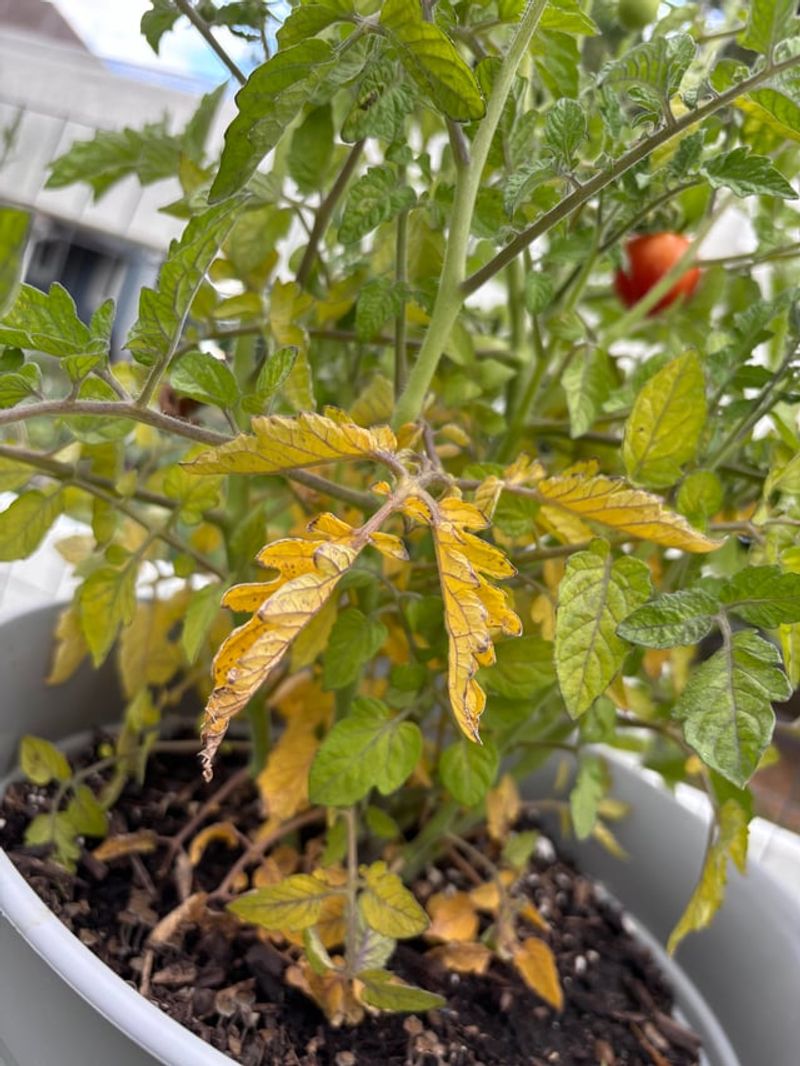
Planting tomatoes close together might seem like a great way to fit more into a small garden, but it often backfires in a big way. When plants are packed too tightly, the lower leaves end up shaded out by the canopy above them.
Leaves that cannot reach sunlight struggle to do their job, and they often turn yellow and fade as the plant redirects energy toward the leaves and stems that are actually getting light.
Tight spacing also creates a moisture trap. When foliage overlaps and air cannot circulate freely, leaves stay wet much longer after rain or morning dew.
That extra dampness creates the exact conditions that fungal diseases love, which means crowded gardens often deal with both yellowing and spotting at the same time. It becomes a cycle that gets harder to manage the longer it goes unchecked.
Most tomato varieties grow best with at least two to three feet of space between plants, and some larger indeterminate types need even more room. Staking, caging, or using a trellis system keeps vines upright and opens the plant up to better airflow.
Selective pruning of suckers, especially the ones growing in the crotch between the main stem and a branch, helps manage the overall size of the plant without removing productive growth. A little extra space now saves a lot of frustration later in the season.
7. Yellow Curled New Leaves May Point To Virus Trouble
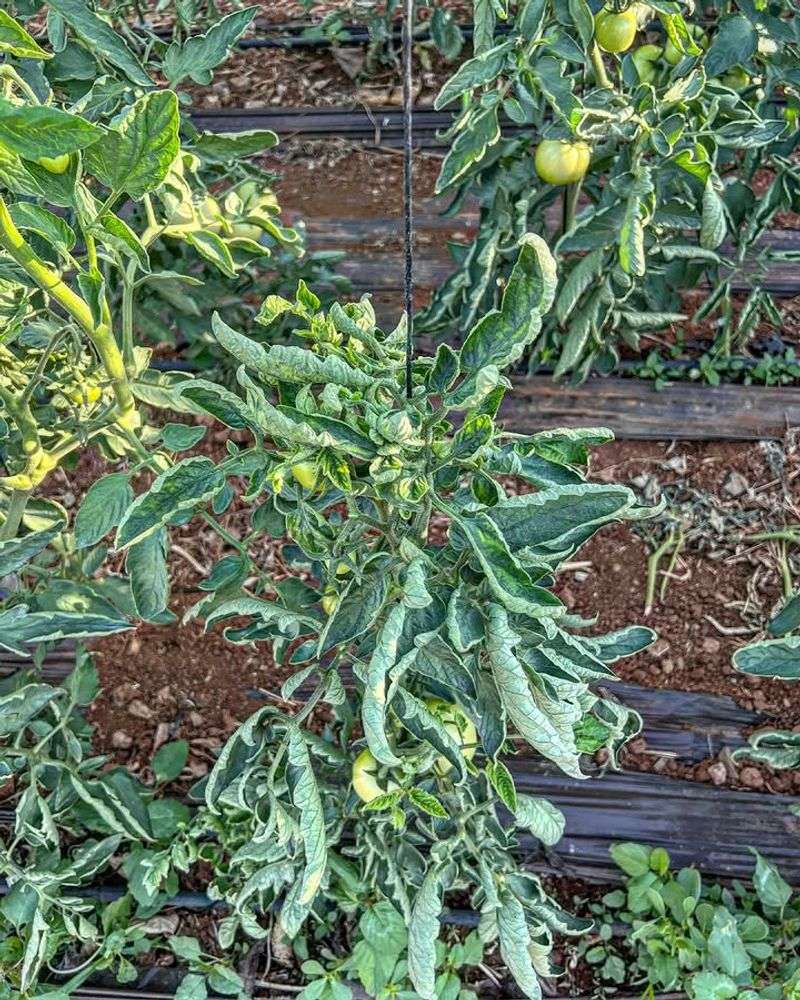
Yellowing on brand-new leaves at the top of the plant is a completely different situation from the faded lower leaves we have already talked about.
When the newest growth looks yellow, curled, or twisted, that is a signal worth paying close attention to right away.
One possible cause is tomato yellow leaf curl virus, a disease that primarily affects new growth and spreads through tiny insects called whiteflies.
Whiteflies are small, white, moth-like insects that cluster on the undersides of leaves. They feed on plant sap and can carry the virus from one plant to another as they move through the garden.
The virus itself cannot be treated once a plant has it, which makes prevention and early detection especially important. North Carolina’s warm climate is welcoming to whiteflies, particularly in late summer when populations tend to peak.
If you notice curled, yellowing new growth, flip a few leaves over and look for whiteflies before drawing any conclusions.
Reflective mulch around the base of plants has been shown to confuse and deter whiteflies. Yellow sticky traps can help monitor population levels in the garden.
For plants that show severe symptoms across most of their new growth, contact your local North Carolina Cooperative Extension office for guidance, since they can help confirm whether you are dealing with a virus or something else entirely before you take action.
8. Yellow New Growth May Mean A Different Nutrient Issue
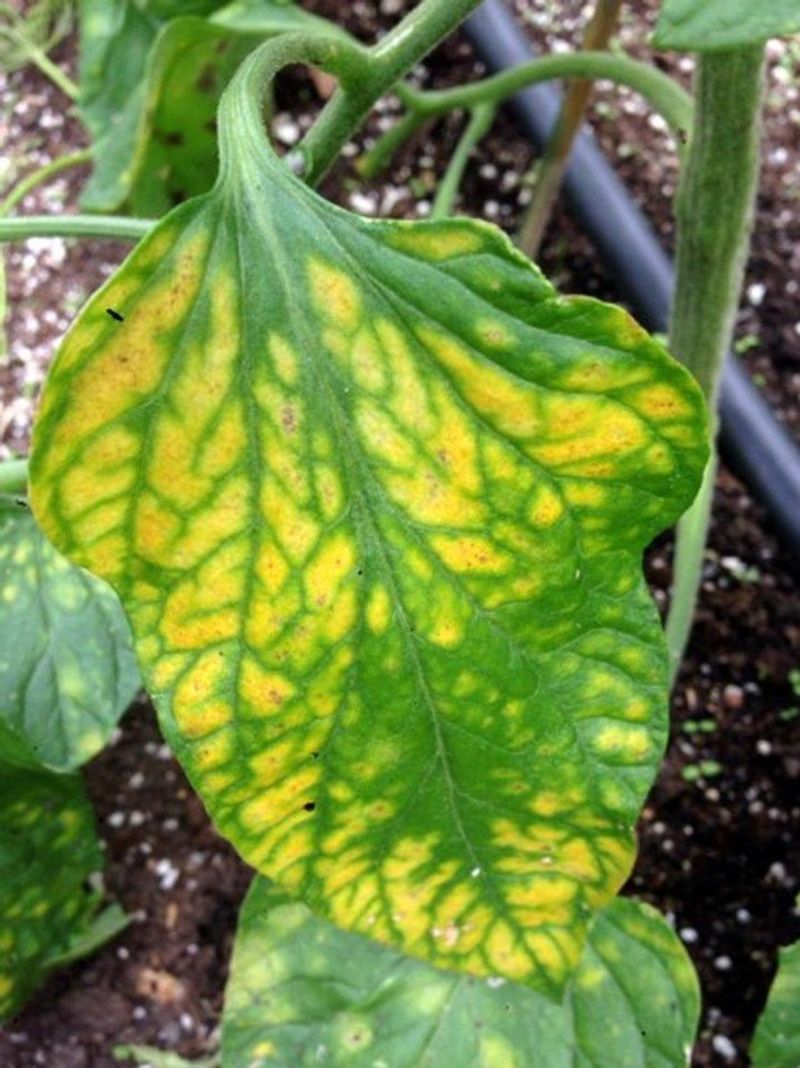
When the youngest leaves at the very top of the tomato plant turn yellow while the older ones stay green, that pattern tells a specific story.
Nutrient problems that show up first on new growth are usually tied to iron or sulfur, two elements that plants need in smaller amounts but cannot do without.
The tricky part is that these nutrients are often present in the soil but are simply unavailable to the plant because of pH or drainage issues.
Soil pH plays a huge role here. Tomatoes prefer a slightly acidic soil, ideally between 6.0 and 6.8 on the pH scale.
When soil becomes too alkaline, iron becomes chemically locked up and the plant cannot absorb it even when it is sitting right there in the soil.
This condition, called iron chlorosis, shows up as yellowing between the leaf veins on new growth, while the veins themselves stay green. It looks a bit like a road map drawn in green on a yellow background.
Before adding anything to the soil, run a proper soil test. Many North Carolina gardeners find that adjusting pH with sulfur or addressing waterlogged conditions solves the problem without any additional supplements.
If a soil test confirms a deficiency, a chelated iron product or a balanced micronutrient fertilizer can help.
Resist the urge to add fertilizer based on guesswork alone, since too much of the wrong thing can create new problems just as fast as it solves old ones.
9. A Few Old Yellow Leaves Can Be Normal
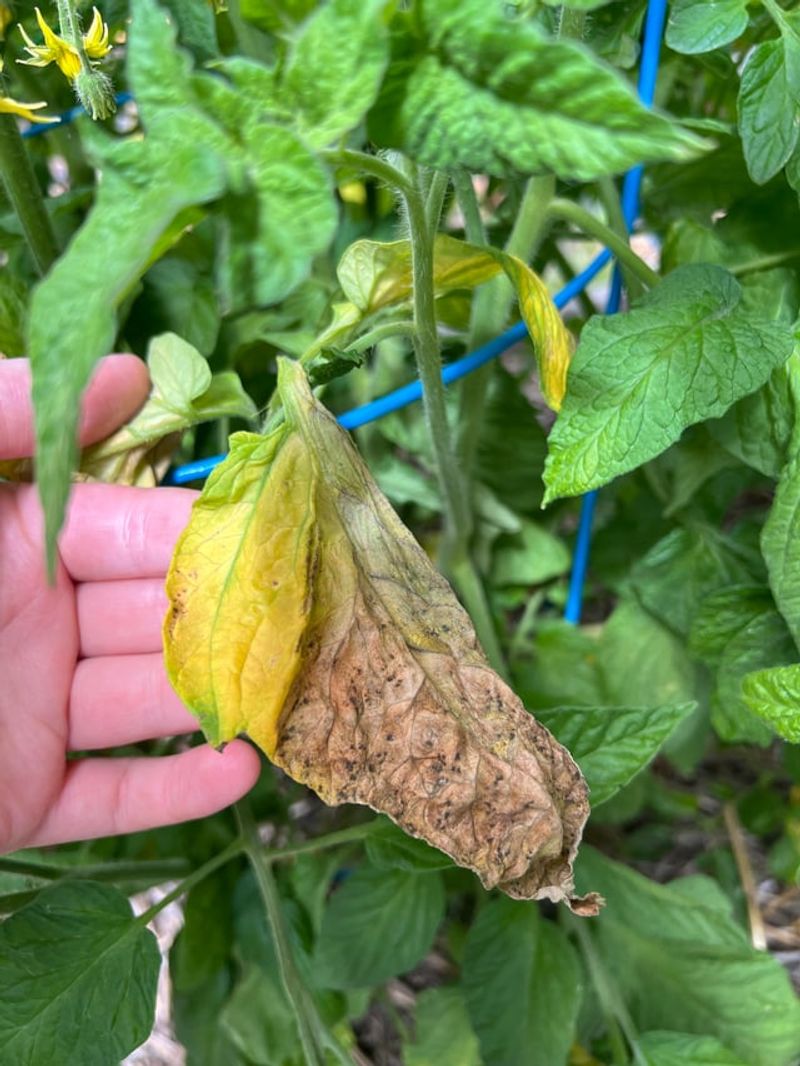
Sometimes the most reassuring thing a gardener can hear is that everything is fine.
One or two yellow leaves near the bottom of a healthy tomato plant are not always a warning sign, and rushing to treat something that does not need treatment can actually cause more harm than good.
As tomato plants grow taller and fill out, the lower leaves naturally get shaded by the canopy above them and start to fade.
Think of it as the plant reorganizing its energy. Leaves that no longer receive enough sunlight to contribute to photosynthesis become less useful, and the plant gradually withdraws resources from them.
The yellowing you see is simply that process playing out. It happens more noticeably as the season progresses and the plant shifts its focus toward producing flowers and fruit rather than building new foliage.
The key is knowing what normal looks like versus what needs attention. A single yellow leaf here and there, especially at the base of a plant that is otherwise green, vigorous, and producing well, is almost always nothing to worry about.
Concern is warranted when yellowing spreads quickly, covers large portions of the plant, comes with spots or curling, or appears on new growth at the top. When in doubt, observe the pattern over a few days before acting.
Patience and careful observation are two of the most underrated tools in any gardener’s toolbox.