The Month By Month Oregon Fruit Tree Care Calendar Backyard Growers Need
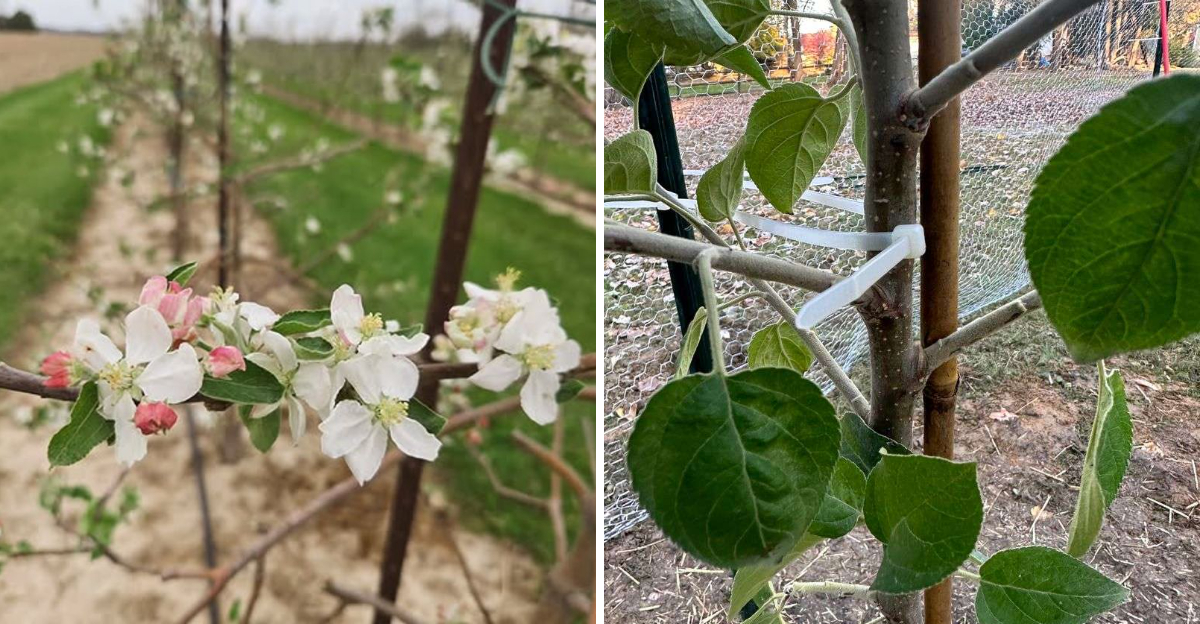
Fruit trees do not care about your schedule.
They follow the seasons, and if your care does not match what the tree needs each month, you end up with weak harvests, pest problems, and a whole lot of frustration that feels personal even though it is entirely predictable.
Oregon is one of the best places in the country to grow backyard fruit trees, with a climate that suits apples, pears, plums, cherries, and peaches across a remarkable range of elevations and regions.
But Oregon’s variability is also the challenge.
Timing that works perfectly in the Willamette Valley can be wrong by three weeks for a grower in eastern Oregon or at higher elevation.
The difference between catching a pest early and watching it wreck a season often comes down to knowing what to look for in a specific month.
This calendar gives Oregon backyard growers a simple, month-by-month plan that works with the natural rhythm of their trees rather than against it.
Twelve months, one tree at a time.
1. January: Inspect Dormant Trees
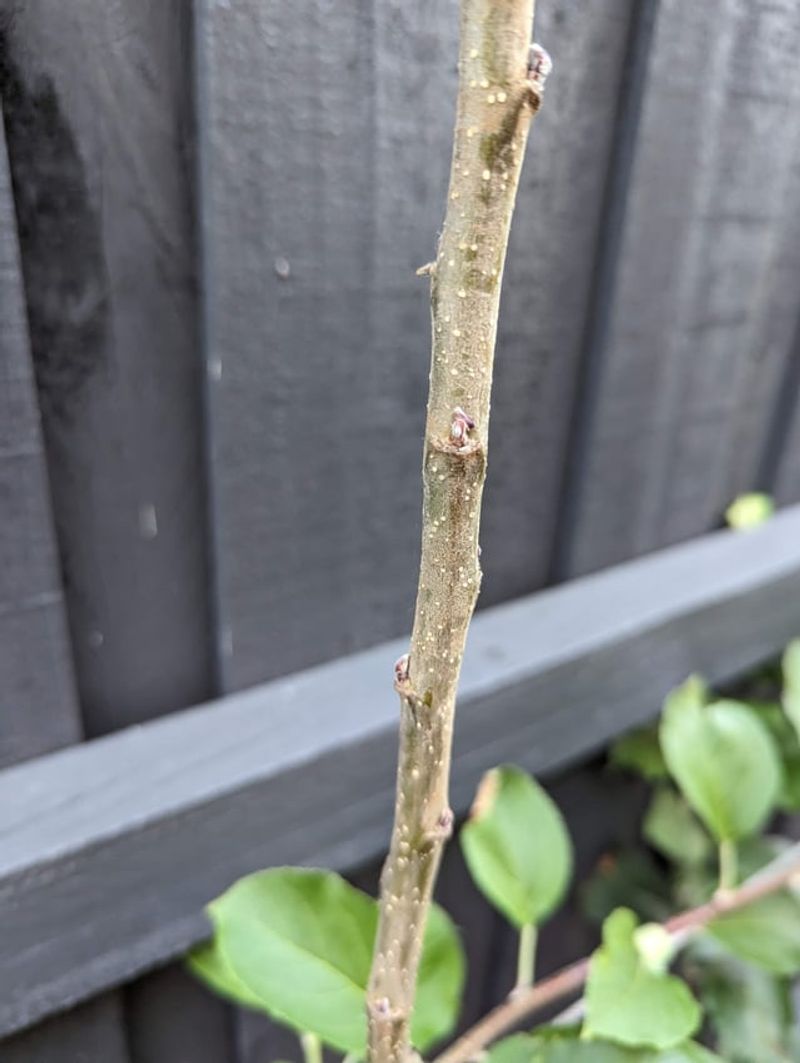
January feels quiet in the orchard, but that stillness is exactly what makes it the perfect time to look closely at your trees.
With all the leaves gone, you can see the full skeleton of each tree without anything blocking your view. Walk the yard slowly and look at every branch from multiple angles. What you find now shapes everything you do for the rest of the year.
Start by checking the overall structure.
Are there branches crossing each other or rubbing together? Look for any that snapped under fall wind or early ice.
Broken wood left on the tree can invite fungal problems and give overwintering insects a cozy spot to wait out the cold.
Remove any old, shriveled fruit still clinging to branches, called mummified fruit, because it harbors brown rot spores that spread fast in spring.
Check the trunk carefully from the soil line up.
Look for cracks, sunken bark, or oozing areas that could signal canker disease or frost damage. Oregon winters vary a lot depending on your elevation and region.
Valley growers face fewer hard freezes than those at higher elevations, so adjust your expectations accordingly.
Take notes or photos of any problem areas so you have a record to compare next year.
This is also a good time to scout for overwintering pest eggs on bark or in crevices. San Jose scale and aphid eggs are common in Oregon orchards.
You are not treating anything yet. You are just building a clear picture of what your trees need heading into the active season.
2. February: Prune Before Budbreak
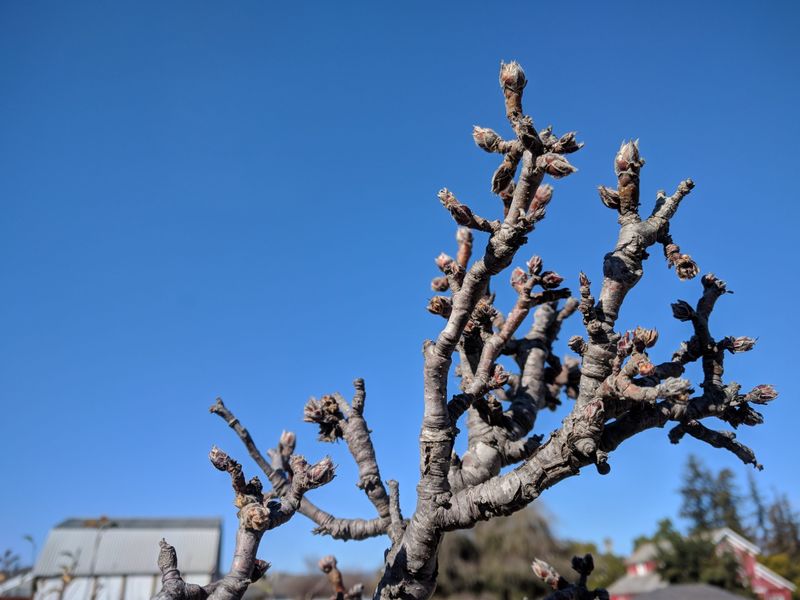
Grab your pruning tools now, because February is prime time for dormant pruning in most of Oregon.
The trees are still sleeping, stress is low, and cuts heal quickly once growth kicks off in spring. Waiting too long risks cutting into emerging buds, which sets growth back and stresses the tree unnecessarily.
Focus on structural cuts first.
Remove any branches that are crossing, crowding the center, or growing straight down toward the ground. The goal is an open canopy that lets light and air move through freely.
Your Oregon Garden Changes Every Week. Your Plan Should Too.
Gardening in Oregon changes quickly throughout the season. Every Friday you’ll receive a simple weekly plan showing exactly what to plant, prune, fertilize, harvest, and protect so you never miss the right timing.
Good airflow reduces the chance of fungal diseases like fire blight and powdery mildew, both of which are common in Oregon’s wet spring climate.
Be careful not to overprune, especially on young trees.
Removing more than about a quarter of the canopy at one time can trigger an explosion of vigorous but weak water sprouts. On mature trees, steady moderate pruning over several years gets better results than one aggressive session.
Use sharp, clean tools and make cuts just outside the branch collar without leaving stubs.
Timing varies across Oregon. Growers in the Willamette Valley can often prune in late January or early February, while those in eastern Oregon or at higher elevations may need to wait until late February or early March when hard freezes are less likely.
Sterilize your tools between trees if fire blight was present last season.
3. March: Plant Bare Root Trees
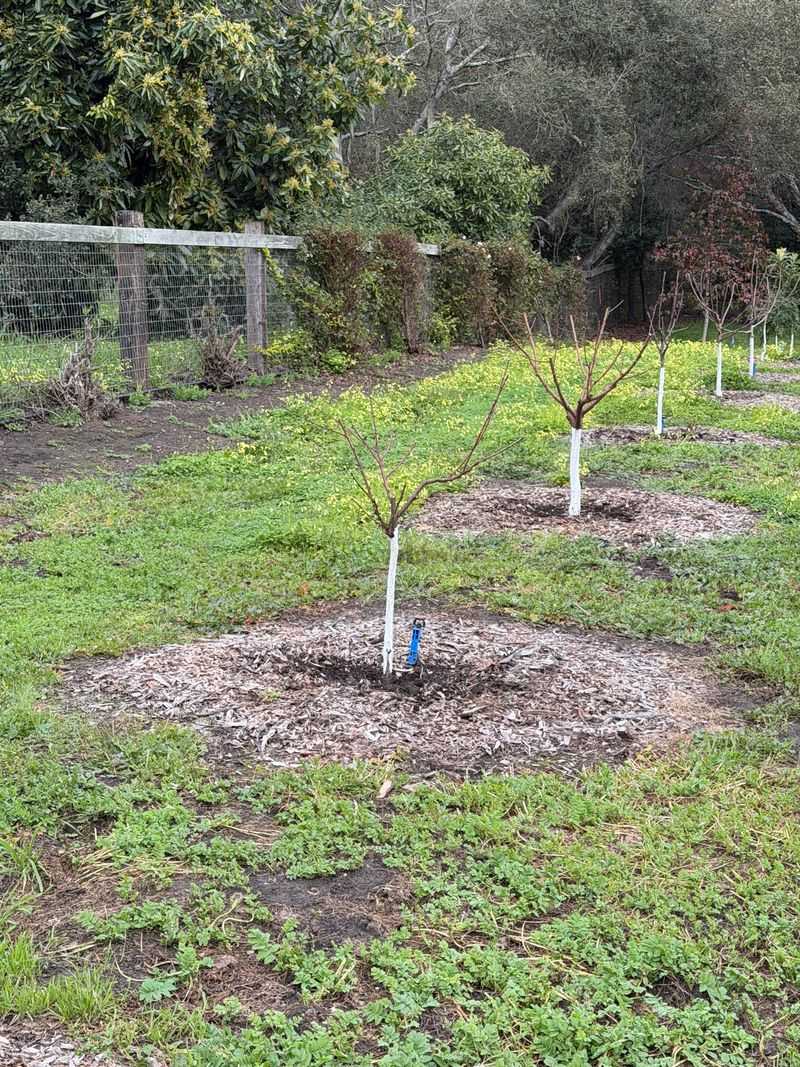
Bare root season does not last long, and March is usually your best window across most of Oregon.
Nurseries sell bare root trees while they are still dormant, which means the tree has no leaves and the roots are exposed. It sounds dramatic, but this is actually one of the most successful ways to establish a new fruit tree in your yard.
Choosing the right site matters more than almost anything else.
Fruit trees need at least six to eight hours of direct sun each day. Avoid low spots where cold air pools on frosty nights, since late spring freezes can wipe out an entire season of blossoms.
Good drainage is non-negotiable. Roots sitting in soggy soil for extended periods will develop problems that no amount of care fixes once they start.
Dig your planting hole wide and shallow rather than deep and narrow.
The graft union, the slightly swollen spot near the base of the trunk, should sit just above the soil line. Never bury it.
Backfill with the native soil you dug out rather than rich amended soil, which can discourage roots from spreading outward.
Water the tree in thoroughly after planting.
Stake only if your site is exposed to strong wind, and use a loose tie that does not cut into the bark. Remove the stake after the first growing season so the trunk can develop natural strength on its own.
4. April: Watch Blossoms And Frost
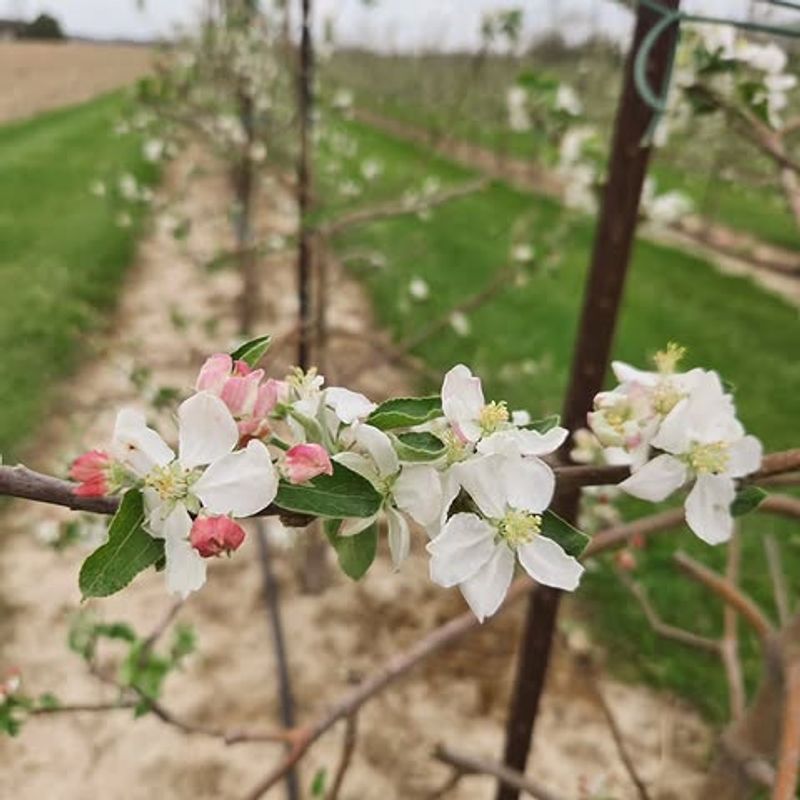
Few things in the backyard orchard are as beautiful and as nerve-wracking as bloom time.
April in Oregon brings spectacular blossoms, but it also brings unpredictable weather. A single hard frost on the wrong night can eliminate your entire fruit crop before a single bee visits a flower.
Paying attention to the forecast during bloom is one of the most valuable things a backyard grower can do.
Most fruit tree blossoms can tolerate light frost, but temperatures dropping below 28 degrees Fahrenheit for more than a few hours can cause real damage.
The most vulnerable stage is when the tiny fruitlets have just formed right after petal fall. Cover small trees overnight with frost cloth or old bedsheets if temperatures threaten to drop that low.
Remove covers the next morning so bees can access the flowers during daylight hours.
Pollination is the other big April concern. Most apples and pears need a second compatible variety nearby to set fruit well. Check that your pollinators are blooming at the same time.
Warm, calm, dry days bring out bees and other pollinators. Rainy or cold bloom periods reduce pollination success, which leads to light crops even on healthy trees.
Bloom timing shifts depending on your location.
Willamette Valley trees often bloom two to four weeks earlier than trees at higher elevations or in eastern Oregon.
Watch your specific trees rather than a fixed calendar date, because local conditions always tell you more than any general guide can.
5. May: Thin Young Fruit Early
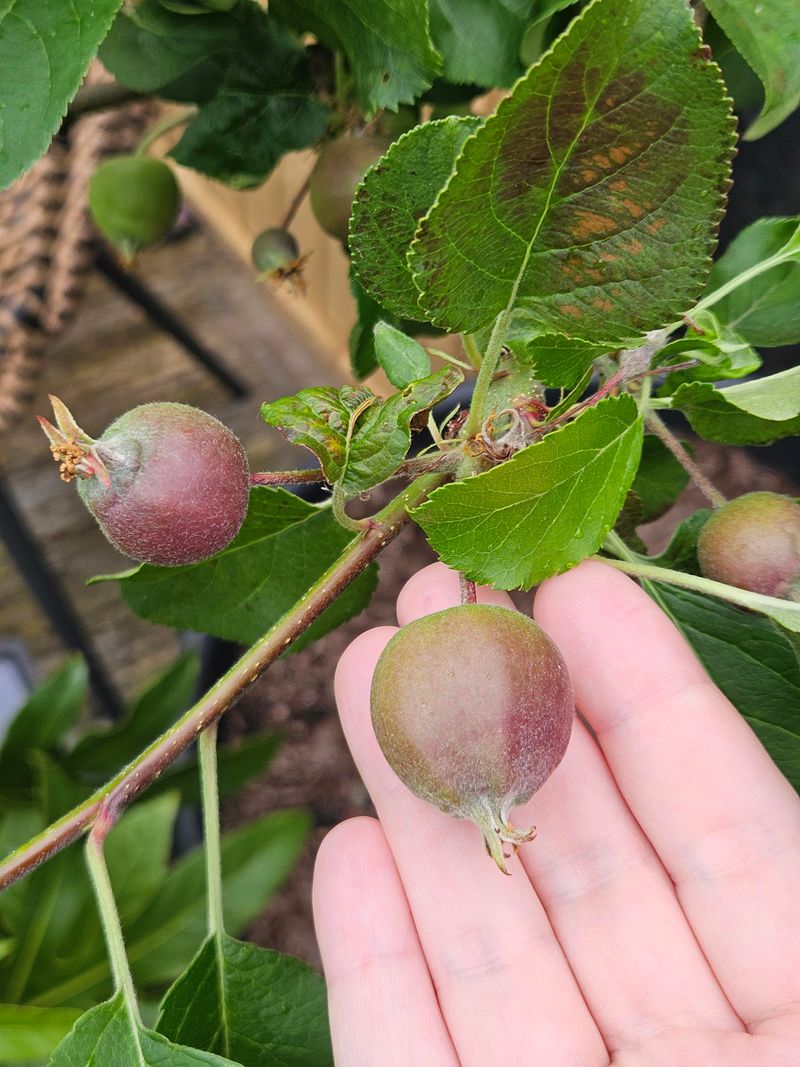
Thinning fruit feels wrong the first time you do it.
You are removing perfectly good little fruits from a tree you have been nurturing all spring. But this single task has more impact on the quality of your harvest than almost anything else you will do all year.
Skipping it usually means lots of small, disappointing fruit and branches under more stress than they should handle.
Apples and pears benefit most from thinning.
Remove fruits so that the ones remaining are spaced about six inches apart along each branch. On peaches and nectarines, four to six inches between fruits is the general target.
Plums can be thinned more lightly, but removing some fruitlets still improves size.
Do your thinning when the fruitlets are roughly the size of a marble, usually a few weeks after petal fall.
Thinning also helps prevent a cycle called alternate bearing, where trees produce a huge crop one year and almost nothing the next.
By reducing the crop load early, the tree can put energy into developing strong buds for the following season. It is a long-game strategy that pays off over many years.
Use your fingers or small scissors to remove the extras. Focus on keeping the central fruit in each cluster, which is usually the largest and best positioned.
Toss the thinned fruitlets away from the base of the tree rather than leaving them on the ground, where they attract pests and harbor early disease pressure.
6. June: Train New Growth Carefully
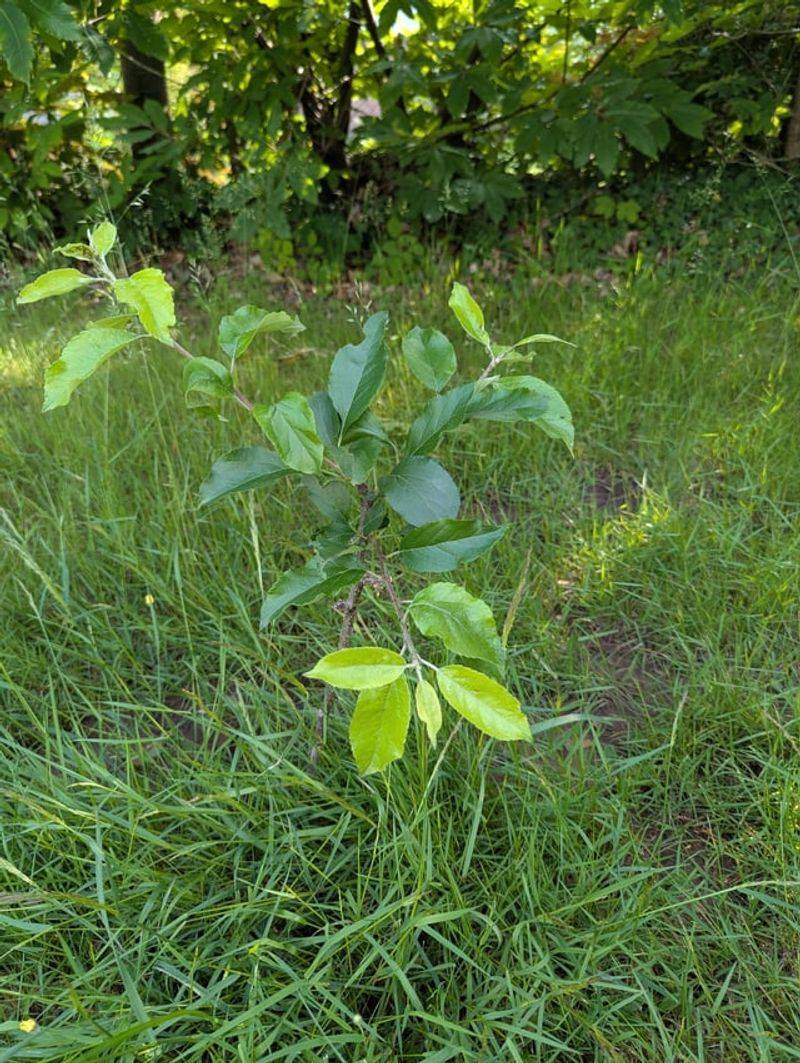
June is when your fruit trees put on a show.
New shoots push out fast, branches extend, and the whole tree seems to double in energy. For young trees especially, this is a critical month for guiding that growth into a shape that will serve the tree well for decades.
A little effort now avoids major corrective pruning later.
Training is different from pruning. Instead of cutting branches off, you are gently bending and positioning them to encourage a wide, open structure.
Branches trained to grow at a wider angle from the trunk tend to produce fruit earlier and bear more consistently than those that grow straight up.
Use soft ties, cloth strips, or commercial training clips to hold branches in position.
Check all ties every few weeks to make sure none are cutting into the bark as the branch thickens. Avoid heavy pruning in June unless a branch is damaged or growing in a truly problematic direction.
Summer pruning removes leaves that the tree needs to gather energy. Light corrective cuts are fine, but save major structural work for the dormant season.
Watch for water sprouts, the fast-growing vertical shoots that pop up from main branches or near old pruning cuts.
Rub them off with your thumb while they are still young and soft. Once they harden into woody growth, removal requires a cut that leaves a small wound. Staying on top of them early makes the job much easier throughout the summer.
7. July: Water Deeply Through Heat
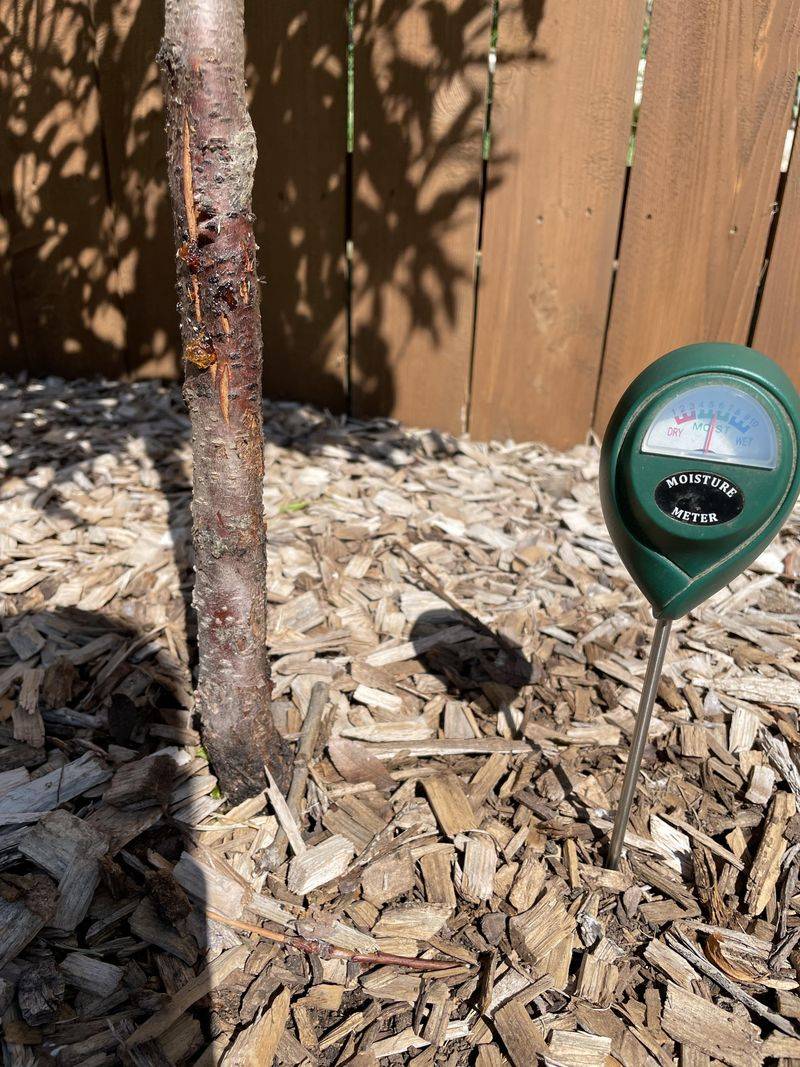
Oregon summers can swing from mild and coastal to blazing hot in the interior valleys and eastern regions.
July is often the driest stretch of the growing season, and fruit trees are working hard this month, sizing up fruit and building energy reserves for next year. Water is not optional during summer heat. It is the foundation everything else depends on.
Deep, infrequent watering beats shallow daily sprinkles every single time.
When you water deeply, roots follow the moisture down into the soil where temperatures stay cooler and conditions are more stable. Shallow watering keeps roots near the surface, where they are vulnerable to heat and dry spells.
Aim to water slowly and thoroughly, letting moisture soak down at least twelve to eighteen inches into the root zone.
Drip irrigation or soaker hoses are ideal tools for fruit trees because they deliver water directly to the root zone without wetting the foliage. Wet leaves in warm weather can encourage fungal diseases.
Mulch is your best friend in July.
A four to six inch layer of wood chips or straw around the base of the tree holds moisture in the soil, keeps roots cooler, and reduces how often you need to water.
Keep mulch a few inches away from the trunk itself to prevent moisture-related bark problems. Check soil moisture at least twice a week during heat waves.
8. August: Support Heavy Branches
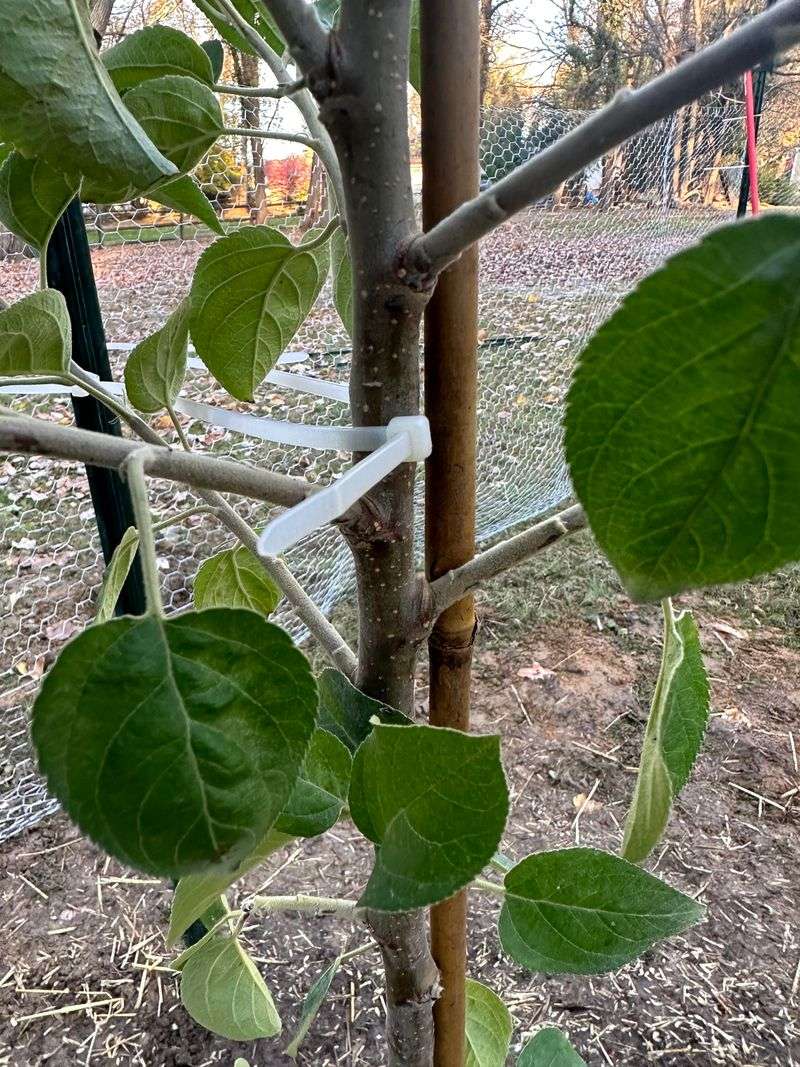
August is abundance month, and sometimes that abundance becomes a problem. A bumper crop of apples, pears, or plums is wonderful until a branch snaps under the weight.
Broken limbs mean years of lost production from that section of the tree, and large wounds can invite disease. Getting ahead of this problem is straightforward and does not require expensive tools.
Walk your orchard in early August and look for branches bending noticeably under their fruit load.
A classic fix is a simple wooden prop, basically a forked stick or a piece of lumber with a notch cut in the top to cradle the branch.
Position it firmly in the soil below the branch and adjust the height so the branch is supported without being forced unnaturally upward.
You can also use rope or twine tied from the drooping branch up to a higher, stronger branch or to the main trunk.
Make sure whatever you use does not cut into the bark. Wrap the contact point with cloth or rubber before tying.
While you are out there checking branches, look closely at the fruit and foliage for signs of trouble.
Codling moth damage, brown rot, and apple scab all show up most visibly in August. Pick up any fallen fruit regularly. Leaving it on the ground creates a pest and disease reservoir that makes next year harder.
Early-ripening varieties like Lodi apples may already be ready to harvest this month.
9. September: Harvest And Clean Up
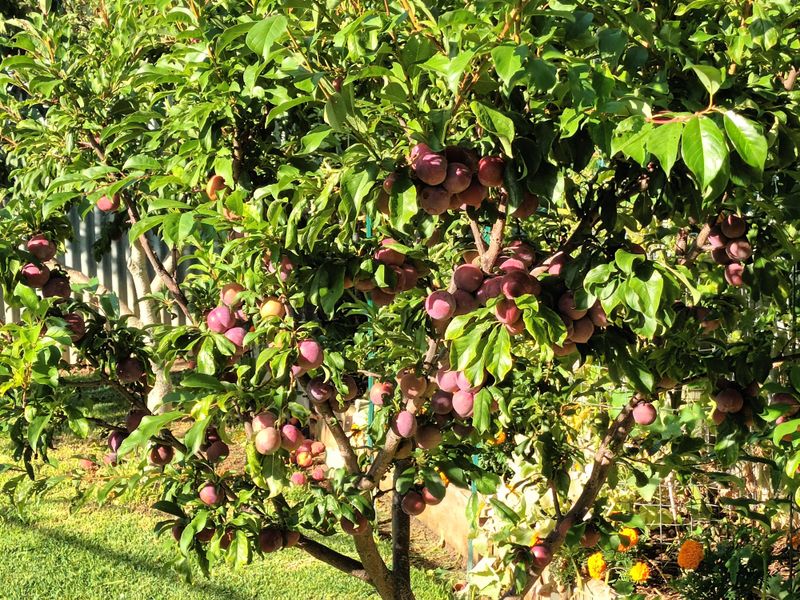
Harvest timing is one of those skills that gets sharper with experience.
Picking too early means bland, starchy fruit that never quite develops its full flavor. Waiting too long leads to mealy texture and fruit that drops before you can collect it.
Learning to read your specific varieties takes a few seasons, but there are reliable clues to guide you along the way.
For most apples, give the fruit a gentle lift and twist.
If it separates from the branch without much resistance, it is ready. Seeds inside should be brown, not white. Taste test a sample from different parts of the tree, since fruit on the sunny side often ripens before fruit in the shade.
Pears are typically harvested before they are fully ripe and allowed to finish ripening indoors at room temperature.
Sanitation during harvest season is just as important as picking the fruit itself.
Collect and remove all fallen fruit from under the tree promptly. Fallen fruit left on the ground attracts yellowjackets, codling moths, and other pests while also spreading brown rot spores into the soil.
Rake up and remove fallen leaves as well, especially if your trees had any disease pressure during the season.
Do not compost diseased fruit or leaves in a backyard pile that stays cool.
Disease spores survive composting at low temperatures and return to your soil. Bag problem material and send it out with yard waste pickup instead.
10. October: Plant And Mulch New Trees
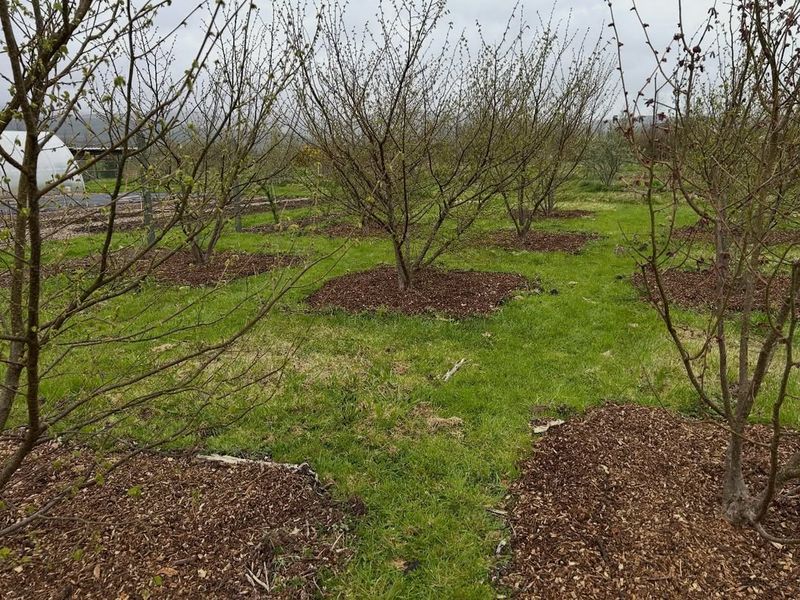
Many people think of spring as the only time to plant trees, but fall is actually an excellent planting window across much of Oregon.
Cooler temperatures reduce stress on newly planted trees, fall rains reduce your watering workload, and the tree gets several months of root establishment before it has to support a full canopy of leaves next spring.
Container-grown trees work best for fall planting since bare root stock is not yet available.
Site selection follows the same rules as spring planting. Full sun, good drainage, and enough space for the mature tree to spread without crowding structures or other plants.
Dig your hole wide and shallow, set the tree at the right depth with the graft union above soil level, and backfill with native soil. Water thoroughly after planting to settle the soil and remove air pockets around the roots.
Mulch is especially important for fall-planted trees. Apply a four to six inch layer of wood chips or shredded bark in a wide circle around the base of the tree.
This insulates the root zone from temperature swings, holds moisture as rains become less predictable in late fall, and gives young roots a more stable environment to grow through winter.
Keep mulch pulled back a few inches from the trunk.
Water new fall plantings every week or two if fall rains are slow to arrive. Oregon west of the Cascades usually gets reliable fall rain by October, but eastern Oregon can stay dry well into November.
Check soil moisture manually before watering rather than following a fixed schedule.
11. November: Guard Trunks From Rodents
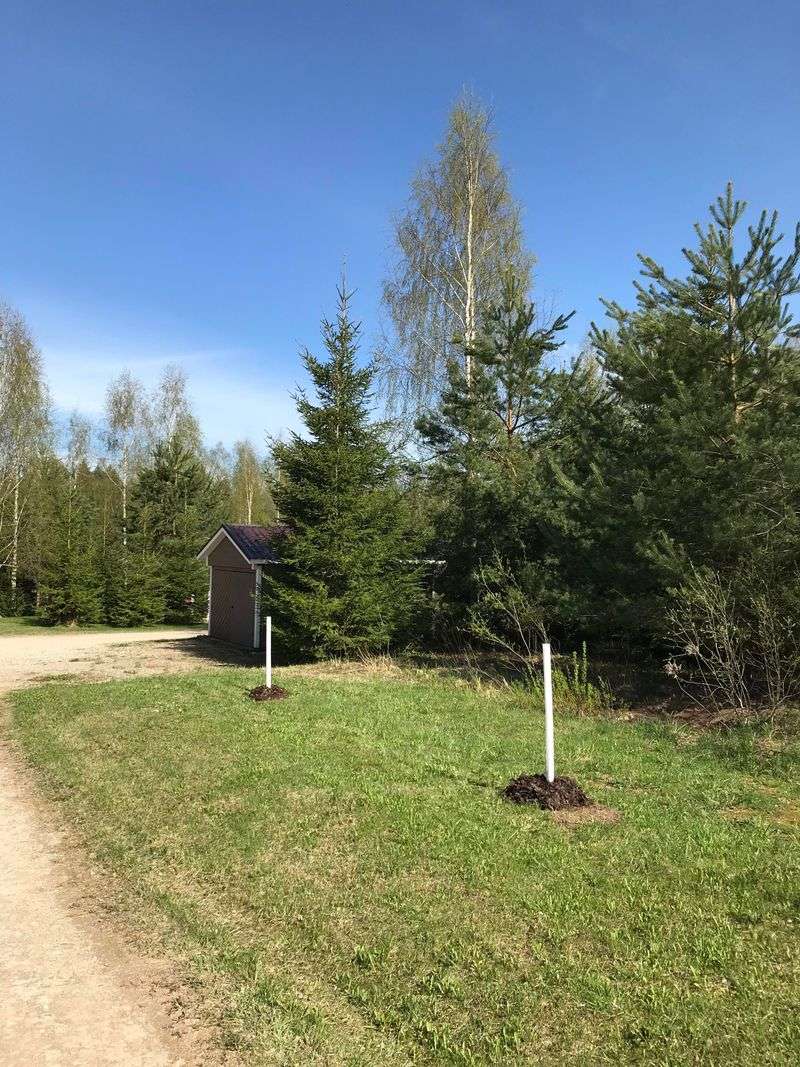
Voles and rabbits become a serious threat to young fruit trees as the weather cools and their natural food sources disappear.
Voles, which are small mouse-like rodents, tunnel through mulch and grass to gnaw on the bark at the base of young trees.
Rabbits browse on low branches and can strip bark from the trunk during lean winter months. Either one can cause enough damage to a young tree that it struggles to recover the following spring.
Hardware cloth cylinders offer the most reliable protection.
Use quarter-inch mesh hardware cloth and form it into a cylinder that surrounds the trunk with a few inches of space between the mesh and the bark.
Push the bottom edge into the soil or bury it a few inches down to block tunneling voles from getting underneath. The cylinder should be tall enough to stand above the expected snow depth in your area.
Plastic spiral tree guards are another option and are widely available at garden centers.
They wrap around the trunk and protect bark from gnawing. However, they can trap moisture and harbor insects if left on too long, so check under them periodically and remove them by late spring when the threat passes.
Mulch placement matters here too.
Pulling mulch back six to eight inches from the trunk in late fall removes the cozy hiding spot that voles love to use as a base of operations.
You can push it back in after hard freezes set in and the vole activity slows down. Inspect your trunk guards monthly through winter to make sure they are holding position.
12. December: Review Sprays And Tools
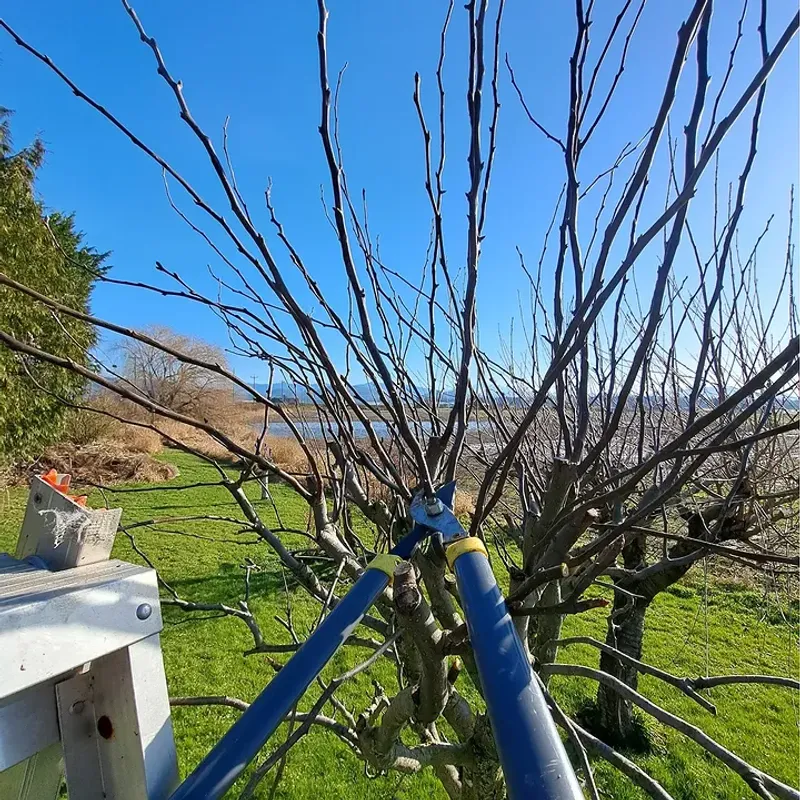
December is the quiet month in the orchard, and that makes it the perfect time to get your head and your tools organized for the year ahead.
Good records and clean equipment make every other month run more smoothly. Growers who skip this step often find themselves scrambling in February when pruning season arrives and their tools are dull, rusty, or missing entirely.
Start by cleaning and sharpening all your pruning tools.
Bypass pruners, loppers, and pruning saws should be wiped down, sharpened if needed, and lightly oiled before storage.
Sharp tools make cleaner cuts that heal faster and cause less bark tearing. Dull blades are also harder on your hands and take more effort to use.
Pull out your notes from the past season and review what happened.
Which trees had pest problems? Where did disease show up? What worked and what did not? This kind of honest review guides your decisions for next year far better than starting fresh with no memory of the previous season.
If you did not keep notes this year, start a simple orchard journal in January.
Dormant sprays, such as horticultural oil applied in late winter to smother overwintering pest eggs, are worth planning now if pest pressure was high this year.
Consult Oregon State University Extension or Pacific Northwest Pest Management resources before choosing any spray product.
Not every tree needs dormant sprays every year. Plan based on what you actually observed rather than spraying on a fixed routine.