What Holes In Your Michigan Hosta Leaves Really Mean And How To Fix Them
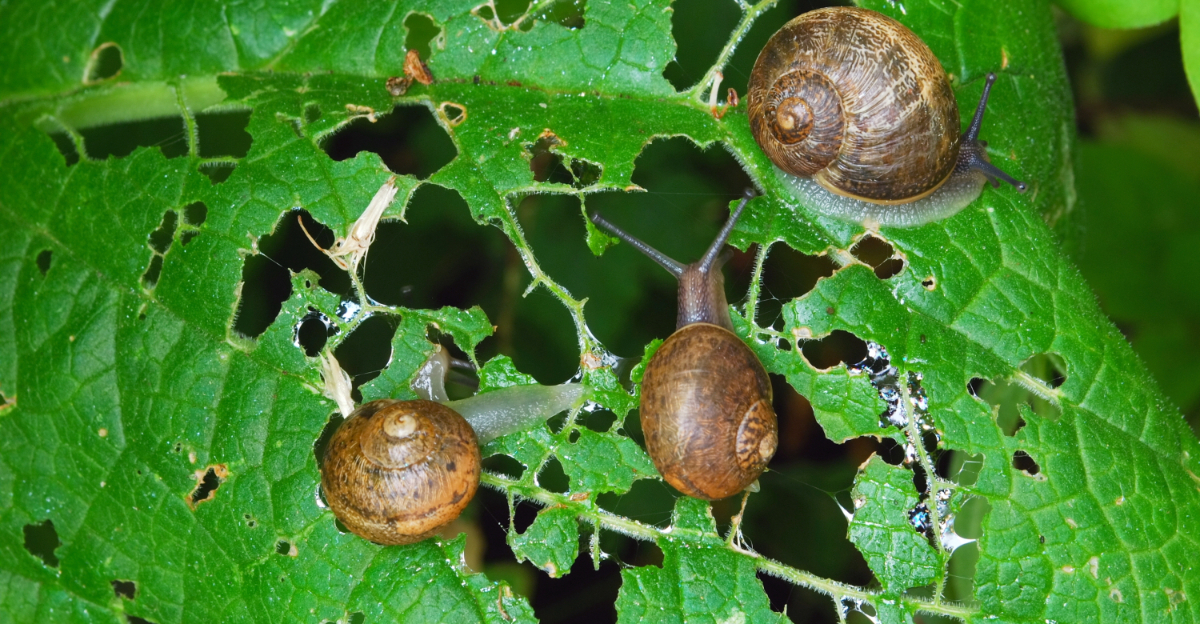
Holes in hosta leaves get blamed on slugs so automatically that most Michigan gardeners never stop to consider whether something else might be responsible.
Slugs are a genuine and common culprit, but they are not the only one, and treating for slugs when the real damage is coming from a different source produces no improvement and a lot of frustration.
The size of the holes, their location on the leaf, whether the edges are clean or ragged, and what time of day new damage appears all point toward different causes with different solutions.
Getting the identification right before reaching for any treatment is what makes the fix actually work instead of just adding another product to a problem that keeps getting worse.
1. Ragged Holes Usually Mean Slugs Or Snails
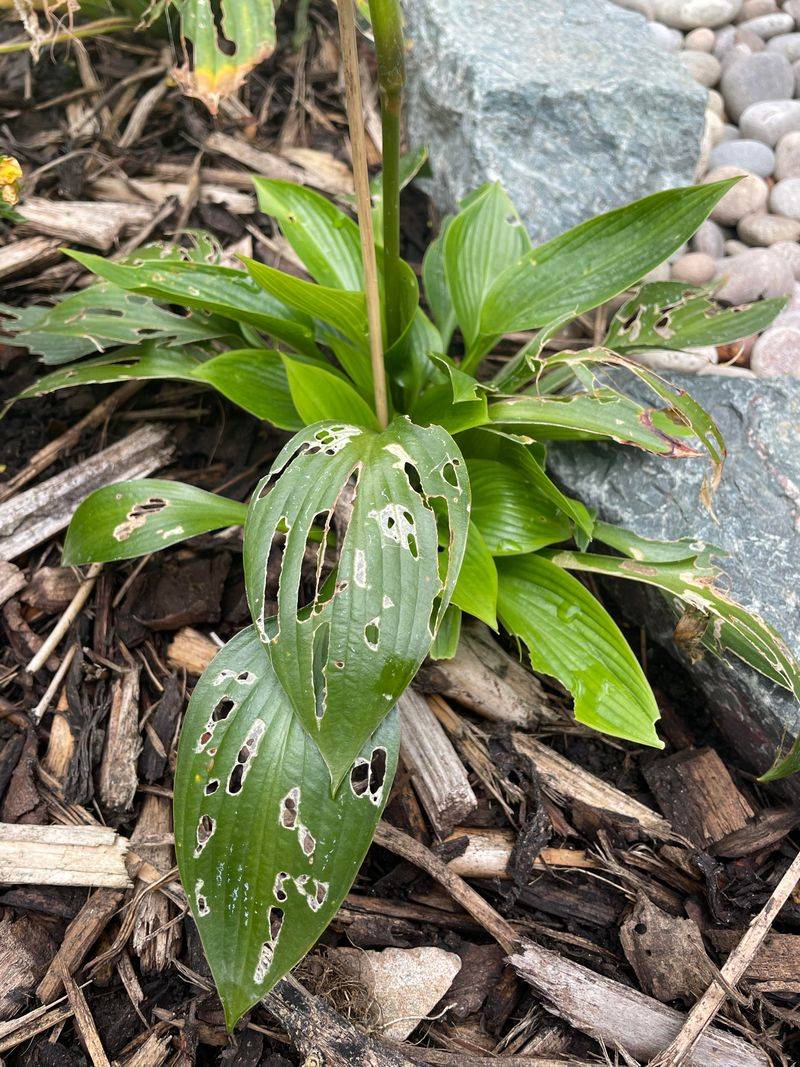
Ragged, uneven holes that look like something took messy bites out of your hosta leaves are almost always the work of slugs or snails.
These pests are incredibly common in Michigan gardens, especially in shaded beds where the soil stays moist for long stretches. They are not picky eaters, and hostas happen to be one of their favorite targets.
Slugs and snails hide during the day under mulch, leaf litter, rocks, and dense plant growth. Once the sun goes down, they come out and start feeding.
By morning, the damage is done and the culprits are long gone, which makes it easy to feel confused about what caused the problem.
The best way to confirm slugs are your issue is to head outside after dark with a flashlight and check your plants directly. You will likely catch them in the act.
Early morning checks right after sunrise can also work before they retreat to their hiding spots.
Once you know slugs are the cause, you can use iron phosphate bait, which is safe around pets and children, reduce excess mulch, and let the soil surface dry out a bit between waterings.
Catching the problem early makes a big difference in protecting your plants through the rest of the Michigan growing season.
2. Slime Trails Confirm The Clue
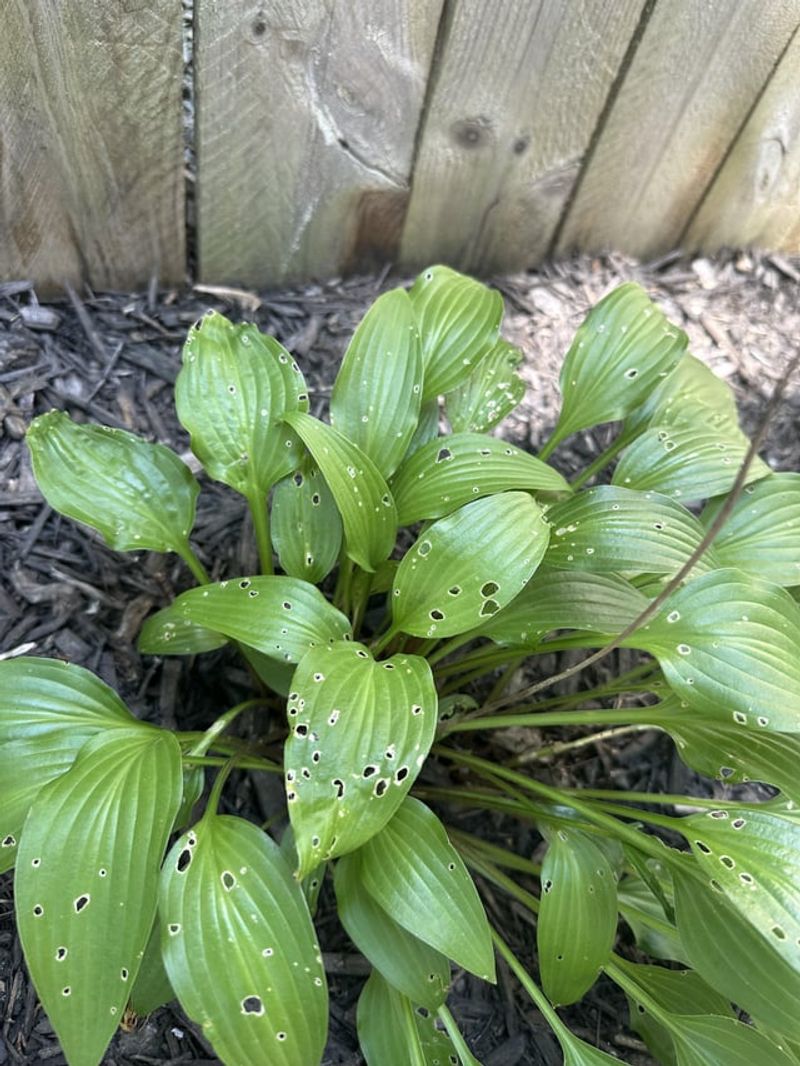
Holes in hosta leaves can come from several different pests, so it helps to look for extra clues before jumping to conclusions. One of the clearest signs that slugs or snails are behind the damage is a shiny, silvery slime trail left on or near the leaves.
That glistening streak is basically a slug’s signature, and it is hard to mistake for anything else.
Slime trails dry out as the day warms up, but in the early morning they are usually still visible on the leaf surface, on nearby mulch, or even on the soil around the plant base.
Paired with ragged holes and evidence of nighttime feeding, slime trails make the identification almost certain.
You do not need any fancy tools or expertise to spot them once you know what to look for. Damp mulch that stays wet overnight is one of the biggest contributors to slug activity, so checking the moisture level around your hostas is a smart first step.
Your Michigan Garden Changes Every Week. Your Plan Should Too.
Gardening in Michigan changes quickly throughout the season. Every Friday you’ll receive a simple weekly plan showing exactly what to plant, prune, fertilize, harvest, and protect so you never miss the right timing.
If you confirm slime trails, start by raking back mulch from the crown of the plant and letting the area breathe.
You can also set out simple traps like shallow containers filled with a small amount of beer, which attract slugs overnight. Combining habitat changes with traps gives you a stronger, more lasting result than either method alone.
3. Damp Crowded Beds Make Holes Worse
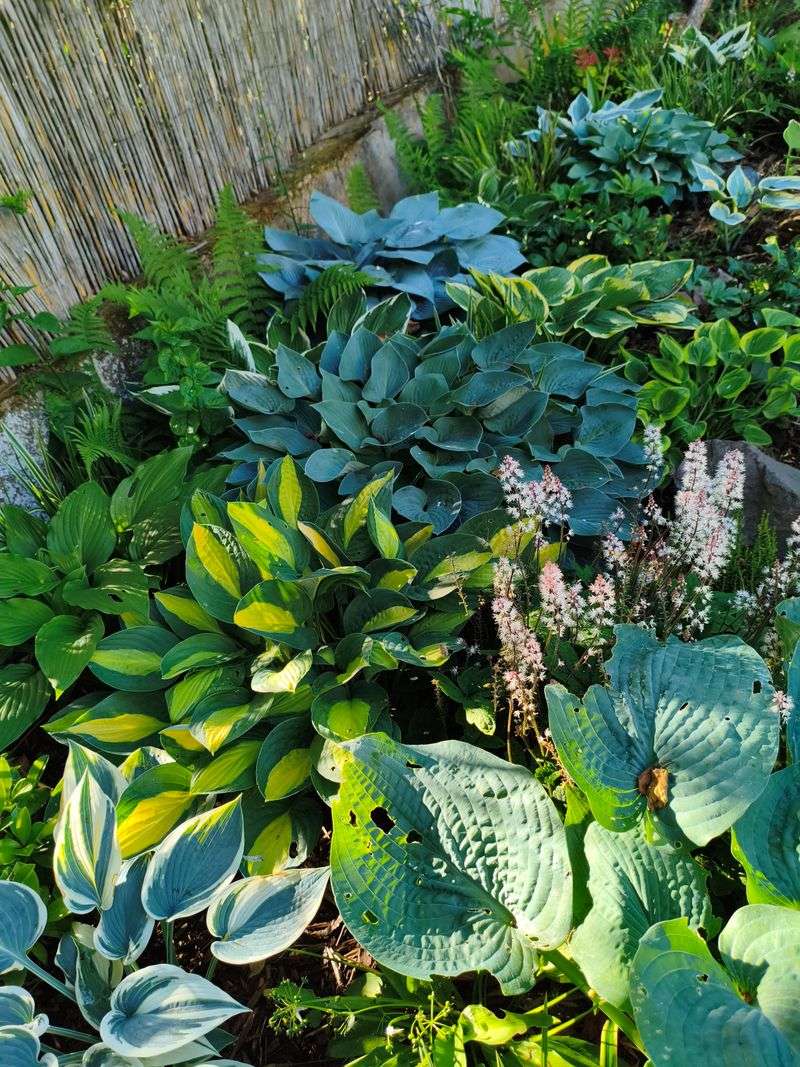
Not all hosta gardens suffer equally from slug damage, and the condition of your garden bed plays a huge role in how bad things get.
Hostas planted in thick, crowded beds with heavy mulch and poor airflow create the perfect environment for slugs and snails to thrive. The more shelter and moisture available, the more active these pests become.
In Michigan, shaded garden areas can hold moisture for a long time, especially in spring and early summer when rain is frequent. Dense leaf growth that overlaps and touches the ground gives slugs extra coverage.
Leaf litter that builds up between plants adds even more hiding spots, turning your garden bed into a cozy haven for nighttime feeders.
Fixing a crowded, damp bed does not have to be a huge project. Start by thinning out some of the growth so air can move through more freely.
Pull back mulch so it sits a few inches away from the crown of each plant rather than piling up right against the stems. Rake out old leaf litter and debris regularly, especially in spring before slug season really gets going.
Reducing the amount of shelter available forces pests to find somewhere else to hide. Combined with a few slug traps or iron phosphate bait, tidying up your beds can dramatically reduce the number of holes you see throughout the season.
4. Clean Cut Chewing May Mean Rabbits
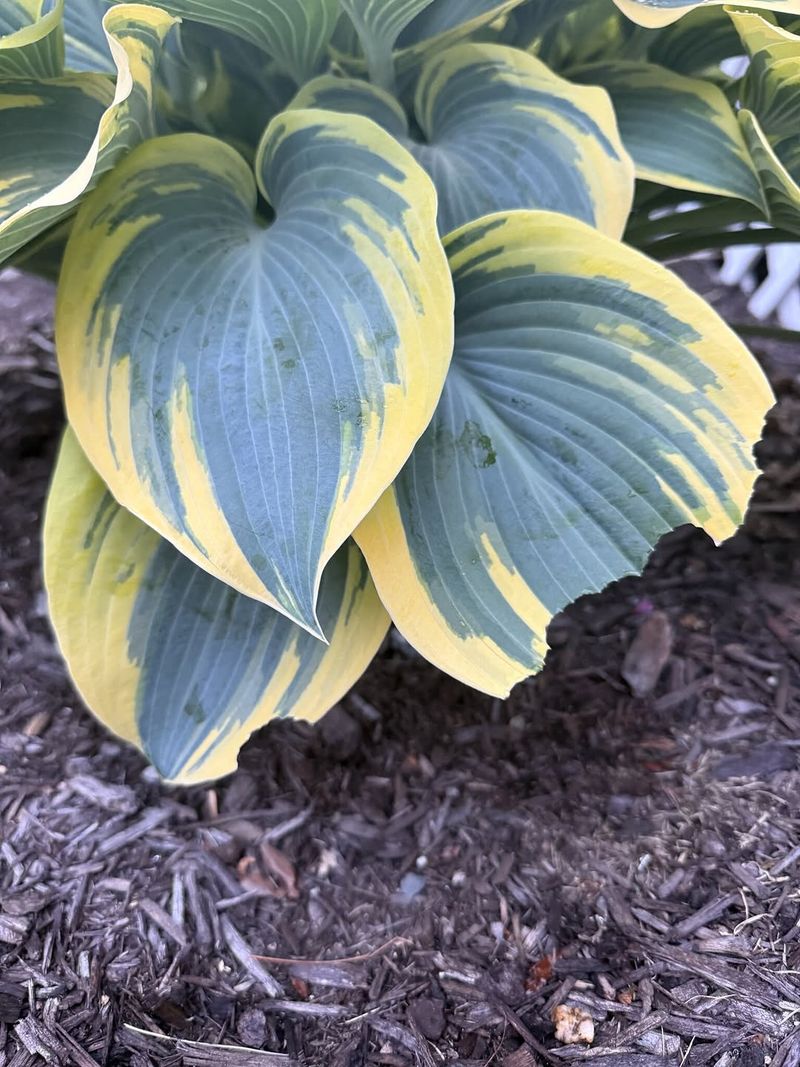
Not every hole or bite on a hosta leaf comes from a tiny, slow-moving pest. Sometimes the culprit is much larger and a lot faster.
Rabbits are common visitors to Michigan gardens, and they have a real fondness for tender hosta foliage, especially in spring when new growth is soft and easy to clip.
Rabbit damage looks noticeably different from slug damage. Instead of ragged, uneven edges, rabbit bites tend to be clean and neat, almost like someone used scissors.
Young leaves and soft stems near the base of the plant are usually the first targets. If you notice whole sections of new growth missing with smooth, angled cuts, a rabbit is likely the reason.
Protecting your hostas from rabbits takes a bit of effort but is very doable. A simple low fence made of chicken wire or hardware cloth around the bed can keep them out without ruining the look of your garden.
Individual plant guards work well for smaller groupings. Repellent sprays that use ingredients like garlic or hot pepper can also discourage rabbits, but they need to be reapplied after rain to stay effective.
Rotating between a few different repellents can help prevent rabbits from getting used to any single scent.
Starting these protections early in the season, before rabbits get into the habit of visiting your beds, gives you the best chance of keeping your hostas looking great all summer long.
5. Leaves Chewed To Stems May Mean Deer
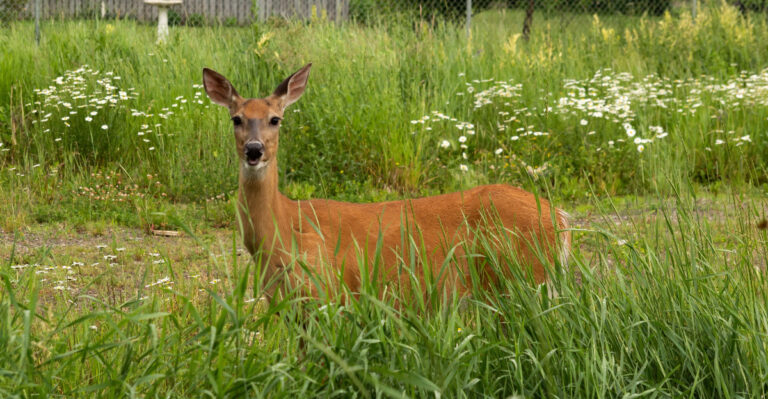
Hostas are sometimes called deer candy, and Michigan gardeners know exactly why. Deer browse hostas eagerly, especially during summer when other food sources thin out.
If you walk out to your garden and find large sections of leaves missing, or foliage chewed right down close to the stems, deer are a very likely explanation.
Deer damage is hard to miss. Unlike slugs or insects that leave holes scattered across a leaf, deer tend to strip whole sections or entire leaves in one visit.
The remaining stems may look torn or ragged at the tips rather than cleanly cut, since deer pull and tear rather than snip. Tracks in soft soil nearby can confirm your suspicion quickly.
Fencing is the most reliable long-term solution for deer pressure. A sturdy fence at least six to eight feet tall around your garden area gives the best protection, though that is not always practical for every yard.
Deer repellent sprays can work well when applied consistently and rotated between scents so deer do not adapt. Planting deer-resistant companions around your hostas, like lavender, catmint, or Russian sage, can help make the area less attractive overall.
Keep in mind that no single repellent works forever, so combining strategies gives you much better results. Staying consistent through the whole season is what separates gardens that stay beautiful from ones that get repeatedly browsed down.
6. Half Moon Leaf Notches May Mean Black Vine Weevils
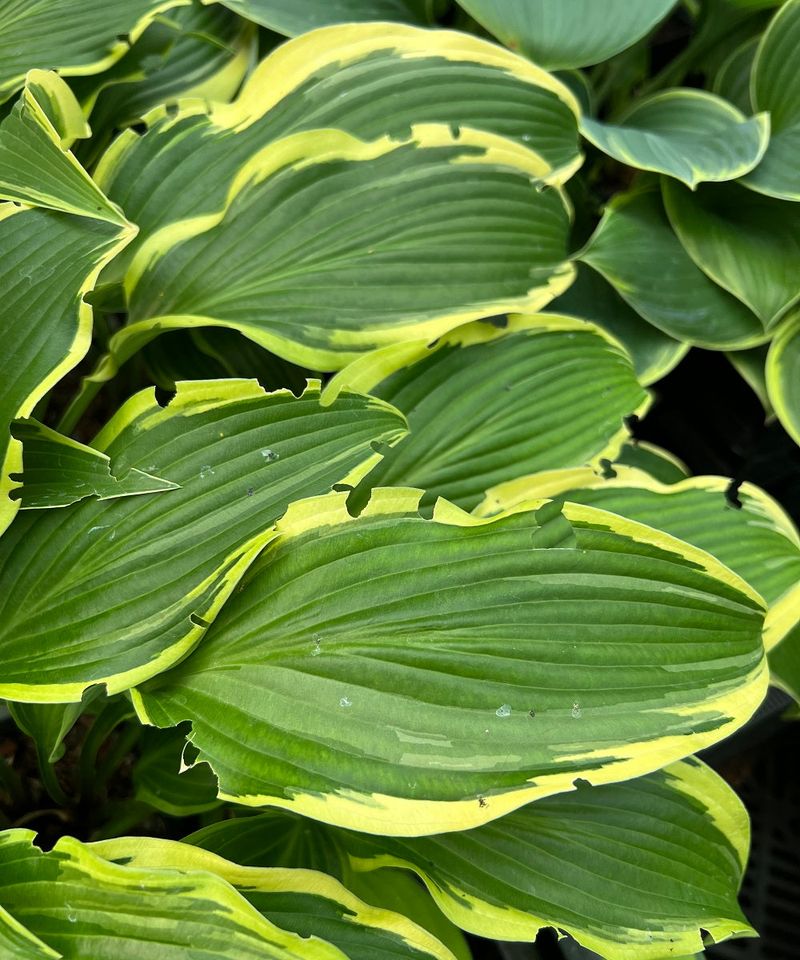
Rounded, half-moon shaped notches along the outer edges of hosta leaves are a pretty specific type of damage, and they point to a pest that many gardeners overlook.
Black vine weevils are small, dark beetles that feed at night, chewing those distinctive curved bites along leaf margins.
The pattern they leave behind is almost like a scalloped border, which makes them easier to identify once you know what to look for.
Adult weevils do the leaf edge feeding, but their larvae can cause a separate set of problems below the soil surface, feeding on roots and lower stem tissue during certain parts of their life cycle.
If your hostas seem stressed and the leaves show notching, it is worth checking both above and below ground to get the full picture of what is happening.
Inspecting your plants after dark with a flashlight is the most reliable way to catch adult weevils in action. They move slowly and are relatively easy to spot on the leaf surface or along the stem.
Reducing the amount of mulch and debris piled near the base of your plants removes the shelter weevils prefer during the day.
Beneficial nematodes applied to moist soil can help manage larvae in the ground, and they are a natural, low-impact option that works well in Michigan gardens.
Catching weevil activity early prevents the notching from spreading across your entire planting.
7. Irregular Holes Can Also Come From Insects
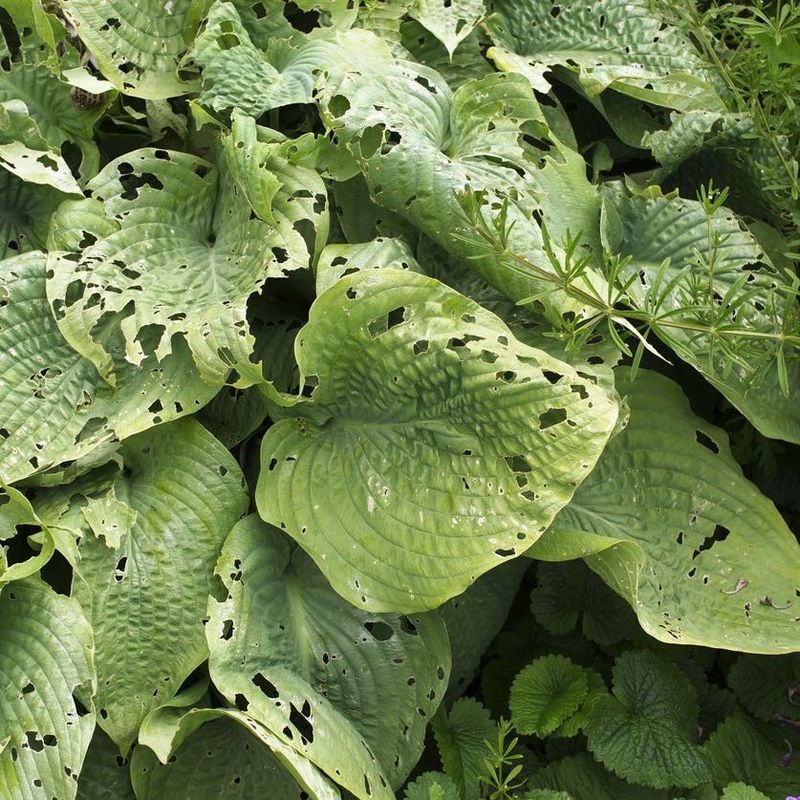
Slugs get most of the blame when it comes to hosta holes, but they are not the only insects that snack on these plants.
Beetles, cutworms, grasshoppers, and earwigs can all chew hosta leaves, and the damage they leave behind can look surprisingly similar to slug feeding at first glance.
Knowing the differences helps you choose the right fix instead of wasting time on the wrong one.
Beetle feeding often creates round or irregular holes scattered across the middle of the leaf rather than along the edges. Grasshoppers tend to chew from the leaf margin inward, leaving jagged edges.
Earwigs create small, ragged holes and are most active at night, much like slugs. Cutworms typically work near the base of the plant and can sever young stems or chew leaf tissue close to the ground.
The most useful thing you can do when you notice irregular holes is to slow down and observe rather than immediately applying a treatment. Check the plant at different times of day and night.
Look under leaves, along stems, and in the mulch nearby. Note whether the holes are clean, ragged, notched, or paired with other symptoms like wilting or discoloration.
A quick identification saves you money and effort, and it protects your garden from unnecessary chemical use. Once you know your specific pest, targeted control becomes straightforward and much more effective.
8. Tattered Leaves With Spots May Mean Disease
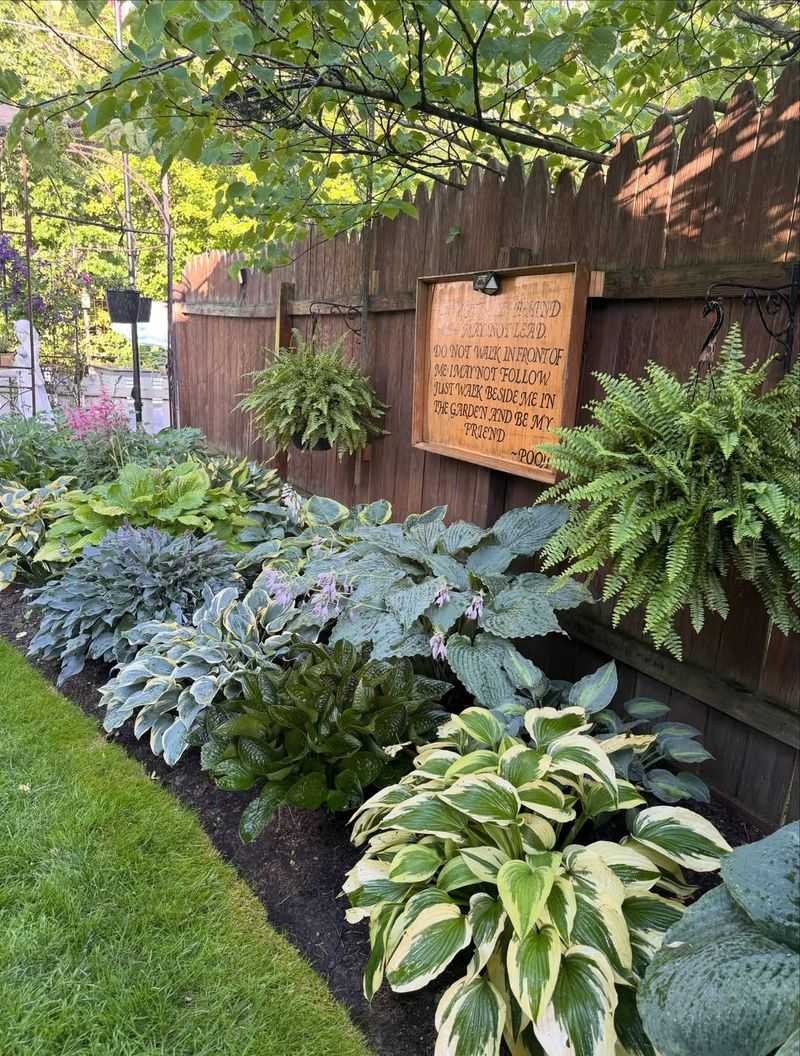
Sometimes what looks like chewing damage on a hosta leaf is actually a sign of something completely different.
Tattered leaf tissue paired with brown-bordered spots, pale or tan centers, and irregular wilted patches can point to anthracnose, a fungal disease that affects hostas during warm, humid, wet stretches of weather.
Michigan summers can absolutely create those conditions. Anthracnose causes spots that start small and grow, often with a darker border and a lighter center.
As the spots expand and merge, the surrounding tissue can crack or fall out, leaving the leaf looking torn and ragged.
It is easy to mistake this for insect feeding, especially if you are not looking closely at the shape and color of the damaged areas.
Treatment starts with removing affected leaves as soon as you notice them, since the fungal spores spread through water splash and contact. Bag the removed leaves rather than composting them so you are not spreading the problem.
Improving spacing between plants helps air move through the bed more freely, which speeds up drying after rain or watering.
Switching to drip irrigation or soaker hoses so water goes directly to the soil rather than onto the leaves makes a significant difference.
In cases where the disease keeps returning each season, a copper-based fungicide applied early can help reduce the spread before it gets out of hand.
9. Streaky Damage Between Veins May Mean Foliar Nematodes
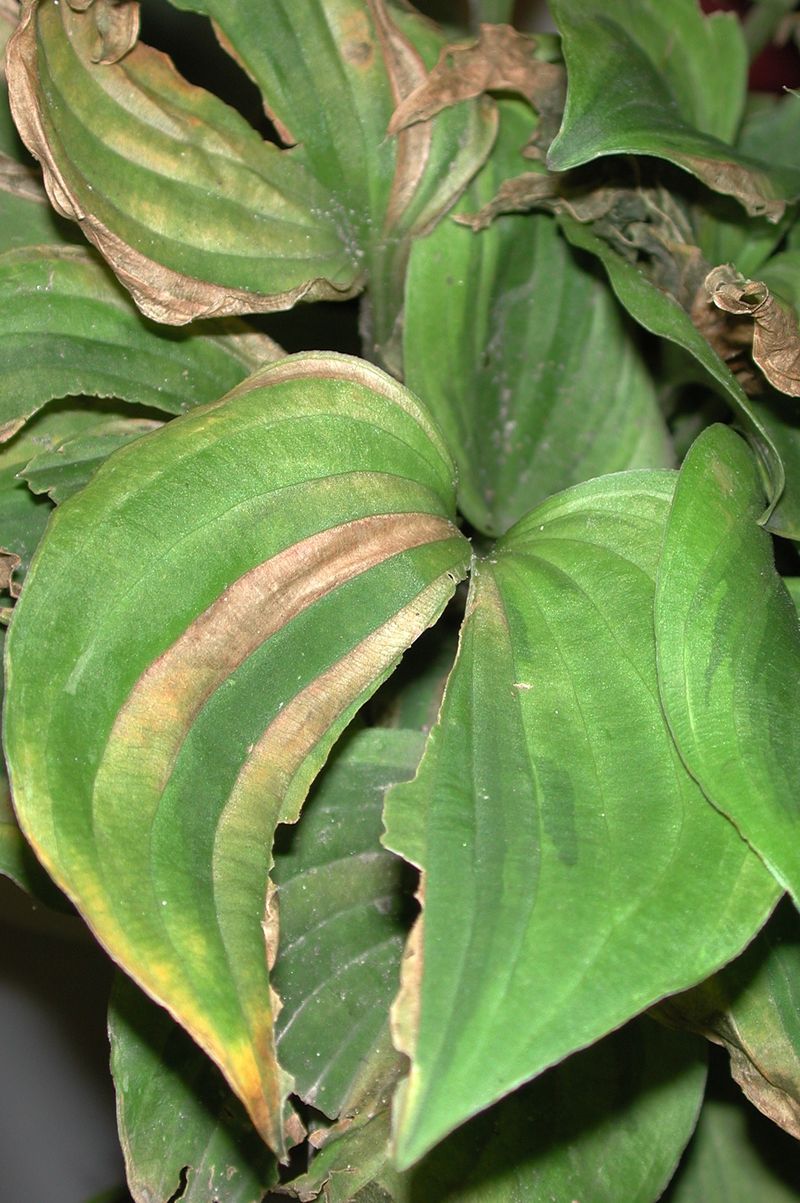
Foliar nematodes are one of the trickier hosta problems to identify because the damage they cause looks so different from typical insect feeding.
Instead of holes or chewed edges, you see long, angular streaks of discolored or damaged tissue running between the leaf veins.
The veins themselves stay intact while the tissue between them browns, yellows, or turns papery.
These microscopic pests travel through water films on the leaf surface, which is why overhead watering and rain splash make the problem spread so quickly.
Once they enter a leaf through a pore or wound, they feed inside the tissue, moving from one section to the next while the visible damage grows.
Wet conditions in Michigan summers can accelerate the spread significantly if the problem is not caught early.
Removing affected leaves promptly is the most important step you can take. Do not leave them on the ground near the plant because the nematodes can splash back up onto the foliage during the next rain.
Switching to ground-level watering right away helps slow the spread considerably. Keep your gardening tools clean by wiping them with a diluted bleach solution between uses, especially when working around plants that show symptoms.
Avoid dividing or moving affected hostas to other parts of your garden. While there is no simple spray fix for foliar nematodes, consistent sanitation and dry leaf conditions go a long way toward keeping them under control season after season.
10. Distorted Mottled Leaves May Need Extra Caution
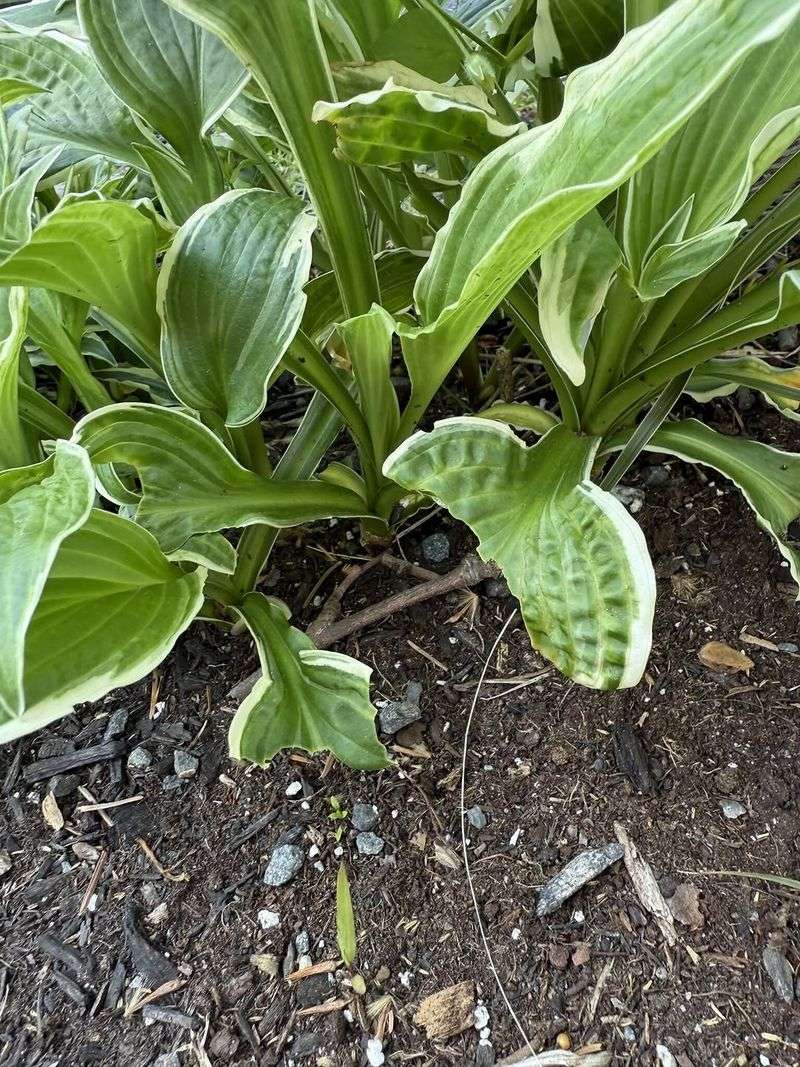
When hosta leaves show holes or damage alongside twisting, unusual color streaks, mottling, or strange spotting patterns, the situation calls for a closer look before doing anything else.
Regular chewing damage from slugs or insects does not typically come with those extra symptoms.
The combination of physical damage and abnormal coloring can be a sign of something more serious going on inside the plant itself.
Hosta Virus X is a real concern for gardeners who grow many hostas or who have divided and shared plants over the years.
This virus causes leaves to look mottled, streaky, or marbled in ways that might initially seem like an interesting pattern variation.
Over time, leaves may become twisted or puckered, and the overall plant vigor tends to decline. The tricky part is that Hosta Virus X can look different across various hosta varieties, making it harder to spot right away.
There is no treatment that clears a plant of this virus once it is infected, so the best approach is careful observation and caution.
Do not divide or share any hosta that shows suspicious symptoms until you can rule out a viral cause. Avoid using the same unsterilized tools on multiple plants.
If you strongly suspect Hosta Virus X, removing the plant entirely and replacing it with a confirmed healthy specimen is the safest move for protecting the rest of your collection. Being cautious now saves a lot of heartache later.
11. The Best Fix Starts With Night Checks
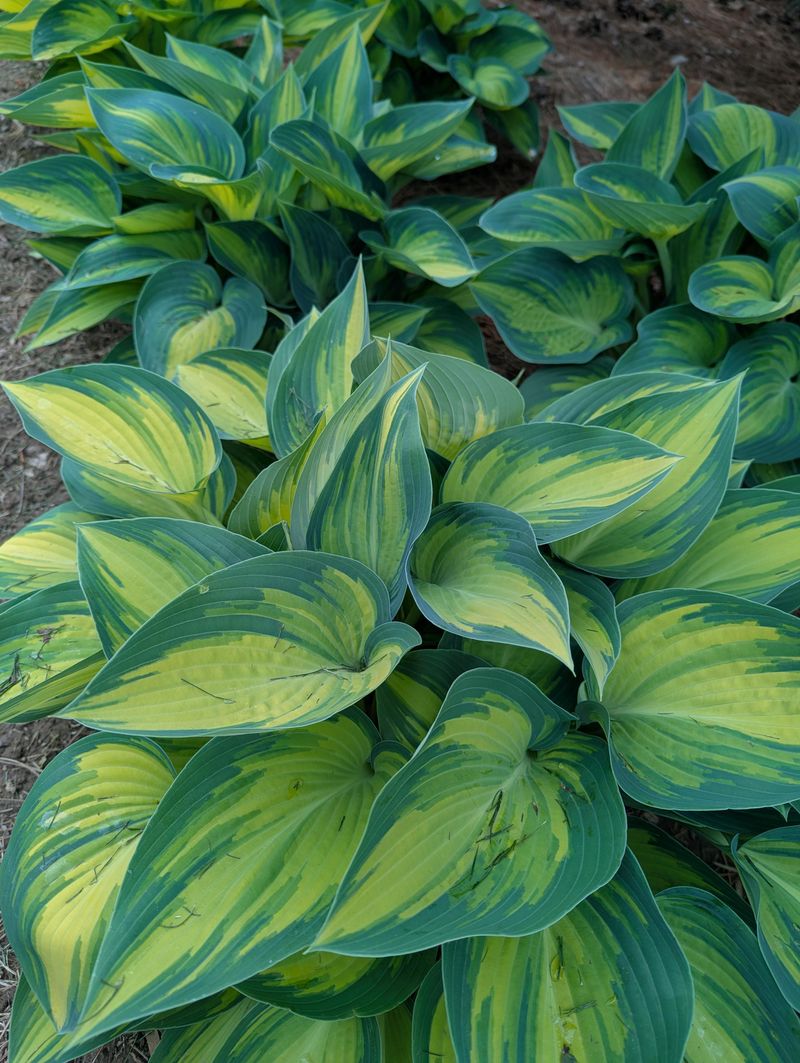
One of the smartest habits any Michigan hosta grower can build is checking plants after dark before reaching for any product or treatment.
So many of the pests that cause hosta leaf holes are nocturnal, meaning they hide all day and only come out once the sun goes down.
Waiting until nightfall gives you a completely different view of what is actually happening in your garden.
Grab a flashlight and head outside an hour or two after sunset. Check the top and underside of leaves, look along stems, and shine the light into the mulch near the plant base.
Slugs, snails, earwigs, black vine weevils, and cutworms are all easier to find at night when they are actively moving and feeding. Early morning checks right around sunrise can also catch pests before they retreat for the day.
When you spot pests by hand, you can remove them directly into a container of soapy water, which is a simple and effective method that requires no chemicals at all.
Keeping a small notebook or using your phone to record what you find and when helps you track patterns over time.
You might notice that slug activity spikes after a rainy stretch or that weevils appear more often in one corner of the bed. That kind of information makes your response faster and more targeted.
Night checks are free, quick, and genuinely one of the most useful tools in your gardening routine.
12. Match The Fix To The Pattern
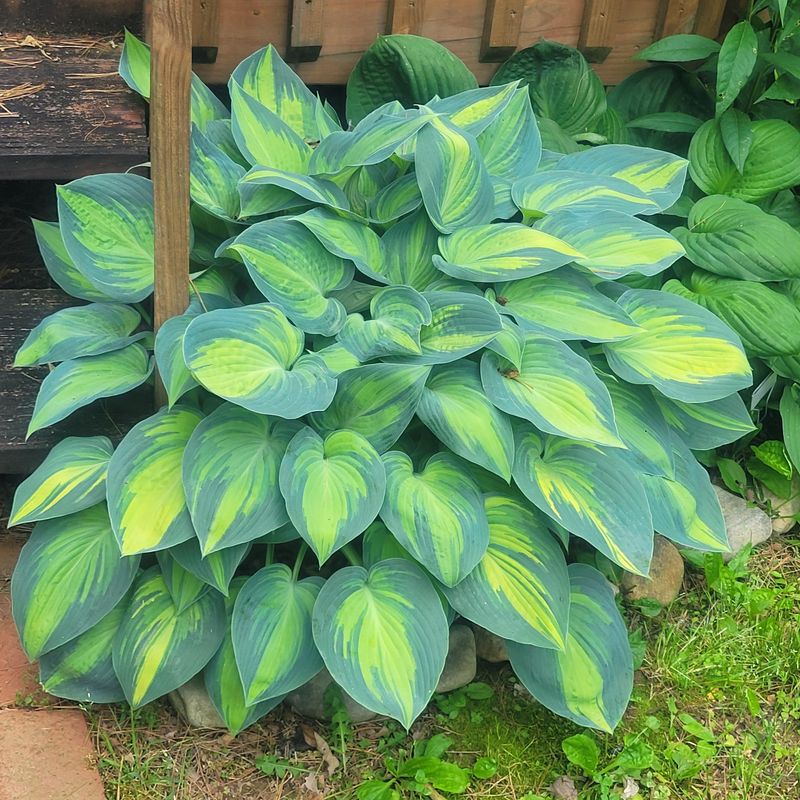
Guessing at a fix and hoping for the best is one of the most common gardening mistakes, and it rarely works out well.
Every type of hole or damage pattern on a hosta leaf has a specific cause, and matching your response to that cause is what actually gets results.
Taking a few extra minutes to identify the problem correctly saves you time, money, and frustration over the whole season.
Ragged holes with slime trails call for slug habitat cleanup, reduced mulch near the crown, and iron phosphate bait or beer traps.
Clean-cut bites on tender new growth point to rabbits, so low fencing, plant guards, and rotating repellents are your best tools.
Leaves eaten down close to the stems suggest deer pressure, which calls for tall fencing or consistent repellent application.
Half-moon notches along leaf edges mean weevils, so reduce ground-level hiding spots and consider beneficial nematodes for the soil.
Spotted, tattered leaves with dark borders suggest anthracnose, so improve airflow, remove affected foliage, and switch to soil-level watering.
Streaky damage between veins points to foliar nematodes, where sanitation and dry leaves are the priority. Distorted, mottled growth with discoloration calls for caution and isolation of the affected plant.
Every pattern tells a story, and reading it correctly puts you in control. Your hostas are tough, beautiful plants that respond well to attentive care. Identify first, then act with confidence.