How To Get Rid Of Grass In Oregon Flower Beds And Keep It From Coming Back
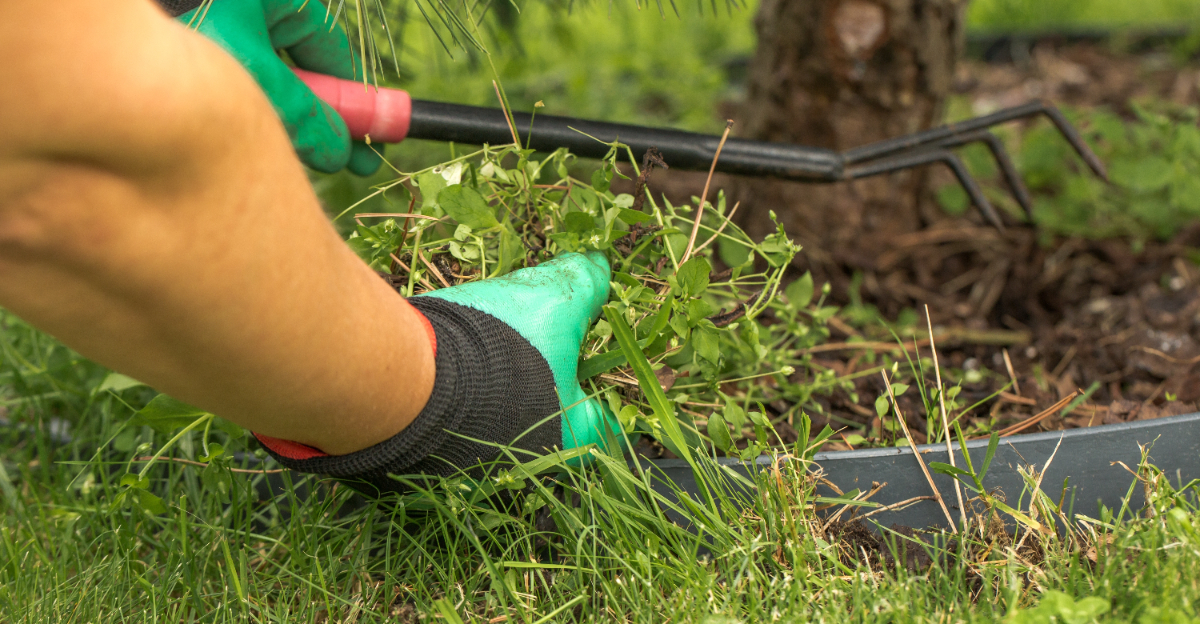
Grass in an Oregon flower bed has no sense of personal space. It slips between stems, ruins clean edges, and makes a planted border look messier than it should.
The first pull can feel like a victory, but the real test comes a few weeks later. That is when sneaky regrowth can start acting like you did absolutely nothing.
Oregon’s wet seasons and mild stretches make the comeback even more annoying. Before you grab the trowel and declare war, it helps to know what keeps feeding the problem.
A grass-free bed is possible, but only when the cleanup and prevention plan work together.
1. Identify Whether It’s Lawn Grass Or Quackgrass
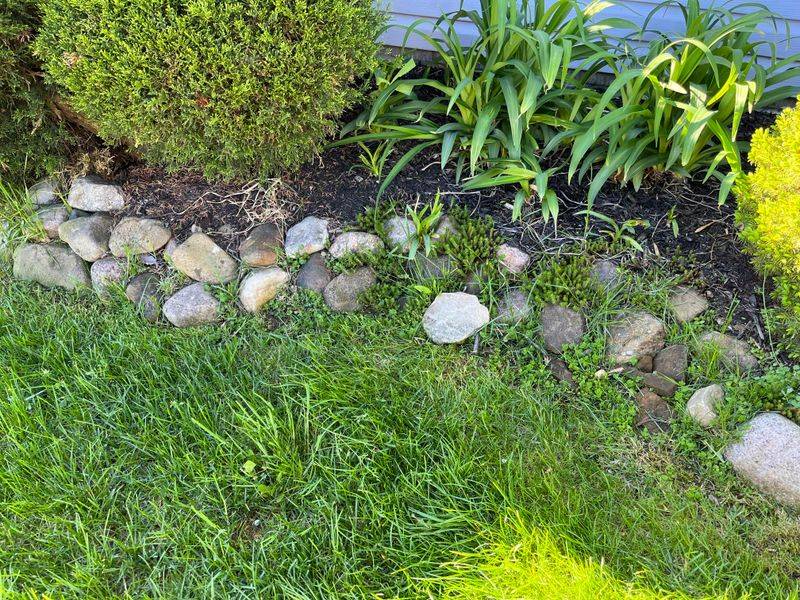
Not all grass is the same, and knowing exactly what you’re dealing with changes everything about how you remove it. Lawn grass like bluegrass or fescue tends to have shallow roots and spreads by surface runners called stolons.
Quackgrass is a whole different problem. It spreads underground through thick, pale rhizomes that can stretch two feet or more in any direction.
Quackgrass is extremely common in Oregon gardens, especially in older yards and raised beds near established lawns. You can recognize it by its wide, flat blades with a rough texture on the upper surface.
It also has a distinctive claw-like auricle where the blade meets the stem. Lawn grasses typically look finer, softer, and less aggressive when pulled.
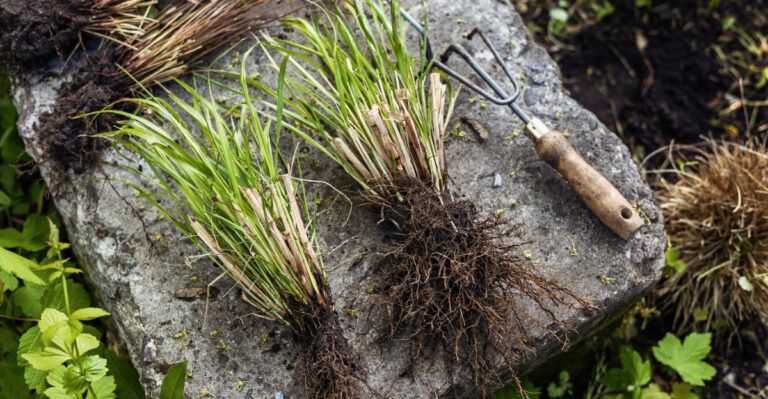
Pull up a small clump and look at the roots. If you see thick, white, cord-like roots spreading sideways underground, you’ve got quackgrass.
That matters because quackgrass can regrow from even a one-inch piece of root left in the soil. Regular lawn grass is much easier to clear out completely.
Knowing your enemy before you start saves you from doing the job twice. Spend five minutes on identification before you grab your trowel, and you’ll have a much better plan for the work ahead.
Getting this step right sets the whole project up for success.
2. Dig When Soil Is Moist, Not Dusty
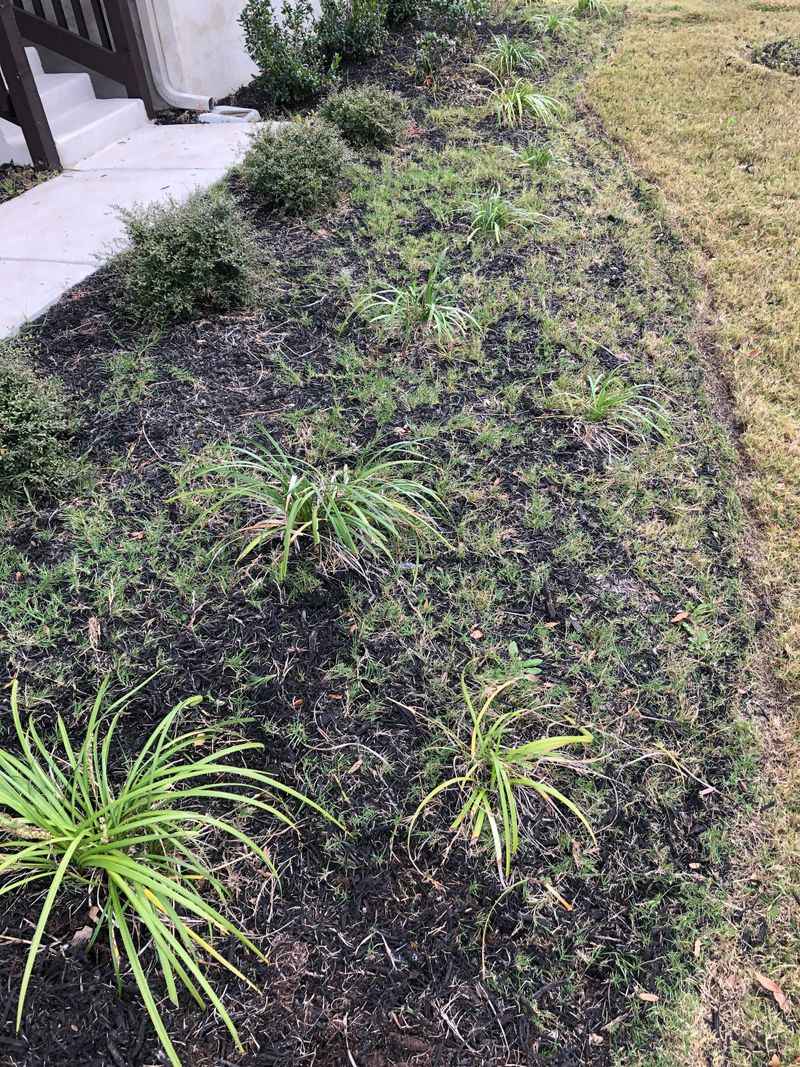
Timing your grass removal around soil moisture is one of the smartest things you can do. Dry, dusty soil clings to roots and causes them to snap off before you can pull them out whole.
Moist soil lets roots slide out cleanly, which means fewer fragments left behind to regrow. In Oregon, the rainy season makes this easier, but you still need to pick the right moment.
You want the soil damp but not soaking wet. If water pools when you press the ground, wait a day.
If the surface is cracking and pale, give it a good soak the evening before you plan to work. The ideal texture is like a wrung-out sponge, firm but yielding.
This is when roots release from the soil most cooperatively.
Use a hand fork or narrow border spade to loosen the soil around each grass clump before pulling. Don’t just yank from the top.
Work the tool down several inches alongside the roots, then lever upward gently. This technique lifts the whole root system instead of tearing it.
Your Oregon Garden Changes Every Week. Your Plan Should Too.
Gardening in Oregon changes quickly throughout the season. Every Friday you’ll receive a simple weekly plan showing exactly what to plant, prune, fertilize, harvest, and protect so you never miss the right timing.
Our region’s clay-heavy soils in the Willamette Valley can be especially stubborn when dry, so moisture really does make a dramatic difference. Working smart with soil conditions means less effort, better results, and fewer repeat sessions pulling the same stubborn patches over and over again.
3. Remove The Whole Root Clump
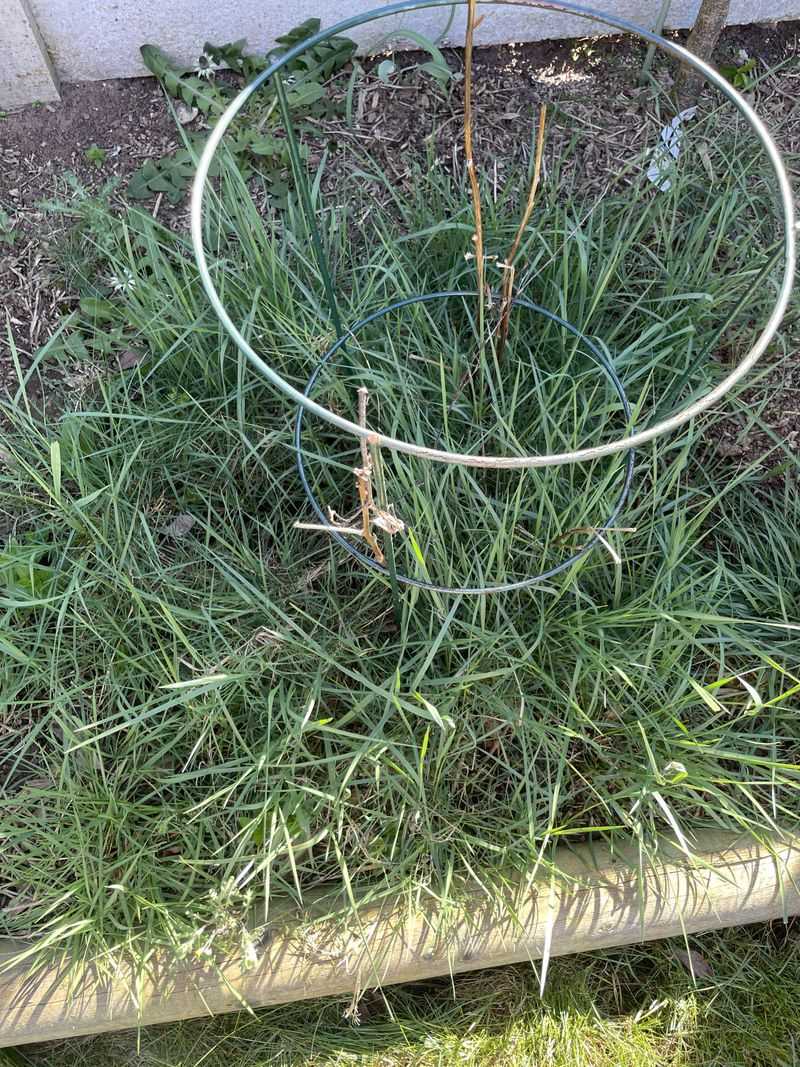
Here is the hard truth about grass removal: if you leave any root behind, the grass will come back. This is especially true for quackgrass, which can regrow from a tiny root fragment the size of your pinky fingernail.
Every piece left in the soil is a future problem. Complete root removal is the only way to actually clear a bed for good.
Work slowly and methodically. Use a hand fork to loosen the soil around each clump, then trace the roots outward before pulling.
Follow the rhizomes as far as they go, even if that means digging several inches away from where the grass appears above ground. Quackgrass roots can travel under nearby perennials and emerge on the other side, so don’t assume the root ends where the visible grass does.
Shake excess soil off each root clump as you pull it out. This helps you see the root structure clearly and also keeps your garden soil in the bed where it belongs.
Place removed clumps in a bucket or tarp rather than leaving them on the soil surface. Even a detached root clump can reroot if it sits on moist ground too long.
Taking the extra time to be thorough at this stage is what separates a job that lasts one season from one that lasts for years. Patience here pays off in a huge way later.
4. Follow Runners Before They Break
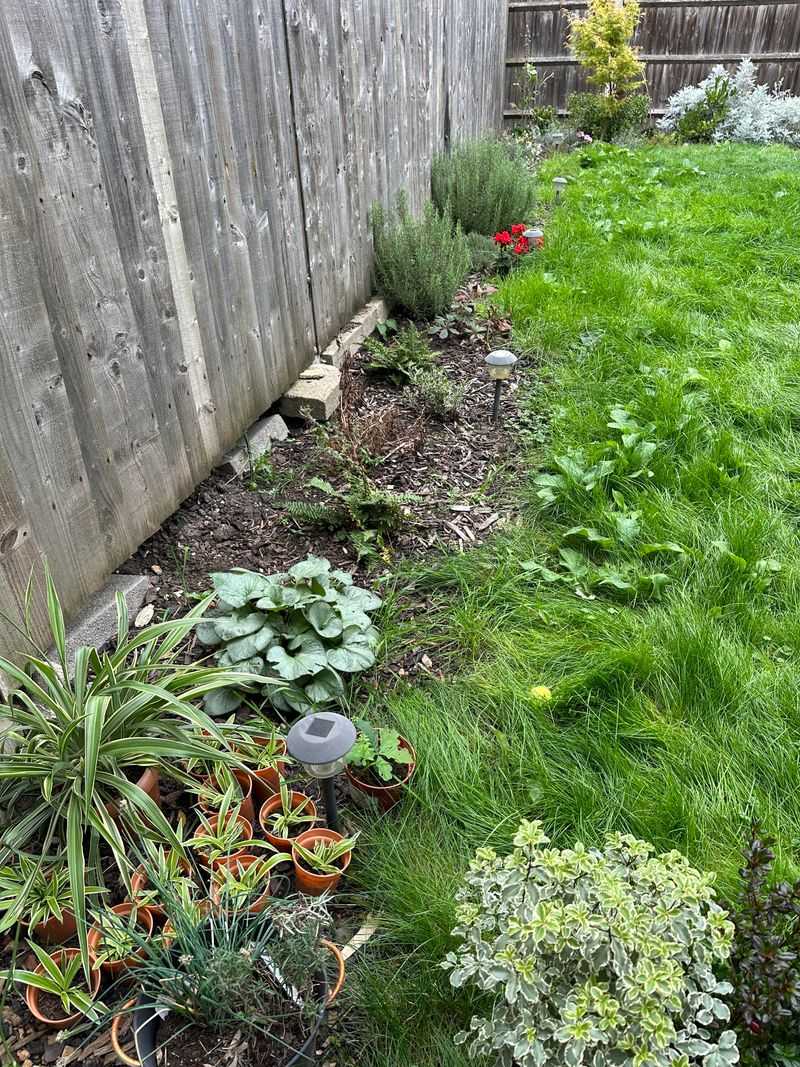
Grass doesn’t just grow straight down. Many common lawn grasses spread sideways through runners, which are horizontal stems that travel along or just beneath the soil surface.
If you pull only the visible grass blade and leave the runner, the plant simply regrows from the runner within a few weeks. Following runners all the way to their source is essential for thorough removal.
Get down close to the soil and trace each stem with your fingers before you pull. Some runners travel inches; others can stretch a foot or more before anchoring.
Bermudagrass and creeping bentgrass, both occasionally found in Pacific Northwest lawns, are notorious for runners that zigzag unpredictably under mulch and around plant stems. Go slowly and feel for the cord-like stem as it winds through the soil.
When a runner breaks, mark the spot with a small flag or stick so you can come back and dig out the remaining section. It’s easy to lose track once soil gets disturbed.
Work in small sections rather than rushing across the whole bed at once. Methodical, focused attention to each runner is what prevents the frustrating cycle of grass returning in the same spots every few weeks.
Think of it like untangling a knot: rushing makes it worse, but patience gets it done cleanly. Your flower bed will thank you for the extra care you put in right now.
5. Don’t Compost Grass With Live Roots
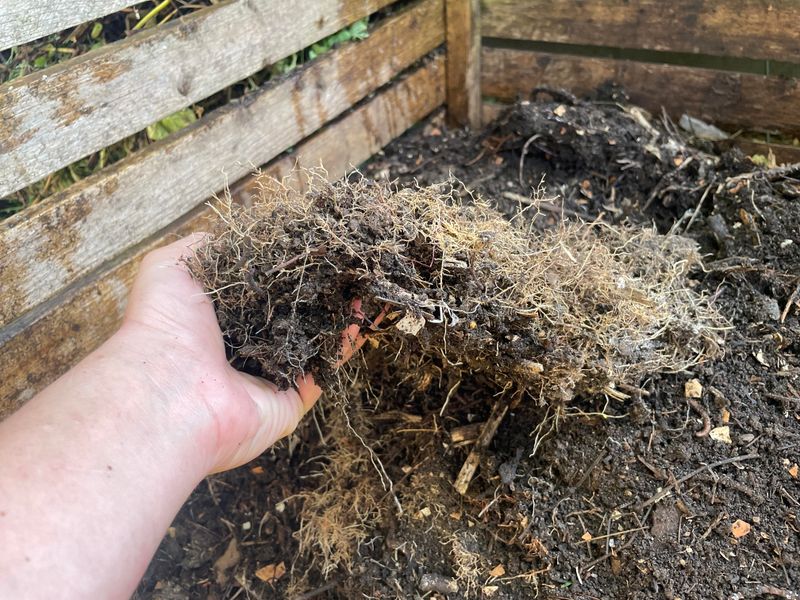
Many Oregon gardeners make a well-meaning mistake after clearing grass from their flower beds: they toss the pulled clumps straight into the compost bin. That feels like the responsible thing to do, but it can backfire badly.
Unless your compost pile gets hot enough to reach 140 to 160 degrees Fahrenheit consistently, live grass roots and rhizomes can survive in there and stay viable for a long time.
When you later use that compost in your flower beds, you’re spreading the very problem you worked so hard to clear. Quackgrass rhizomes are particularly resilient and can remain dormant through cold and dry conditions before sprouting again when conditions improve.
It’s a frustrating cycle that many gardeners repeat unknowingly for years before figuring out the source of their recurring grass problem.
Instead, bag live grass roots and rhizomes in sealed plastic bags and put them in the trash. Some gardeners let pulled clumps dry out completely on a tarp in the sun for one to two weeks before composting, which can reduce the risk of regrowth.
You can also submerge roots in a bucket of water for several weeks until they fully decompose before adding them to compost. Whatever method you choose, treat live grass roots as a hazard rather than a resource until you’re certain they can no longer sprout.
Protecting your compost protects your whole garden from future invasion.
6. Smother Open Patches Before Replanting
After you’ve pulled out as much grass as possible, bare soil is vulnerable. Any remaining root fragments or dormant grass seeds in the top few inches of soil will take advantage of the open space and light to sprout quickly.
Smothering is a smart way to block that regrowth while you prepare the area for new plants or replanting your existing flowers.
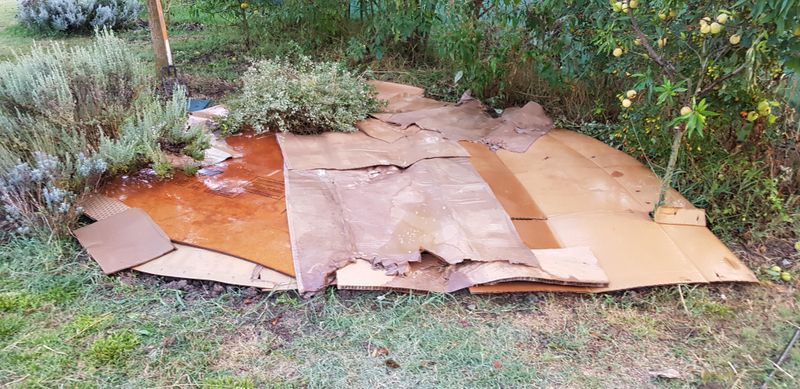
Cardboard is one of the best smothering materials available, and it’s usually free. Break down cardboard boxes, remove any tape or staples, and lay the pieces flat over the cleared area with edges overlapping by at least six inches.
Wet the cardboard thoroughly so it conforms to the soil surface and doesn’t blow away. Top it with two to three inches of compost or wood chip mulch to hold it in place and add nutrients.
The cardboard blocks light from reaching the soil, which prevents grass from photosynthesizing and growing. Over the course of several weeks to a few months, the cardboard breaks down into the soil, improving its structure.
This technique, often called sheet mulching or lasagna gardening, is widely used by Pacific Northwest gardeners because it works beautifully in our moist climate. You can cut holes directly through the cardboard and mulch layer to plant new flowers without disturbing the smothering effect on the surrounding soil.
It’s a low-effort method that does a lot of heavy lifting for you over time.
7. Mulch Thick Enough To Block Light
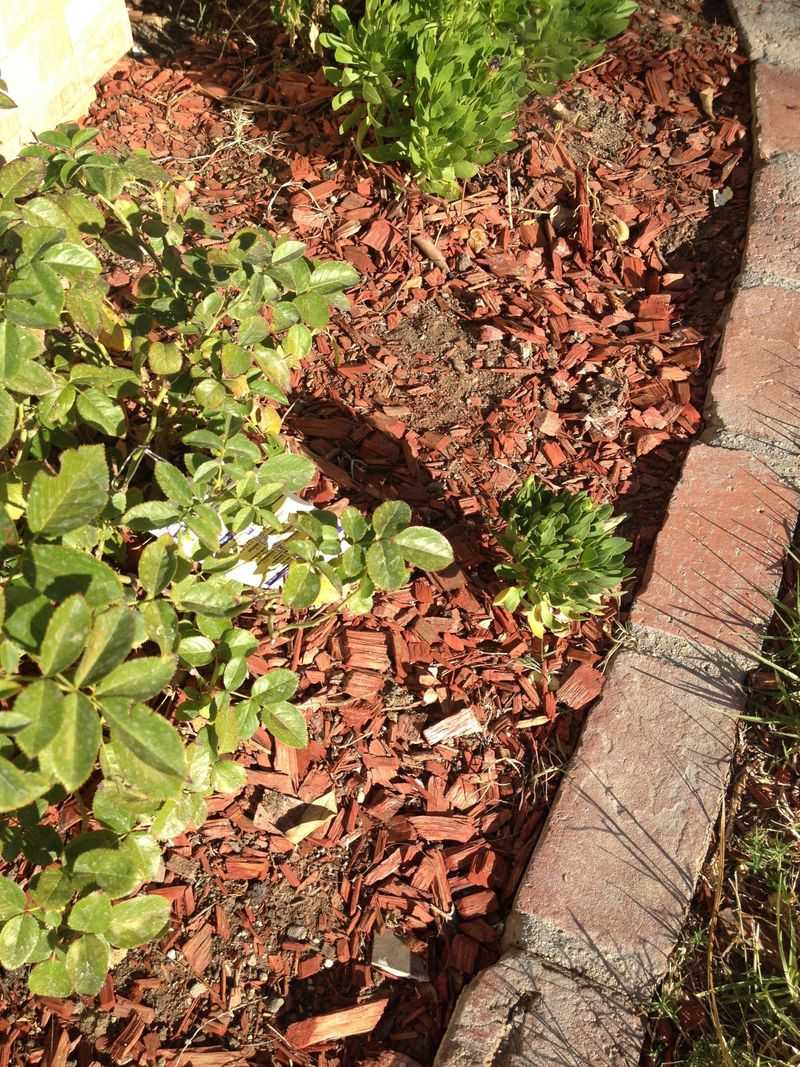
A thin layer of mulch looks tidy but does almost nothing to stop grass from returning. Grass seeds and root fragments near the soil surface need only a little light and warmth to sprout.
To actually block regrowth, your mulch layer needs to be at least three to four inches deep. In shadier spots or areas with heavy grass pressure, going up to five or six inches is even better.
Wood chips are a top choice for Pacific Northwest flower beds because they break down slowly, stay in place during heavy rain, and improve soil health as they decompose. Arborist wood chips, which you can often get free from local tree services, are especially effective.
Avoid fine sawdust or light bark nuggets that wash away easily in our rainy winters. Coarser material holds its depth and stays put through the season.
Keep mulch a few inches away from the crowns and stems of your plants to prevent rot and fungal issues, which are more common in our damp climate. Refresh the mulch layer each Oregon spring, adding an inch or two to maintain the proper depth as it naturally breaks down over the winter months.
Consistent mulching is one of the most powerful long-term tools in your grass-fighting toolkit. It doesn’t just block grass; it also retains moisture, moderates soil temperature, and reduces weeding time across the whole bed.
That’s a lot of benefit from one simple habit.
8. Install A Real Edge Between Lawn And Bed
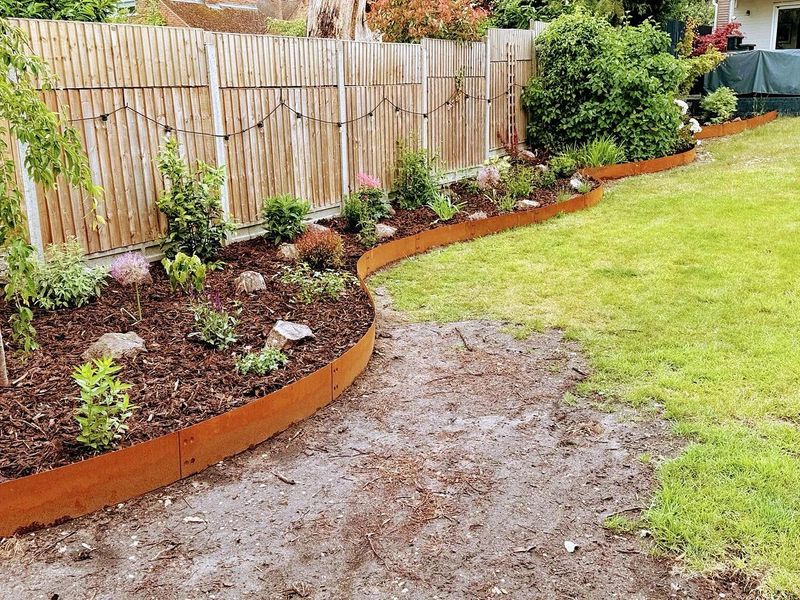
One of the most overlooked long-term solutions is also one of the most effective: a physical barrier between your lawn and your flower bed. Without a real edge, lawn grass will creep back into your bed through runners and underground rhizomes no matter how well you cleared it out.
A proper edging material cuts off that pathway permanently.
Metal edging, particularly steel or aluminum landscape edging, is widely considered the gold standard. It can be pressed several inches into the soil, creating a deep barrier that rhizomes struggle to cross.
Plastic edging is cheaper but tends to heave out of the ground over time, especially through Oregon’s freeze-thaw cycles in northern and higher-elevation areas. Concrete or brick mowing strips are another excellent option that adds visual appeal while doing serious functional work.
Install the edging so it sits slightly above the soil surface on the lawn side, which helps prevent runners from hopping over the top. Drive it deep enough, at least four to five inches, to block underground rhizomes from sneaking beneath it.
Pair your edging with the thick mulch layer described earlier, and you’ve created a two-layer defense system that handles both above-ground runners and below-ground roots. Maintaining a clean edge with a half-moon edger or spade each spring keeps the barrier sharp and effective.
This one-time installation effort saves countless hours of hand weeding over the coming years and keeps your flower beds looking sharp and intentional all season long.