How To Divide Bearded Irises In Utah For A Bigger Bloom Next Spring
Crowded irises stop blooming, and yours are quietly trying to tell you something important. Utah soil hardens under relentless summer sun, limiting root systems.
Rhizomes crowd together underground, competing quietly for space and slowly weakening each other. Neglect turns your thriving bed into a crowded, flowerless clump.
Timing matters more here than almost anywhere else in the entire country. Dry heat and thin mountain air change everything about how stressed irises actually recover.
Careless division can weaken your healthy clump within weeks. Precise cuts, correct spacing, and proper drying carefully protect fragile rhizomes from sudden decline.
Utah’s climate makes proper timing especially important. Every rhizome you separate becomes a future burst of color.
Nothing about this delicate process should be hurried or approached carelessly.
Confidence comes from knowing exactly when and how you cut. Acting within the next few weeks will noticeably improve next year’s blooms.
1. Wait Until 4-6 Weeks After Flowering Ends
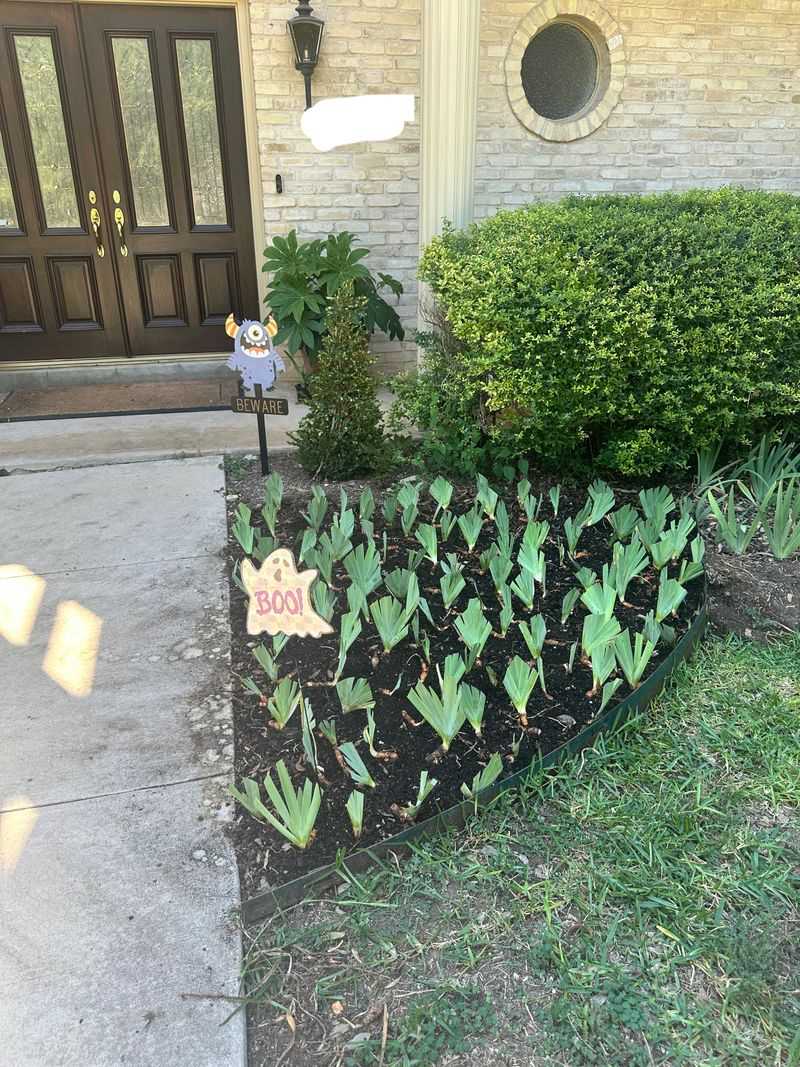
Your irises just finished blooming, and timing now matters. Patience is essential for successful division. Bearded irises need real time after blooming to recharge their rhizomes.
Jumping in too early reduces the plant’s stored energy needed to survive transplanting. Waiting four to six weeks gives roots time to store nutrients for next season.
That waiting period is not wasted time; it is active recovery happening underground. In many parts of Utah, that window usually falls between late July and mid-August, though it can shift with elevation.
Summer heat may feel intense, but warm soil helps new roots establish quickly after division. Dividing too late risks sending unprepared roots into cold ground before winter arrives.
Utah winters can move in fast, so hitting that sweet spot matters quite a bit here. Mark your calendar the moment your last bloom fades completely. Setting a reminder takes only seconds and saves you from guessing later.
Some gardeners wait for a cooler stretch of days before they start digging into beds. A few days under ninety degrees makes the work easier on both you and the plants.
Healthy irises divided at the right time bounce back remarkably quickly. You will often see fresh green growth pushing through soil within two to three weeks of replanting. That fast recovery is a strong sign your timing was exactly right.
Utah gardeners who master this window tend to grow strong, reliable iris beds. With practice, timing this step becomes second nature rather than a source of stress.
2. Dig Up The Entire Clump Carefully
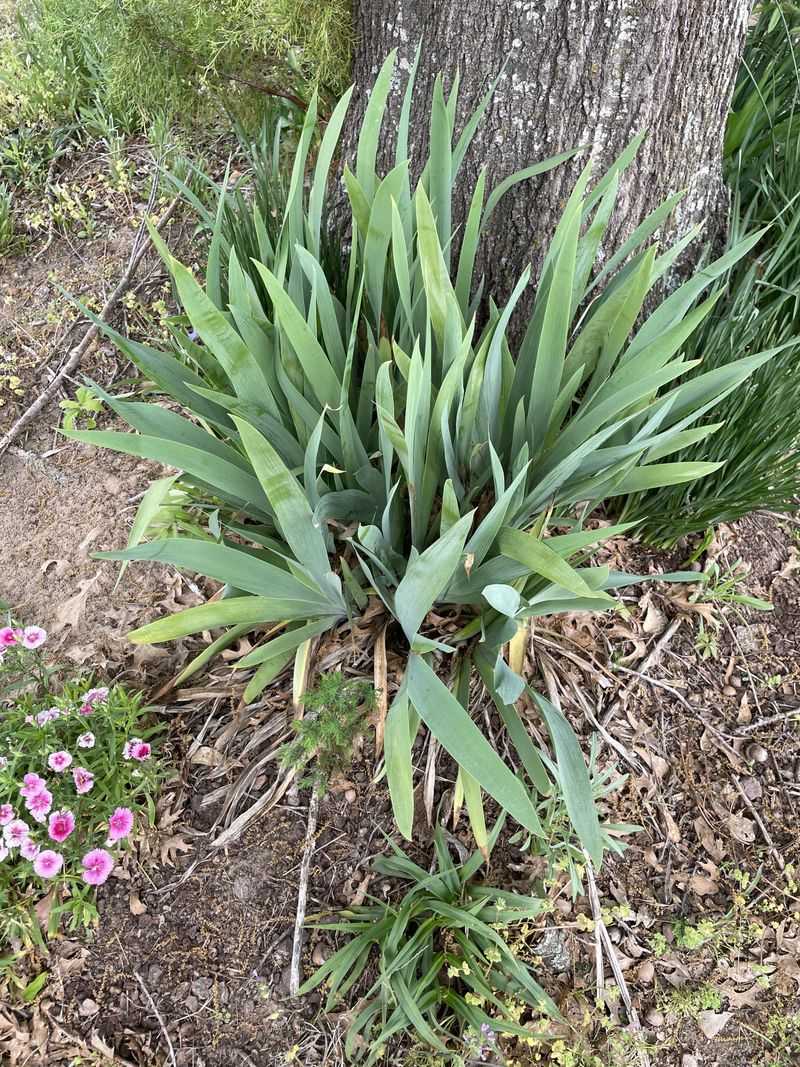
There is something deeply satisfying about lifting a big tangled clump out of the earth. It feels like uncovering buried treasure, except the treasure smells like dirt and sunshine.
Use a sturdy garden fork rather than a shovel for this job. A fork loosens the soil around the clump without slicing through rhizomes the way a flat blade often does.
Push the fork in about eight to ten inches away from the visible foliage. Work around all sides of the clump before prying upward to reduce root damage.
Your Utah Garden Changes Every Week. Your Plan Should Too.
Gardening in Utah changes quickly throughout the season. Every Friday you’ll receive a simple weekly plan showing exactly what to plant, prune, fertilize, harvest, and protect so you never miss the right timing.
Utah soil varies widely, and in areas with dense, clay-heavy ground, this step can be trickier than expected. If your ground is particularly hard, water it lightly the day before to soften things up a bit.
Once the clump feels loose, use both hands to lift it gently from underneath. Avoid yanking or twisting, since the rhizomes are more brittle than they look and can snap easily.
Set the entire clump down on a tarp or flat surface nearby. Having a clean workspace makes the next steps of separating and inspecting much easier to manage.
Do not panic if the clump looks like a messy tangle of roots and leaves at first glance. That chaos is completely normal, and sorting it out is exactly what the next steps are designed to help you do with confidence.
Take your time here, since rushing this stage often leads to unnecessary damage later. A careful lift now sets up everything that follows.
3. Rinse Off Soil To See Rhizomes Clearly
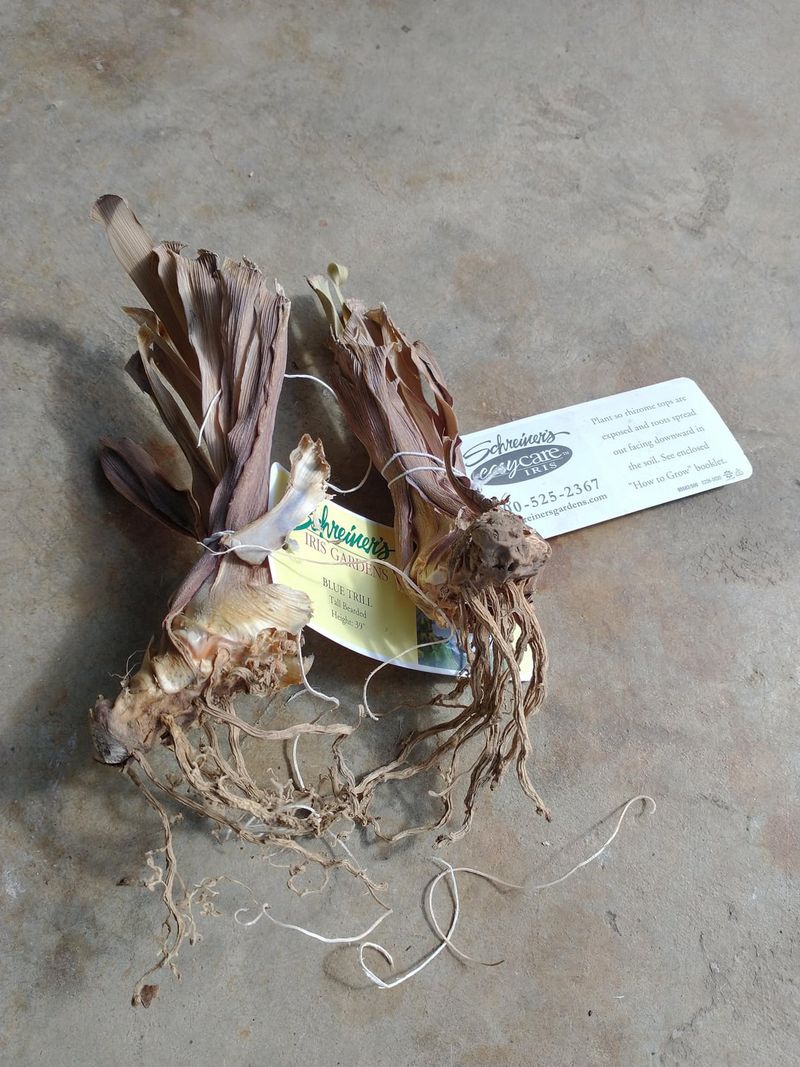
Mud-covered rhizomes all look the same, lumpy, brown, and confusing. A quick rinse changes everything and turns a guessing game into a clear decision.
Use a garden hose on a moderate setting to wash away clinging soil. Avoid a high-pressure blast, which can damage tender feeder roots attached to the main rhizomes.
Once clean, you can see exactly where each rhizome begins and ends. Healthy ones are firm and tan or light brown, with a slightly waxy surface that feels solid under your fingers.
Soft spots, mushy sections, or dark discoloration are warning signs you need to address. Rinsing makes those problem areas impossible to miss, which is the whole point of this step.
Lay the rinsed clump on a flat surface in the shade while you work. Direct afternoon sun in Utah can dry out exposed roots surprisingly fast, so shade is your friend here.
You might notice small white feeder roots dangling from the bottom of the rhizomes. Those are a great sign of a healthy plant eager to grow once it is back in the ground.
Take a moment to admire the structure before you start cutting. Understanding how the rhizomes connect to each other makes the next step of dividing them feel much less intimidating and far more intuitive.
4. Cut Healthy Rhizomes Into Sections With Fans
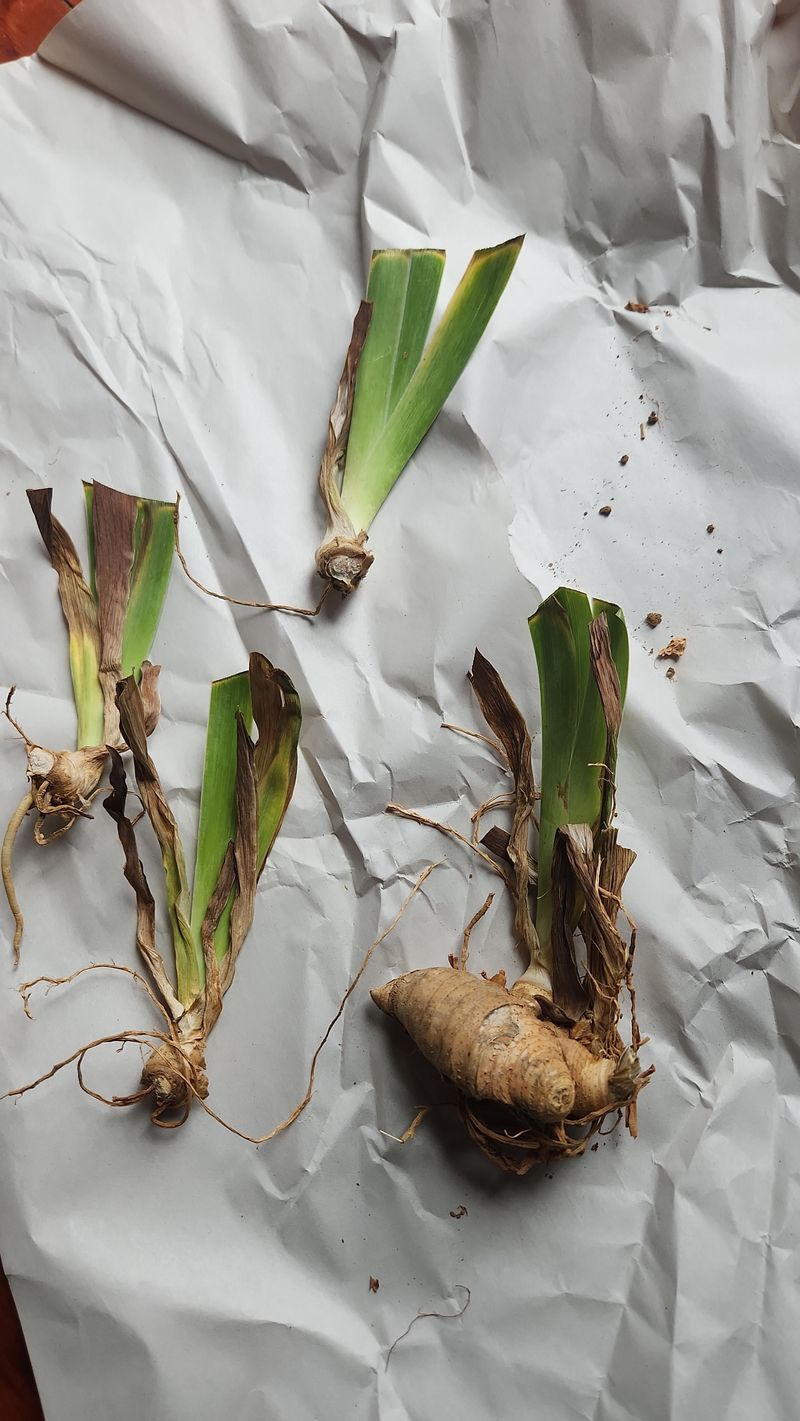
Now comes the part that feels unfamiliar the first time. Picking up a knife and cutting into living plants may feel counterintuitive, but it’s exactly what irises need.
Each division should include one healthy rhizome attached to a fan of green leaves. That fan tells you the section has an active growing point ready to produce next season.
Use a clean, sharp knife for every cut. A dull blade crushes tissue instead of slicing cleanly, which opens the door to disease and slows the healing process significantly.
Aim for sections that are roughly 3 to 4 inches long. Anything shorter may not have enough stored energy to bloom well in its first season after transplanting.
Disinfect your knife between cuts using a diluted bleach solution or rubbing alcohol. This simple habit prevents spreading any hidden fungal problems from one section to the next.
Some gardeners prefer to snap sections apart by hand where natural joints exist. That method works well on loosely connected clumps, though a knife gives you more control on tightly packed ones.
Each cut section is essentially a brand-new plant with a full life ahead of it. Treat each one with care, and you will multiply your iris collection without spending a single dollar at the garden center this fall.
5. Discard Old, Woody, Or Rotten Centers
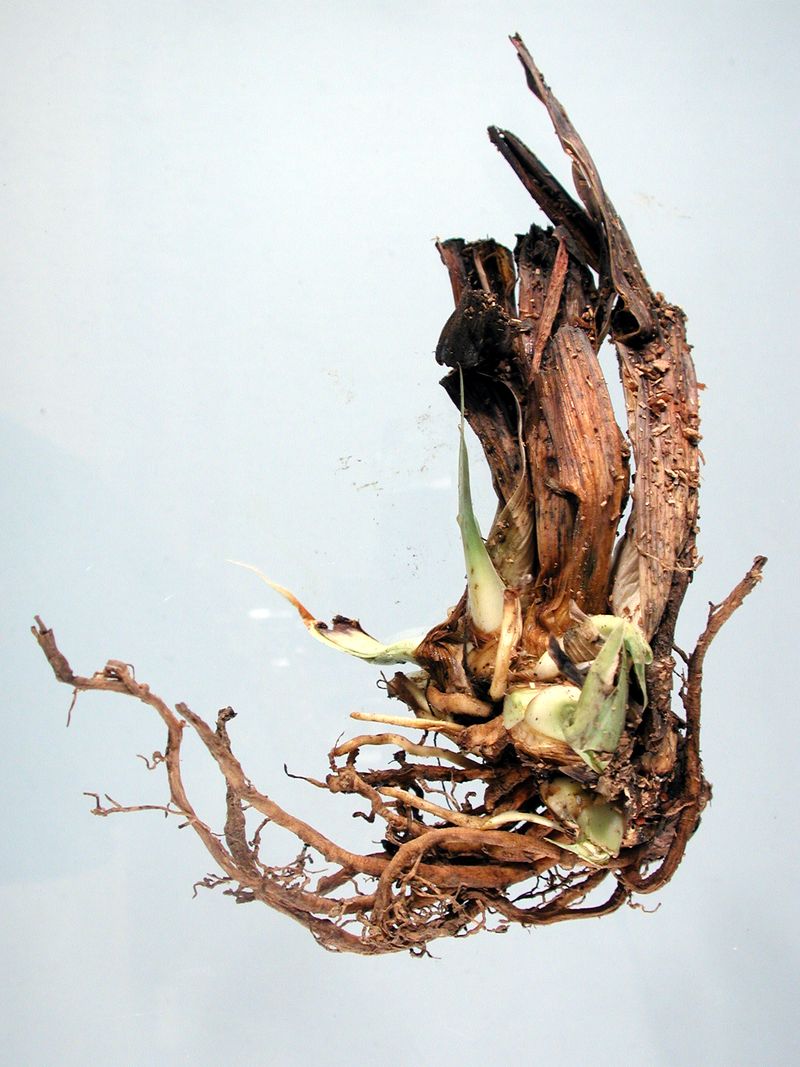
Not every piece of that clump is worth keeping. Some rhizomes have given everything they had, and holding onto them provides little benefit.
The oldest rhizomes sit at the center of the clump and usually look dark, shriveled, or hollow. They rarely produce blooms even when replanted in perfect conditions.
Rotten sections feel soft or mushy when you press them gently. A foul smell is another clear giveaway that fungal rot has already taken hold inside.
Toss those sections into the compost or the trash, never back into the garden bed. Burying diseased material can cause problems the following growing season.
Woody centers are trickier because they look solid but are essentially spent. They have already bloomed multiple times and no longer carry the energy needed to push out new flower stalks.
Being selective at this stage sets the whole project up for success. You are not throwing away plants. You are making room for stronger, more productive ones to take their place.
Think of this step as quality control for your garden. The divisions you keep should feel firm, smell earthy, and show at least one healthy green fan pointing upward with obvious life and vigor.
6. Trim Leaves Into A Fan Shape
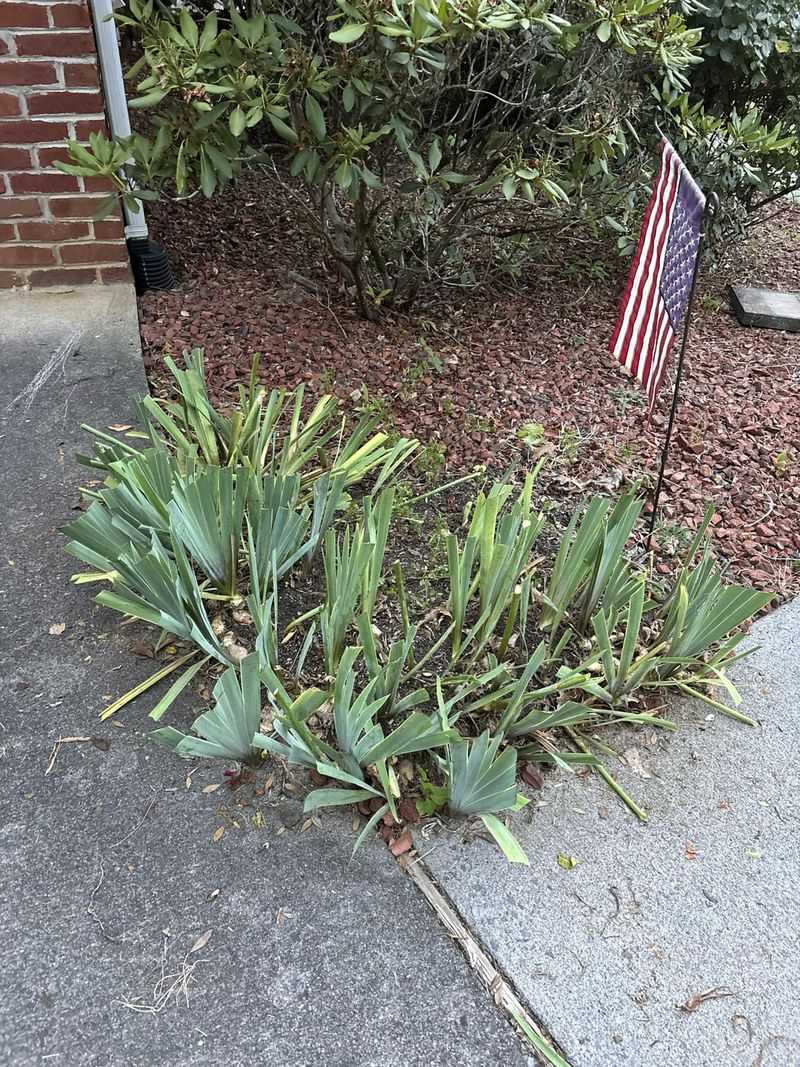
Before replanting, those long floppy leaves need a serious haircut. Trimming them down serves a real purpose. It is not just about making things look tidy.
Cut the leaves back to about 4 to 6 inches tall in a classic fan shape. This reduces the amount of water the plant loses through its leaves while the roots are getting re-established.
A transplanted iris has no active root system pulling water from the soil yet. Leaving full-length leaves forces the plant to work harder than it can handle right after division.
Use clean, sharp scissors or pruning shears for a smooth cut. Ragged edges invite disease, and in Utah’s dry air, leaf tips can dry out and brown quickly if cuts are rough.
The fan shape is both functional and attractive once the plant is in the ground. It also makes the divisions easier to handle and space correctly when you are laying them out before planting.
Some gardeners cut at a slight angle so water runs off rather than pooling on the cut surface. That small trick lowers the chance of rot on freshly trimmed leaves during any late summer rain.
Trimmed divisions look almost comically small compared to the original clump. But do not let the size fool you. Those little fans carry enough stored energy to put on a spectacular show come spring.
7. Replant Sections Shallow With Roots Spread Out
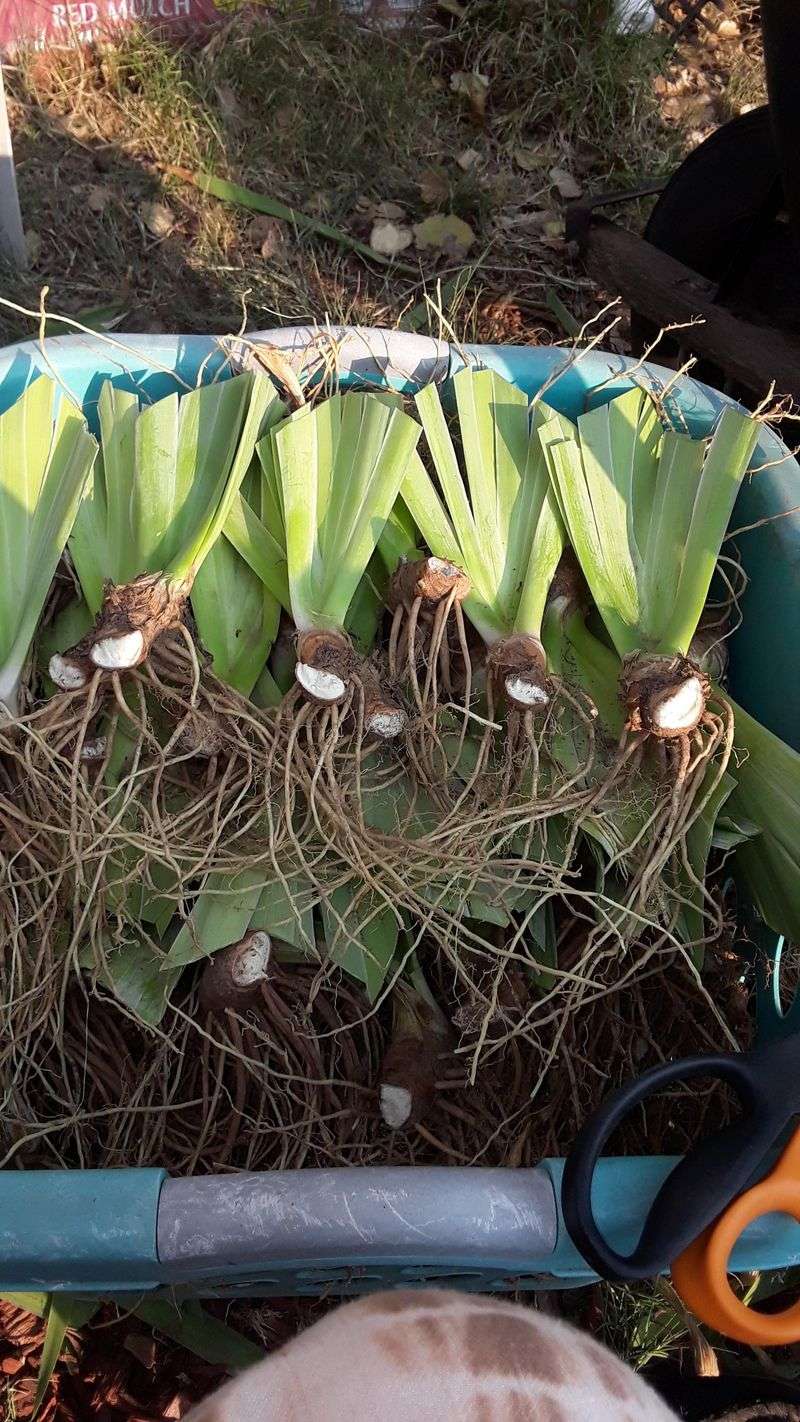
Planting depth is where most beginners go wrong with irises. Bury them too deep and they will sulk for seasons without producing a single bloom worth mentioning.
Bearded irises want their rhizomes near the surface, not buried like a tulip bulb. In Utah, where summers are hot and sunny, the rhizome actually benefits from some direct sun exposure.
Dig a shallow hole and create a small ridge of soil in the center. Set the rhizome on top of the ridge with the roots draped down both sides like a saddle.
The top of the rhizome should sit just at or slightly below the soil surface. In Utah’s intense sun, a thin layer of soil over the top helps prevent sunscald on the exposed rhizome.
Spread the feeder roots outward as much as possible before covering them. Cramped roots take longer to establish and can cause the plant to lean or shift after watering.
Space each division about 12 to 18 inches apart to give them room to expand over the next two to three years. Crowding them now defeats the entire purpose of dividing them in the first place.
Press the soil firmly around the roots to remove air pockets. Solid soil contact is what helps the new division anchor itself and start pulling in moisture right away after planting.
8. Water Thoroughly After Replanting Each Division
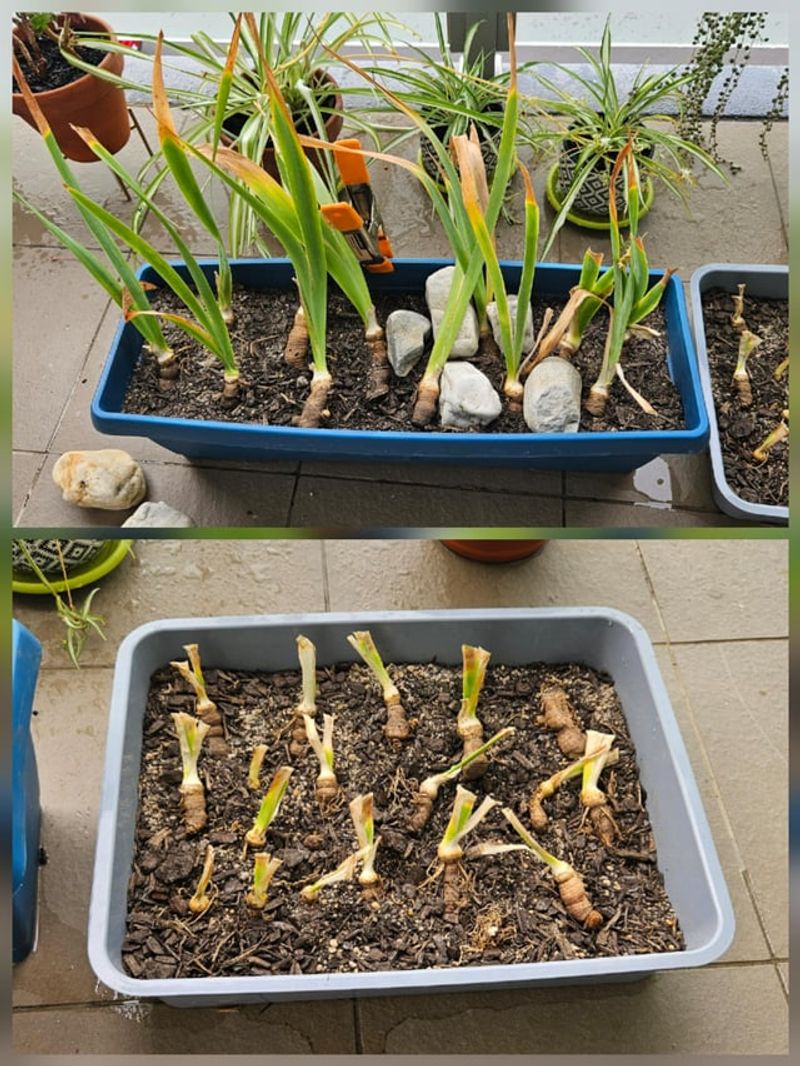
The work is done, and your new iris divisions are in the ground. Now water does the heavy lifting, and getting this step right significantly affects how well the plants establish.
Give each newly planted division a deep, thorough watering right after it goes into the soil. You want moisture to reach down to where those spread-out roots are sitting and waiting.
In Utah’s dry climate, the soil surface can look moist while the ground below stays bone dry. Press your finger two inches into the soil to check that water actually penetrated deeply enough.
After that first watering, pull back and let the soil dry out slightly between sessions. Irises struggle in soggy conditions, and overwatering is one of the fastest ways to invite rhizome rot.
During the first two weeks, water every three to four days if there is no rain. Once new growth appears, the plant is establishing roots and can handle slightly longer gaps between waterings.
Avoid wetting the foliage when you water, especially in the evening. Wet leaves overnight in late summer can encourage fungal issues that spread quickly through a newly planted bed.
Watching those little fan-shaped divisions perk up and push out new growth is a satisfying sign of successful division. You divided bearded irises the right way, and next spring your garden will show it was worth the effort.