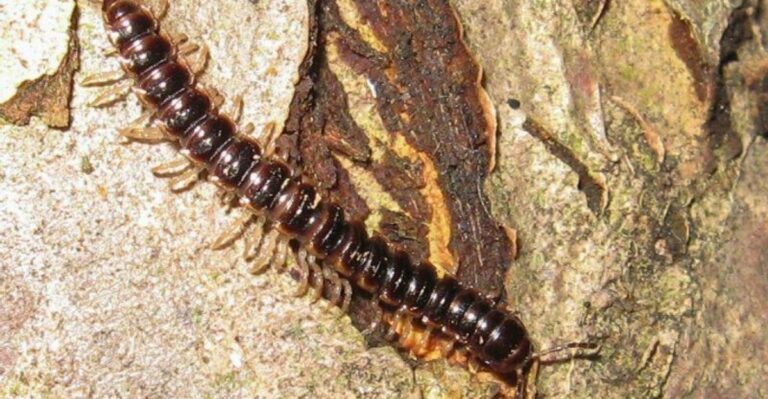
The Hidden Pest Hollowing Out Ohio Iris Rhizomes Right Now
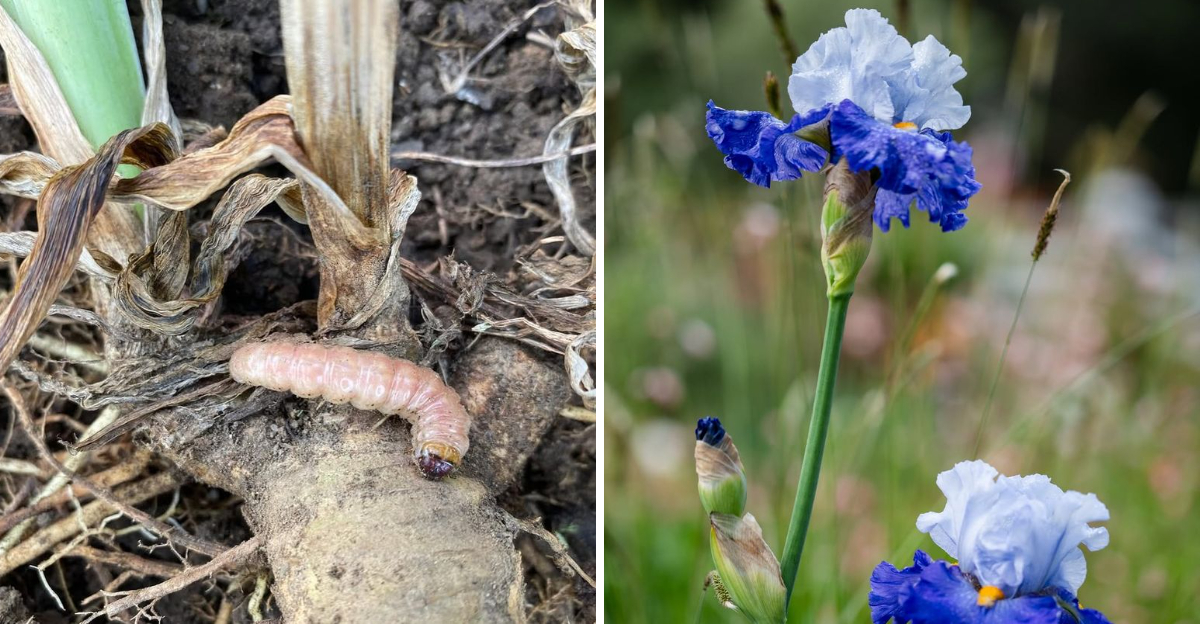
A hidden threat is already living inside your irises. Ohio gardens are a common target for this pest.
Rhizomes look firm outside while rotting hollow inside. Iris borer larvae bore deep before any leaf shows stress.
Weeks of feeding pass before you notice a single symptom. Foul smelling decay usually follows close behind the larvae. Entire clumps weaken within a single growing season.
Soil and climate across Ohio create perfect breeding conditions. Every gardener assumes healthy leaves mean healthy roots. Blooms fade first, stems soften next, rhizomes give way last.
None of this happens overnight, yet it moves fast. Waiting through a single season can empty your whole collection. Understanding how this pest operates now saves your blooms later.
Ignoring this threat guarantees replacing entire iris beds by spring. Catching it early spares you months of costly replanting work. You simply cannot afford to look away from this pest now.
The Hidden Pest Hollowing Out Ohio Iris Rhizomes
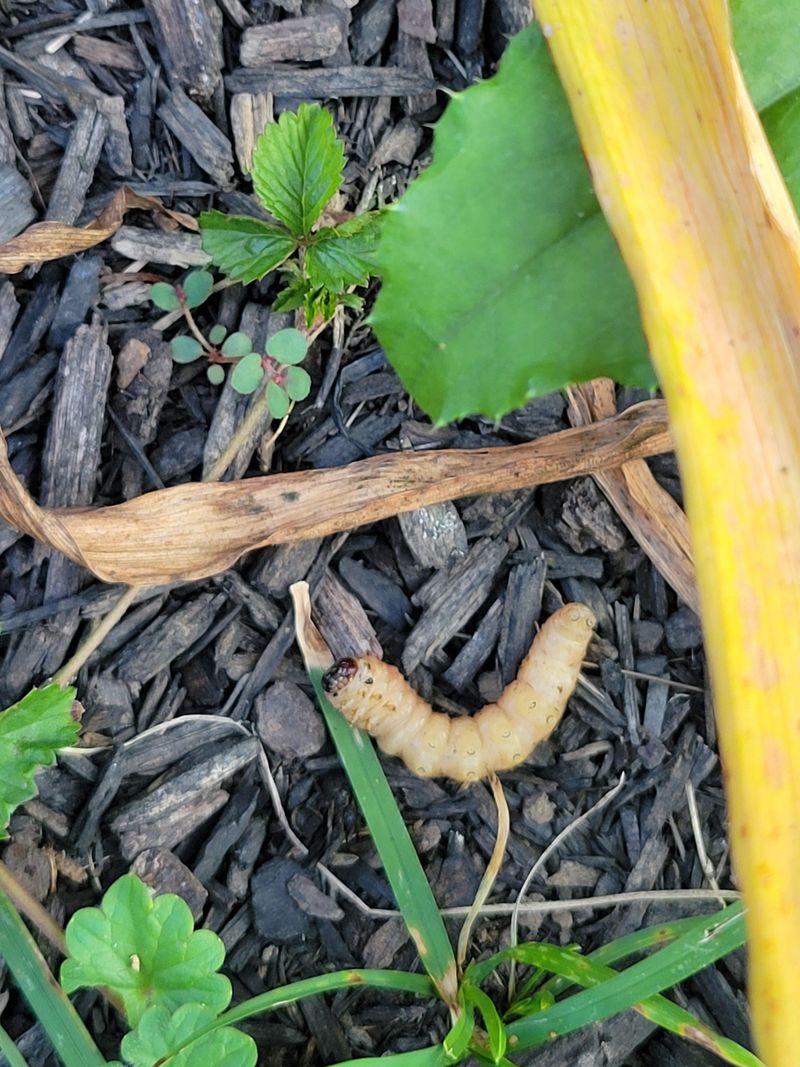
Your iris leaves look fine from the outside, but something is already wrong underneath. The iris borer ranks among the most destructive pests in the Midwest, targeting rhizomes with alarming precision and speed.
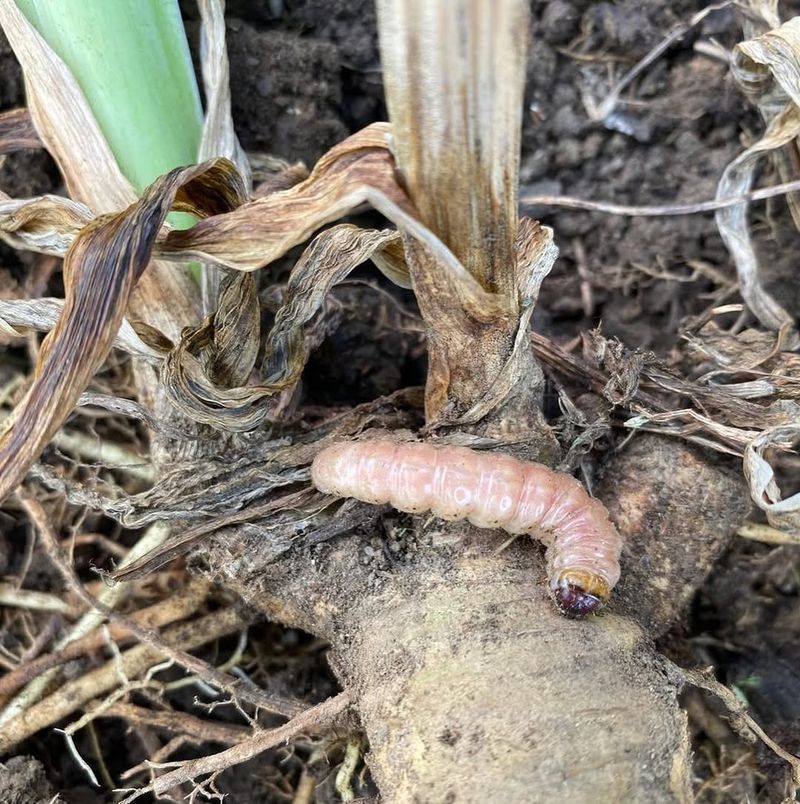
Few pests cause this much damage while staying so completely invisible for so long. This pale pink caterpillar belongs to the moth species Macronoctua onusta, a name few gardeners recognize.
It hatches from eggs laid on old iris foliage each fall, then waits through winter before beginning work each spring. Cold months give no warning of what develops inside those dormant leaves.
Once temperatures warm, tiny larvae climb fresh leaf blades and chew their way inside within days. From there, they tunnel steadily downward through the leaf tissue and straight into the rhizome below.
Each larva grows larger and hungrier as it moves toward its target. The rhizome is the fleshy underground stem that stores energy the entire plant depends on.
When a borer hollows it out, the plant struggles to survive, bloom, or spread. Ohio gardeners face a tough challenge because the local climate supports strong, consistent moth populations year after year.
Wet springs and mild falls create ideal egg-laying conditions across the entire state. Catching the iris borer early remains the only reliable way to protect your bed.
Spotting damage before the larva reaches the rhizome can save the entire plant from collapse.
Why Iris Borer Damage Looks Like Disease At First
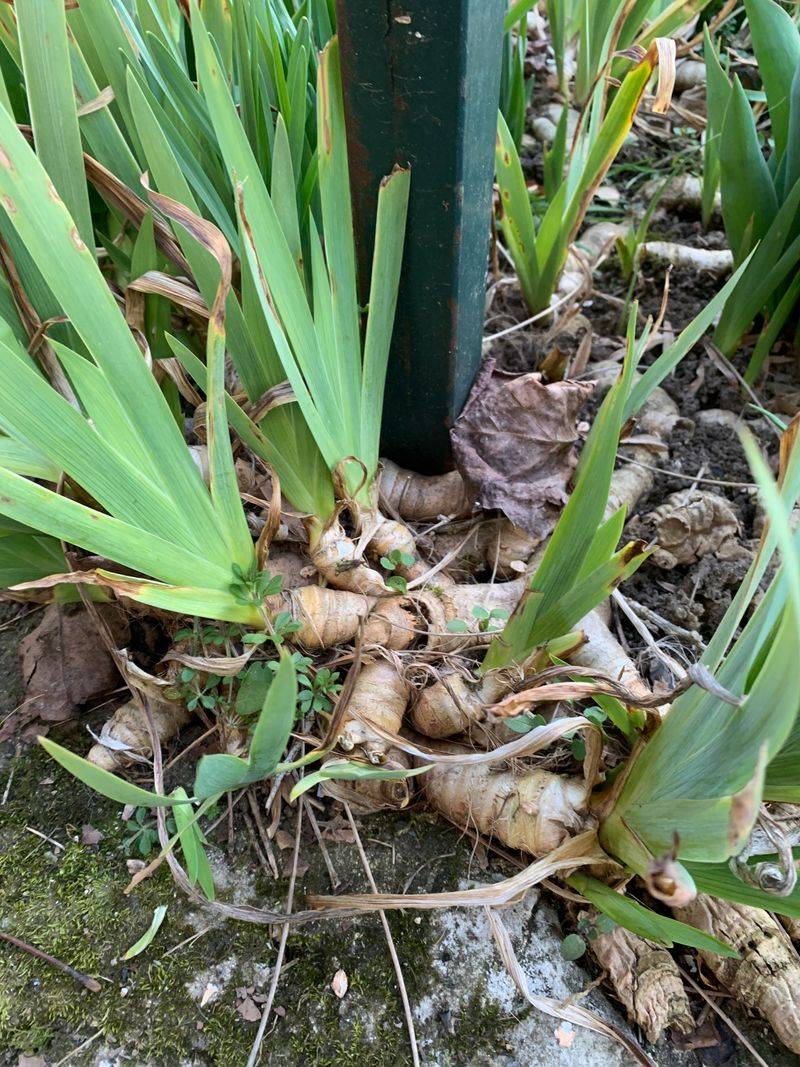
Soggy, streaked leaves are easy to blame on too much rain. That is exactly why iris borer infestations get misdiagnosed as fungal or bacterial disease so often.
When the larva first enters a leaf, it creates a water-soaked streak along the blade. That streak looks almost identical to early signs of bacterial leaf spot or soft rot.
Gardeners pull the affected leaves, treat with fungicide, and wait. Nothing improves because the real problem is still tunneling deeper inside the plant.
As the borer moves into the rhizome, bacteria follow close behind. The combination causes a foul-smelling, mushy rot that breaks down the tissue internally.
Your Ohio Garden Changes Every Week. Your Plan Should Too.
Gardening in Ohio changes quickly throughout the season. Every Friday you’ll receive a simple weekly plan showing exactly what to plant, prune, fertilize, harvest, and protect so you never miss the right timing.
By the time the rot smell hits your nose, the rhizome is often badly damaged. That smell is a clue, but by this point treatment options for the season are limited.
The key difference between disease and borer damage is the presence of a feeding tunnel. Slice open a suspicious rhizome and look for a hollow channel or the larva itself still inside.
Knowing the difference saves you from wasting money on the wrong treatments. Once you spot that tunnel, you know exactly what you are dealing with and can act fast.
Tracking The Iris Borer Life Cycle Season By Season
Timing is everything when you are fighting the iris borer. Understanding its life cycle gives you a clear window to act before damage begins each year.
Adult moths typically emerge in late summer, generally from August into October, though timing can vary by year and region.
Those eggs survive all winter, tucked safely in the leaf litter. Cold temperatures do not phase them at all, which is why cleanup in fall matters so much.
When soil temps climb in early spring, eggs hatch into minuscule larvae. These newly hatched caterpillars are barely visible and very small at first.
They crawl up the base of iris leaves and begin feeding along the inner leaf surface. This stage creates those tell-tale streaks that mimic disease symptoms on the foliage.
By late spring, larvae have grown considerably and are burrowing into the base of the plant. They typically reach the rhizome by early summer and continue feeding steadily through July.
After finishing their feeding, mature larvae exit the rhizome and pupate in the surrounding soil. Moths emerge weeks later to restart the entire cycle again in late summer.
Knowing each stage helps you match your response to the right moment. Missing the early spring window means waiting a full year before you get another clean shot.
Signs Your Iris Rhizomes May Be Infested

Pull back the mulch around your iris clumps and take a close look at the base of the leaves. Soft, mushy spots at the leaf base are one of the earliest physical signs of trouble.
Look for small, ragged holes where the leaf meets the rhizome. These entry points are where the growing larva pushed through on its way to the fleshy tissue below.
Leaves that pull away from the plant too easily are another red flag. A healthy iris leaf resists tugging, but a borer-damaged one slides right out of the crown.
Check for frass, which is the dark, grainy waste that caterpillars leave behind as they feed. You might find it packed into the base of the leaves or smeared along the inner leaf surface.
Dig up any rhizome that feels soft when you press it gently with your thumb. Firm rhizomes are healthy, but a spongy one likely has a borer inside or rot taking over.
A cross-section reveals the truth immediately. Slice the rhizome lengthwise with a clean knife and look for a hollow channel, brown discoloration, or the pale pink larva still feeding inside.
Finding just one infested rhizome is a warning that others nearby may be affected too. Check every plant in the bed before assuming the damage is isolated to a single spot.
Bearded Iris Face The Highest Risk In Ohio

Not all irises are affected equally when the borer comes around. Bearded iris varieties are far more vulnerable than Siberian or Japanese types, and Ohio gardens are packed with them.
The thick, fleshy rhizomes of bearded irises sit partially exposed at the soil surface. That exposure makes them easy targets for burrowing larvae moving down from the leaf blades.
Siberian irises have much tougher, more fibrous root systems that borers find harder to penetrate. Their compact growth habit also makes it harder for larvae to find a good entry point.
Bearded irises also tend to form large, dense clumps over time. Crowded beds trap moisture, create hiding spots for eggs, and make it harder to spot early warning signs before damage spreads.
Ohio’s warm, humid summers can speed up the borer’s feeding cycle. A larva that might take weeks to reach the rhizome in a cooler region can get there much faster here.
Some gardeners report that tall bearded varieties attract heavier infestations, though this is largely anecdotal. Their broad leaf fans offer more surface area for egg-laying moths in the fall.
Planting a mix of iris types can reduce your overall risk across the bed. Adding a few Siberian clumps between bearded varieties creates natural breaks that slow the spread of any infestation.
Stopping Iris Borers Before They Damage Your Bed

The single most powerful weapon against the iris borer costs nothing at all. Removing spent foliage in the fall cuts off the moth’s favorite egg-laying surface before winter even begins.
Cut iris leaves back to about four inches after the first hard frost each year. Bag up all the debris and remove it from the garden rather than composting it on site.
In early spring, inspect the base of each plant as new growth emerges. Pinch off any leaf that shows the tell-tale water-soaked streaking before the larva inside can travel further down.
Squeezing a streaked leaf firmly between your fingers can crush the tiny larva before it escapes. This old-fashioned technique is surprisingly effective during the first few weeks of spring growth.
Spinosad-based insecticides are commonly recommended as a lower-toxicity option for heavier infestations; check current product labels for approved use.
Apply them to the base of the plant in early spring when larvae are still small and feeding near the surface.
Digging and dividing your iris clumps every three to four years also helps. Dividing exposes hidden borers, improves air circulation, and removes the crowded conditions that let infestations build up over time.
Protecting your bed from the iris borer is a year-round commitment, not a one-time fix. Stay consistent with fall cleanup and spring inspections to stay ahead of this pest going forward.