The Hydrangea Mulch Mistake That Traps Too Much Heat Around Michigan Roots
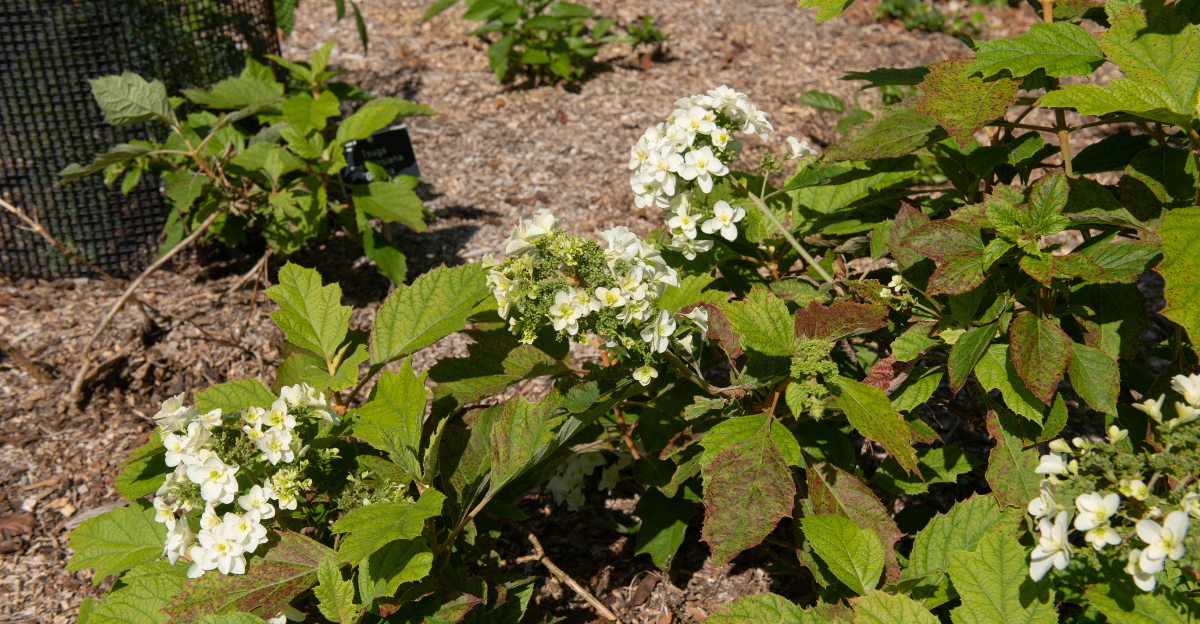
Hydrangeas can make a Michigan yard look generous, soft, and completely put together.
Then one small maintenance habit starts working against them.
Mulch is supposed to help. It cools soil, slows moisture loss, protects shallow roots, and keeps weeds from turning the bed into a second job.
But when gardeners keep adding fresh mulch every spring without checking what is already there, the helpful layer can become too deep, too tight, and too close to the crown.
That is when hydrangeas start to struggle.
The roots may stay too warm near the surface. Water may run off instead of soaking in. Stems may sit damp for days. Voles may find perfect cover. The whole shrub can look thirsty even while the bed seems heavily mulched.
So how do you keep hydrangea roots cool without smothering the plant?
Start by flattening the mulch, opening the crown, checking the depth, and making sure water can actually reach the soil below.
Stop Mounding Mulch Against The Crown
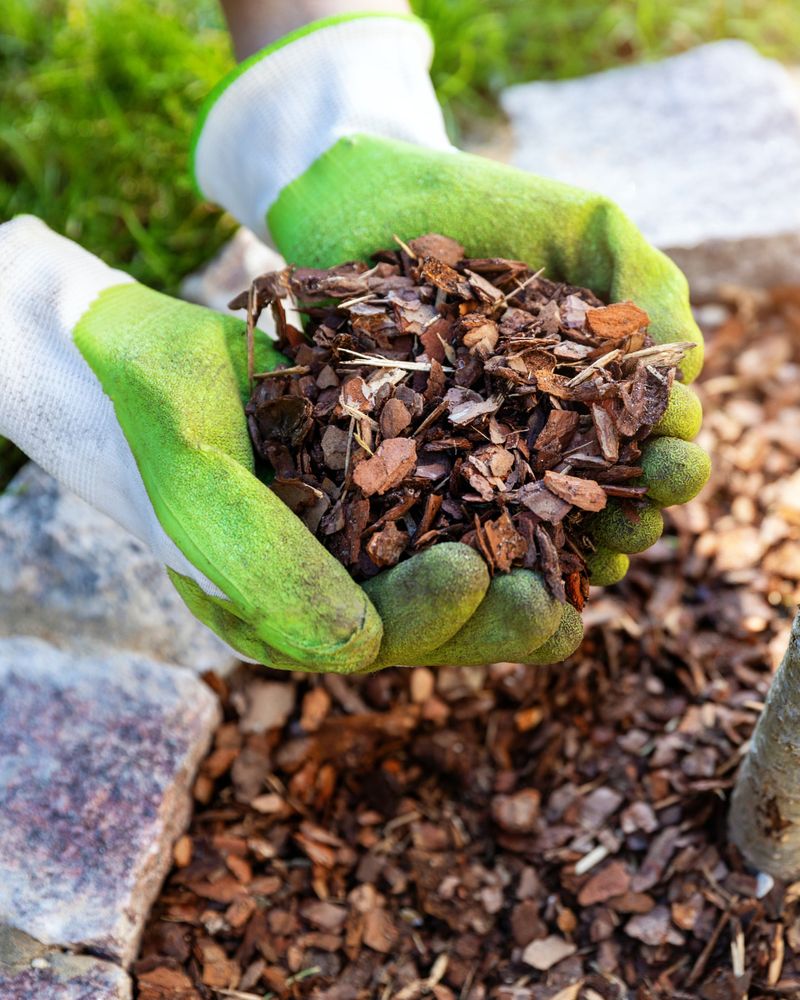
The mulch volcano is one of the easiest landscape mistakes to spot once you know what it looks like.
Mulch rises in a cone around the base of the plant, pressed tight against stems as if the shrub needed to be tucked in.
It may look neat for a few weeks, but it creates exactly the kind of damp, warm, hidden pocket that hydrangeas do not need around their crown.
Hydrangeas are multi-stem shrubs. Their canes emerge from a shared base right at ground level, and that crown needs air. When mulch is piled against it, moisture lingers around bark and lower stems far longer than it should.
Wet bark can soften. Softened tissue becomes more vulnerable to decay, fungal problems, and winter injury. The gardener may not see the damage at first because the mulch is hiding it.
That is what makes the mistake so sneaky.
The fix is simple. Pull mulch back at least 2 to 3 inches from every stem. Make the center open, visible, and dry enough between rain or watering sessions.
Use your hands or a small rake and work gently. Hydrangeas often have shallow feeder roots, so this is not a digging job. It is a reshaping job.
Check again in fall. Wind, rain, pets, and routine bed cleanup can push mulch back toward the crown over time.
An open crown also removes shelter for rodents. Voles and mice can use deep mulch as protected travel lanes in winter, then chew tender bark when food gets scarce.
Mulch should protect roots, not bury the base of the shrub. Once the crown is clear, the whole plant has a better chance to breathe.
Keep The Hydrangea Base Open
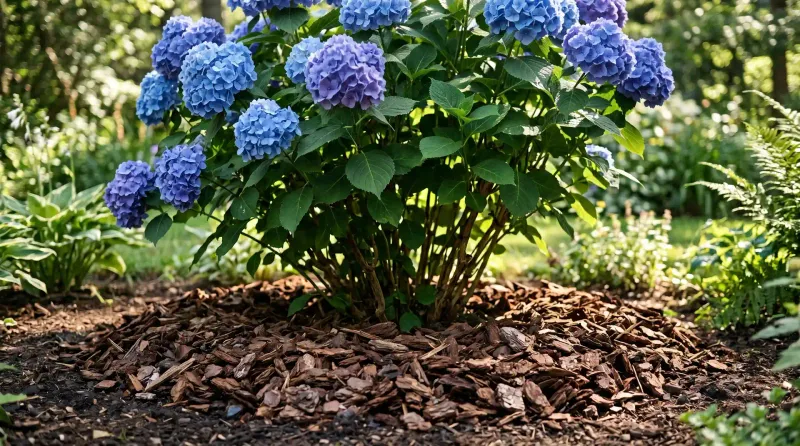
A good hydrangea mulch ring should look more like a donut than a mountain.
The open center matters. It lets air move around the lower stems, helps moisture evaporate, and gives you a clear view of the crown.
That view is more important than many gardeners realize, especially in Michigan where spring thaw, summer storms, and heavy clay soil can all change bed conditions quickly.
Your Michigan Garden Changes Every Week. Your Plan Should Too.
Gardening in Michigan changes quickly throughout the season. Every Friday you’ll receive a simple weekly plan showing exactly what to plant, prune, fertilize, harvest, and protect so you never miss the right timing.
When the base stays visible, you can catch problems early.
You can see if stems look damaged. You can spot vole activity before it gets severe. You can check if irrigation is pooling at the crown. You can press a finger into the soil and tell if the plant actually needs water.
All of that becomes harder when mulch covers everything.
Hydrangeas like consistent moisture, but consistent moisture does not mean damp bark. The root zone should stay evenly moist while the crown remains open and able to dry between watering and rain.
Spread mulch outward instead of upward. The most useful coverage starts beyond the crown and extends toward the drip line, where the outer branches reach. That wider zone is where many feeder roots are actively taking in moisture and nutrients.
A narrow heap at the base does far less good than a broad, flat layer over the root area.
Keep the mulch level. Avoid sloping it toward the plant, since that can direct water into the crown rather than away from it.
This shape also looks cleaner once you get used to it. The shrub appears planted in a cared-for bed, not half-swallowed by landscaping material.
A visible base is not neglect. It is good hydrangea care.
The center breathes, the roots stay protected, and you can actually see what the plant is trying to tell you.
Hold The Layer Near Three Inches
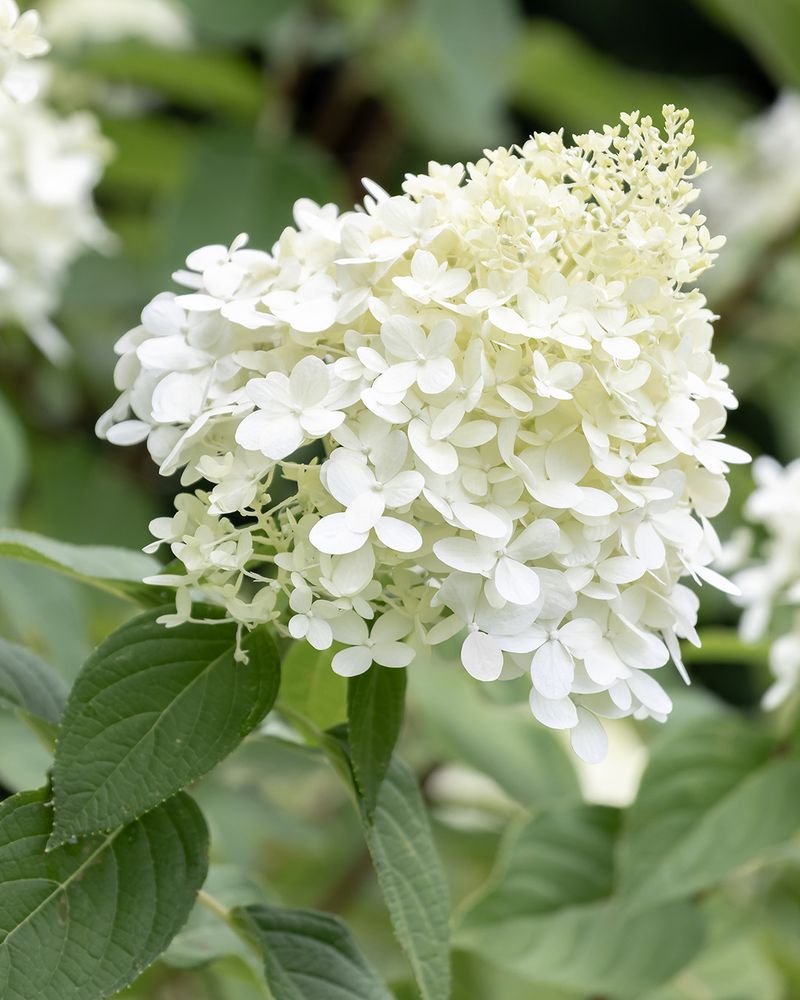
Mulch depth is one of those details gardeners often guess at.
That is how problems start. A fresh bag in spring, another touch-up in July, then another layer next year can quietly turn a healthy 2-inch cover into a dense 6-inch blanket.
By then, the mulch may be trapping heat, blocking water, and encouraging roots to live too close to the surface.
For most hydrangea beds, a total depth near 3 inches is a practical target.
That means total depth, not 3 inches added every year.
Before spreading anything new, push your fingers through the existing mulch until you reach soil. Measure what is already there. If the bed still has 2 inches of decent mulch, you may need only a light refresh.
If the old layer is thin and broken down, add enough to bring the bed back near the right depth.
Material changes the math. Coarse wood chips or bark pieces allow more airflow and water movement, so they can sit a little deeper without packing too tightly.
Fine shredded mulch, composted material, and shredded leaves can mat faster, so they often work better in thinner layers.
A deep, compacted layer can absorb water at the top while the soil underneath stays dry. That fools gardeners because the bed looks moist, smells earthy, and seems protected.
The hydrangea roots may still be waiting.
Check after watering. Pull back the mulch and see if the soil below is damp. If water is not making it through, loosen or reduce the layer.
A ruler may feel silly in the garden, but it can save a shrub.
Three inches protects. Too much starts to smother.
Break Up Matted Grass Clippings
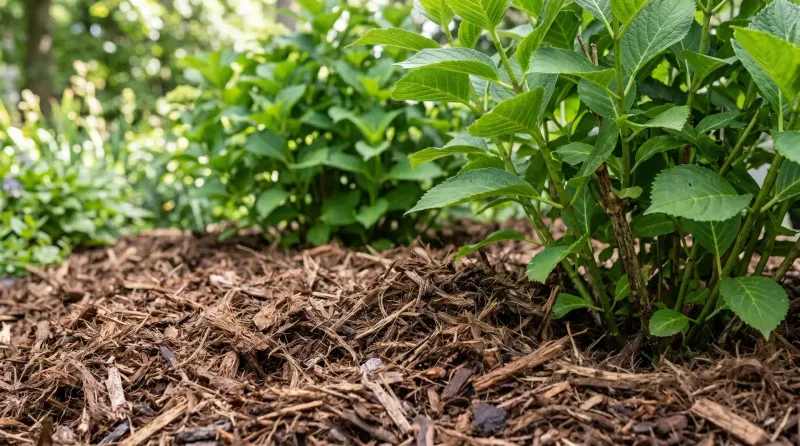
Grass clippings can help a garden bed, but only when used lightly.
A thin layer can return nutrients, shade the soil, and reduce evaporation. A thick pile around hydrangeas can become a wet mat that acts more like a lid than mulch.
Once clippings compress, water may sheet off the surface instead of soaking down to the root zone.
That is especially frustrating because the bed can look moist from above while the soil underneath stays dry.
Fresh clippings also heat up as they break down. Anyone who has reached into a pile of cut grass knows how warm it can get inside. That heat is not helpful around shallow hydrangea roots during a humid Michigan summer.
The goal is to avoid creating a damp, hot blanket.
Apply grass clippings no more than about an inch at a time. Let each layer dry before adding more. Never dump a heavy mower bag around the base of a shrub.
If you want to use clippings, mix them with coarser mulch so the layer stays loose. Wood chips, bark pieces, or shredded leaves can help prevent tight compaction.
Avoid clippings from lawns treated with herbicides unless the product label clearly allows reuse around ornamental beds. Chemical residues can sometimes injure sensitive plants.
If a mat has already formed, break it gently with a hand rake. Work slowly near hydrangea crowns and shallow roots. The goal is to loosen the layer, not cultivate deeply.
After loosening, water and check whether moisture reaches the soil below.
Grass clippings are not the villain. Thickness is.
Used sparingly, they can support the bed. Used in heavy piles, they trap heat, block water, and make the hydrangea’s root zone harder to manage.
Prevent Water From Pooling At Stems
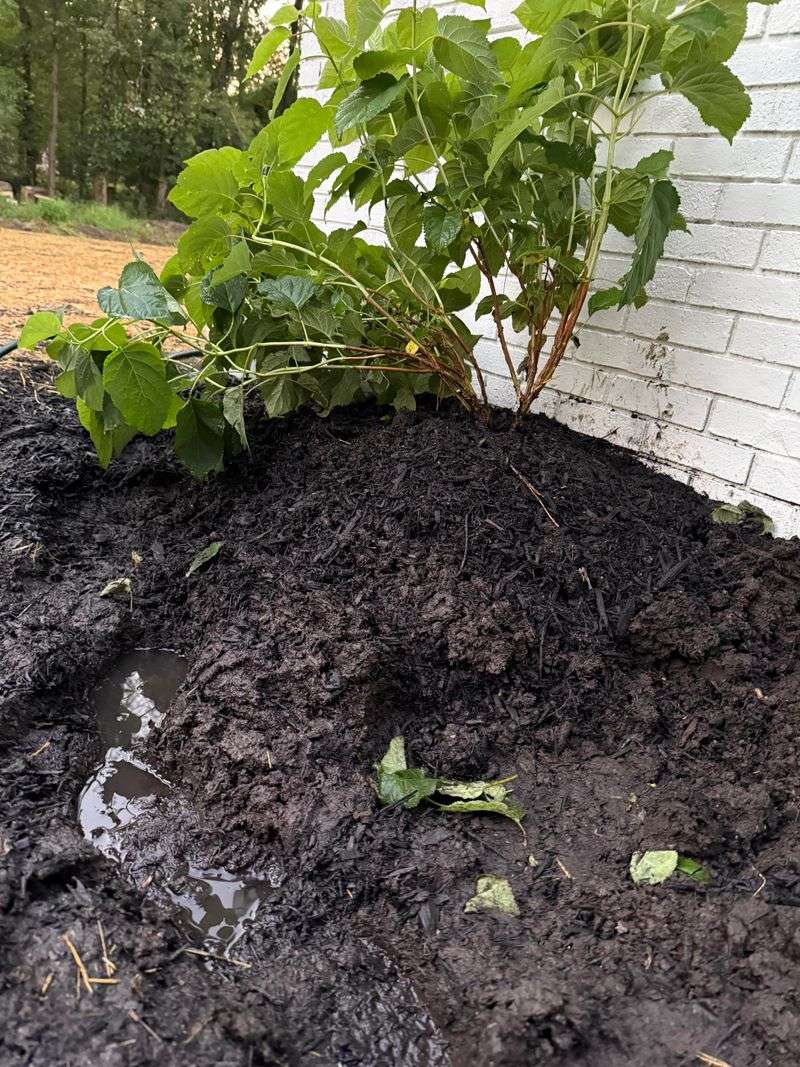
Hydrangeas like moisture, but they do not want their crowns sitting in a puddle.
That difference matters in Michigan yards, especially where clay soil drains slowly or downspouts empty near foundation beds. A hydrangea can look lush for years, then start declining because water repeatedly collects at the base after storms.
Mulch can make that problem worse when it is shaped badly.
A mound pressed around stems can hold moisture against bark. A ring sloped inward can guide water toward the crown. A thick, matted layer can trap dampness long after the surrounding bed has begun to dry.
The better shape sends water into the wider root zone while keeping the crown open.
After a heavy rain, walk the bed and look closely. Notice where water sits. Check if mulch has washed toward the base. See if the soil around the crown stays soggy longer than the rest of the bed.
If the area pools, adjust the grade gently so water moves away from the stems. Even a slight correction can help.
Redirect downspouts with extensions or splash blocks. Roof runoff can overwhelm a hydrangea bed fast, especially during summer storms.
Check sprinkler heads too. A head aimed directly at the base of the shrub keeps the crown wetter than necessary. Drip emitters or soaker hoses should sit out in the root zone, not right against the stems.
Water deeply, then let the surface breathe.
If the plant is in a low, poorly drained spot, mulch changes may not be enough. You may need a raised planting area or a better location.
Moist roots support hydrangeas. Soggy crowns stress them.
Keeping water away from the stems helps both needs coexist.
Watch For Roots In Thick Mulch
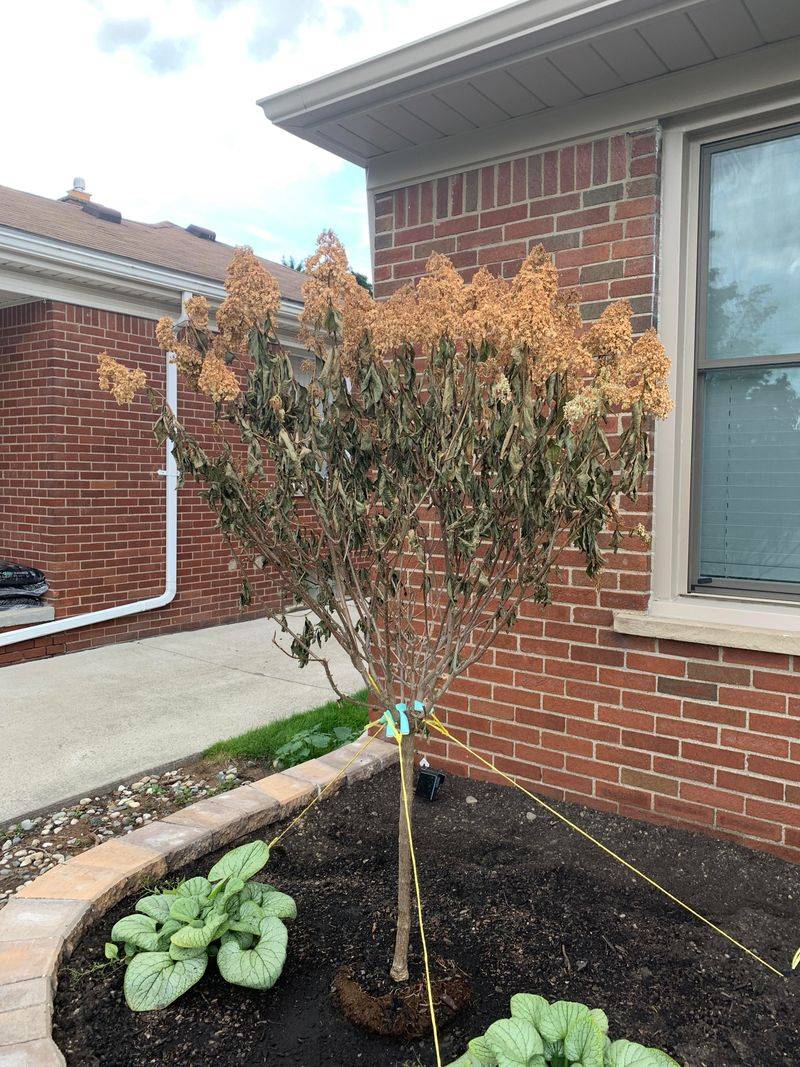
Hydrangea roots can move into old mulch when the layer gets too deep.
At first, that sounds like success. Roots found moisture and organic matter, so the plant must be happy. The problem is that decomposed mulch is not the same as stable soil.
It dries faster, heats faster, and changes more dramatically during Michigan weather swings.
A thick mulch layer can slowly become a false root zone.
Year after year, old material breaks down at the bottom while fresh material gets added on top. Fine hydrangea roots may grow into that dark, crumbly layer because it holds moisture after rain or irrigation.
Then a hot, dry stretch arrives. The upper mulch dries quickly, and those roots are suddenly exposed to stress.
You may notice the plant wilting faster than expected, even though the bed has plenty of mulch. That can be a clue that roots are sitting too high.
Check by pulling mulch back gently in a small area. If you see a mat of fine roots woven through the mulch instead of mostly in the soil, the bed has probably been overbuilt.
Do not strip all the mulch away at once. Exposing those roots suddenly can stress the plant even more.
Correct the depth gradually. Remove some excess material, keep the root zone lightly covered, and return the bed to a moderate depth over time.
When refreshing the bed, avoid burying roots under another heavy layer. Loosen what remains and add only what is needed.
Deep watering helps encourage roots to grow down into the soil instead of staying in the mulch layer. Slow water at the outer root zone is better than frequent surface sprinkles.
The goal is not bare soil. The goal is roots anchored where moisture and temperature stay more stable.