18 Simple Habits To Get Your Hydrangeas Blooming Again This Summer
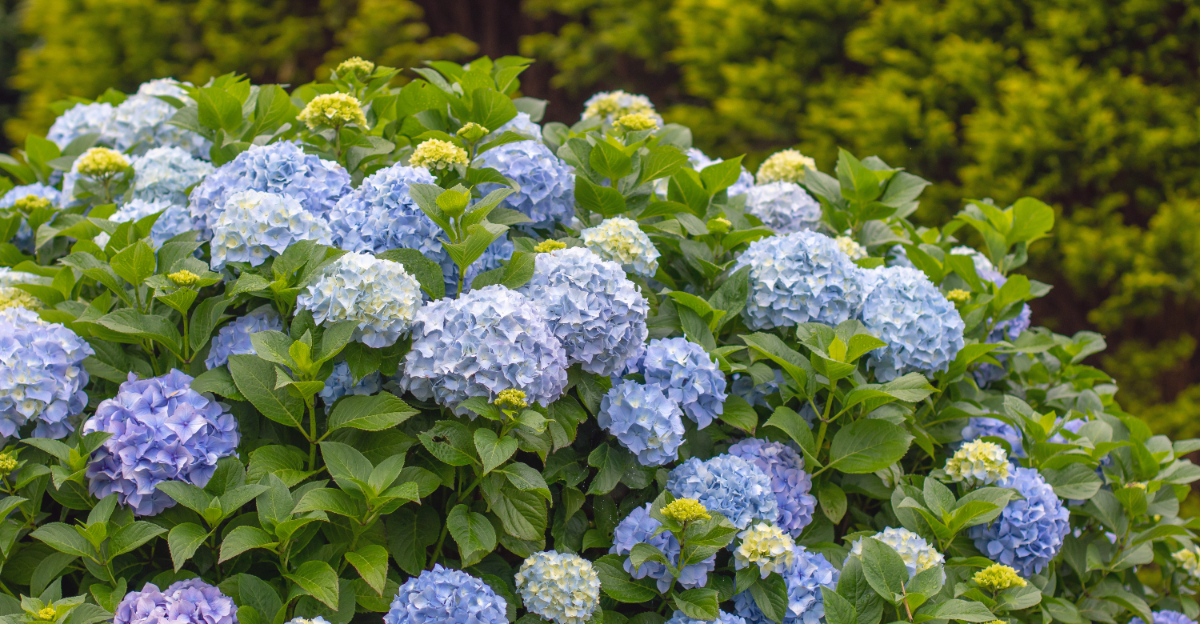
Blooms disappeared without warning last spring, and you truly deserve real answers. Leaves multiplied while flowers stayed hidden. Gardeners everywhere notice this pattern more than most.
Confusion builds when effort produces no visible reward. Weather gets credited immediately, but it rarely deserves that. Pruning at the wrong moment quiets next season’s buds.
Soil chemistry quietly decides whether healthy buds ever form. Timing water matters far more than the amount. Cold snaps during spring weaken hidden flower buds instantly.
Summers now truly require a smarter seasonal strategy overall. Fertilizer choices push growth toward leaves instead of blooms. Shade placement quietly controls bud formation you never notice.
None of this visible setback is permanent or unfixable. Small, deliberate corrections can transform everything by next season.
Control over these blooms rests entirely in your hands. Answers exist somewhere, and they are simpler than you expect. Nothing about this moment lets you stop here.
1. Water Deeply Twice Weekly
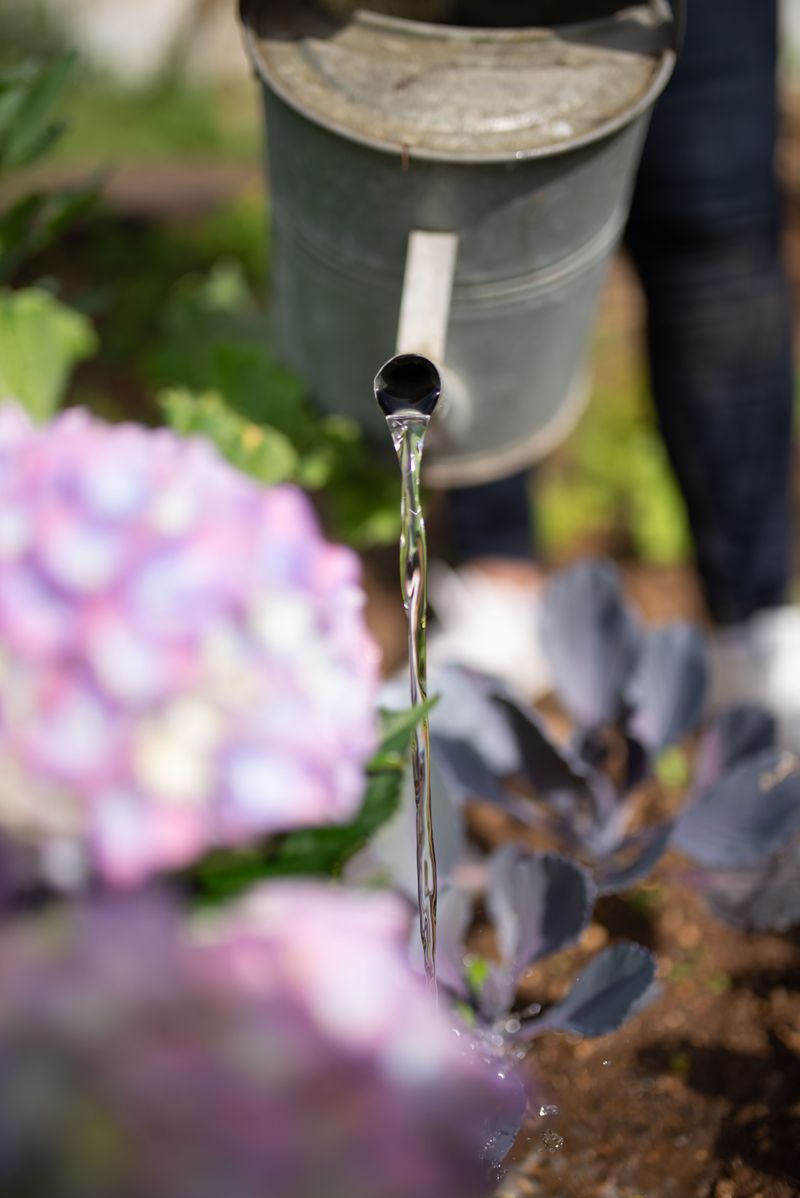
Blooms need deep, steady moisture rather than frequent light sprinkles. Hydrangeas are thirsty plants, and shallow watering is one of the most overlooked causes of poor blooming.
Watering lightly every day trains roots to stay near the surface, where moisture disappears fast under summer heat. Deep watering twice a week pushes roots down into cooler, moister soil layers instead.
That deeper root system makes the whole plant stronger, more resilient, and far less stressed during dry spells. Aim for at least one inch of water per session, soaking the soil around the base thoroughly.
A slow, steady stream works better than a quick splash, letting water sink rather than run off. Morning watering reduces evaporation and gives roots more time to absorb before afternoon heat arrives.
2. Mulch To Retain Moisture
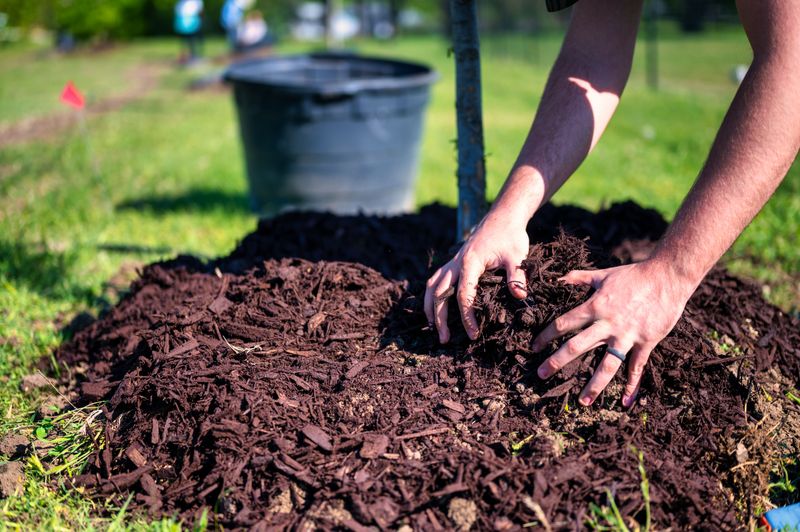
Picture pulling back dry, cracked soil around your hydrangeas on a hot July afternoon. That dry crust puts ongoing stress on your plants every single day, more than most people realize.
A two to three inch layer of organic mulch changes everything about root health. It locks in moisture, keeps roots cool, and slows down water evaporation between waterings significantly.
Shredded bark, pine needles, or wood chips all work beautifully for this exact purpose. Spread the mulch a few inches away from the main stem to prevent rot and fungal growth.
Refresh the layer as it breaks down, since thinning mulch loses its protective power fast. Consistency here does more for blooms than almost any other single habit you’ll build.
3. Feed With Phosphorus Fertilizer
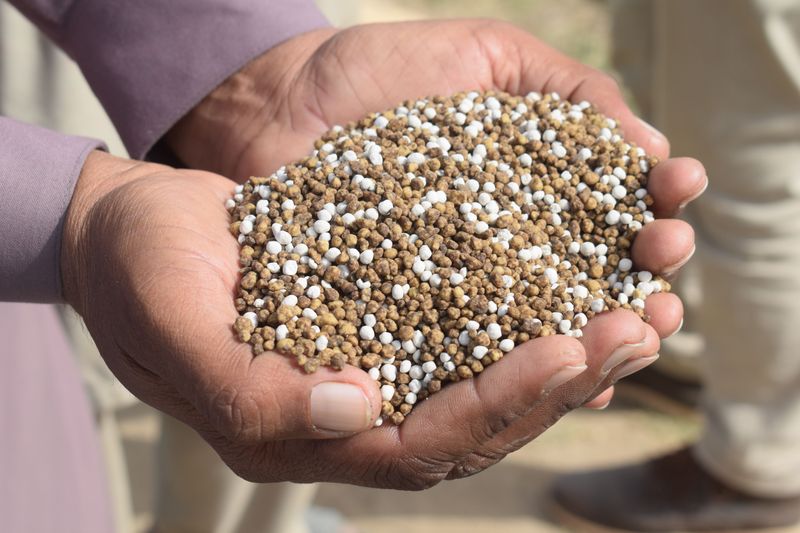
Phosphorus is the nutrient most responsible for bloom development, even though nitrogen gets most of the attention. Without enough phosphorus, plants put energy into leaves instead of flowers entirely.
Look for a fertilizer labeled with a higher middle number, like 10-30-10 specifically. That middle number is the phosphorus content, and it signals the plant to produce buds.
Apply in early spring as new growth appears, then again during midsummer for best results. Always water thoroughly after fertilizing to help nutrients reach the roots faster and deeper.
Skipping this step reduces the fertilizer’s effectiveness, since dry soil limits proper nutrient absorption. Too much nitrogen can reverse this progress, so balance matters more than frequency here.
4. Snip Spent Blooms Off
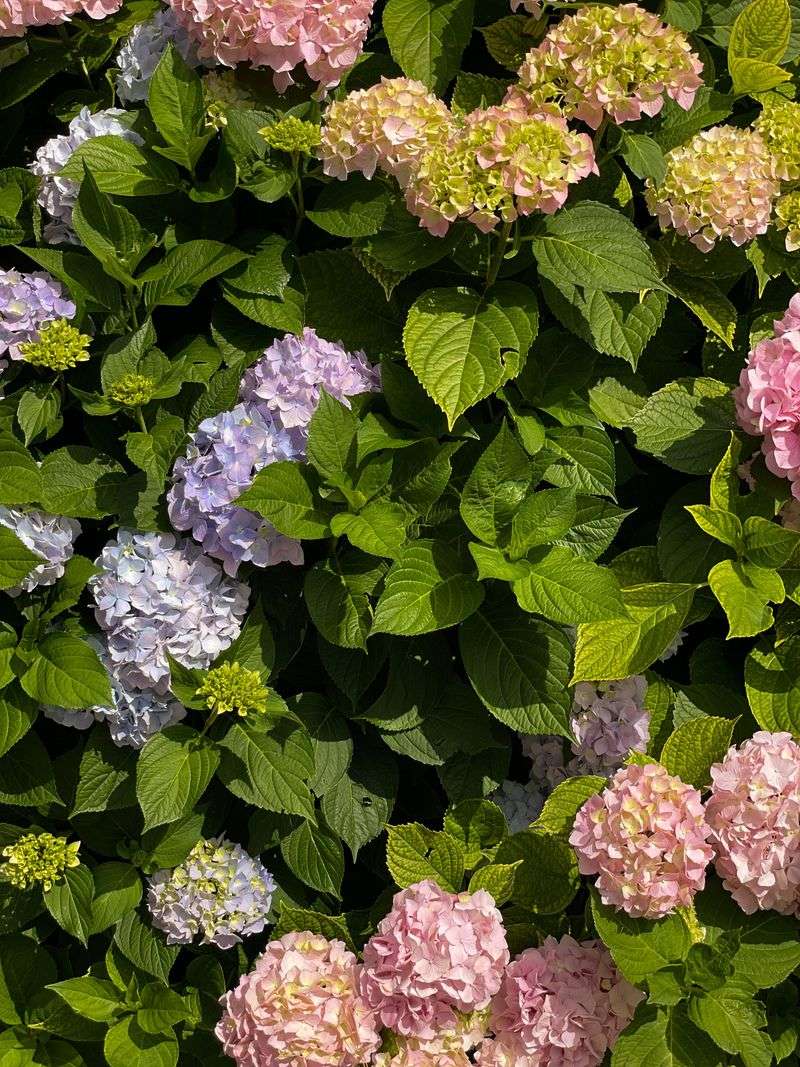
Those faded brown flower heads are not just an unsightly eyesore sitting there. They are actually pulling valuable energy away from new bud production constantly.
Removing spent blooms tells the plant to stop maintaining old flowers and start building new ones instead. It is one of the quickest wins you can get in any garden.
Use clean, sharp scissors or pruning shears and cut just below the spent bloom head carefully. Do this every week or two throughout the blooming season for the best results possible.
Skipping this task lets the plant waste resources on flowers that already served their purpose. Consistent trimming keeps energy flowing toward fresh growth instead of fading color.
5. Prune Old Wood Post-Bloom
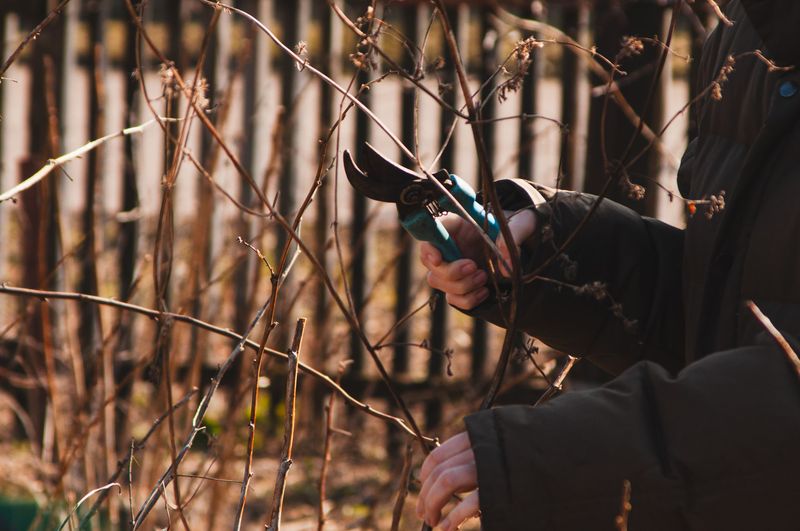
Pruning at the wrong time is one of the most common reasons hydrangeas skip a blooming season entirely. Timing here is everything, and getting it wrong can delay blooming until the following year.
For varieties that bloom on old wood, like bigleaf hydrangeas, prune only after the current blooms fade completely.
Cutting too early can damage the buds that were set the previous season, since old-wood varieties form next year’s buds shortly after they finish blooming.
Remove only lifeless or crossing stems, and keep as much healthy old wood as possible throughout. A light, strategic trim beats an aggressive chop every single time you approach this task.
Knowing your specific variety matters more than following generic pruning advice found elsewhere.
Old wood bloomers respond poorly to premature pruning, while new wood varieties forgive far more mistakes. Patience here pays off directly in next season’s flower count.
6. Check Soil pH Levels
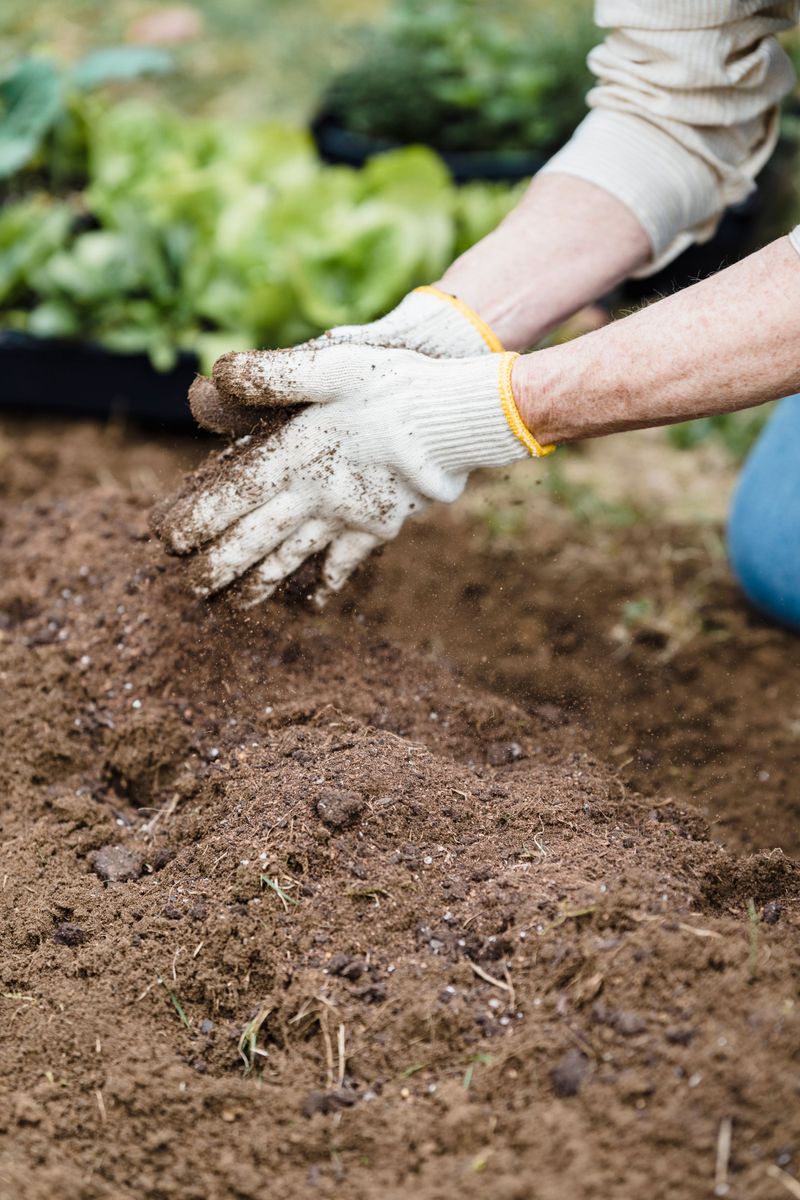
Soil pH affects more than just bloom color, though most gardeners never realize this. It controls how well your hydrangeas absorb the nutrients already sitting in the soil. Most hydrangeas grow well in a pH between 6.0 and 6.5.
Bigleaf varieties also use pH to control bloom color, since more acidic soil produces blue blooms while more alkaline soil produces pink.
Soil that is too acidic or too alkaline locks out key nutrients, leaving plants weak and flowerless. Pick up an inexpensive soil test kit from any garden center or hardware store nearby.
Adjusting pH with lime or sulfur is simple once you know where your soil currently stands. Guessing wastes an entire season, while testing takes only minutes to complete properly. Small pH shifts create large differences in nutrient availability and overall bloom quality.
7. Shade During Peak Heat

Afternoon sun in midsummer can be intense, and hydrangeas feel every degree of it strongly. Wilting leaves and scorched edges are clear signs your plant is overheating right now.
Providing shade between noon and three in the afternoon gives plants a much-needed break. Even a light garden shade cloth draped over a frame can make a real difference.
You can also plant taller shrubs or install a pergola nearby for natural, long-term shading. A cooler plant redirects energy from survival mode back into producing those gorgeous blooms instead.
Skipping shade during peak heat forces plants into constant stress rather than steady growth. Strategic shade placement protects blooms while still allowing enough light for healthy development.
8. Remove Yellowing Leaves
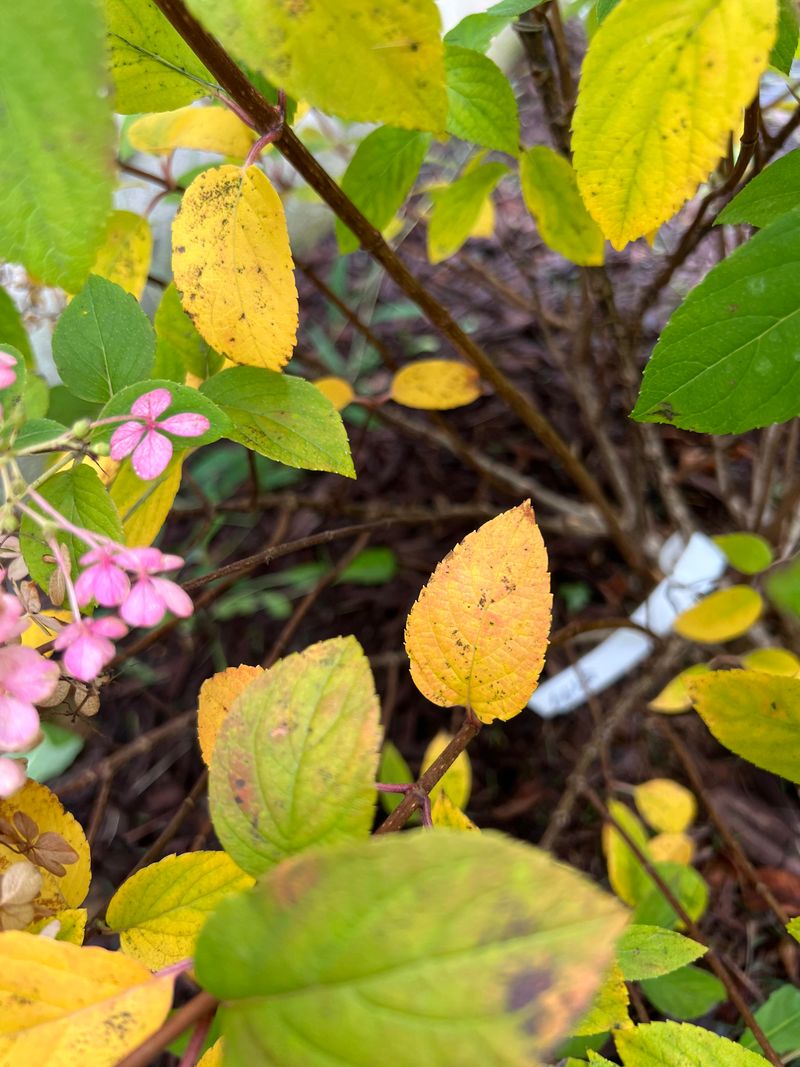
Yellow leaves on a hydrangea are a red flag worth paying attention to immediately. They can signal overwatering, nutrient deficiency, or the early stages of disease.
Pulling off yellowing leaves as soon as they appear keeps the plant tidy and healthy. It also improves airflow around the stems, reducing the risk of fungal problems spreading further.
Check the leaves you remove for spots, discoloration patterns, or sticky residue carefully. Those clues help you figure out whether the cause is watering, nutrition, or pests crawling around.
Ignoring yellow leaves can allow minor issues to worsen over time and affect the entire plant. Catching these signals early saves both time and future blooms down the line.
9. Inspect For Common Pests
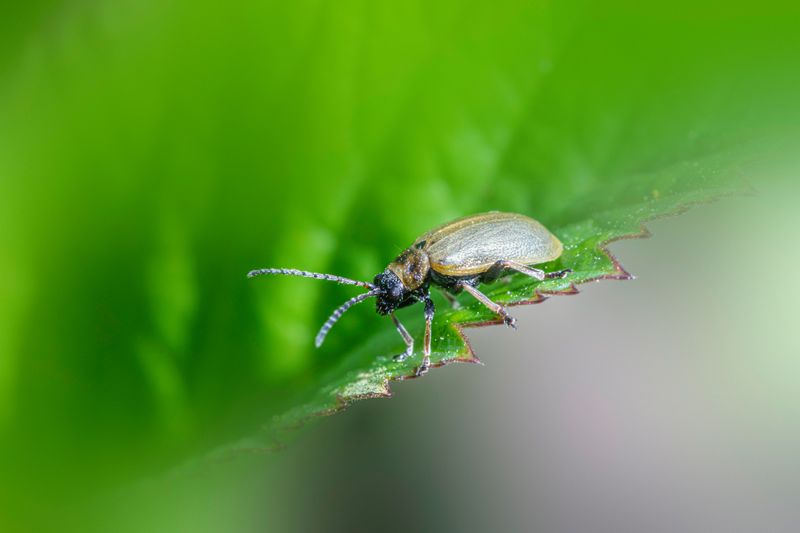
Aphids, spider mites, and scale insects love hydrangeas just as much as you do. A small infestation can gradually weaken a plant before any visible damage appears.
Flip leaves over and look for tiny clusters of bugs, webbing, or sticky honeydew residue. Catching pests early makes treatment much easier and less disruptive to the plant.
A strong spray of water knocks off most soft-bodied insects quickly. For stubborn infestations, neem oil spray works well against soft-bodied pests, though it should be applied carefully and never during active pollination to avoid affecting bees.
10. Avoid Late Nitrogen Feeding
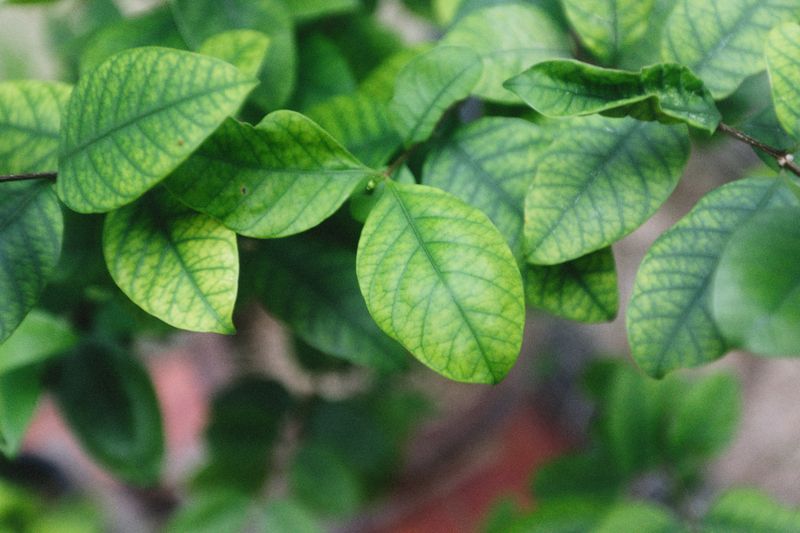
Too much nitrogen can reverse this progress, so balance matters more than frequency here.
After midsummer, switch to a low-nitrogen or bloom-focused fertilizer to support bud development. High nitrogen feeding after July pushes leafy growth right when the plant should be shifting gears.
Read fertilizer labels carefully and look for lower first numbers in the N-P-K ratio. Feeding at the right time is just as important as feeding with the right product.
11. Trim Leggy Stems Back
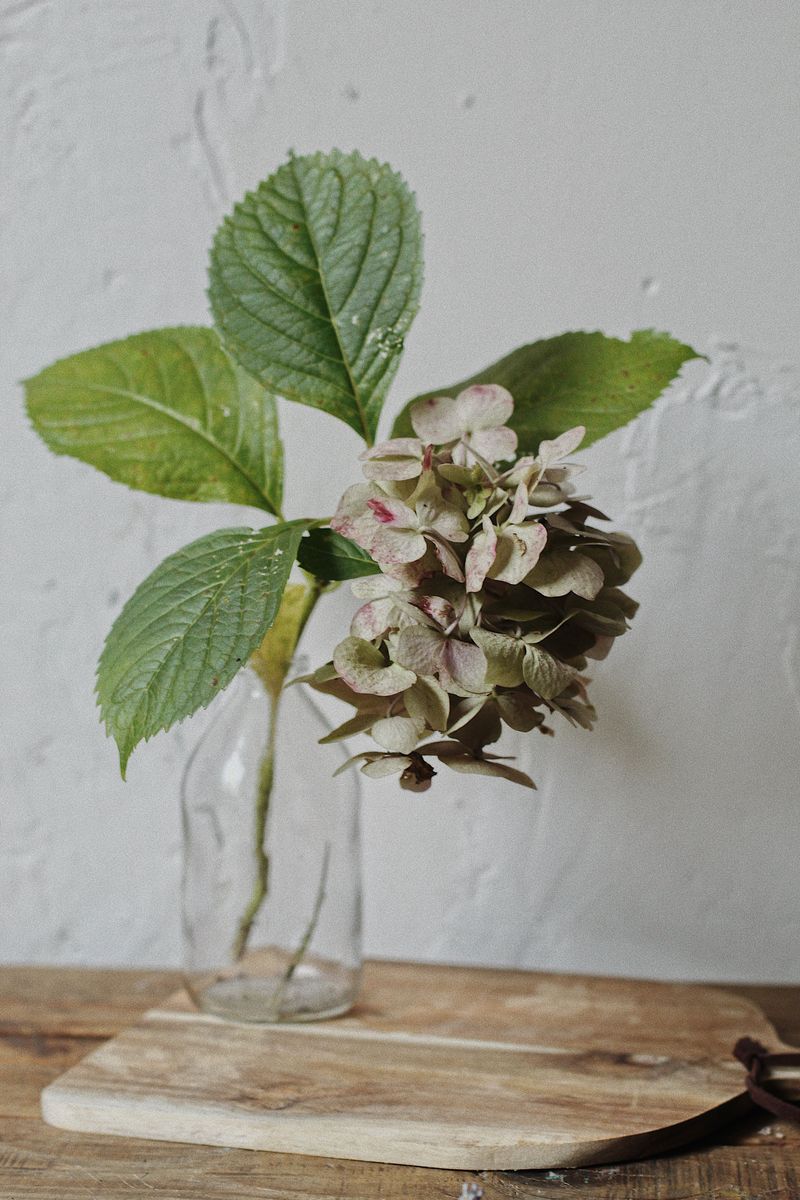
Leggy stems stretch out looking for light, and they rarely reward you with many blooms. A plant putting energy into long, weak stems has less to spend on flowers.
Cutting leggy stems back by about one-third encourages the plant to branch out and grow fuller. More branching means more potential bloom sites for the coming weeks.
Make cuts just above a healthy leaf node using sharp, clean shears. This small habit keeps your hydrangea compact, lush, and far more productive through the rest of summer.
12. Balance Sun And Shade
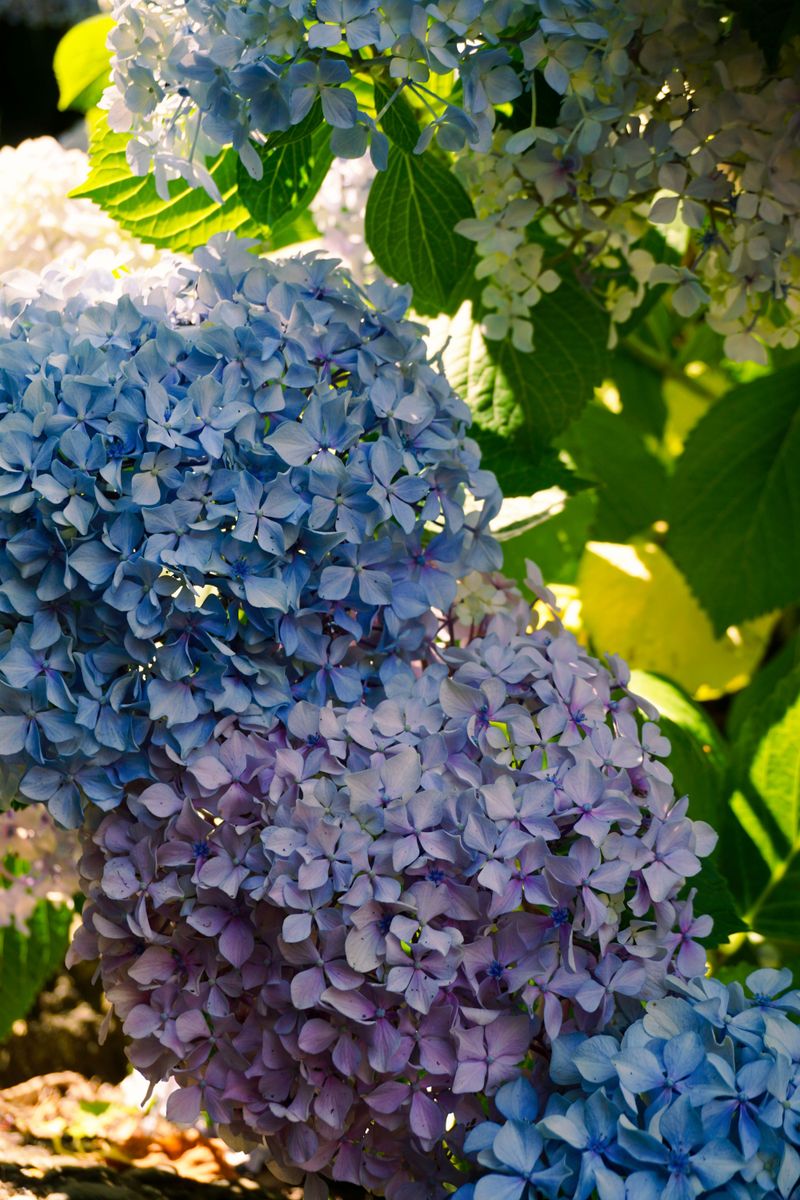
Hydrangeas thrive when they get morning sun and afternoon shade. Too much direct sun scorches leaves and saps moisture faster than roots can replace it.
If your plant is in a fully sunny spot, consider adding a shade tree or tall shrub nearby. Relocating a struggling plant to a better-balanced location can completely transform its performance.
Morning light energizes the plant while afternoon shade protects it from heat stress. Finding that sweet spot between sun and shadow is one of the best long-term investments for consistent blooming.
13. Test Soil Drainage
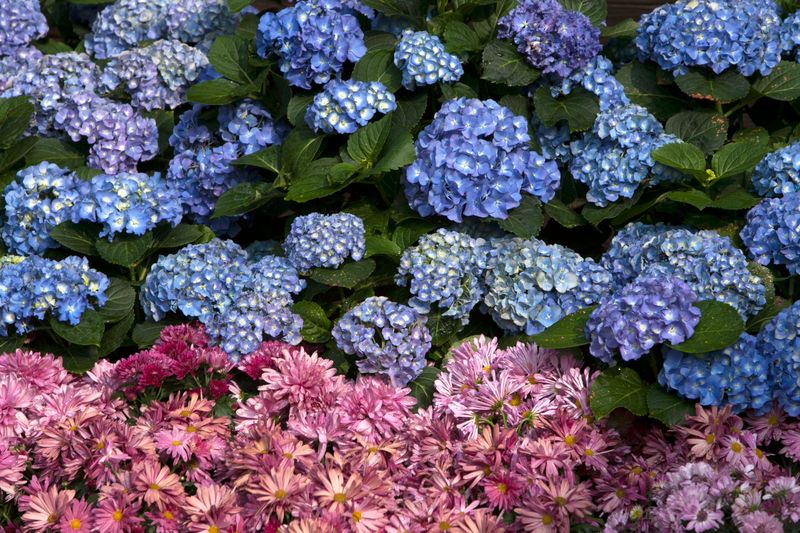
Soggy roots can be just as harmful as dry ones in many cases. Hydrangeas sitting in waterlogged soil struggle to absorb oxygen, which leads to root problems and no blooms.
Test drainage by digging a small hole about twelve inches deep and filling it with water. If water is still sitting there after an hour, your drainage needs improvement.
Mixing in perlite, coarse sand, or compost can loosen compacted soil quickly. Raised beds are another great option for gardens where natural drainage is consistently poor.
14. Apply Fresh Compost
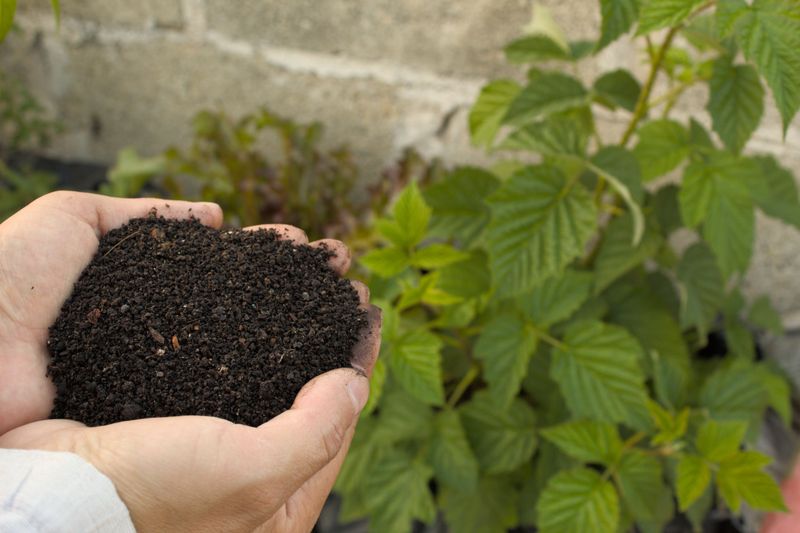
Fresh compost is like a slow-release multivitamin for your hydrangeas. It feeds the soil, improves texture, and encourages the kind of microbial activity that helps roots thrive.
Spread a one to two inch layer of finished compost around the base of each plant in early spring or midsummer. Avoid piling it against the stem, which can trap moisture and invite rot.
Homemade or store-bought compost both work well. Regular applications build soil quality over time, making each growing season better than the last for your hydrangeas.
15. Monitor For Fungal Spots
Brown or gray spots showing up on leaves are usually a sign of fungal disease, and they can spread more quickly in humid conditions. Catching them early saves you a lot of headache later.
Powdery mildew and leaf spot are two of the most common fungal issues hydrangeas face. Both thrive when leaves stay wet for extended periods.
Water at the base of the plant, not over the foliage, to reduce moisture on leaves. A copper-based fungicide spray works best as a preventive measure, applied before fungal issues appear rather than after spots are already visible.
16. Support Heavy Blooms
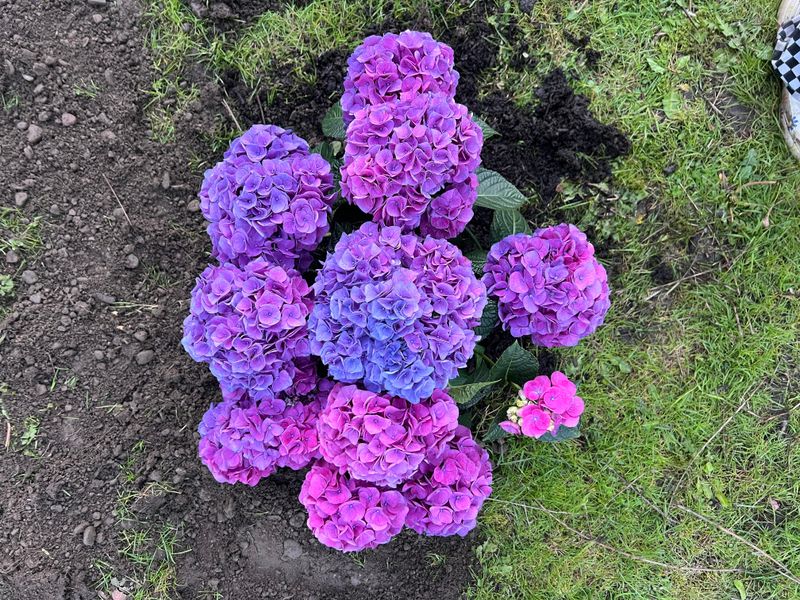
Big, beautiful bloom heads are wonderful until the stems start flopping over. Bent stems can restrict water and nutrient flow, shortening bloom life.
Garden stakes or a simple wire support cage around the plant keeps stems upright and strong. Soft plant ties or strips of fabric hold stems in place without cutting into them.
Supporting your hydrangeas also keeps the plant looking tidy and prevents soil contact with blooms. Flowers that stay off the ground last longer and stay cleaner through rain and wind.
17. Reduce Watering As Cooling
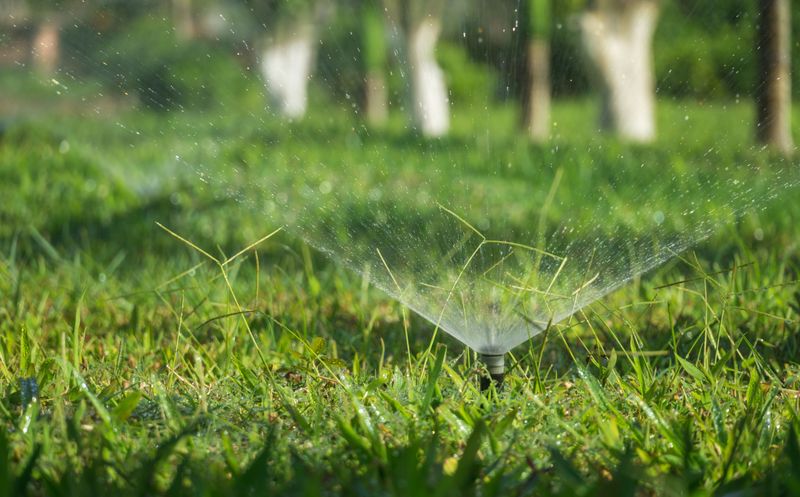
As summer fades and temperatures drop, your hydrangeas need less water to stay happy. Continuing heavy watering into cooler months can actually lead to root problems.
Watch the soil moisture before each watering session rather than sticking to a fixed schedule. If the top two inches of soil still feel damp, skip that session and check again in a day or two.
Scaling back watering gradually through late summer helps the plant transition smoothly into dormancy. This small adjustment protects roots and sets up your hydrangeas for a strong return next season.
18. Protect Roots With Mulch
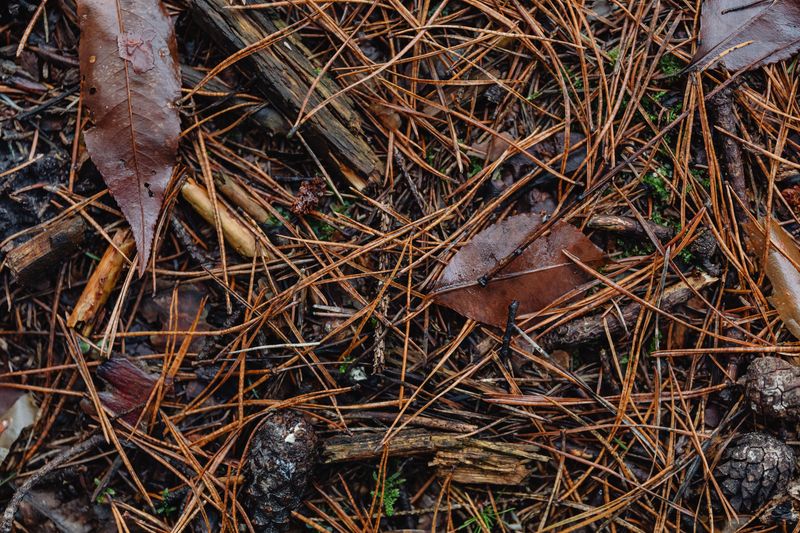
Mulch does double duty in your garden, and protecting hydrangea roots is one of its most important jobs. A fresh layer before temperatures drop keeps roots insulated from frost and temperature swings.
Spread three to four inches of organic mulch around each plant, slightly thicker than the summer layer, since roots need extra insulation from winter cold snaps. Extend the mulch out to the drip line to keep soil temperature stable and shield tender feeder roots.
Come spring, that same mulch breaks down and feeds the soil naturally. Protecting your hydrangeas now means you are setting up a stronger, more bloom-ready plant for next summer.