7 Reasons Your Gladioli Won’t Bloom In Wisconsin And What To Do About It
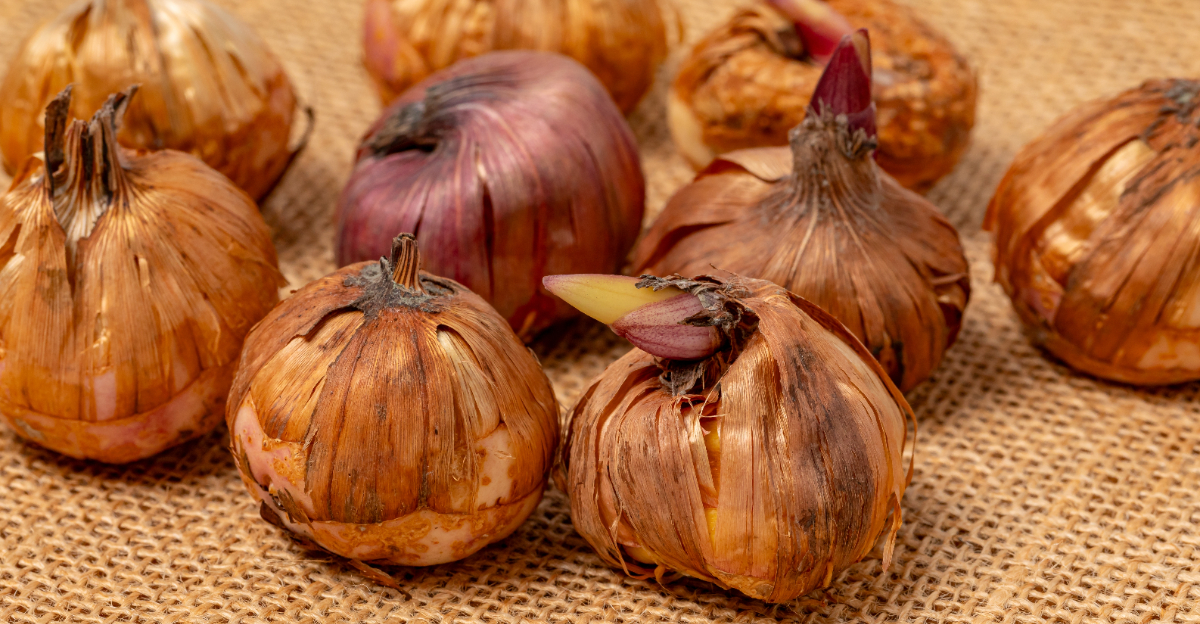
Silence replaced the towering spikes you expected this summer. Wisconsin hides quiet obstacles that garden rarely reveals in time. Your clay soil holds moisture and slows corms before they wake.
Cold spring delays push your planting far past the ideal window. Shallow holes leave your corms exposed to shifting ground temperatures. Crowded rows limit sunlight your spikes desperately need to form.
Summer arrives fast in Wisconsin, leaving your sluggish growth behind. Weak fertilizer limits the potassium your plants need most. Improper watering overwhelms your roots or leaves them struggling.
Early digging stops your corms before they store enough energy. Poor drainage weakens your roots long before buds appear. Overcrowded storage invites problems that tire your corms fast.
Timing mistakes push your blooming past the point anyone notices. Small corrections now change everything for your next display. Nothing about this failure is permanent, your best blooms are closer than you think.
Corms Are Planted Too Shallow
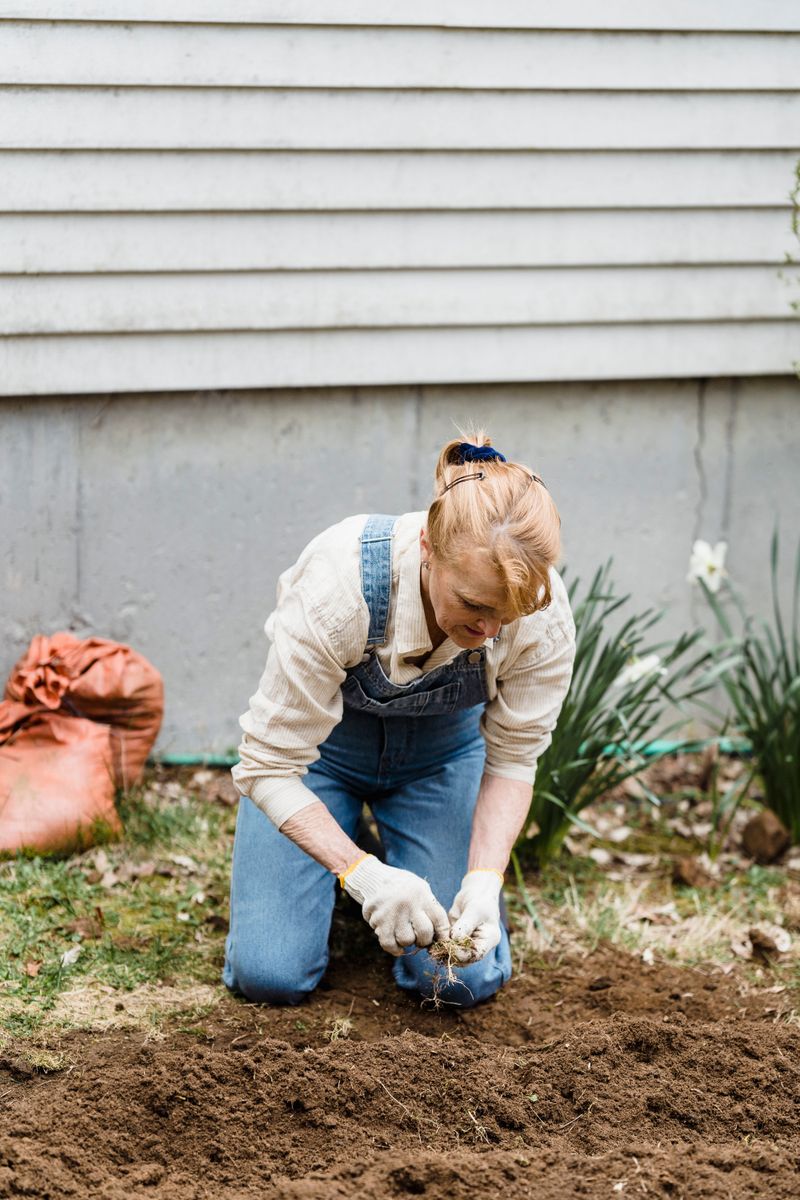
Shallow planting is one of the sneakiest reasons gladioli refuse to bloom. When corms sit too close to the surface, they lack the stability and warmth needed to push up a strong flower spike.
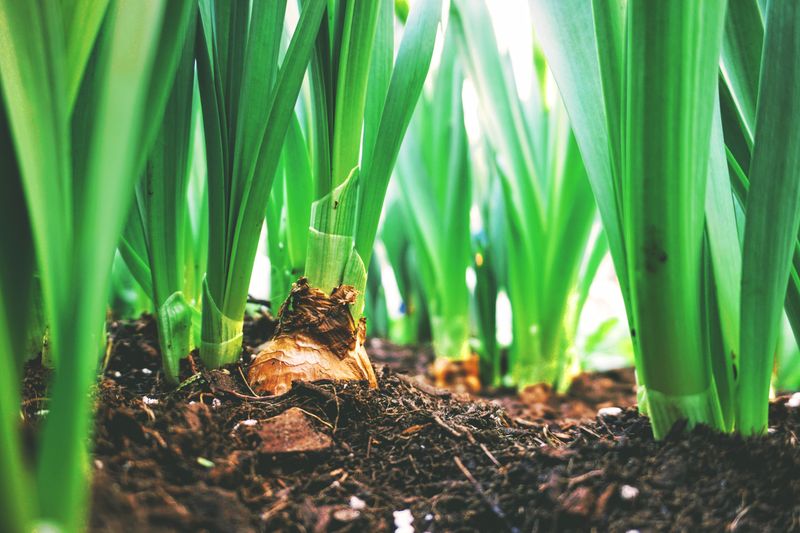
Most gardeners underestimate how deep these corms actually need to go. A good rule is to plant them four to six inches deep, pointy side facing up, in loose and fertile soil.
Planting shallow also makes corms vulnerable to temperature swings. Wisconsin springs can flip from warm to freezing overnight, and a shallow corm gets hit hard by those sudden cold snaps.
Another problem with shallow planting is toppling. Gladioli grow tall, sometimes reaching five feet, and without deep anchoring they lean and fall before they ever get a chance to flower.
Fix this by digging your planting holes deeper than feels necessary. Use a trowel or bulb planter to measure accurately, and firm the soil gently around each corm after placing it.
Your gladioli will reward that extra two inches of depth with stronger stems and reliable blooms all season long.
Soil Lacks Adequate Drainage

Soggy soil creates serious problems for gladioli corms. These plants evolved in well-drained soils native to South Africa, so sitting in wet ground increases the risk of rot before they ever bloom.
Wisconsin is famous for its heavy clay soils, especially in the southern and eastern parts of the state. Clay holds moisture like a sponge, which spells trouble for any corm trying to establish roots.
Signs of poor drainage include yellowing lower leaves, mushy stems at the base, and corms that simply never sprout. If your beds stay wet for days after rain, drainage is your culprit.
The fix starts with amending your soil before planting. Work in generous amounts of compost, coarse sand, or perlite to loosen the texture and help water move through more freely.
Raised beds are a fantastic solution for persistent drainage problems. Elevating the planting area by just eight to ten inches helps keep corms above the waterlogged zone.
Your Wisconsin Garden Changes Every Week. Your Plan Should Too.
Gardening in Wisconsin changes quickly throughout the season. Every Friday you’ll receive a simple weekly plan showing exactly what to plant, prune, fertilize, harvest, and protect so you never miss the right timing.
Good drainage helps struggling, bloomless plants grow into healthier, more productive ones that produce tall spikes packed with colorful flowers.
Location Gets Insufficient Direct Sunlight
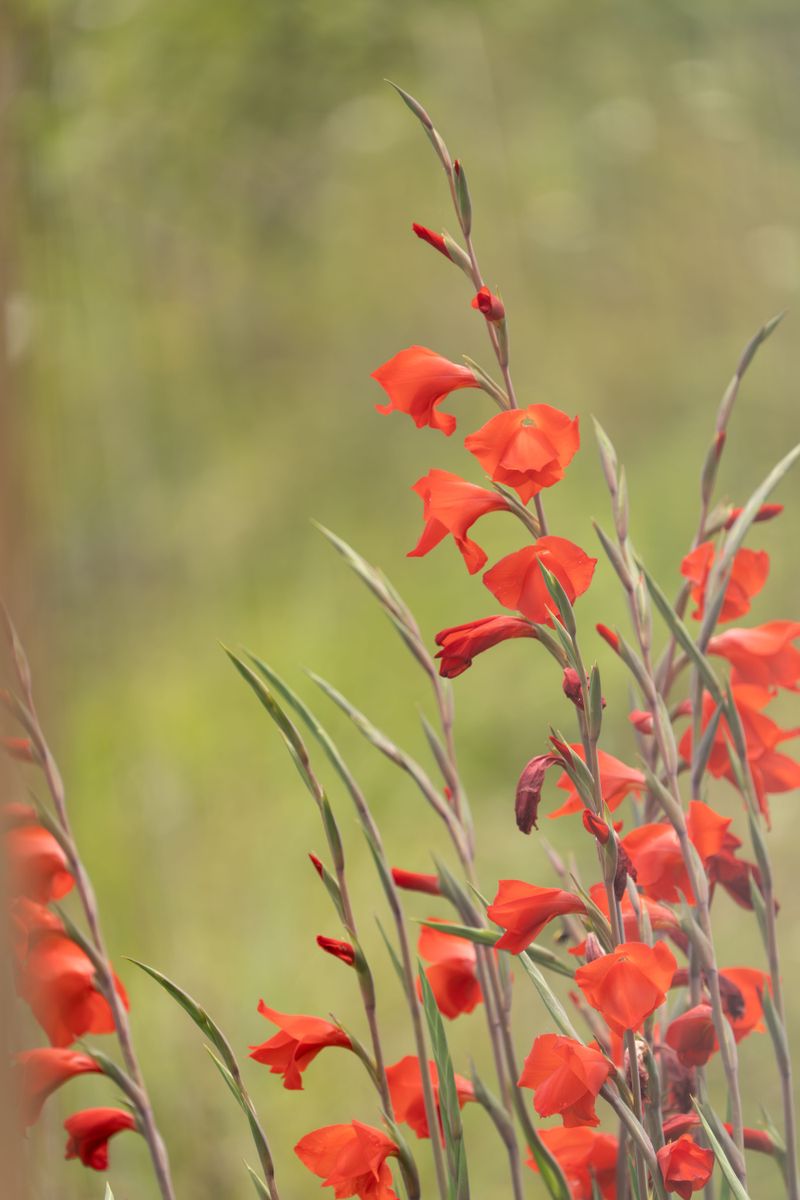
Gladioli need direct sunlight to thrive. They need at least six to eight hours of direct sunlight every single day to build enough energy for flowering.
Many Wisconsin gardeners tuck their corms under trees or along fence lines where shade creeps in during the afternoon. That partial shade might look fine in spring, but it limits the light the plant needs.
Without enough sun, gladioli put all their energy into growing leaves rather than producing blooms. You end up with tall, green, leafy plants that look healthy but never deliver a single flower spike.
Walk your yard at different times of day before choosing a planting spot. Morning sun is good, but afternoon sun is even better because temperatures are warmer and light intensity is higher.
South-facing garden beds are often the best choice in northern states. They receive the longest daily sun exposure and stay warmer through the short growing season Wisconsin offers.
Move your planting location to a sunnier spot, and you’ll likely see stronger, more reliable blooms all summer.
Corms Are Old Or Overcrowded
Older corms often lose vigor and may struggle to produce the energy required for flowering. If you have been replanting the same bulbs for several years, age might be your biggest obstacle.
Gladioli reproduce by producing small cormlets around the base of the original corm each season. Over time, these tiny offsets crowd the mother corm and compete aggressively for nutrients and space.
That competition weakens every plant in the cluster. Instead of one strong spike per corm, you get a tangle of underpowered shoots that peter out before reaching bloom stage.
Check your corms before planting each spring. Healthy corms are firm, plump, and free from soft spots or mold. Shriveled, lightweight, or spongy corms should be discarded.
Separate cormlets from the mother corm annually and only replant the largest, firmest ones. Smaller cormlets can be grown out in a separate bed until they reach flowering size.
Refreshing your stock with new, healthy corms every two to three years can help support more consistent blooms in your Wisconsin garden beds.
Fertilizer Has Too Much Nitrogen
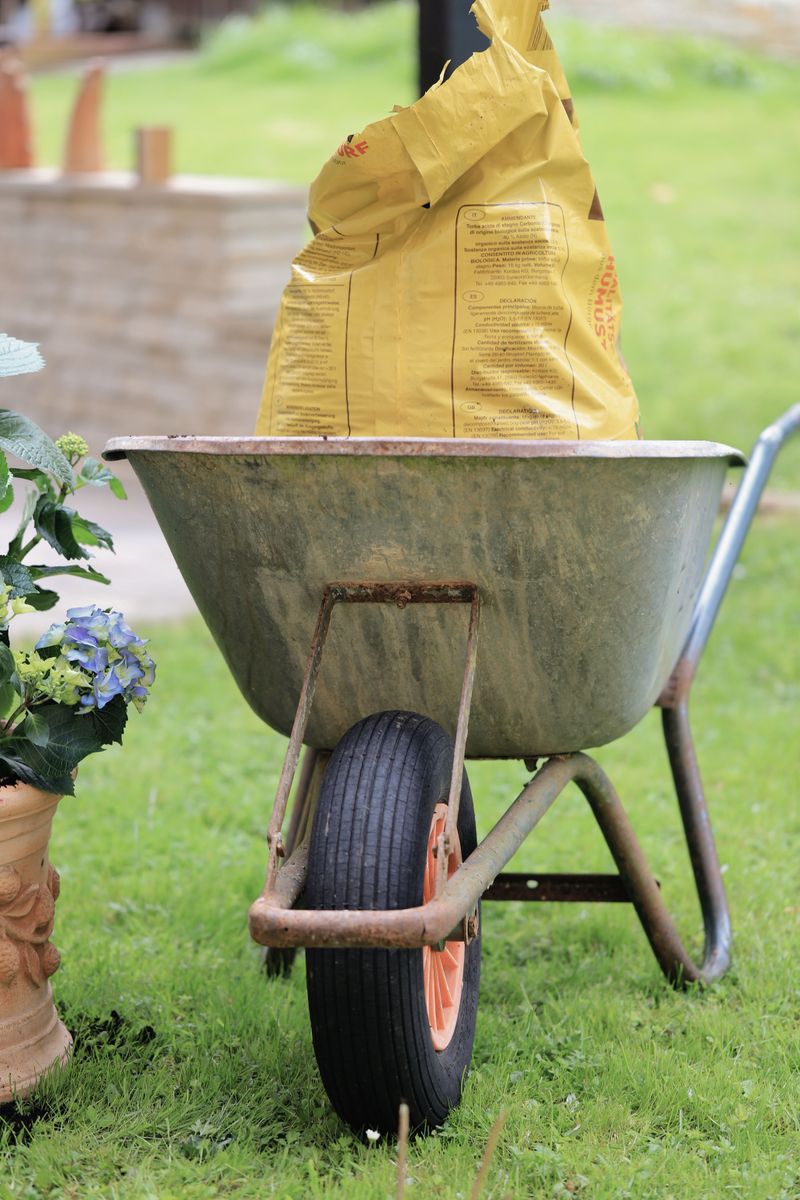
Nitrogen strongly promotes leafy growth in plants, but too much nitrogen can reduce flowering. Gladioli fed with high-nitrogen fertilizers grow lush foliage but produce little to no flowering.
Nitrogen tells a plant to focus on green growth above ground. When levels are too high, the plant never shifts into its reproductive mode, which means no flower spikes ever form.
This mistake is especially common when gardeners use leftover lawn fertilizer on their flower beds. Lawn blends are loaded with nitrogen because grass loves it, but gladioli absolutely do not need that much.
Switch to a balanced or bloom-boosting fertilizer with higher phosphorus numbers. Look for products labeled 5-10-10 or similar, where the middle number (phosphorus) is higher than the first number (nitrogen).
Apply fertilizer when shoots are about six inches tall, then again just before the flower spikes emerge. This timing supports root development and encourages the plant to shift energy toward blooming.
Getting the fertilizer balance right is one of the quickest fixes available, and it often produces noticeably better results within a single growing season for your Wisconsin gladioli.
Watering Is Inconsistent During Growth
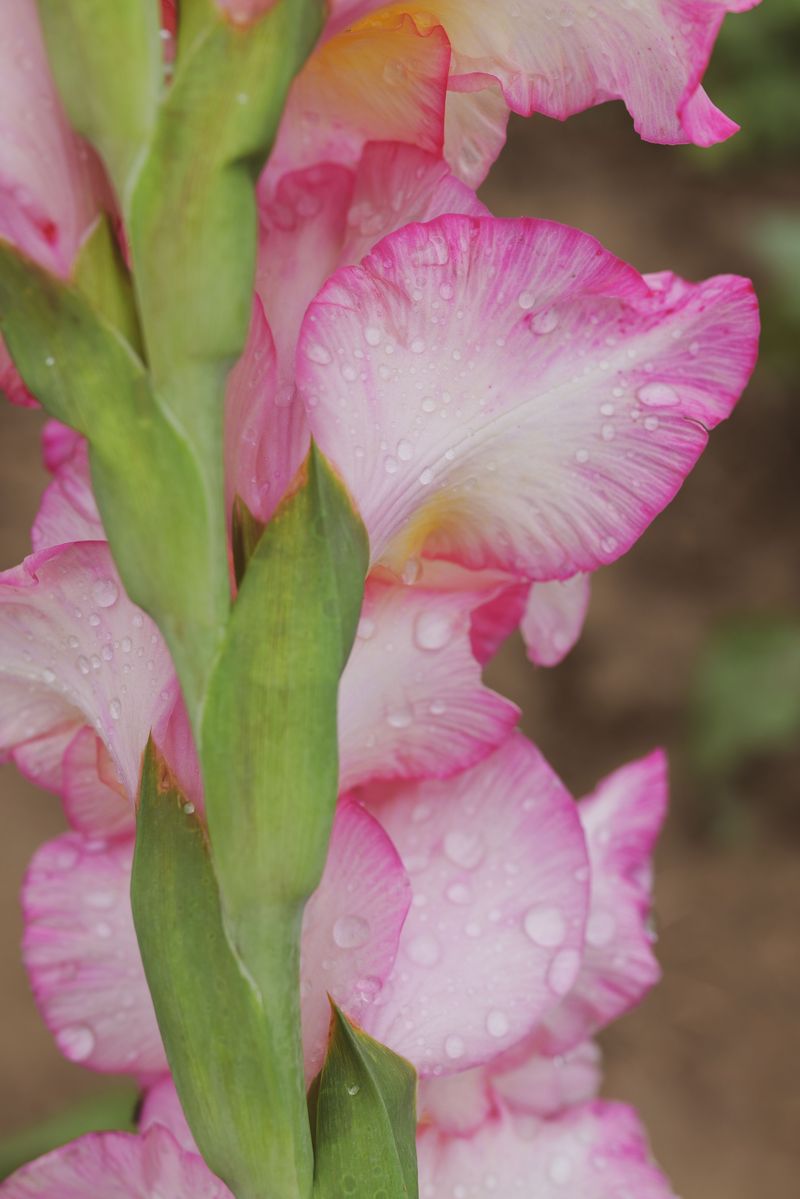
Gladioli need consistent moisture but do not tolerate standing water. Getting the watering balance right during their active growth period is important for bloom production.
Inconsistent moisture causes stress that shows up at the worst possible time: right when the plant should be pushing up its flower spike. Stress at that stage often reduces or prevents blooming.
A common pattern in Wisconsin gardens is heavy spring rain followed by a dry July. Gardeners assume the rain handled everything and stop watering, but July is exactly when gladioli need steady moisture most.
Aim to give your plants about one inch of water per week during the growing season. Deep, infrequent watering encourages roots to grow downward rather than staying near the dry surface.
Mulching around the base of your plants helps lock in moisture between watering sessions. A two-inch layer of straw or shredded bark slows evaporation and keeps soil temperature more consistent.
Set a watering reminder on your phone if needed, because steady hydration from planting through bloom time is what separates a flowering gladiolus from a frustrating green stalk.
Corms Were Damaged During Winter Storage
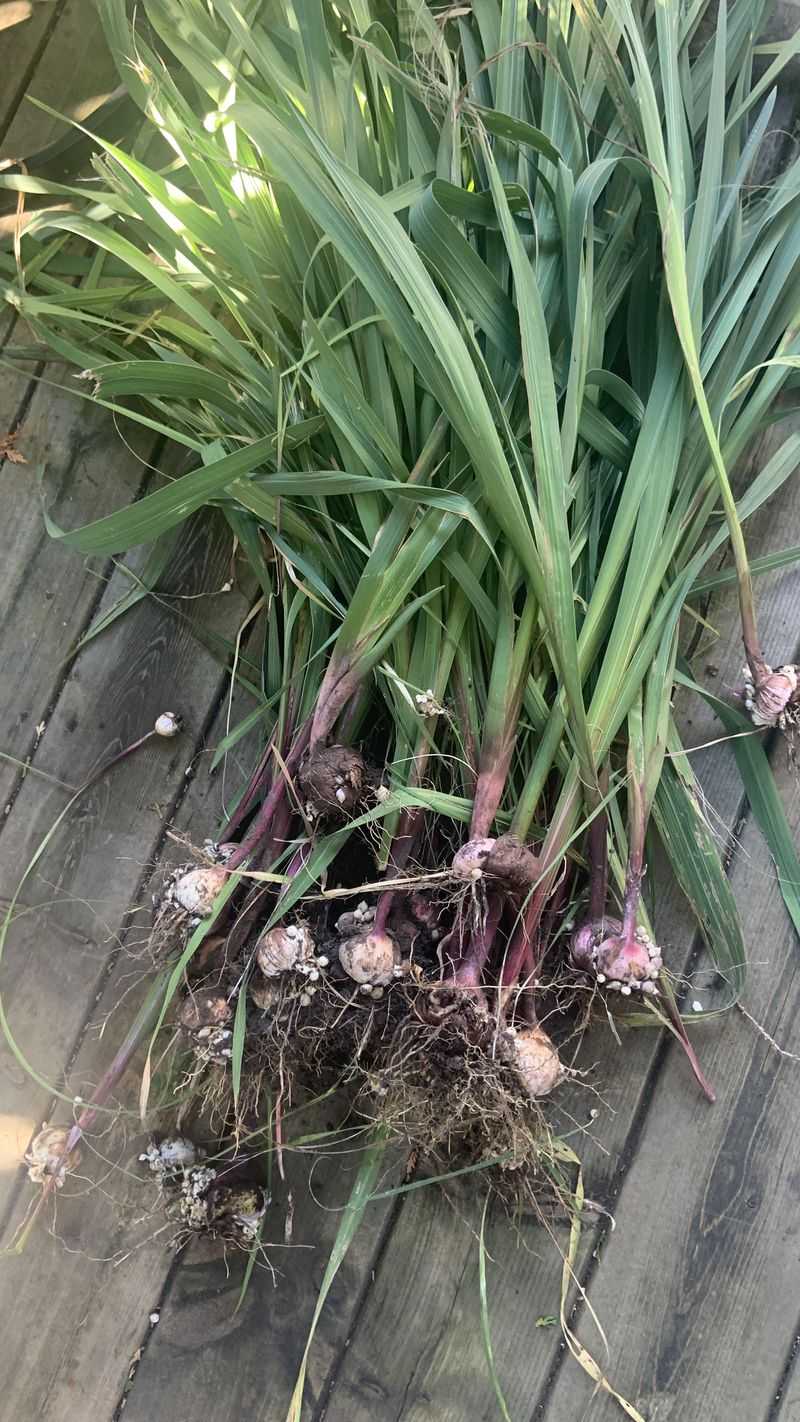
Wisconsin winters are too harsh for gladioli corms to survive in the ground. Digging and storing corms properly each fall is essential if you want blooms the following summer.
Even gardeners who do dig their corms sometimes lose them to poor storage conditions. Too much moisture causes rot, too little causes shriveling, and temperatures below freezing will damage the corms beyond recovery.
The ideal storage spot is cool, dry, and frost-free, somewhere between 40 and 50 degrees Fahrenheit. An unheated basement corner or an insulated garage shelf often works perfectly for most Wisconsin homes.
Before storing, let corms cure for two to three weeks in a warm, airy spot after digging. This drying period toughens the outer skin and reduces the chance of mold developing in storage.
Place cured corms in mesh bags, old pantyhose, or open paper bags with good air circulation. Avoid sealed plastic containers, which trap humidity and create the perfect environment for fungal rot.
Inspect stored corms at least once mid-winter and toss any that show soft spots or fuzzy growth, because even one bad corm can spread damage to nearby corms in storage.
Plant Corms At Proper Depth
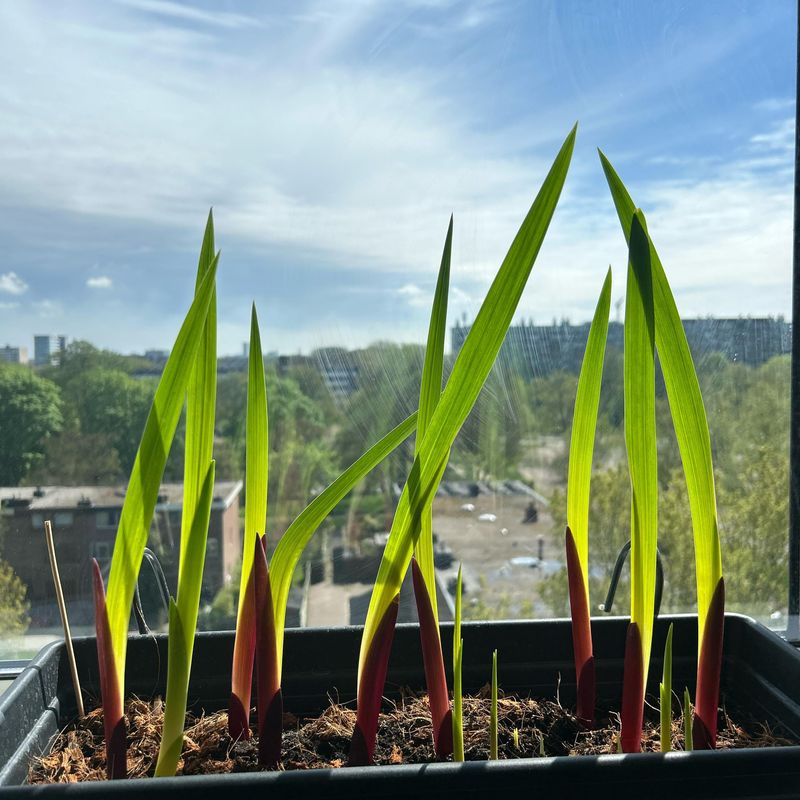
Timing and depth work together more closely than most gardeners assume, especially in a state with a short growing season.
In Wisconsin, corms are typically planted once soil temperatures reach about fifty five degrees Fahrenheit, usually sometime between mid May and early June depending on the region.
Planting too early risks exposing corms to a late frost, while waiting too long shortens the number of weeks available for the plant to reach full bloom before fall.
Staggering plantings every ten to fourteen days through early June can extend the flowering window, giving you blooms in waves rather than all at once.
When placing each corm, aim for a depth of about four to six inches, adjusting slightly for size. A simple trick many gardeners use is measuring depth with a marked stick or the length of a trowel blade, so every hole stays consistent without repeated guesswork.
Spacing corms roughly six inches apart also helps airflow and reduces competition as they grow.
Keeping a small planting log with dates and varieties can make it easier to track which timing produced the strongest results in your own garden from year to year, building better timing decisions each season.
Choose A Sunny, Well-Drained Spot
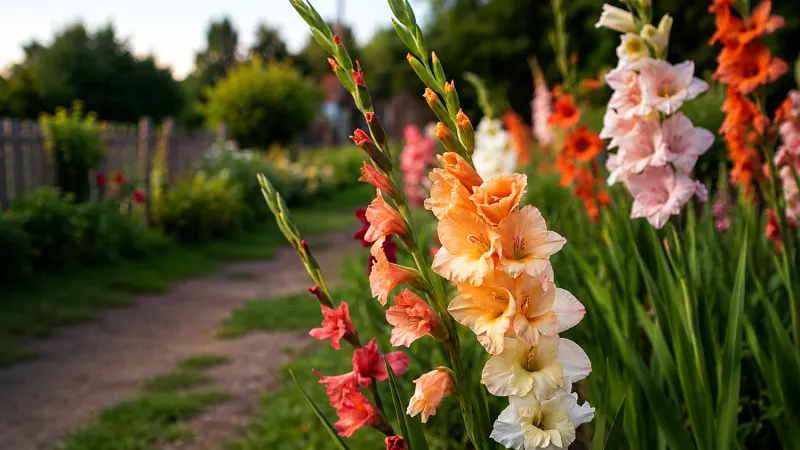
Testing a location before committing an entire row can save a full season of disappointment. A simple ten minute drainage check involves digging a hole about a foot deep, filling it with water, and timing how long it takes to drain.
If water disappears within a few hours, the spot likely drains well enough for gladioli. If water lingers for most of a day, that area may need amending or should be avoided for corms altogether.
Pairing this test with a sunlight check often gives the clearest picture, since the best spots combine both good drainage and long sun exposure.
Try observing a potential bed at three points during the day, morning, midday, and late afternoon, to see how much direct light it actually receives across a full cycle.
Many Wisconsin yards have spots that look sunny at a glance but fall into shade for several hours once trees fully leaf out in early summer.
Marking a few candidate locations early in spring, before foliage fills in, and revisiting them in June can reveal shifts that are easy to miss. This small bit of seasonal observation often prevents a mismatch between plant needs and planting location.
Divide And Replace Corms Regularly
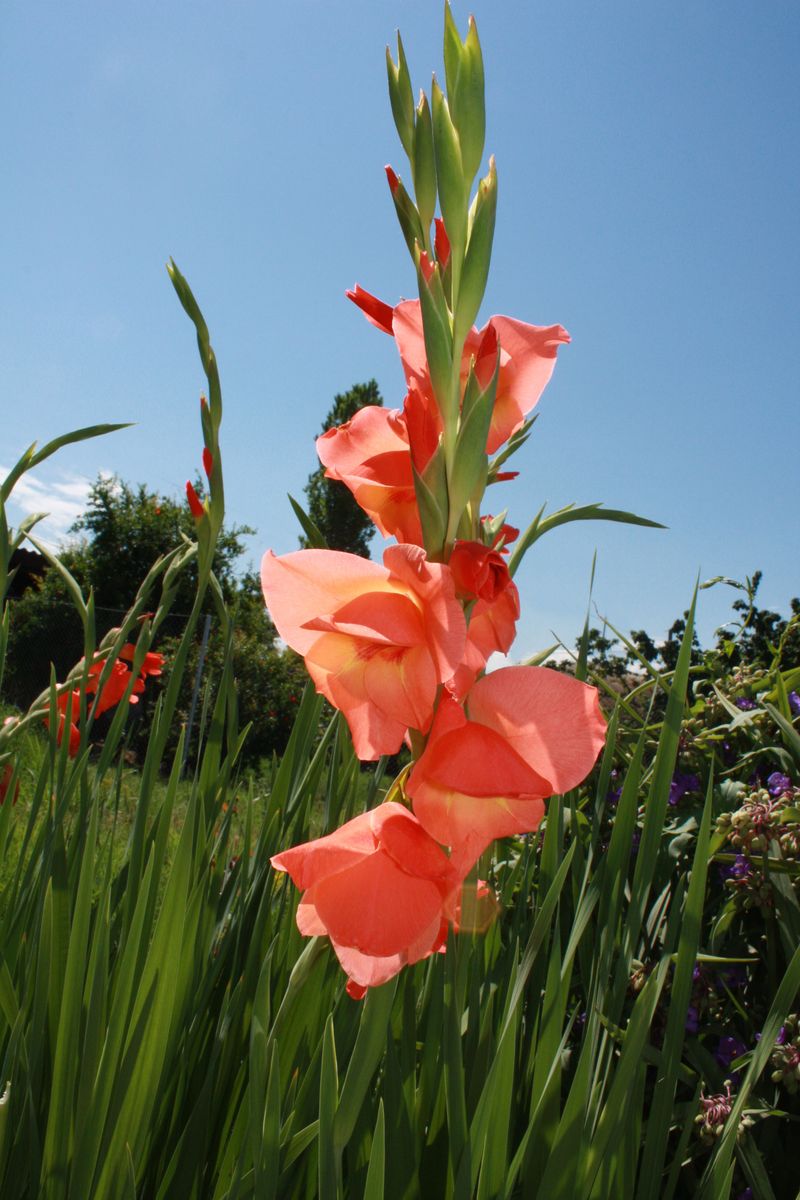
A simple fall sorting routine can make corm management far less overwhelming from year to year. After digging, lay corms out on a dry surface and group them into three categories, keep, grow on, and discard.
Corms that are firm, plump, and roughly the size of a quarter or larger generally fall into the keep group for replanting next spring.
Smaller cormels attached to the base can go into a grow on group, since they often need a season or two in a separate bed before reaching flowering size.
Any corm that feels soft, shows dark spots, or seems unusually light for its size typically belongs in the discard group.
Labeling each group by variety before storage makes spring sorting much faster and helps avoid mixing colors unintentionally.
Setting a recurring reminder every other year to do a fuller inventory, replacing older stock and thinning oversized clusters, keeps the whole collection performing consistently.
Many gardeners find it helpful to photograph labeled corms before storage, creating a simple visual record that makes identifying varieties easier once spring planting begins again.