How To Trim Leggy Hibiscus In Georgia Before Summer Ends

Your hibiscus looked full earlier this summer, but now those long stems are making it look thin and uneven. Before you start cutting, know that a few careful choices can improve its shape.
Leggy growth can happen quickly during warm weather, especially when stems stretch toward stronger light. You do not need to remove too much to make it look better.
In Georgia, trimming before summer ends requires a lighter touch. Focus on improving the shape without taking away too much healthy growth.
Take a close look at each stem before making your first cut. The right spots are not always where you expect.
Good trimming should leave your hibiscus looking balanced, leafy, and full.
With the right approach, those stretched stems can become a better foundation for fresh growth.
1. Find The Longest Stems Before You Start
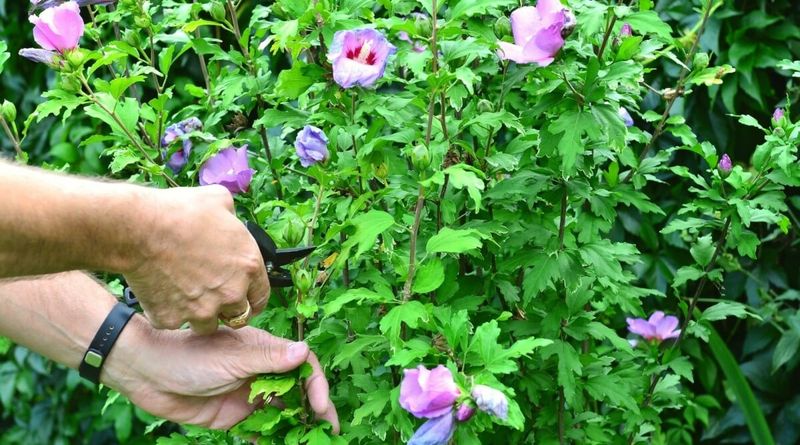
Before grabbing your pruners, spend a few minutes just looking at the plant. Walk around it slowly.
You want to spot the stems that have stretched way out past the rest of the plant, the ones that look thin and bare near the base.
Leggy stems are usually easy to pick out. They tend to shoot straight up or out with little leafing along the lower portion.
These are the ones pulling energy away from the shorter, fuller sections of the plant.
Mark them mentally or use a small piece of tape if that helps. Having a clear plan before you cut keeps you from removing too much at once.
Longer stems do not always mean stronger growth. Stretched stems often produce fewer blooms and are more likely to flop under their own weight.
Spotting them early makes the whole trimming process go more smoothly.
Check the base of each stem too. Healthy stems feel firm and show green coloring beneath the outer layer.
Soft or hollow-feeling stems may have other issues worth addressing separately before trimming.
Taking five minutes to assess the full plant before cutting is genuinely worth it. Rushing straight into pruning without looking first often leads to uneven results that take longer to correct as the season wraps up.
A quick inspection also makes it easier to keep the plant’s natural shape while deciding which stems actually need attention.
2. Make Each Cut Above A Healthy Leaf Node
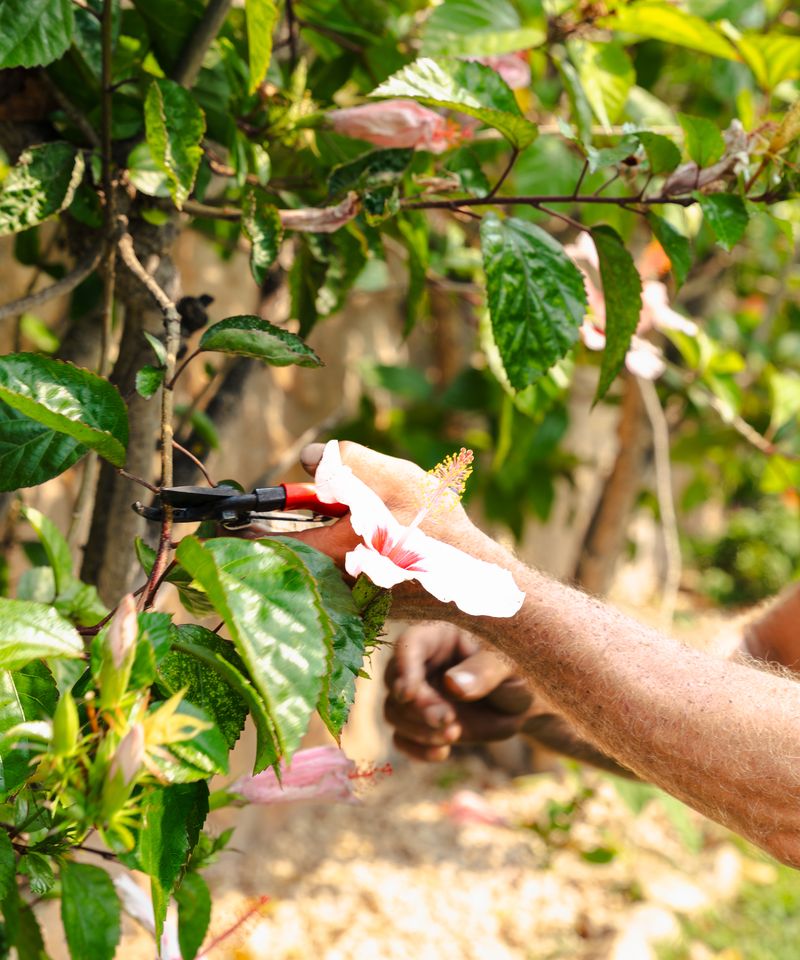
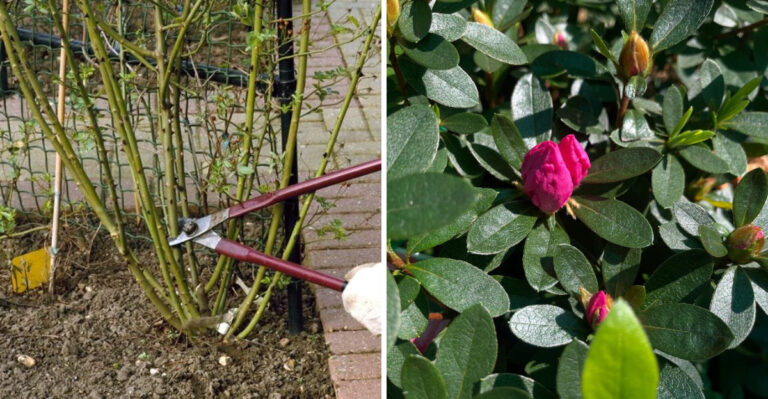
Cutting in the right spot makes a bigger difference than most people expect. Aim to cut just above a leaf node, the small bump or joint where a leaf connects to the stem.
New growth tends to emerge from these points after a trim.
Sharp, clean pruners matter here. Dull blades can crush the stem tissue instead of cutting through it, which slows recovery.
Wipe your blades clean before use to reduce the chance of spreading anything between cuts.
Angle your cut slightly rather than cutting straight across. A slight angle helps water run off the cut surface instead of pooling, which can be helpful in humid summer conditions.
Leave at least two to three healthy leaf nodes below your cut on each stem. Cutting too far down removes the plant’s ability to push out new side shoots in a timely way.
Your Georgia Garden Changes Every Week. Your Plan Should Too.
Gardening in Georgia changes quickly throughout the season. Every Friday you’ll receive a simple weekly plan showing exactly what to plant, prune, fertilize, harvest, and protect so you never miss the right timing.
Keeping those nodes intact gives the plant more options for branching.
Avoid cutting into old, woody sections that have no visible nodes. Those areas are slower to respond and may not produce new growth before the season shifts.
Focus your cuts on the green, active portions of each stem.
Each cut you make is essentially a signal to the plant. It redirects energy toward the remaining nodes, encouraging a bushier, more compact shape rather than continued upward stretching.
3. Avoid Removing Too Much Growth At Once
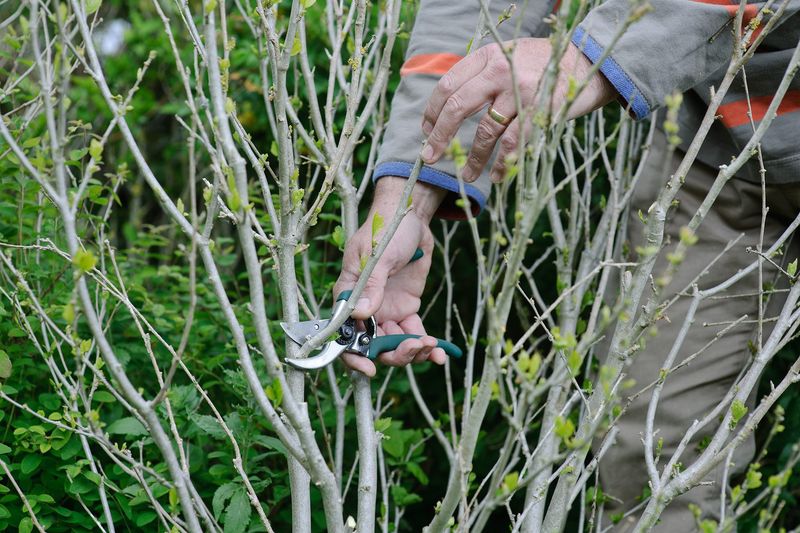
Cutting back too aggressively in one session can stress the plant more than help it.
A general guideline many gardeners follow is to remove no more than one-third of the plant at a single time, though results can vary depending on the plant’s overall health and size.
Hibiscus plants in warm climates like Georgia’s can handle moderate trimming fairly well during active growing months. Still, taking off huge amounts of foliage at once limits the plant’s ability to photosynthesize and recover quickly.
Spread heavy pruning across two sessions if needed. Wait two to three weeks between cuts to let the plant adjust.
Watching how it responds before cutting more gives you better control over the final shape.
Removing too much at once can also trigger a stress response that slows blooming. Fewer leaves means less energy production, and the plant may focus entirely on regrowing foliage before it returns to flowering.
It is tempting to go all in when a plant looks overgrown. Restraint pays off, though.
Smaller, intentional cuts done in stages tend to produce more balanced, attractive results than one heavy chop.
Keep removed cuttings out of the garden bed if possible. Piling trimmed stems around the base of the plant can trap moisture and attract insects, especially during the warm, humid weeks that often linger at the end of summer.
4. Work Around The Plant To Maintain Its Shape
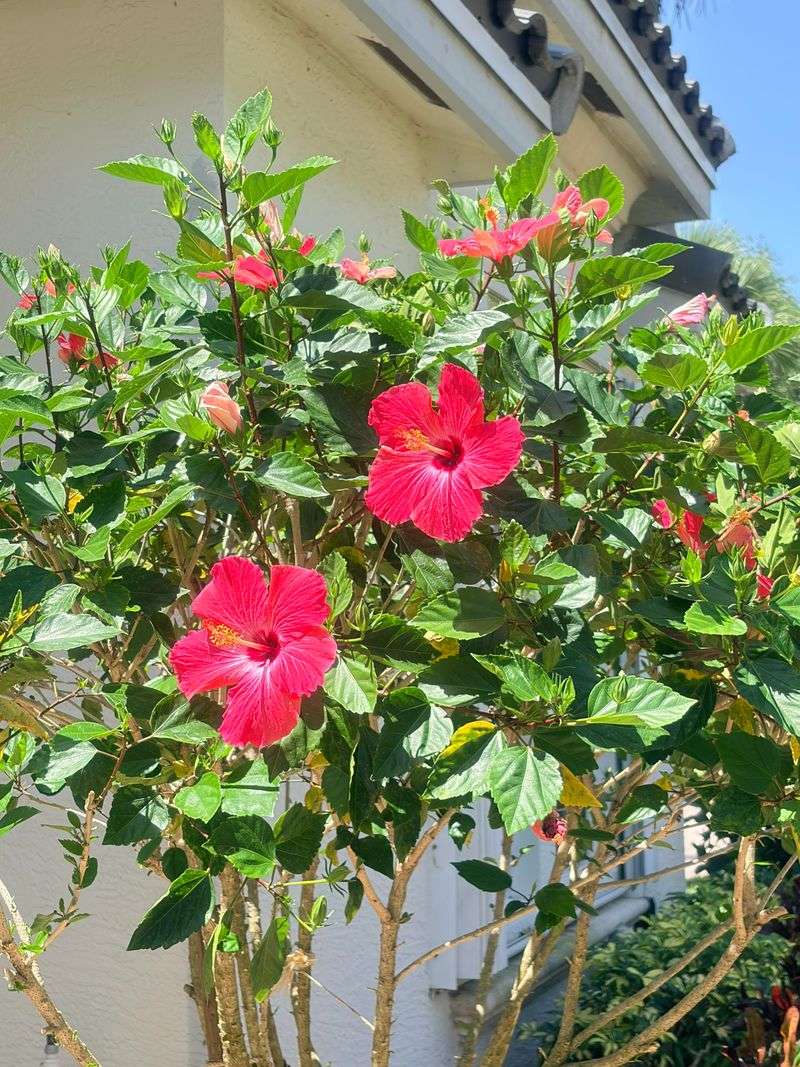
Shaping a hibiscus is not just about cutting long stems short. How you move around the plant while trimming affects how balanced it looks once it starts pushing out new growth.
Start on one side and work your way around gradually. Trim a little from each section rather than finishing one side completely before moving to the next.
Stepping back often to check the overall silhouette helps keep things proportional.
Aim for a rounded or slightly mounded shape if your hibiscus is a shrub variety. Flat tops and squared-off sides tend to look unnatural and can create dense outer growth that shades out the interior.
Pay attention to the bottom of the plant too. Stems that droop low or spread outward at ground level can be trimmed back slightly to lift the plant’s base and improve airflow around the roots.
Some gardeners use a light string or stake as a visual guide to keep their cuts at a consistent height around the plant. It sounds basic, but it genuinely helps when you are working around a large, unruly shrub.
Uneven trimming is easy to fix early but harder to correct once new growth fills in. Spending a few extra minutes checking your angles as you go saves time later and leads to a more polished, well-balanced plant by the time fall arrives.
5. Thin Crowded Areas That Block Light And Air
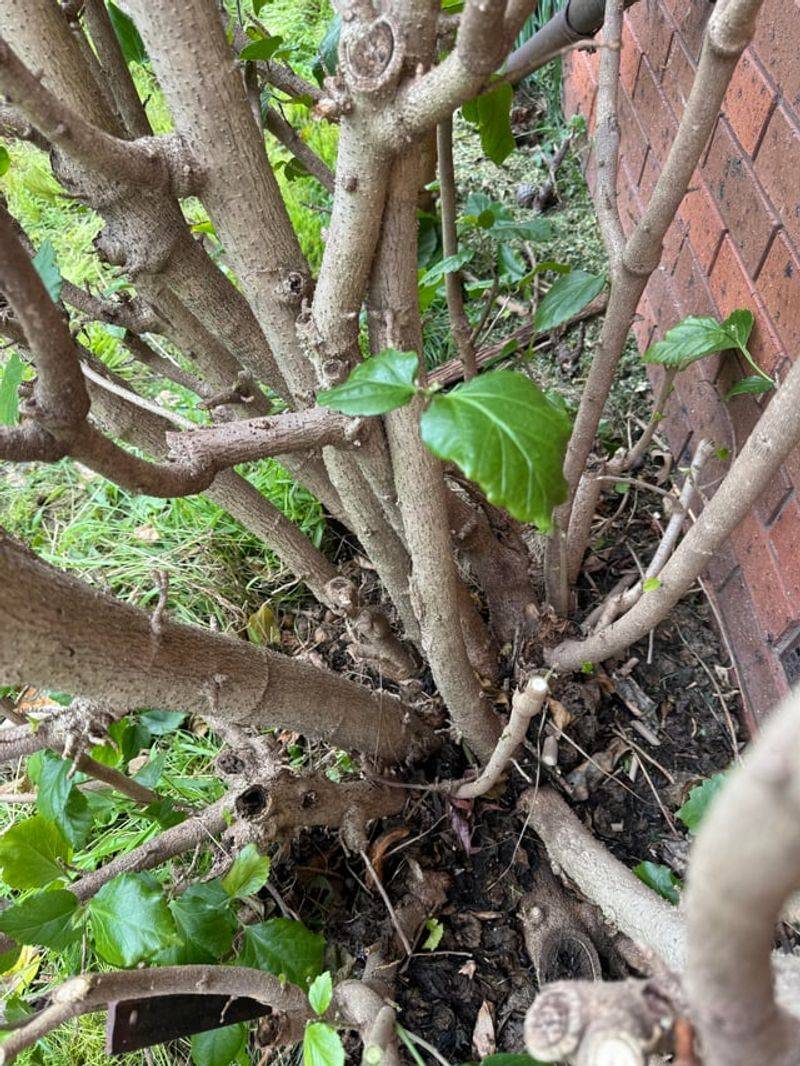
Crowded centers are one of the most common problems with leggy hibiscus. When stems cross and overlap, light struggles to reach the inner branches, and air movement slows down through the plant’s core.
Poor airflow in humid conditions can encourage fungal issues on leaves and stems. Thinning out the middle of the plant is one of the more practical things you can do before late summer heat and moisture combine.
Look for stems that rub against each other or grow inward toward the center. Removing a few of these opens up space without changing the plant’s overall size much.
You are not trying to hollow it out, just create breathing room.
Crossing stems also compete for the same light. When one shades another, the shaded stem tends to stretch even more, which adds to the legginess problem you are trying to correct in the first place.
Work slowly through the interior. Reach in carefully with your pruners and remove one stem at a time.
Rushing this part often leads to accidentally cutting stems you wanted to keep.
After thinning, you may notice the plant looks a bit sparse in the middle.
Sunlight reaching the interior nodes will likely encourage new side shoots to fill back in over the following weeks, especially while warm growing conditions persist in Georgia’s late summer.
6. Water Well While Your Hibiscus Recovers
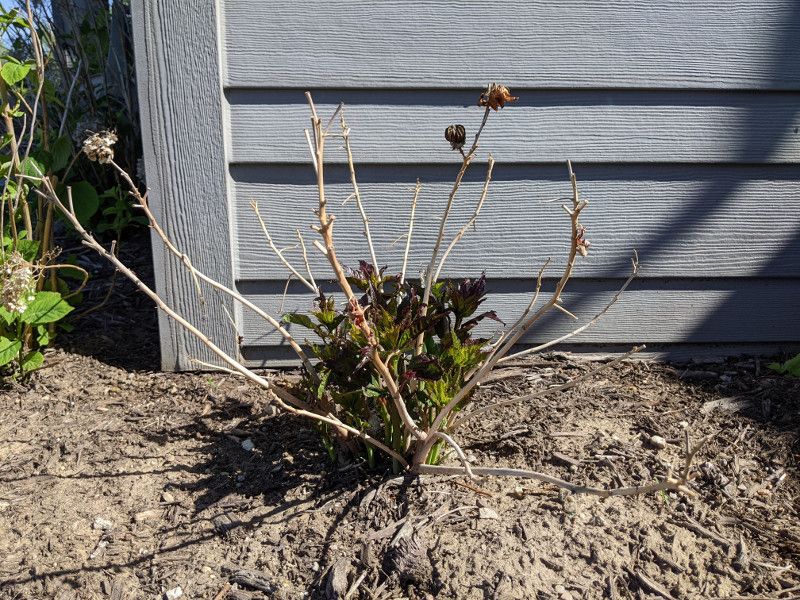
Right after trimming, your hibiscus has open cut surfaces and reduced leaf coverage. Keeping the soil consistently moist during this window supports recovery without pushing the plant too hard.
Deep watering works better than frequent shallow watering. Letting water soak down into the root zone encourages roots to grow deeper rather than staying near the surface.
A slow, steady soak a few times per week is usually more effective than a quick daily sprinkle.
Check the soil before watering each time. Stick a finger about two inches into the soil near the base of the plant.
If it still feels moist, hold off a day. Overwatering a recently trimmed plant can cause root problems that slow recovery.
Mulching around the base helps retain soil moisture between waterings. A two to three inch layer of organic mulch also helps regulate soil temperature, which matters during the hot end-of-summer weeks common across the region.
Avoid letting the plant sit in standing water. Hibiscus prefers well-drained soil, and soggy conditions around the roots can create problems that show up weeks later as yellowing leaves or stunted new growth.
Fertilizing lightly after trimming can support new shoot development, but go easy on nitrogen-heavy formulas. A balanced, slow-release fertilizer is generally a safer choice while the plant is still in active recovery mode.
Steady care during this recovery period gives fresh shoots the support they need without placing extra stress on the plant.
7. Watch For Fresh Branching Below The Cuts
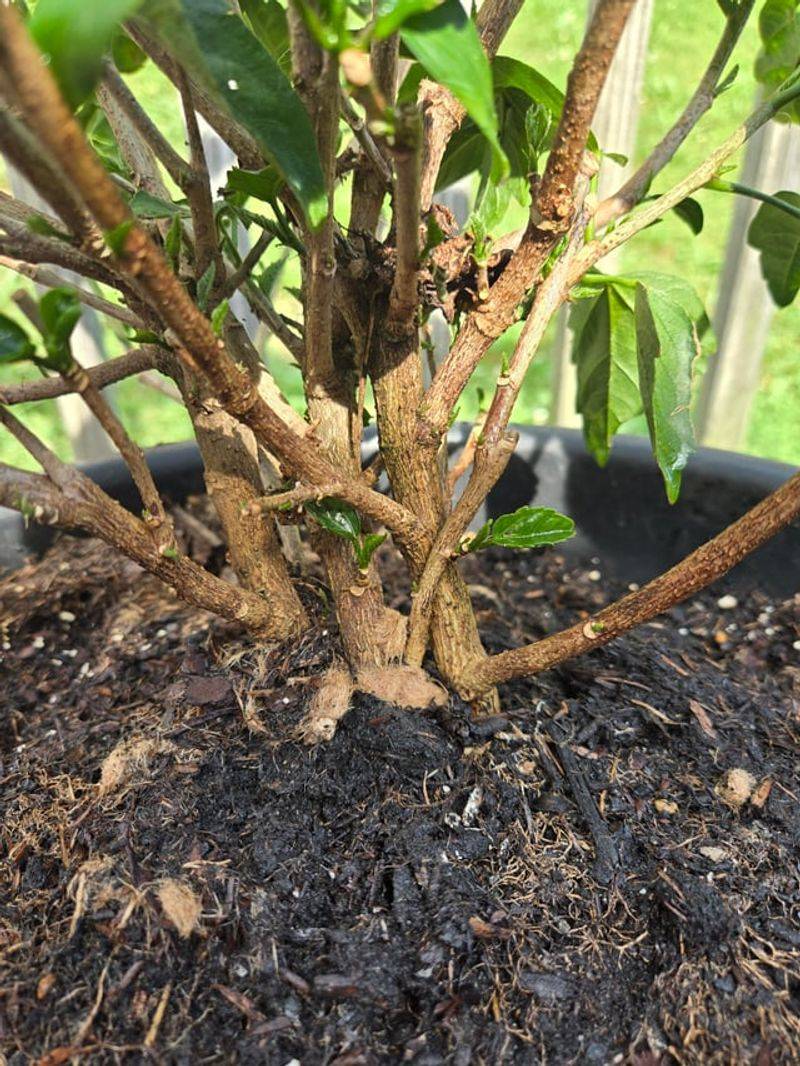
New growth showing up below your cuts is a good sign the plant is responding well. Small green buds or tiny side shoots emerging near the nodes usually appear within one to three weeks after trimming, depending on conditions.
Keep a close eye on these emerging shoots. Healthy new growth tends to be bright green and firm.
Soft, pale, or discolored new shoots can indicate stress or a nutrient issue worth looking into before it spreads.
Not every cut will produce new branching at the same rate. Some stems respond quickly while others take longer.
Patience matters here, especially if the plant was under stress before you trimmed it.
Shade from nearby plants or structures can slow branching below the cuts. Hibiscus needs decent sun exposure to push out vigorous new growth.
If a section stays shaded, consider whether trimming nearby plants could open up more light for that area.
Avoid disturbing the soil heavily around the base while waiting for new growth. Digging or aggressive weeding close to the roots can set back recovery by disrupting the fine root hairs that support nutrient uptake.
Seeing new branching is encouraging, but let those shoots develop for a few weeks before evaluating the plant’s overall shape again. Rushing to trim fresh growth too soon can interrupt the plant’s natural recovery rhythm and delay blooming.
8. Hold Off On Another Trim Until New Growth Appears
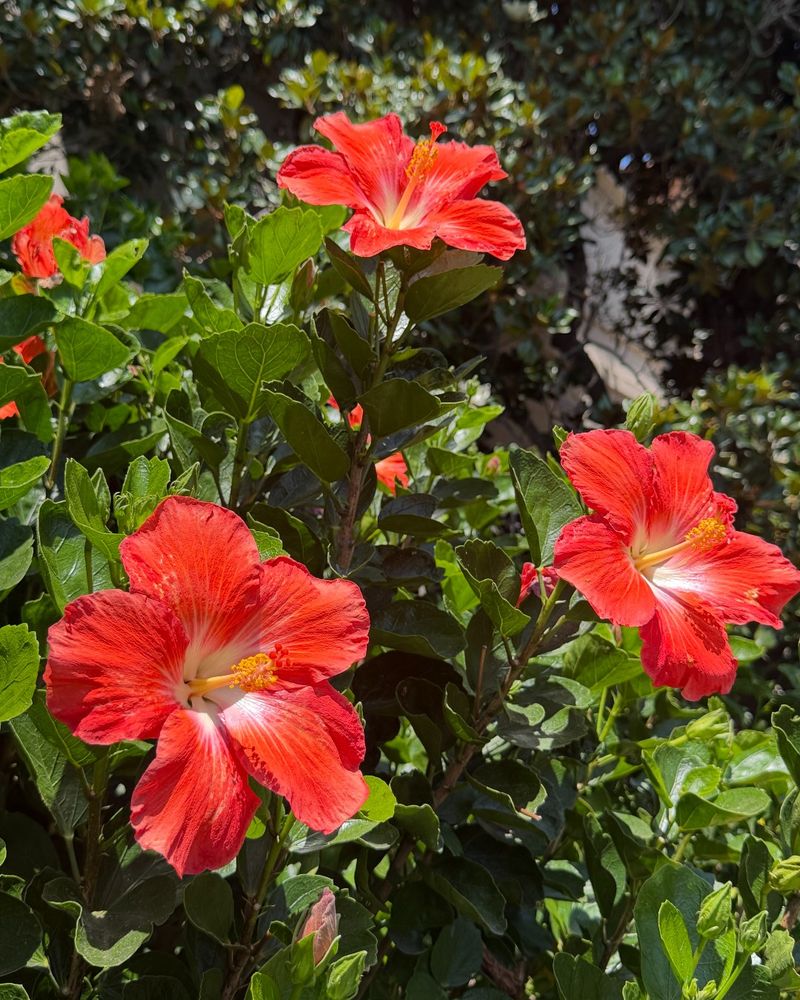
Patience after pruning is genuinely hard when a plant still looks rough. Reaching for the pruners again too soon is one of the most common mistakes gardeners make after a trim.
Repeated cutting before new growth establishes can weaken the plant over time. Each time you cut, the plant redirects energy toward healing.
Cutting again before that process finishes splits the plant’s focus and slows visible progress.
Set a rough waiting period of three to four weeks after your initial trim. Use that time to observe rather than act.
Note which sections are responding well and which still look sparse or slow.
In Georgia’s late summer heat, hibiscus plants that are watered and fed appropriately often push out new growth faster than expected. Warm soil temperatures support root activity, which in turn fuels above-ground recovery.
Once you see clear new branching with visible leaf development, you can assess whether a light follow-up trim makes sense. By that point, you have a much clearer picture of how the plant is filling in and where any remaining adjustments are needed.
Holding off also protects any new flower buds that may be forming on the fresh shoots. Cutting too early risks removing those buds before they have a chance to open, which can push blooming further into fall than you intended.
Giving the plant enough recovery time usually leads to a fuller, more balanced shape without unnecessary extra trimming.