What California Plumeria Owners Should Do Before Nights Start Cooling Down
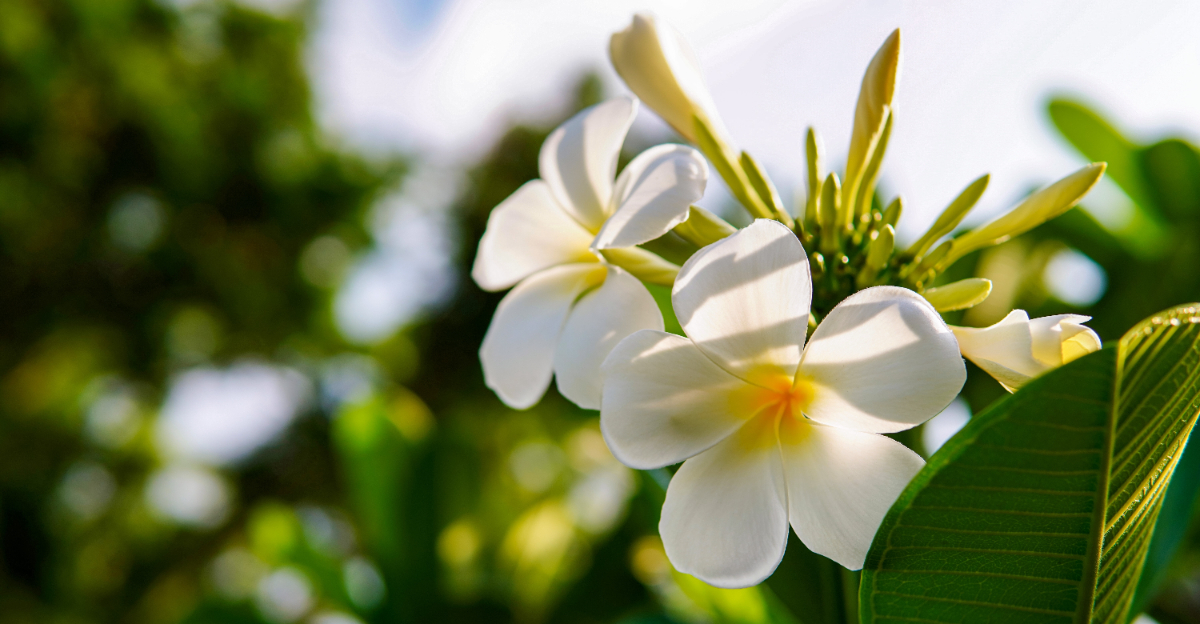
A plumeria in full summer bloom tricks you into thinking it’s invincible. Fat glossy leaves, that intoxicating scent drifting across the patio, nothing about this plant screams fragile.
Then one chilly October morning, you walk out to yellowing leaves and stems that feel slightly wrong under your fingers. California’s mild reputation hides a nasty little secret: those 40-degree overnight dips hit tropical roots harder than most owners realize.
The whole mess is preventable. Plumeria damage doesn’t happen in one dramatic freeze. It sneaks in across weeks of ignored warning signs and skipped adjustments.
What separates the gardeners posting springtime bloom photos from the ones frantically googling “mushy plumeria stem” in January comes down to about two weekends of effort, starting right now.
1. Track Nighttime Lows As California Nights Cool Down
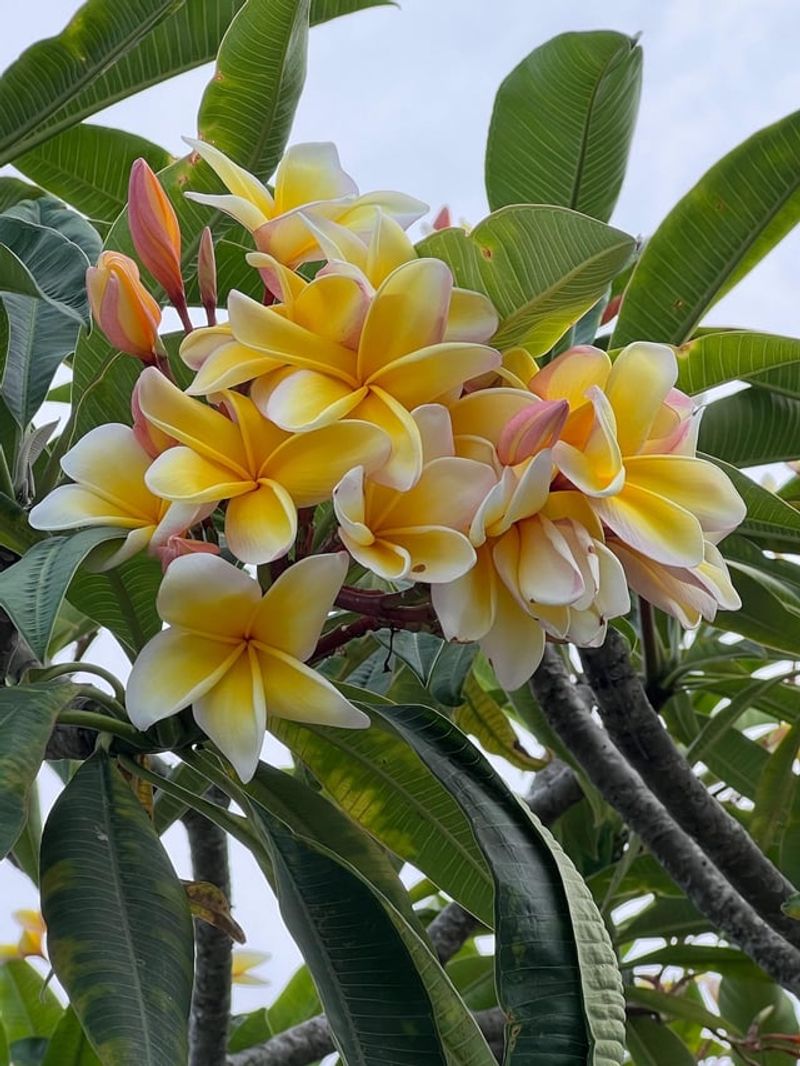
Your plumeria has no idea what is coming, but you do. Watching the forecast is one of the smartest moves you can make as a California plumeria owner heading into fall.
Plumeria plants get stressed when temps dip below 50 degrees Fahrenheit. A single cold night can slow their growth and signal dormancy earlier than expected.
Download a weather app that shows hourly temperature data. Set alerts for nights when the low is predicted to drop below 55 degrees.
This gives you enough warning to act before the plant suffers. Keeping a simple notebook log of nighttime lows also helps you spot patterns over the weeks.
You might notice that your microclimate runs cooler than the official city forecast. That difference matters a lot for a heat-loving tropical plant.
Inland spots like Riverside and Fresno see nighttime temperatures drop faster in fall than coastal areas near San Francisco or Los Angeles. Knowing your exact zone helps you time every other step on this list.
A cheap wireless thermometer placed near your plant gives real-time readings without guessing. Pair it with a min-max feature so you catch the coldest point of each night.
Once you see three or more nights below 55 degrees in a row, your action window has opened.
2. Reduce Watering Frequency Before The Chill Arrives
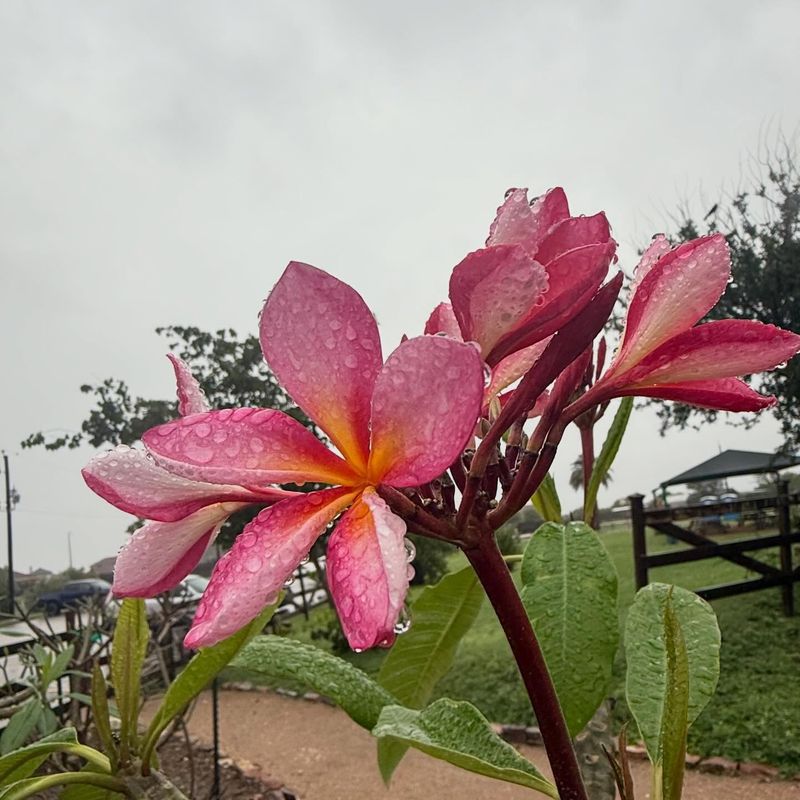
Soggy roots and cold nights are a terrible combination for plumeria. Cutting back on water before temperatures drop is one of the easiest protective steps you can take.
As days grow shorter, your plumeria naturally slows its growth. It simply does not need as much moisture as it did during the peak of summer.
Start stretching the time between waterings by a few extra days each week. The goal is to let the soil dry out more completely before you water again.
Wet soil holds cold longer than dry soil does. That trapped cold can damage the root system before you even notice anything wrong above ground.
Check the soil with your finger about two inches down before reaching for the hose. If it still feels damp, walk away and check again in two days.
Plumeria going into dormancy actually prefer a drier environment. Giving them less water now mimics the natural dry season they would experience in their tropical homeland.
Your California Garden Changes Every Week. Your Plan Should Too.
Gardening in California changes quickly throughout the season. Every Friday you’ll receive a simple weekly plan showing exactly what to plant, prune, fertilize, harvest, and protect so you never miss the right timing.
By mid-October, most California plumeria owners should be watering only once every ten to fourteen days. In cooler coastal zones, you might stretch that even further.
Reducing moisture now also helps the plant harden off its stems slightly. Firmer stems handle the cold more gracefully than soft, water-filled ones do.
Think of it like helping your plant pack a light bag before a big trip. Less is genuinely more when autumn knocks on the door.
3. Stop Fertilizing Weeks Before Temperatures Drop
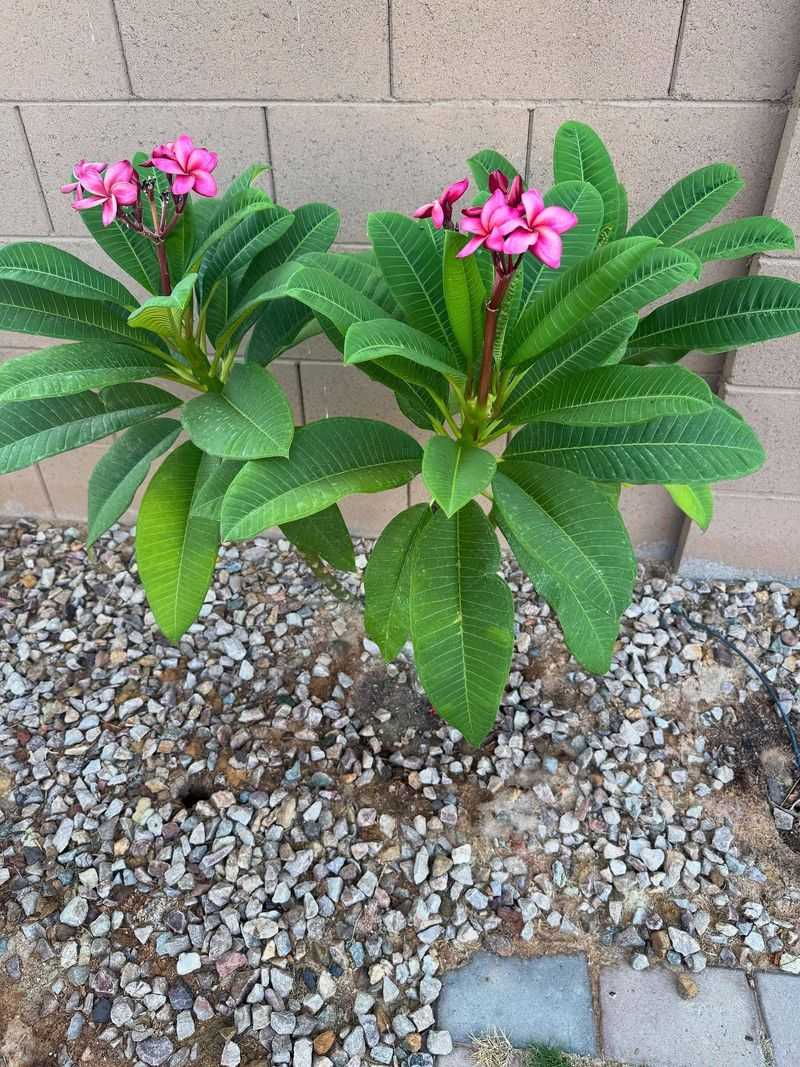
Feeding your plumeria in late summer feels generous, but it can actually work against the plant. Fertilizer pushes new growth, and new growth is the most vulnerable to cold damage.
Tender new shoots that sprout in September have no time to harden before the chill sets in. Those soft green tips are the first to suffer on a cold night.
Most experienced California growers stop all fertilizing by early September. If you missed that window, stop immediately and do not try to squeeze in one last feeding.
Phosphorus-heavy fertilizers, sometimes called bloom boosters, are among the more problematic choices at this point in the season. They encourage lush new growth right when you want the plant to slow down and rest.
A plant that is not being fed gets the signal to conserve energy. That is exactly the behavior you want heading into the cooler months.
Some growers give one final dose of a low-nitrogen fertilizer in early August to support root strength. After that, the bottle stays on the shelf until spring.
Roots that are strong and settled handle dormancy much better than roots still chasing a nutrient rush. Think of this step as helping your plant save up for winter.
You will not hurt the plant by stopping fertilizer early. You will hurt it by continuing too long into the season.
Patience here pays off in a big way come spring when your plumeria wakes up healthy and ready to bloom again.
4. Inspect Leaves And Stems For Pests Before Moving Indoors
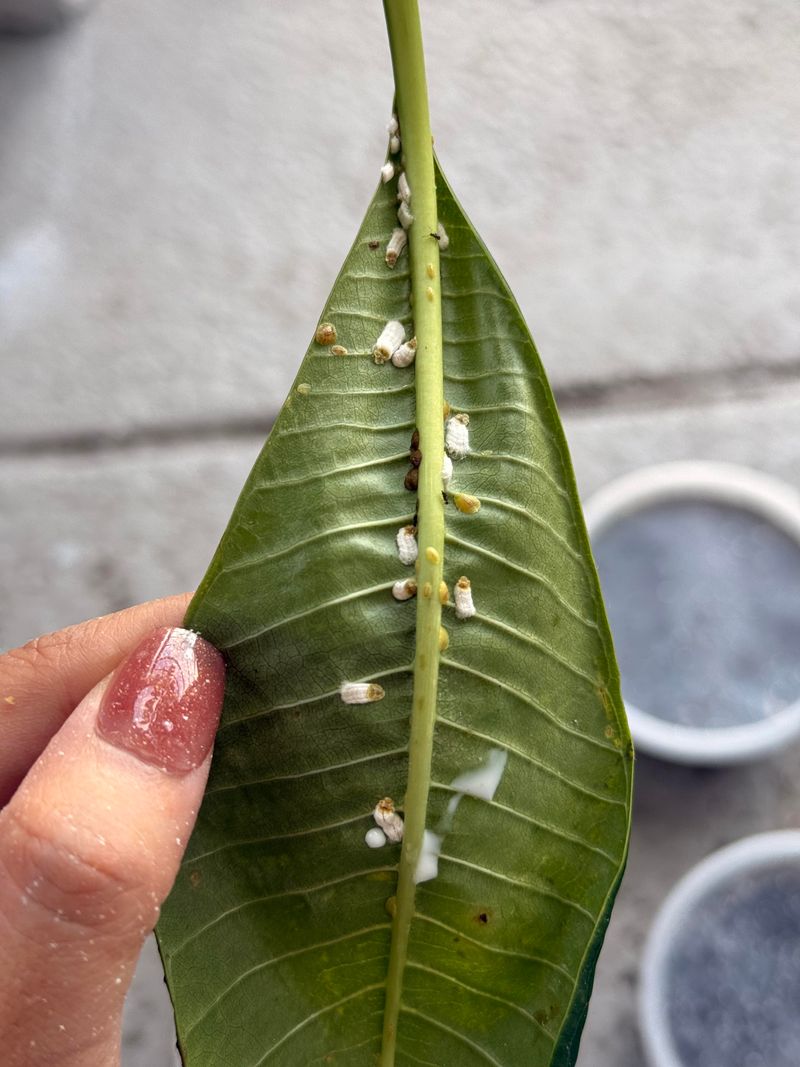
Nothing ruins a cozy winter indoors quite like a pest infestation spreading from one plant to all the others. A thorough inspection before your plumeria crosses the threshold is non-negotiable.
Spider mites love warm, dry indoor environments and will explode in population once they are inside your home. Catching them now, while they are few, is far easier than battling a full outbreak in January.
Flip every leaf over and look at the undersides with a magnifying glass if needed. Tiny dots, webbing, or sticky residue are all red flags worth addressing immediately.
Scale insects look like small brown bumps clinging to stems. They are sneaky and easy to miss if you are doing a quick glance instead of a real inspection.
Mealybugs show up as white fluffy patches, often tucked into joints where stems meet branches. A cotton swab dipped in insecticidal soap solution removes them cleanly and effectively.
After your visual check, spray the entire plant with neem oil solution or insecticidal soap. Let it dry completely before you move the plant anywhere.
Give the plant a second inspection two to three days later to catch anything that survived the first treatment. Persistence here protects every plant in your home.
Bringing in a pest-free plumeria protects your other houseplants too. One clean plant is worth the extra twenty minutes of careful checking before it comes inside.
5. Choose A Sheltered Indoor Spot Away From Cold Drafts
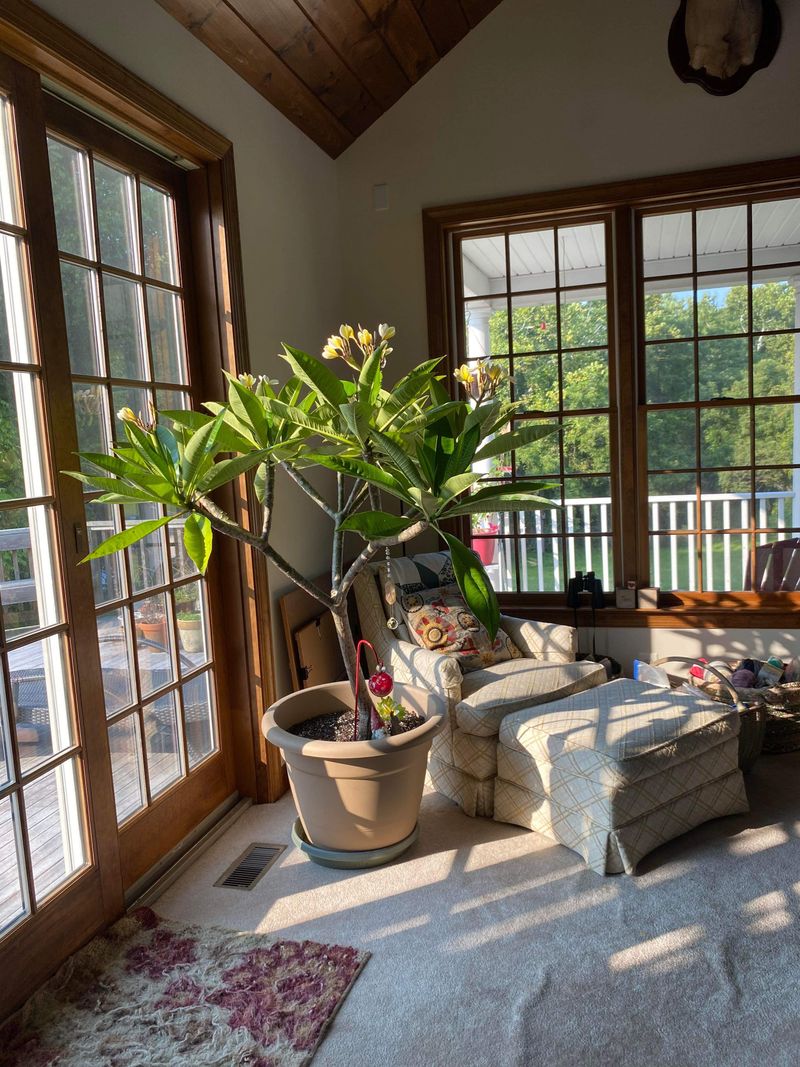
Location inside your home matters just as much as the temperature outside. A poorly chosen spot can expose your plumeria to cold drafts that do more harm than the outdoor chill.
Avoid placing the plant near exterior doors that open frequently during cold mornings. Every blast of cold air that hits the plant chips away at its comfort and stability.
Windows are great for light, but single-pane windows can radiate cold at night. Keep the plant a few inches away from the glass to avoid overnight chill damage.
South-facing windows are the gold standard for overwintering tropical plants in the Northern Hemisphere. They catch the most winter sunlight and keep ambient temperatures warmer around the plant.
Air conditioning vents and heating ducts are equally problematic. Forced air dries out the plant and creates temperature swings that confuse its dormancy cycle.
A bright garage can work well if it stays above 40 degrees Fahrenheit through the night. Add a small grow light if natural light is limited in that space.
Basements are generally too dark unless supplemented with full-spectrum lighting. Darkness combined with cold is not a restful dormancy situation for your plumeria.
Once you find the right spot, resist the urge to move the plant around. Stability helps the plant settle into its rest period without added stress.
The right corner of a warm, bright room can feel like a mini tropical retreat. Your plumeria will thank you come March.
6. Prepare Containers For An Eventual Move Indoors
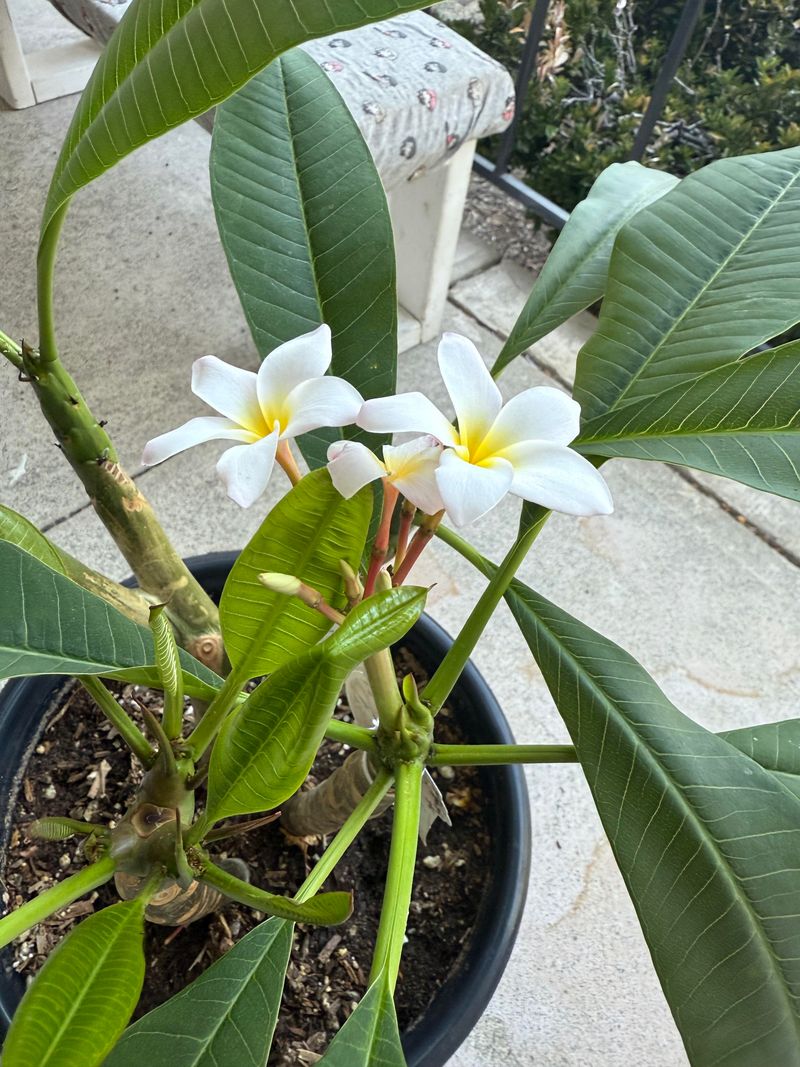
A plumeria that has been growing in a heavy ceramic pot can feel impossible to move when the time comes. Getting your containers ready now saves your back and your timeline later.
Check the drainage holes first to make sure they are not clogged with compacted soil or roots. Poor drainage going into winter is a recipe for root rot in a damp, cool environment.
If the pot is too heavy to lift comfortably, invest in a plant caddy with rolling wheels. You can find sturdy ones at most garden centers for under twenty dollars.
Plastic and fiberglass pots are much lighter than ceramic or terracotta. If your plumeria is in a heavy pot, now is a smart time to consider repotting into something more manageable.
Wipe down the outside of the container with a damp cloth to remove soil, algae, and any hitchhiking pests. A clean pot means fewer surprises once it is inside your living space.
Check if the pot size is still appropriate for the root system. A plant that has become severely root-bound might benefit from a slightly larger container before dormancy begins.
Avoid repotting too close to the move-in date, though. Repotting stresses the plant, and you want it calm and settled before cold nights arrive.
Having everything ready ahead of time means you can move fast when the first cold night sneaks up on you. Preparation now equals zero panic later.
7. Trim Away Damaged Or Diseased Growth First
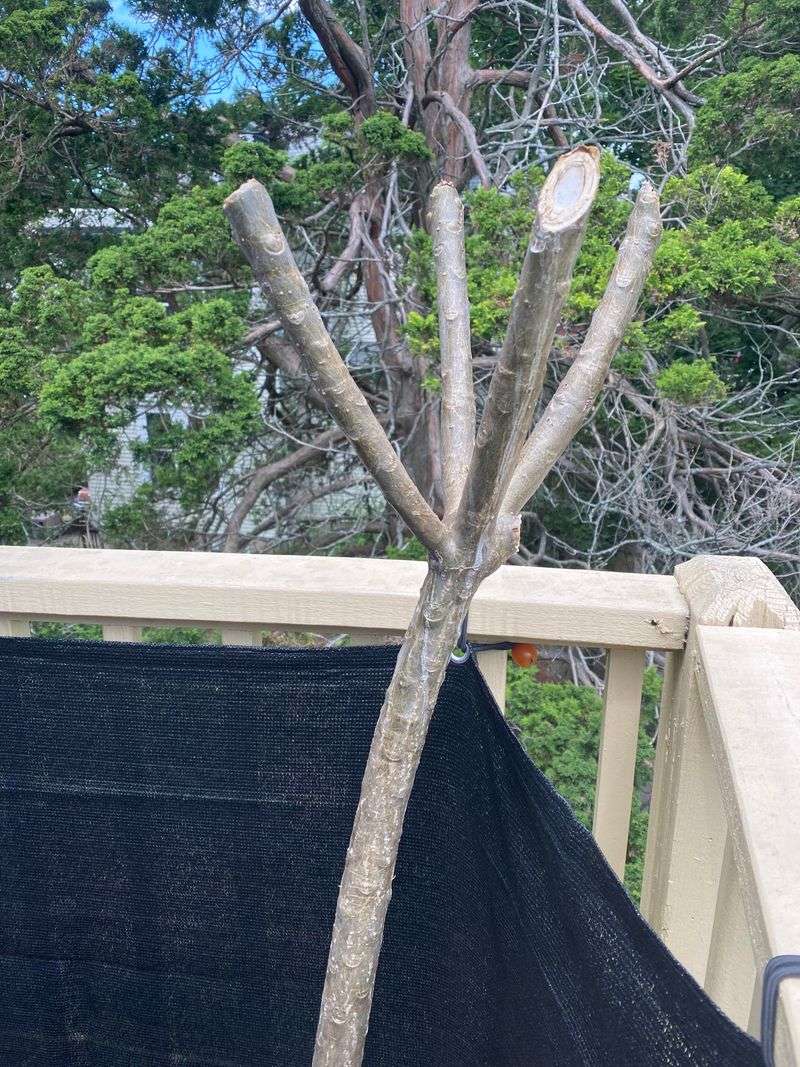
Scraggly, damaged branches going into winter are like open wounds that invite problems. Cleaning up your plumeria before the cold arrives sets it up for a much healthier dormancy.
Start by identifying any branches that look soft, brown, or mushy at the tips. These are signs of rot or fungal issues that will only worsen in a cool, low-light environment.
Use clean, sharp pruning shears and wipe the blades with a diluted bleach solution between cuts. Spreading disease from one branch to another with a dirty tool undoes all your hard work.
Remove any leaves that are yellowing, spotted, or showing signs of fungal rust. Diseased foliage left on the plant can spread spores to healthy tissue during the winter months.
Do not go overboard with pruning, though. Plumeria stores energy in its thick branches, and removing too much can weaken the plant before it has a chance to rest.
Focus on the problem areas rather than reshaping the entire plant. Major structural pruning is better saved for late winter or early spring just before new growth begins.
After trimming, let the cut ends dry out and callous over for a full day or two before moving the plant inside. Sealing cuts with sulfur powder speeds that process nicely.
A tidy, healthy plant heading into dormancy wakes up with more energy in the spring. Every bad branch you remove now is one less problem to deal with in April.
8. Give New Cuttings A Head Start Before Winter
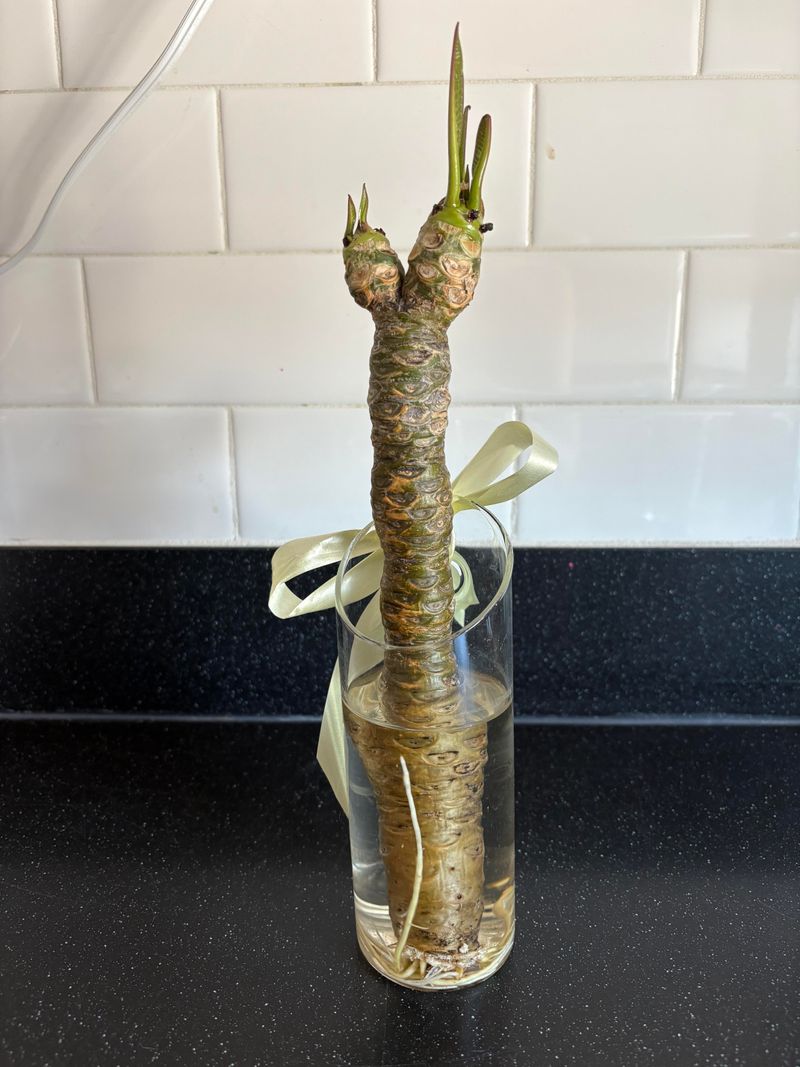
Fall feels like an odd time to think about new plants, but it is actually a smart window for taking plumeria cuttings. Getting them started now gives them a head start before the long rest of winter.
Cuttings taken in early September can get a head start, though they will need bottom heat and supplemental grow lights to root successfully as daylight hours shorten.
Choose a healthy branch that is at least twelve inches long and free of any soft spots. Let the cut end dry out for three to five days before planting it in a pot.
Use a dry, gritty mix of perlite and cactus soil for the best rooting results. Wet, heavy soil causes the cutting to rot before it ever gets a chance to root.
Place the cutting in a warm spot with bright indirect light. Bottom heat from a seedling mat speeds up rooting dramatically during the cooler fall weeks.
Resist watering for the first two weeks after planting. The cutting needs to search for moisture with its developing roots, not sit in wet soil waiting for rot to set in.
Once you see new leaf growth emerging from the tip, you know rooting has begun. That first green leaf is one of the most satisfying sights in plumeria growing.
As a California plumeria owner, propagating in fall means you double your collection with almost no extra effort. Spring will reward your patience with a whole new generation of blooms.