How To Start Arizona Fall Broccoli Seeds Indoors This Week
Broccoli season starts earlier than many gardeners expect, especially when outdoor temperatures still feel far from fall. Starting seeds now can give your crop valuable growing time.
Arizona gardeners should think ahead rather than waiting for comfortable weather to arrive. Young broccoli plants need time to develop before they are ready for their garden beds.
Indoor seed starting gives you more control while intense heat continues outside. Still, getting seedlings ready involves more than filling containers and hoping they grow.
Light, timing, and growing conditions can shape how sturdy those young plants become. Pay attention early, because weak seedlings can make the transition outdoors much harder.
Your goal is to produce compact, healthy growth that can handle the next stage. Rushing that process rarely gives broccoli its strongest beginning.
Start correctly now, and you will be better prepared when planting conditions finally improve.
1. Start With Fresh Broccoli Seeds For Better Results
Old seeds can let you down fast. Broccoli seeds that have been sitting around for two or more years often sprout poorly, and that is a frustrating way to start a season.
Grabbing a fresh packet now is one of the smartest moves you can make before planting anything.
Look for varieties labeled as heat-tolerant or suited for fall planting. Calabrese, Waltham 29, and Belstar tend to perform well in warm-climate fall gardens.
Packaged seed dates matter, so check the label before buying.
Some garden centers in the Phoenix and Tucson areas stock fall-specific seed selections starting in late summer. If local options are limited, ordering online from a reputable seed company works just as well.
Just make sure shipping is fast so you can stay on schedule.
Storing leftover seeds in a cool, dry spot inside your home can help preserve them for next season. A small sealed bag inside a drawer or cabinet works fine.
Broccoli seeds generally stay viable for around three to five years under decent storage conditions, though germination rates can drop over time.
Fresh seeds also give you a more even start, so seedlings are less likely to emerge days apart. That makes it easier to care for the young broccoli plants and keep your fall planting on track.
2. Fill Small Containers With Fresh Seed Starting Mix
Potting soil from a random bag in the garage is not ideal here. Seed starting mix is lighter, drains better, and gives tiny roots the loose space they need to develop without compaction or waterlogging early on.
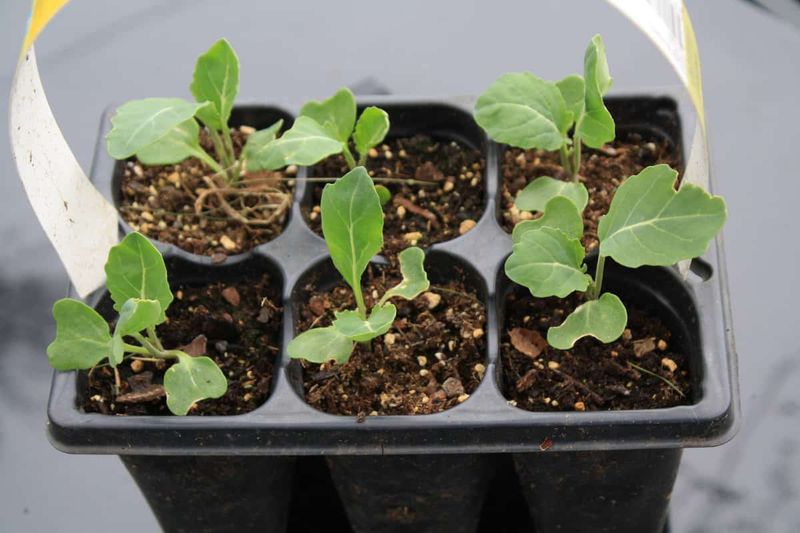
Small plastic cell trays, peat pots, or even recycled yogurt cups with drainage holes punched in the bottom all work fine as containers. What matters most is that water can drain freely from the bottom so roots do not sit in soggy conditions.
Fill each container to about a quarter inch below the top rim. Overfilling makes watering messy and can cause mix to spill out when you mist or water.
Leaving a small gap at the top gives you a little room to work with.
Your Arizona Garden Changes Every Week. Your Plan Should Too.
Gardening in Arizona changes quickly throughout the season. Every Friday you’ll receive a simple weekly plan showing exactly what to plant, prune, fertilize, harvest, and protect so you never miss the right timing.
Before planting, moisten the seed starting mix slightly so it is damp but not dripping. Dry mix can pull moisture away from seeds too quickly right after planting.
Evenly damp mix creates a more stable environment for germination to begin.
Avoid using garden soil directly from your yard. Desert soils in the Southwest often drain too fast or compact too much indoors.
Seed starting mix is inexpensive and worth using from the very beginning of the process.
Starting with the right mix also makes watering easier to control while the seedlings are still small.
Once the roots begin filling their containers, the young broccoli plants will be better prepared for the next stage of growth.
3. Plant The Seeds At The Proper Depth
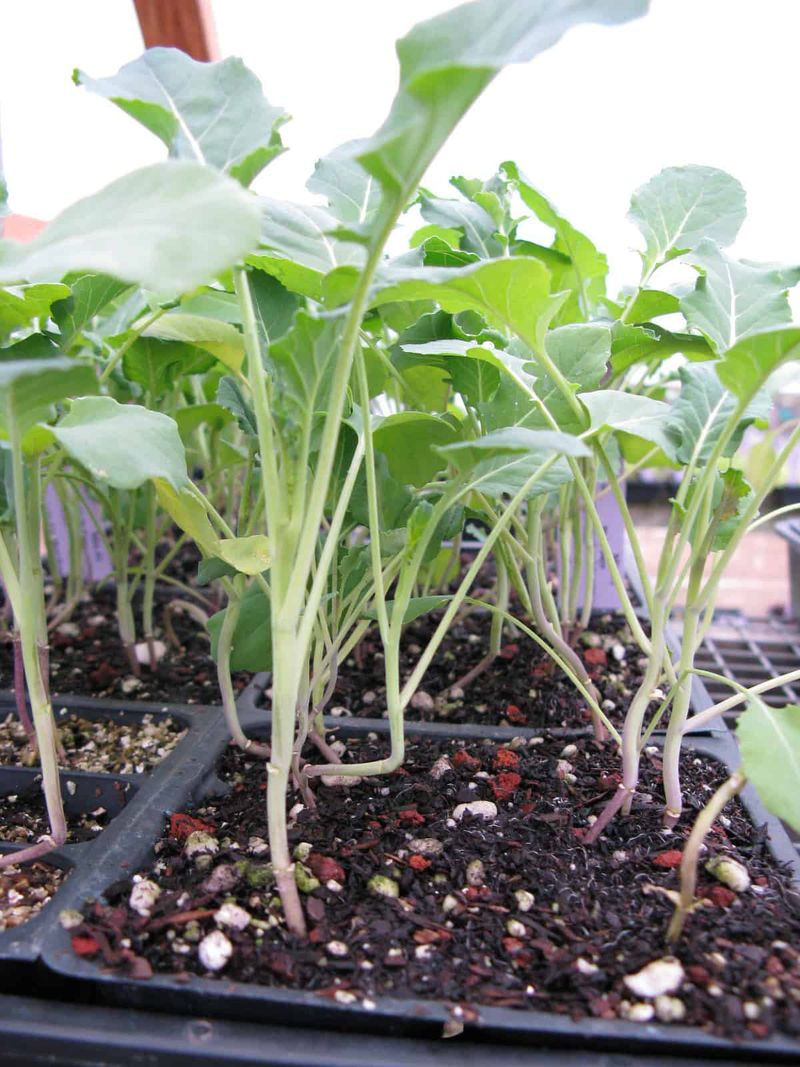
Depth matters more than most people expect with small seeds. Broccoli seeds planted too deep can struggle to push through the mix, while seeds sitting right on the surface may dry out before they sprout.
A quarter inch deep is a reliable target for broccoli seeds. Use the tip of a pencil, a chopstick, or even your fingernail to make a small indent in the damp mix.
Drop one or two seeds into each cell or container, then gently cover them over.
Press the mix down lightly after covering. A gentle press helps the seed make better contact with the surrounding moisture.
Do not pack it down hard, just a soft firm touch is enough.
Planting two seeds per cell gives you a backup in case one does not sprout. You can thin to one plant later once they are growing.
Having that second seed in there is a low-cost way to protect your effort.
Label each container right after planting. It sounds simple, but it is easy to forget which variety is where once a few days pass.
A piece of tape and a marker work perfectly. Keeping track of your varieties helps you compare results at the end of the season and plan smarter next time.
Once everything is planted, water gently so the seeds stay at the proper depth instead of shifting around in the mix.
4. Keep The Mix Moist While Seeds Begin Growing
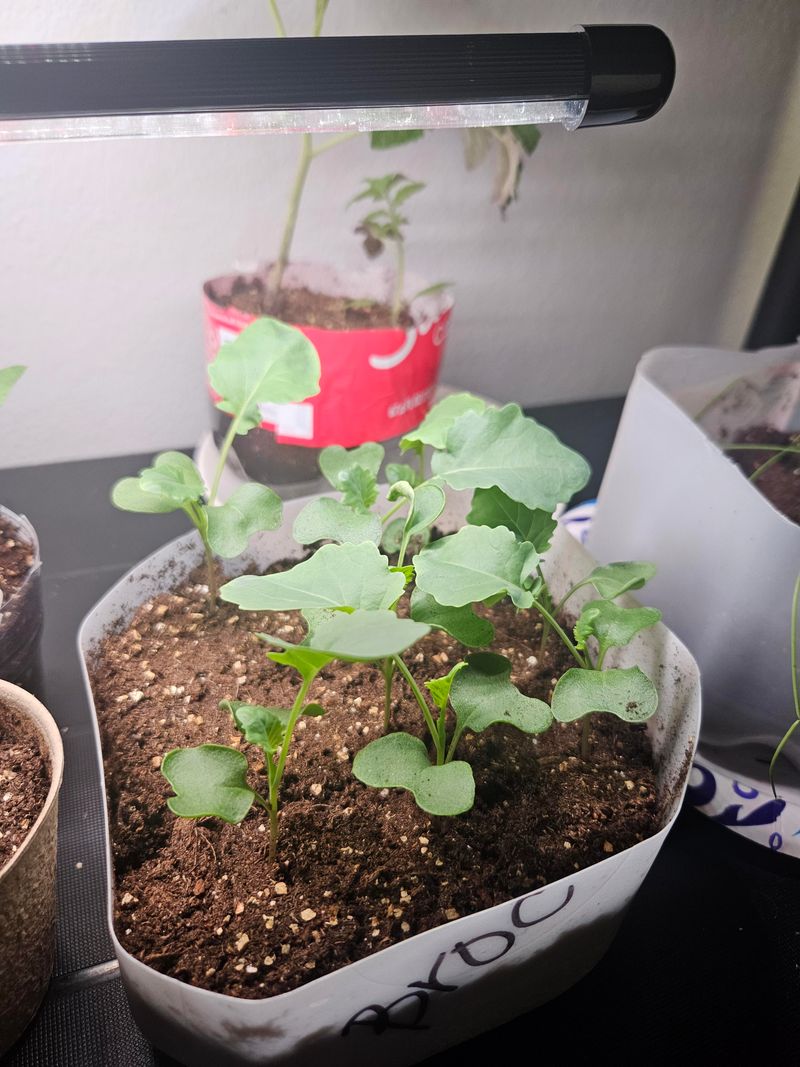
Moisture consistency is what separates a good germination rate from a disappointing one. Seeds need steady dampness to activate and begin sprouting, but sitting in water will cause problems fast.
A spray bottle is one of the best tools for this stage. Light misting keeps the surface damp without flooding the mix or pushing seeds around.
Check the trays at least once a day, and mist whenever the surface starts to look dry.
Covering the tray with a clear plastic dome or even plastic wrap can help hold in moisture between waterings. Remove the cover for a few minutes each day to let fresh air circulate.
Once sprouts appear, remove the cover for good so seedlings get proper airflow.
Avoid letting the mix dry out completely at any point during germination. Broccoli seeds can stall or fail to sprout if moisture disappears mid-process.
Staying consistent with daily checks makes a real difference.
Warm temperatures also help seeds sprout faster. Broccoli germinates well between 65 and 75 degrees Fahrenheit indoors.
Most homes in the region stay within that range during late summer, which works in your favor without needing any special equipment. A warm countertop away from air conditioning vents is a solid spot to set your trays.
Keep checking the mix each day, since steady moisture during this early stage gives broccoli seeds the best chance to sprout successfully.
5. Give Seedlings Plenty Of Light After They Sprout
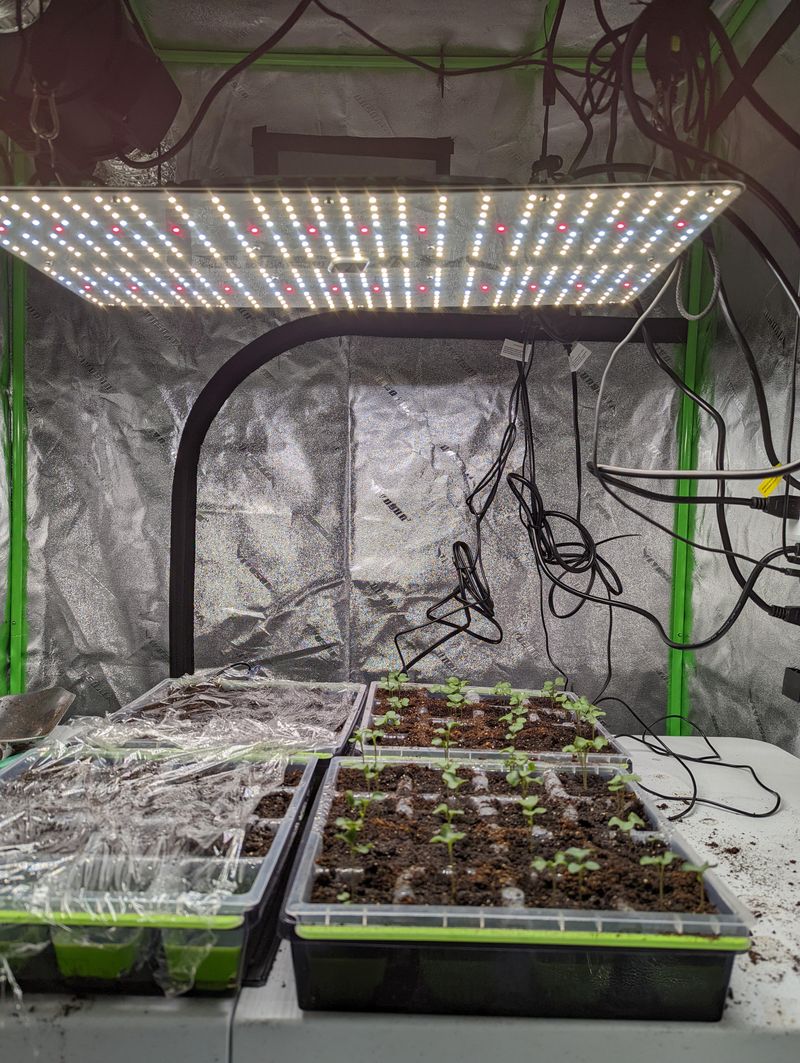
Weak, stretched-out seedlings are almost always a light problem. Once broccoli sprouts break the surface, they need strong, consistent light to grow into sturdy transplants rather than thin, floppy stems.
A south-facing window can work if it gets direct sunlight for most of the day. In many homes, though, window light is not quite enough to keep seedlings compact and strong.
A basic LED grow light placed a few inches above the trays makes a noticeable difference.
Aim for around 14 to 16 hours of light per day for young seedlings. Setting a simple plug-in timer takes the guesswork out of it completely.
Consistent light cycles help seedlings develop at a steady, healthy pace.
Watch for seedlings leaning hard toward one direction. That lean means they are chasing light and not getting enough from a balanced source.
Rotating trays every couple of days can help even out growth when using a window as your light source.
Grow lights do not need to be expensive to work well. Many affordable options on the market provide the right spectrum for vegetable seedlings.
Setting up a small light above your trays is a practical investment that pays off in stronger, more transplant-ready broccoli starts by the time your outdoor planting window arrives.
Keeping the light close to the seedlings as they grow also helps prevent stems from becoming overly tall and weak.
6. Thin Seedlings To One Strong Plant Per Container
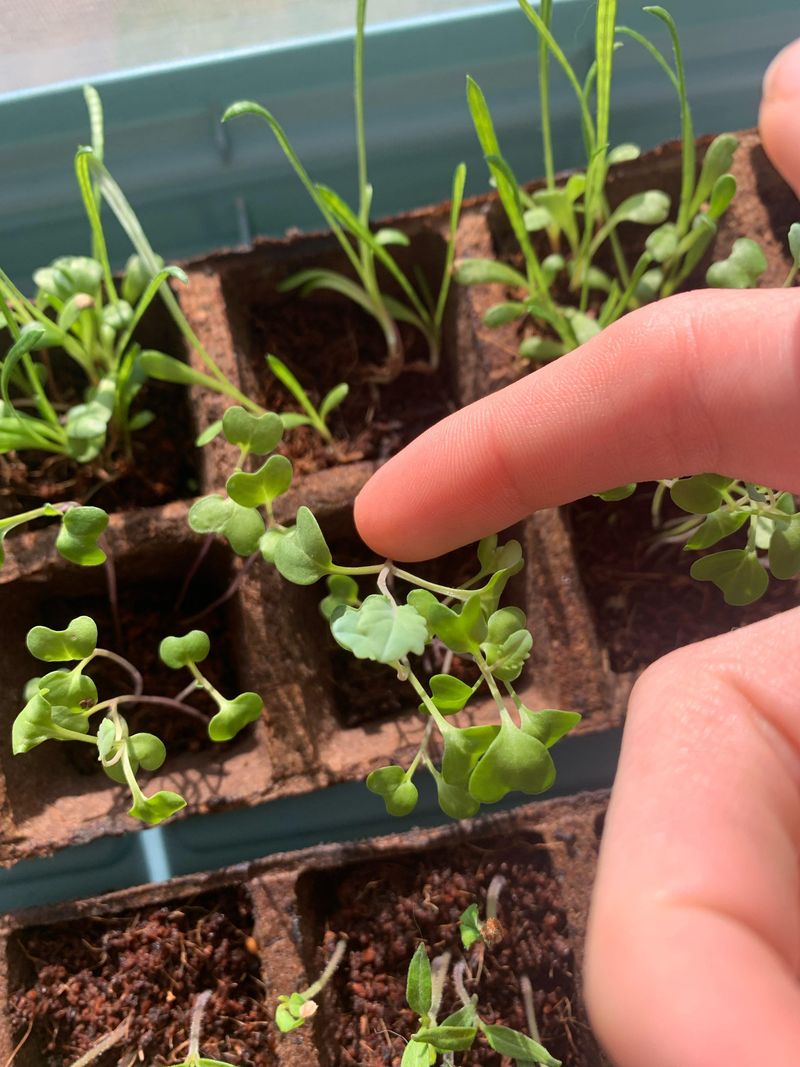
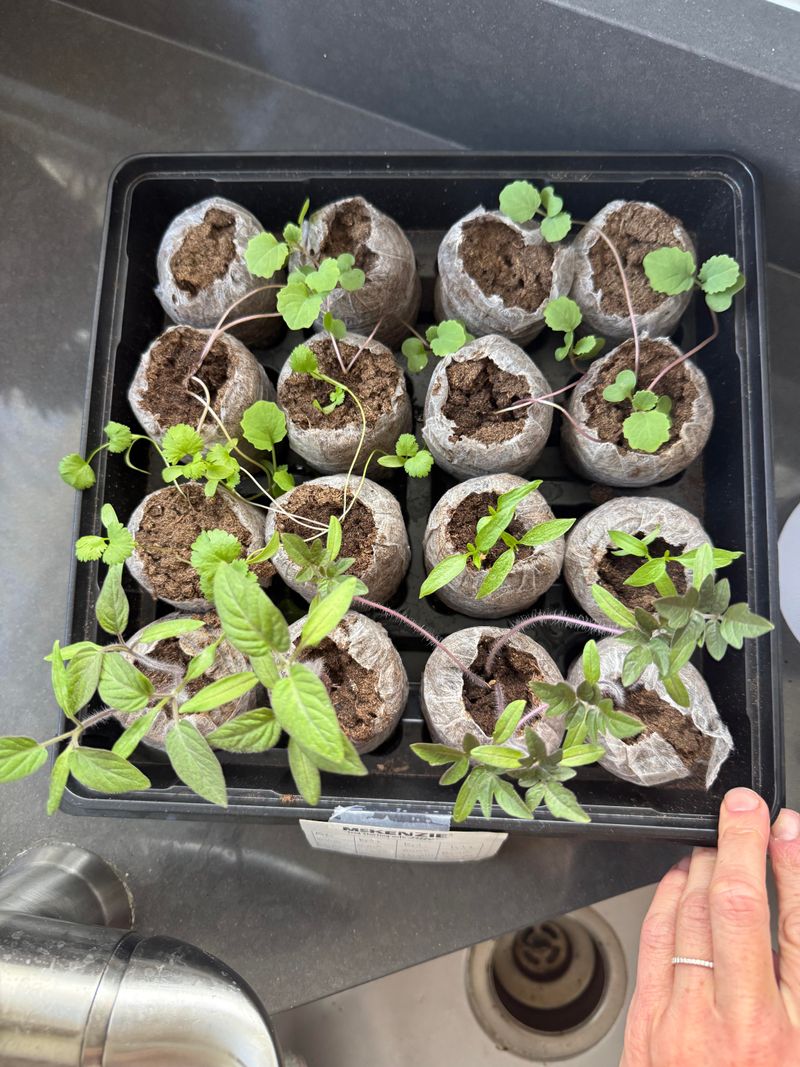
Two seedlings in one cell might look like a bonus, but it quickly becomes a problem. Crowded roots compete for water, nutrients, and space, and both plants often end up weaker than one would be on its own.
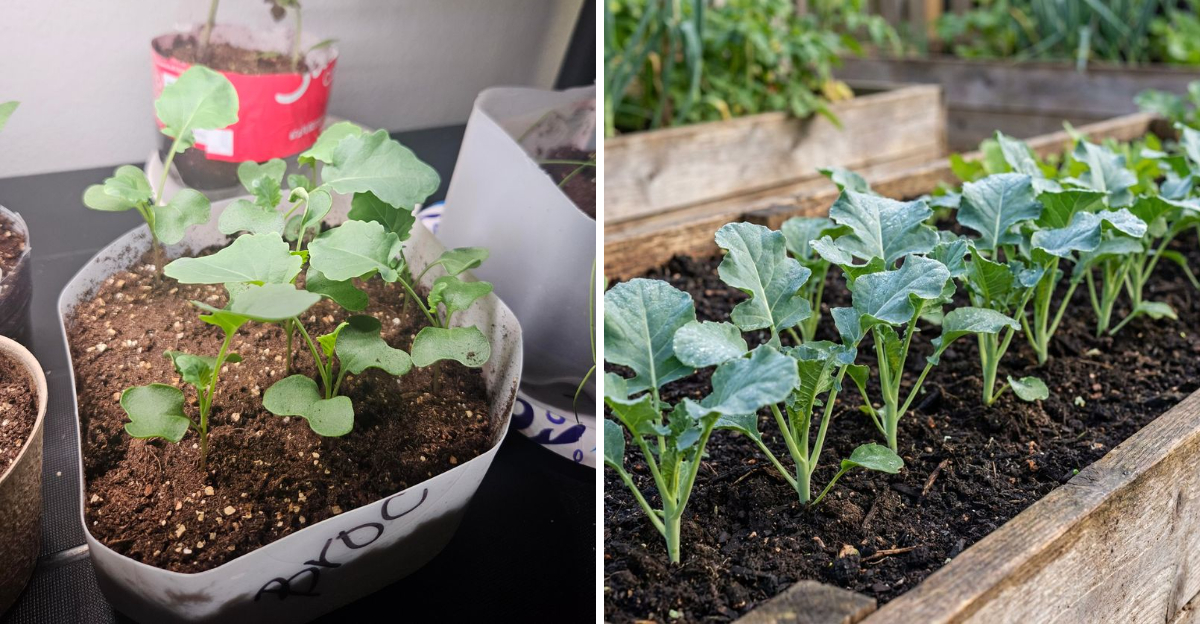
Once seedlings reach about an inch tall with their first set of true leaves, it is time to thin. Snip the weaker or smaller seedling at soil level with small scissors.
Pulling it out can disturb the roots of the one you want to keep.
Choose the seedling that looks sturdier, greener, and more upright. If both look equally strong, just pick one and move on.
Overthinking it rarely changes the outcome in a meaningful way.
Thinning feels wasteful at first, especially when both seedlings look healthy. Sticking to one plant per cell gives that plant the space to build a stronger root system before transplanting.
A well-rooted transplant settles into garden soil much more reliably than a crowded one.
After thinning, give each remaining seedling a light misting to help the mix settle around the roots. Roots may shift slightly during the snipping process.
A small drink of water right after helps everything stabilize quickly. From this point forward, each container holds one focused, growing broccoli plant working toward transplant size.
7. Prepare Young Plants Slowly For Outdoor Conditions
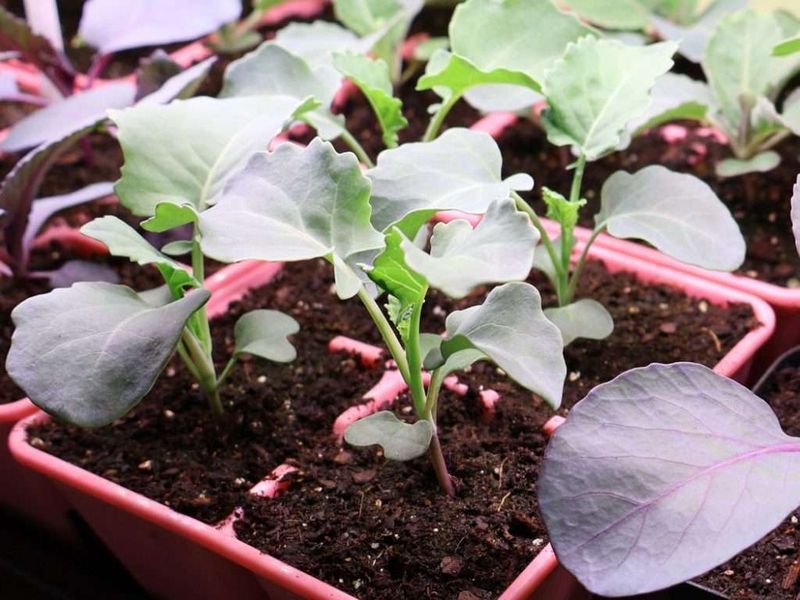
Moving seedlings straight from indoors to full outdoor sun is a shock to their system. Plants grown under controlled indoor conditions need time to adjust to outdoor wind, temperature swings, and direct sunlight before they go in the ground.
Hardening off is the process of introducing seedlings to outdoor conditions gradually. Start by placing trays outside in a shaded or partly shaded spot for just an hour or two each day.
Bring them back inside before temperatures climb too high in the afternoon.
Over the course of seven to ten days, slowly increase the time outside and expose plants to more direct morning sun. Morning sun is gentler than afternoon sun, which can be intense in desert climates even in early fall.
Working with morning hours protects tender leaves from stress.
Watch for signs that plants are struggling during this process. Wilting, bleached leaf edges, or sudden drooping can mean too much sun or heat too fast.
Scaling back outdoor time and trying again more gradually usually resolves the issue.
Wind is another factor worth watching. Outdoor air movement strengthens stems over time, but strong gusts can snap young seedlings that have only ever known calm indoor air.
A sheltered patio or covered area works well for the first few days of hardening off before moving to more exposed spots.
8. Move Healthy Broccoli Starts Outside At The Right Time
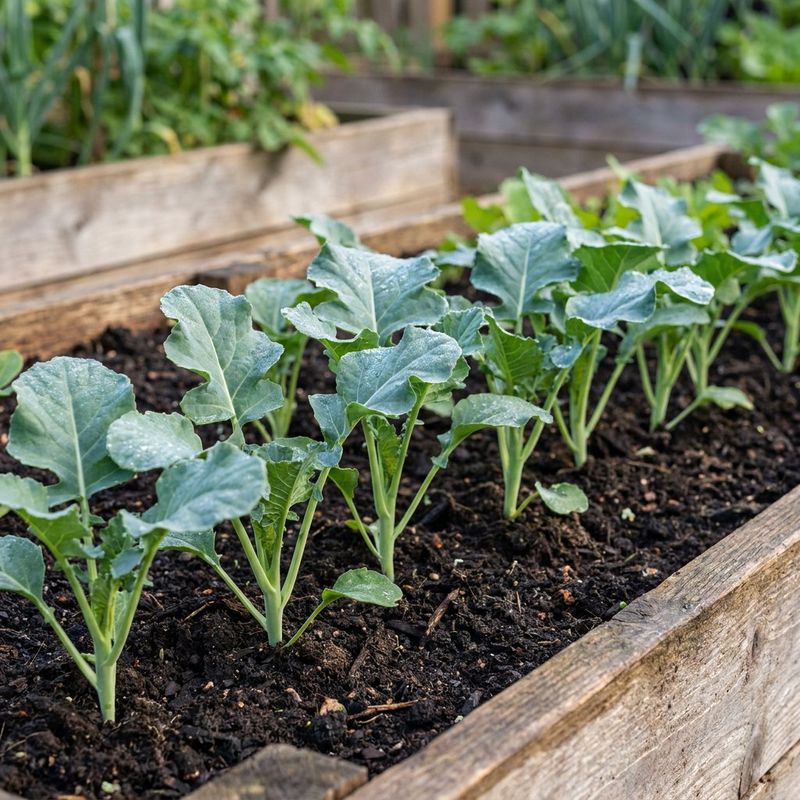
Timing the transplant correctly is one of the most important decisions in fall broccoli gardening. Plant too early and heat stress can set the plants back significantly.
Plant too late and cooler temperatures may not arrive in time for heads to form properly.
In most low-elevation parts of the state, late September through mid-October is a reasonable target for moving transplants outside. Higher elevation areas may shift that window earlier by a few weeks.
Local extension office resources can help you fine-tune timing for your specific area.
Choose a planting day when temperatures are mild, ideally in the morning or late afternoon when direct sun is not at its strongest. Giving transplants a gentler first day outside helps them settle in without added stress on top of the transition.
Water plants in well right after transplanting. The root zone should be evenly moist but not flooded.
A light layer of mulch around each plant can help the soil hold moisture and stay a bit cooler during warm spells that sometimes linger into October.
Space broccoli transplants about 18 inches apart to give each plant enough room to spread. Crowded plants compete for nutrients and airflow, which can affect how well heads develop.
Giving each plant its own space sets the whole bed up for a cleaner, more productive fall harvest.