What To Do With Michigan Canna Rhizomes Before The First Hard Freeze
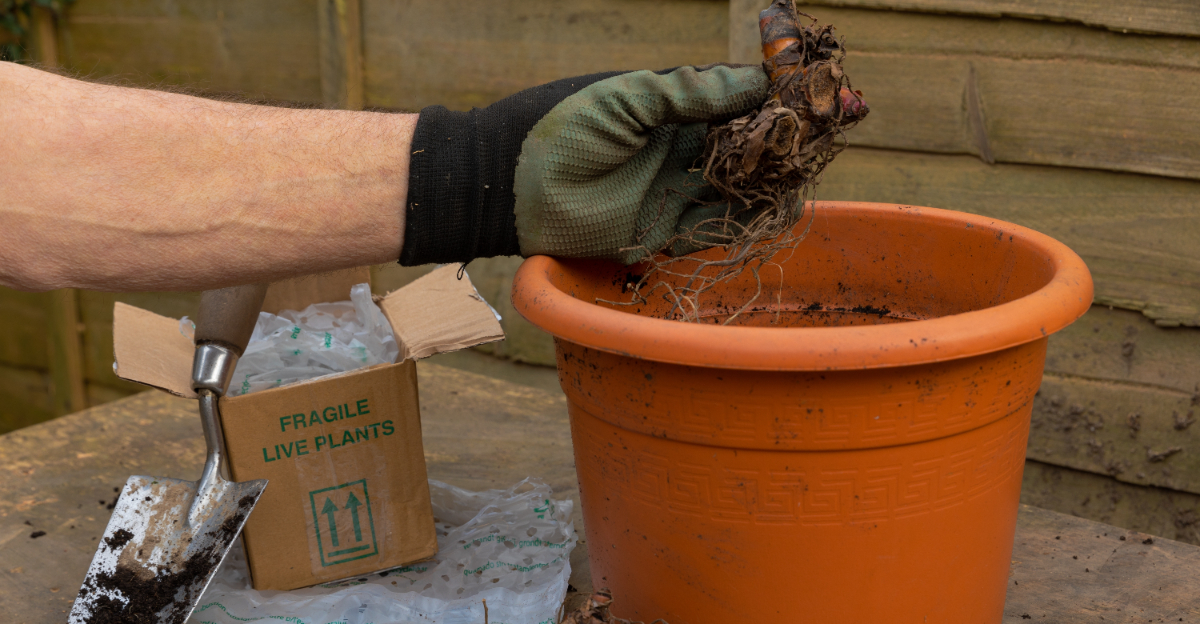
Canna rhizomes sitting in the ground after blooming feel like a finished project to most Michigan gardeners, with little thought given to what happens once temperatures start dropping.
But what you do with these rhizomes before the first hard freeze actually determines whether you’ll have plants to grow again next year at all.
Skipping a specific step during this window often means losing the entire planting to winter cold that cannas simply cannot survive outdoors.
It has nothing to do with fertilizer, and everything to do with a task most gardeners never think to add to their fall routine until it’s already too late.
Understanding what canna rhizomes genuinely need before winter arrives could completely change whether next year’s display happens at all.
Many gardeners only discover this connection after losing their entire planting to an early frost. A few minutes of attention now could save you from starting completely over next spring.
1. Let A Light Frost Finish The Foliage
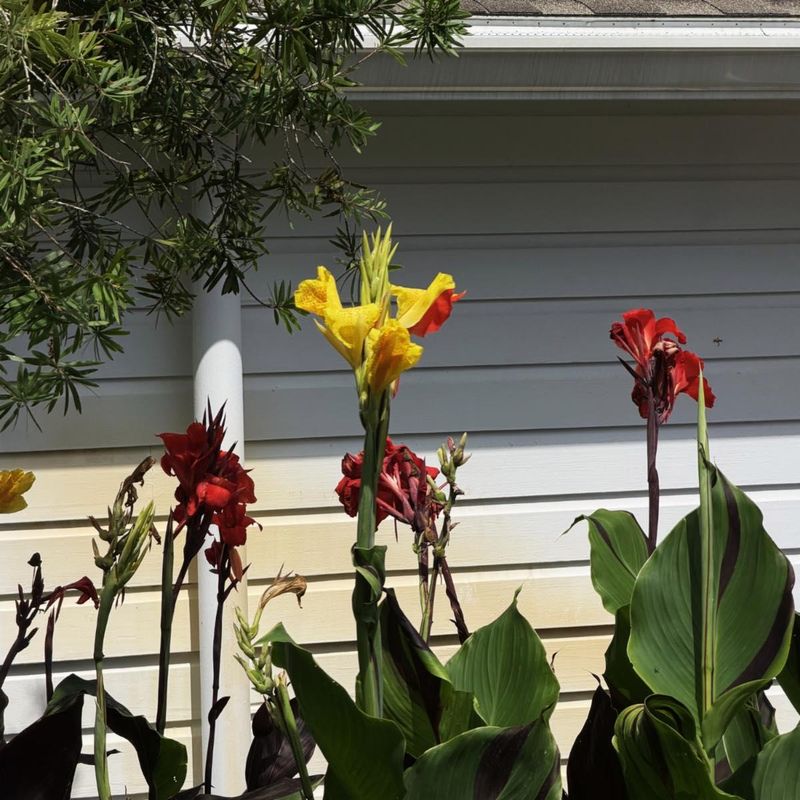
Timing matters more than you might think when saving canna rhizomes. A light frost will nip the leaves and stems, turning them soft and brown, and that is actually okay. The chill above the ground signals the plant to send energy down into the rhizomes.
Once those top leaves droop after a gentle frost, the plant has finished its job for the year. You do not need to panic and dig right away. Cannas can handle a nip of cold at the surface without any harm to the roots below.
The real worry is frozen soil and a hard freeze. When the ground itself locks up with deep cold, the rhizomes can be damaged and turn mushy. In Michigan, this usually happens after the first few light frosts, so keep an eye on your local weather reports.
Wait for a light frost to knock back the greenery, then plan to lift your rhizomes within a week or two. That window gives the plant time to store energy while keeping the roots safe from serious cold.
A handy trick is to check the forecast each morning during autumn. When you see nights dropping into the mid twenties coming up, that is your signal to grab your tools. Acting before a severe cold snap protects all your hard work.
Patience here pays off nicely. By letting nature do the first step, you help the rhizomes bulk up. Then you step in at just the right moment, giving your cannas the best shot at a strong return next summer.
2. Cut The Stems Back

After frost has softened the tops, the next move is trimming those stems. Grab a clean pair of pruning shears or a sharp knife and get ready to tidy things up. Cutting back the foliage makes digging so much easier.
Aim to snip the stems about four to six inches above the soil line. Leaving a short stub gives you a handle to grip later when you lift the clump. It also helps you spot exactly where each plant sits in the bed.
Your Michigan Garden Changes Every Week. Your Plan Should Too.
Gardening in Michigan changes quickly throughout the season. Every Friday you’ll receive a simple weekly plan showing exactly what to plant, prune, fertilize, harvest, and protect so you never miss the right timing.
Clean tools make a big difference here. Wiping your blades with rubbing alcohol between plants keeps any plant problems from spreading. A quick swipe takes seconds and protects your whole collection.
Toss the trimmed leaves and stems into your compost pile if they look healthy. If any part seems slimy or spotted, keep it out of the compost so trouble does not travel to next year’s garden. A little caution goes a long way.
Do not cut the stems flush with the ground. Those few extra inches serve as a grip and a marker, and they also cover the top of the rhizome a bit during the digging process. Trimming too low can leave the crown exposed and easier to bruise.
Work on a dry, mild day if you can. Damp foliage sticks to your gloves and tools, making the job messier than it needs to be. Once the stems are cut back neatly, you will have a clear view of the base.
With the tops trimmed and tidy, your cannas are ready for the next big step of coming out of the ground.
3. Dig Wide Around The Clump
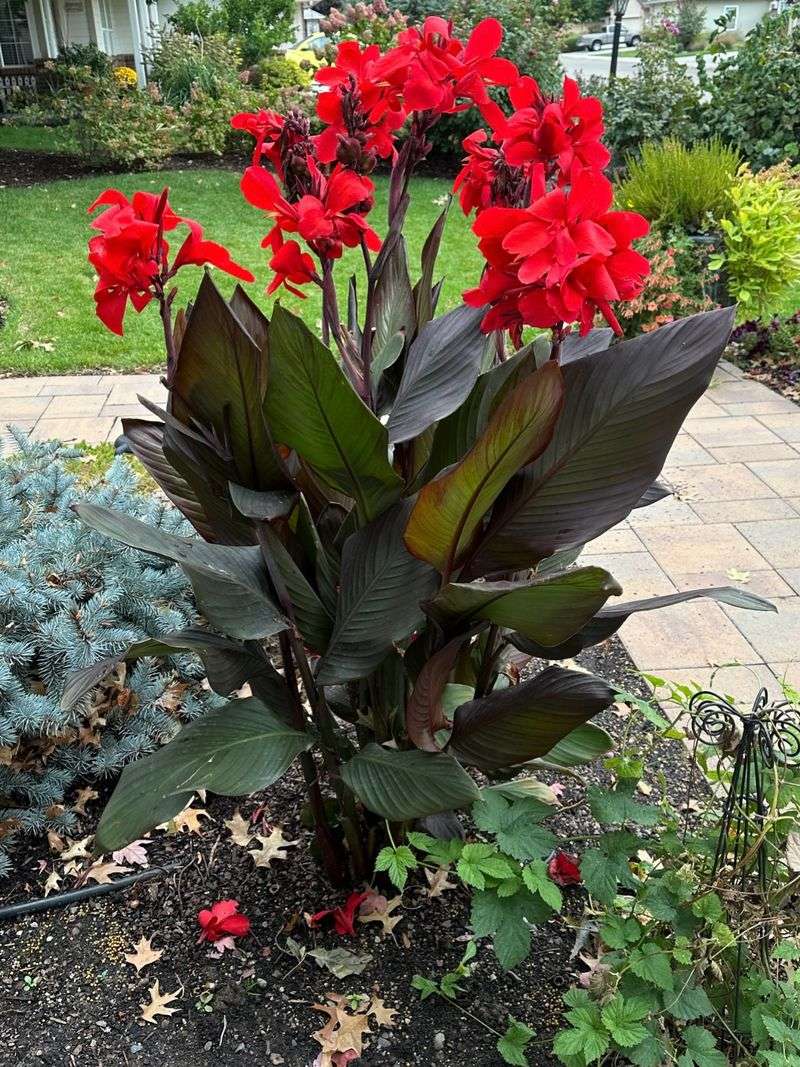
Here comes the part where a gentle hand really counts. Canna rhizomes are fleshy and soft, so slamming a shovel right next to the stems can slice or bruise them. Digging wide keeps those precious roots whole.
Start your digging about six to eight inches away from the base of the plant. Push your spade or garden fork straight down in a big circle around the whole clump. That extra distance gives the rhizomes plenty of room to stay safe.
Once you have loosened the soil all the way around, gently rock the clump back and forth. Work your tool under the roots and lift slowly. The whole mass should come up together with soil clinging to it.
A garden fork often works better than a flat shovel for this task. The tines slide through the dirt and lift the clump without cutting cleanly through any hidden rhizomes. Less slicing means more healthy roots to store.
Take your time and feel for resistance as you dig. If the tool suddenly stops, you might be pressing against a rhizome, so pull back and try a wider spot. A moment of care here saves you from losing chunks of your plant.
Cannas often grow in surprisingly large clumps after one summer. What started as a single rhizome can turn into a whole cluster by fall. Digging wide accounts for that spread and keeps every piece intact.
Lift the clump onto a tarp or wheelbarrow when it comes free. Now you have the full root mass ready for cleaning, with hardly any damage to worry about.
4. Brush Away The Loose Soil
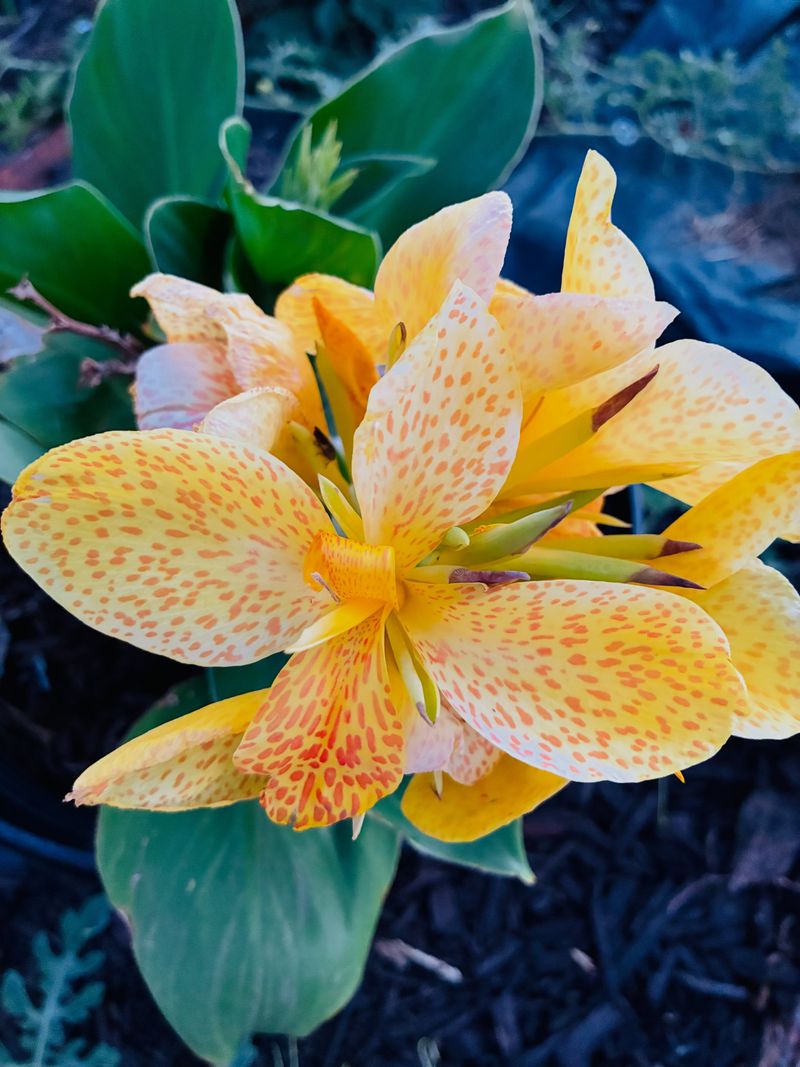
Freshly lifted rhizomes usually come up wearing a thick coat of dirt. Getting that soil off helps you inspect the roots and keeps storage cleaner. The trick is to be gentle so you do not nick the tender surface.
Use your hands or a soft brush to knock off the big clumps of dirt. Let the rhizomes sit for an hour or two first, since slightly dried soil crumbles away much easier than wet mud. A little patience makes this step almost effortless.
Skip the temptation to scrub every speck away. A thin layer of soil left on the rhizomes is perfectly fine and can even help protect them. Overcleaning can scrape the skin and open the door to problems later.
Avoid using a hard blast from the hose right now. Too much water at this stage soaks the rhizomes and slows the drying they need before storage. Dry brushing keeps things simple and safe.
As you clean, look over each rhizome for soft spots or cuts. Now is a great time to notice any pieces that got bruised during digging. Setting those aside helps you decide what to store and what to skimp on.
Handle the roots like you would handle ripe fruit. They may look tough, but the flesh underneath is soft and easily damaged. Gentle fingers keep them in top shape.
Working outside on a dry day makes cleanup a breeze. The loose dirt falls right back into the garden where it belongs. Once your rhizomes look mostly clean, they are ready to rest and dry before heading into storage.
5. Let The Rhizomes Dry
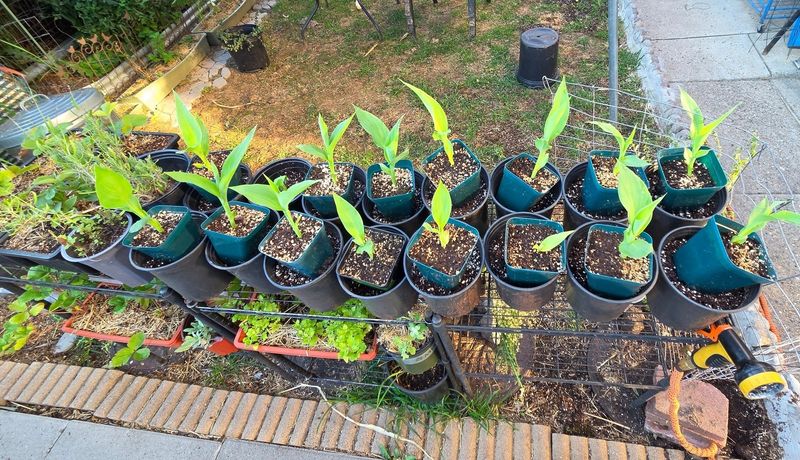
Drying is a step people love to rush, but slowing down here really protects your rhizomes. A short curing period lets extra moisture on the surface fade away. Dry skin is much less likely to rot during the long winter.
Spread the cleaned rhizomes out in a single layer somewhere sheltered. A garage, shed, or covered porch works great as long as it stays dry and out of hard frost. Lay them on newspaper, cardboard, or an old screen for good airflow.
Give them a few days to a week to cure. You want the outside to feel dry to the touch, not shriveled. The inside should still stay firm and plump, holding all the energy for spring.
Keep the drying spot out of direct sun and away from freezing temperatures. Too much heat or light can dry the rhizomes out more than you want. A cool, shaded corner strikes the right balance.
Good air movement speeds things along nicely. If the space feels stuffy, crack a window or set up a small fan on low. Circulating air whisks away dampness and keeps mold from getting a foothold.
Check them once or twice while they cure. Turn any that sit in a damp spot so all sides dry evenly. This little habit prevents surprises down the road.
Resist packing them away while they still feel cool and moist. Trapped dampness in a storage box is the fastest path to trouble. Once the surfaces feel dry and the flesh stays solid, your cannas are ready for their cozy winter home.
6. Store Them Somewhere Cool And Dark
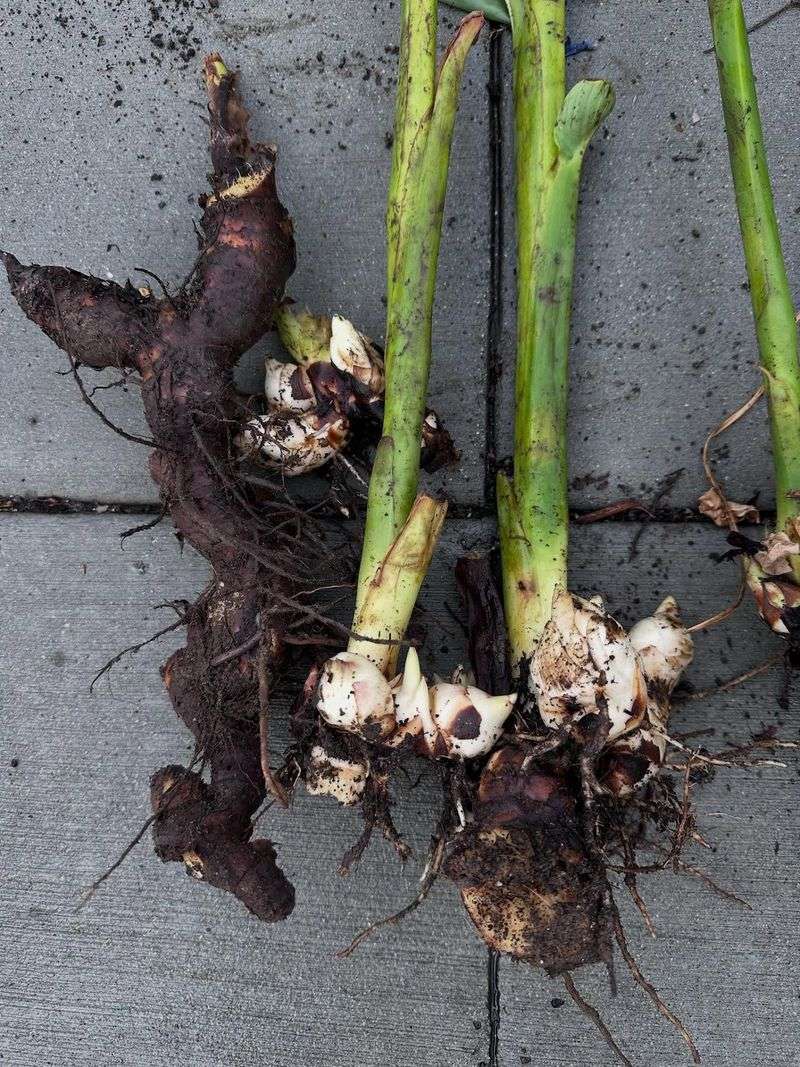
Finding the right winter home makes all the difference for your rhizomes. Cannas want a spot that stays cool, dark, and safely above freezing. A basement, crawl space, or unheated closet often fits the bill perfectly.
Aim for temperatures between forty and fifty degrees. Colder than freezing can harm the roots, while too much warmth may wake them up too early. That steady, chilly range keeps them resting quietly until spring.
Pack the rhizomes in a breathable material to guard against moisture swings. Peat moss, sawdust, dry sand, or shredded newspaper all work well. Nestle the roots so they are not touching, which keeps any problem from spreading between them.
Use a cardboard box, paper bag, or crate rather than a sealed plastic container. Airflow helps prevent trapped dampness that leads to rot. A little breathing room goes a long way over several months.
Balance is the goal when it comes to moisture. Rhizomes that get soaked may rot, while ones left bone dry can shrivel into nothing. The packing material should feel barely damp, almost dry, giving just enough humidity to keep them plump.
Label your box with the plant color or variety if you grow more than one kind. Come spring, you will thank yourself for the reminder. A simple marker note saves guessing later.
Tuck the box somewhere it will not get bumped or forgotten. A quiet shelf away from heaters and windows is ideal. With the right cool, dark spot, your cannas will snooze happily through the Michigan winter and wake up ready to grow.
7. Check Them During The Winter
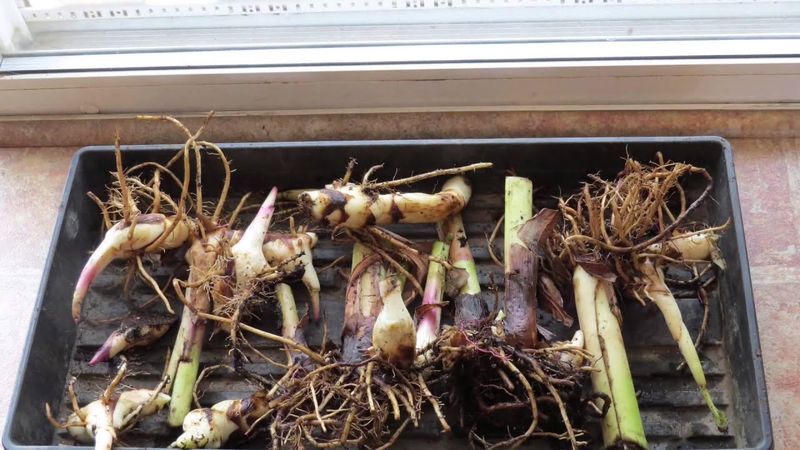
Storing your rhizomes is not quite a set it and forget it deal. A quick peek every few weeks keeps small troubles from turning into big ones. Catching a problem early gives you time to fix it before planting season.
Pop open the box once a month and take a good look. You are watching for two main things, shriveling and rot. Both are easy to spot once you know what to check for.
Shriveled rhizomes feel wrinkled, light, and dried out. If you notice this, your storage spot is likely too dry. Lightly misting the packing material or adding a touch of dampness can plump them back up.
Soft, mushy, or slimy spots point the other way, meaning too much moisture. Remove any troubled rhizome right away so it does not affect its neighbors. Cutting off a small bad section can sometimes save the rest of a firm root.
Give the box a gentle sniff while you inspect. A musty or sour smell often signals excess dampness hiding inside. Fresh air and drier packing usually solve the issue quickly.
Move the whole box to a slightly warmer or cooler spot if the temperature feels off. Basements can shift with the weather, so staying flexible helps. Small tweaks keep conditions just right all season.
These check ins take only a few minutes but pay off in a big way. Come spring, you will have firm, healthy rhizomes ready to plant. That little bit of winter attention turns into a garden full of bold, colorful cannas next summer.