How To Root Lavender From Cuttings In Arizona’s Heat For A Possible Low Border
Growing a row of lavender from a single plant sounds like a great deal, and in Arizona it is genuinely possible if you work with the heat rather than against it. Late summer gives you firm, mature stem growth that roots well, but the desert air temperature is a serious obstacle that needs a smart workaround.
This guide walks Phoenix and Yuma low-desert homeowners through a shaded, ventilated propagation setup that protects cuttings from extreme heat, with separate notes for Tucson and higher-elevation gardeners where conditions differ.
Late-Summer Cuttings Need Arizona-Specific Heat Protection
Phoenix and Yuma homeowners deal with average summer highs that can push past 107 degrees Fahrenheit, and that kind of heat does not automatically help lavender cuttings root. Warm rooting medium is genuinely useful, but scorching air temperatures and superheated container walls can desiccate an unrooted stem before it ever has a chance.
NC State Extension’s lavender production guide confirms that successful propagation depends on controlled humidity, ventilation, and moderated temperatures at the rooting zone, not simply on warm outdoor air.
Arizona is not one climate, and that distinction matters for timing and expectations. UA Cooperative Extension’s guide to Arizona climate zones separates the low desert around Phoenix and Yuma from Tucson’s intermediate desert and from higher-elevation locations like Prescott and Flagstaff, where summer temperatures and frost windows are dramatically different.
Advice that works in Tucson in August may not apply to a Phoenix gardener in the same month.
One more distinction belongs right at the start: the lavender in this guide is common garden lavender in the genus Lavandula, which is not native to Arizona. Desert lavender, Condea emoryi, is a Sonoran Desert native with its own growth habits, and propagation instructions written for Lavandula cultivars do not automatically transfer to that plant.
Keep those two plants separate before taking a single cutting.
Choose Healthy Shoots Without Stressing the Mother Plant
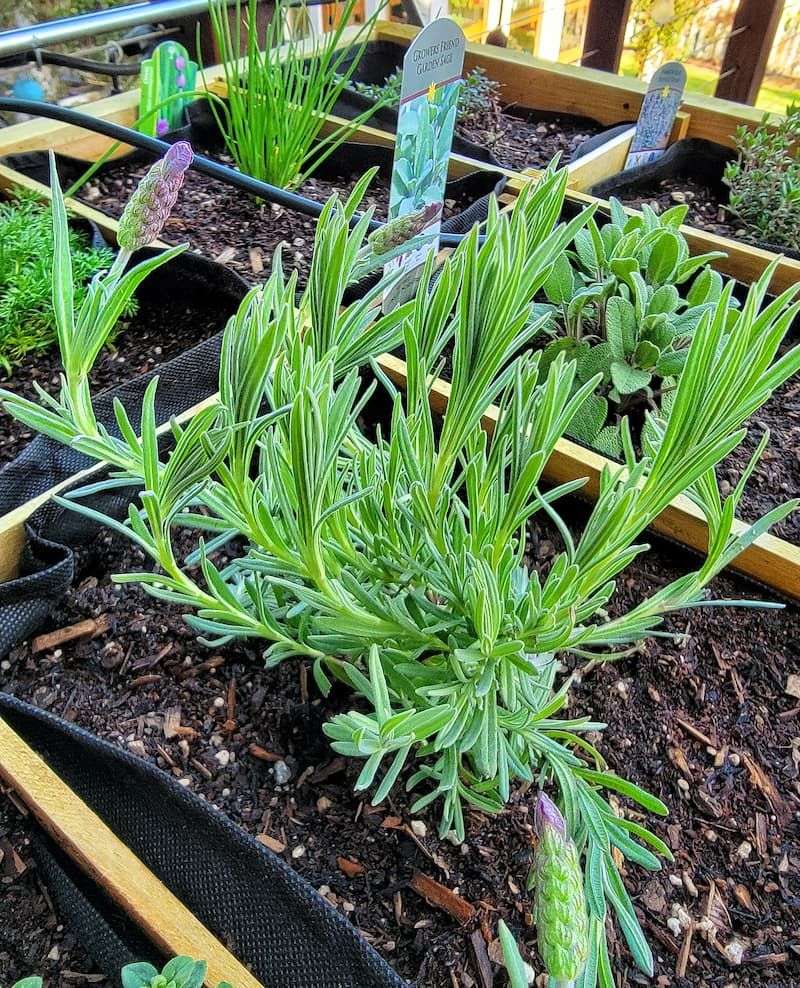
Good cuttings start with a healthy mother plant, so look for vigorous stems on lavender that is free of disease, pest damage, and obvious heat stress. In Arizona’s summer, a plant that is already struggling with heat, dry soil, or root problems is a poor candidate for harvesting, because removing stems adds more stress to a system that is already working hard.
Select shoots that are not actively flowering or that have just finished blooming. NC State Extension notes that a typical cutting runs about 4 inches long, with leaves stripped from the lower half.
Semihardwood growth, which feels slightly firm rather than soft and green, is the right material for late-summer propagation. Utah State University Extension also recommends heel cuttings for this type of lavender propagation, where a small sliver of older wood stays attached to the base of the cutting, which can improve the odds of rooting.
Make the basal cut cleanly, just below a leaf node, using a sharp blade that has been wiped clean. UA Cooperative Extension’s guidance on drought and extreme heat cautions against hard pruning or heavy foliage removal from plants under heat stress, because stripping a struggling shrub can push vulnerable new growth at the worst possible time.
Your Arizona Garden Changes Every Week. Your Plan Should Too.
Gardening in Arizona changes quickly throughout the season. Every Friday you’ll receive a simple weekly plan showing exactly what to plant, prune, fertilize, harvest, and protect so you never miss the right timing.
Take only what you need and leave the rest of the plant intact. Cultivar differences also matter here: some Lavandula varieties root more readily than others, so expect some variation in results rather than a guaranteed replacement of every stem you cut.
Build a Shaded, Ventilated Propagation Setup
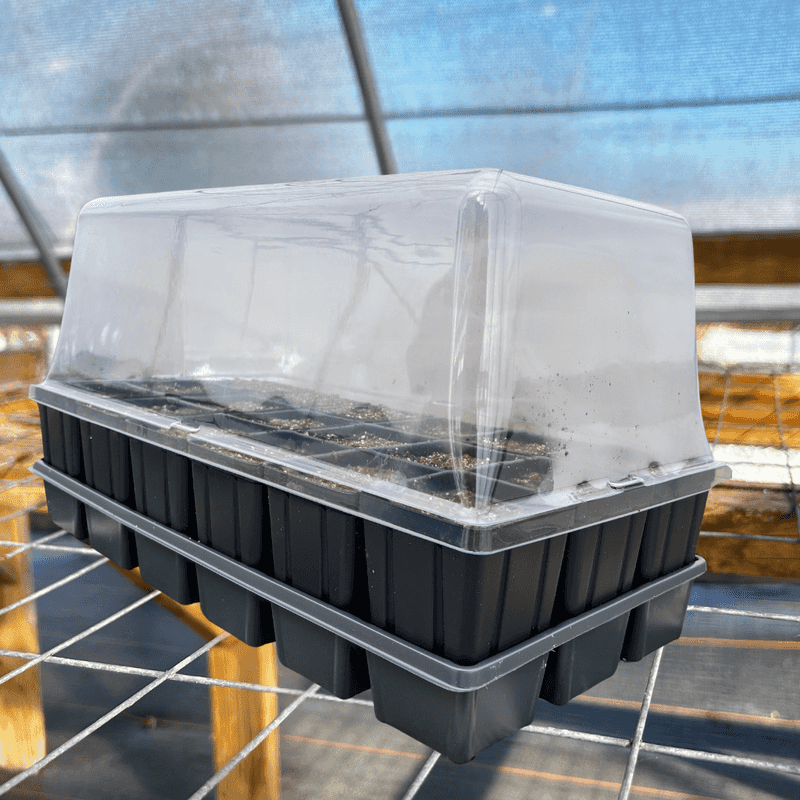
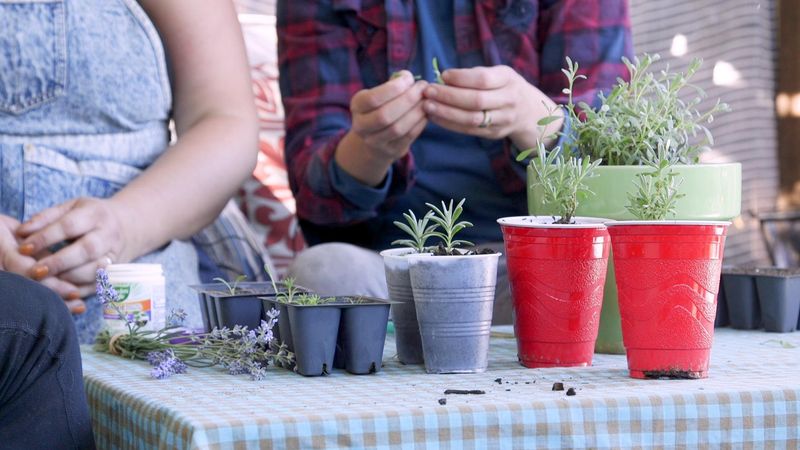
A clean propagation tray or a set of small containers filled with sterile, fast-draining medium is the foundation of a workable Arizona setup. Perlite, coarse sand, vermiculite, or a perlite-and-peat mix all give roots room to breathe while holding enough moisture to prevent wilting.
UC Agriculture and Natural Resources recommends keeping the medium evenly moist rather than waterlogged, because lavender is particularly vulnerable to rot when roots sit in standing water.
Position the tray where it receives bright filtered light or morning sun, and move it out of direct afternoon exposure. Hot concrete, a west-facing wall, or an unshaded south-facing surface can raise container temperatures to damaging levels even when the tray is sitting in shade.
UA Cooperative Extension’s heat and drought guidance notes that smaller containers are especially prone to rapid temperature swings and fast drying, so check the medium more often than you might in a cooler climate.
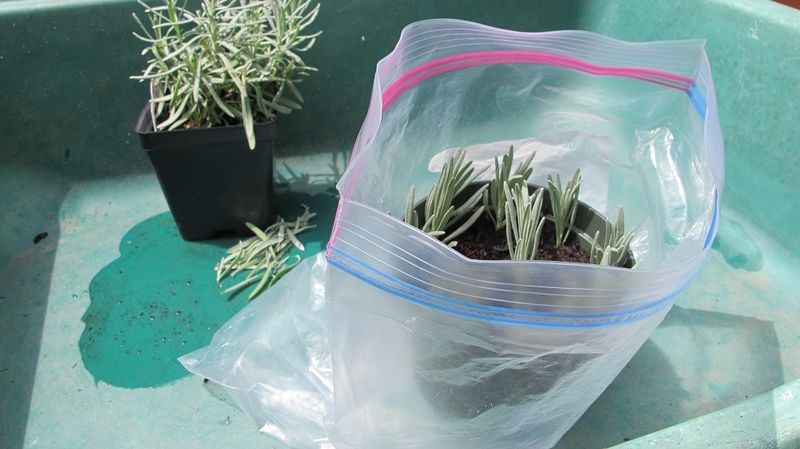
A clear humidity dome or a loose plastic tent over the tray helps hold moisture around the cuttings, but it needs regular ventilation. In Arizona, a sealed dome can trap heat quickly and create conditions that encourage fungal or bacterial problems rather than healthy rooting.
Lift or prop the dome for short periods each day to allow air exchange. During monsoon season, move the tray under cover to protect it from heavy downpours, and check the medium after storms rather than assuming the rain has handled irrigation for you.
Insert the Cuttings and Monitor Moisture
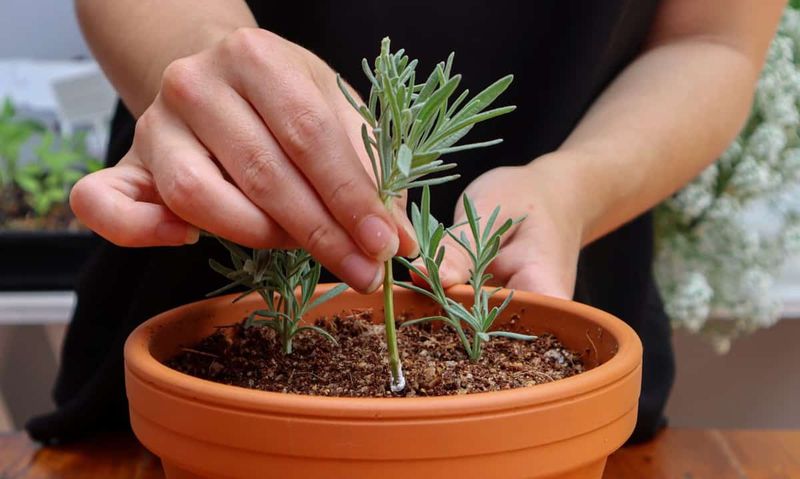
Moisten the rooting medium before inserting any cuttings so the stems go into a stable, evenly damp environment rather than dry grit. Make a small hole with a pencil or skewer to avoid scraping off any rooting hormone you apply, then slide the stripped lower stem into the hole and gently firm the medium around it.
Rooting hormone is optional. A peer-reviewed study of lavandin cultivars found significant differences in rooting percentage depending on both the cultivar and the auxin treatment used, which means no single hormone concentration works reliably across all lavender types.
If you choose to use a product, follow the label instructions exactly and treat the result as a possible improvement rather than a guarantee. Return the container to its filtered-light, afternoon-protected position after inserting the cuttings.
Daily monitoring matters more in Arizona than in cooler climates. Check whether the medium surface is drying out faster than expected, because desert air pulls moisture from containers quickly even in shade.
At the same time, watch for soft or darkening stems at the soil line, which can signal too much moisture or poor airflow. If you notice any musty odor or gray fuzzy growth on the cuttings, remove the affected stems immediately and increase ventilation before the problem spreads to the rest of the tray.
Resist the urge to tug on cuttings to test for roots, since that disrupts the fragile early root zone and can set progress back significantly.
Give Roots Time and Harden Plants Gradually
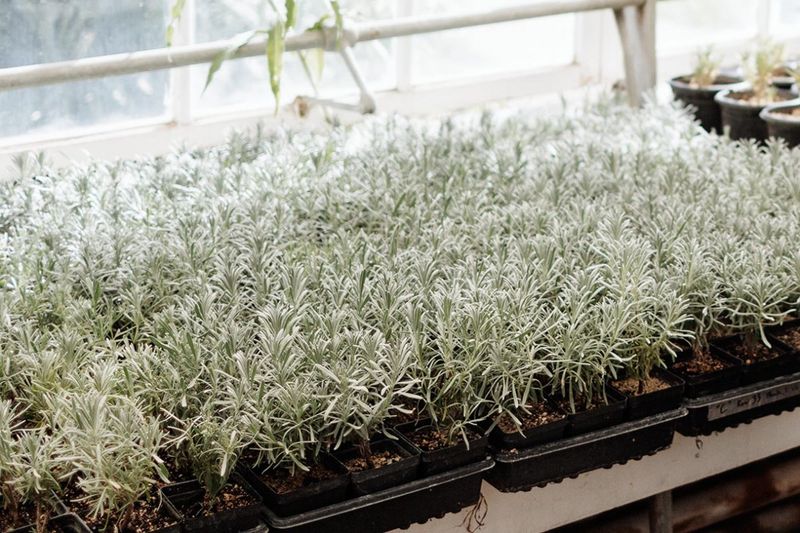
Rooting does not happen on a fixed schedule. UC Agriculture and Natural Resources puts the general window at roughly four to six weeks for lavender cuttings, while greenhouse studies conducted under highly controlled conditions with bottom heat and high light report faster results.
For an Arizona home setup, plan on two to six weeks and check progress by gently pressing the medium surface rather than pulling on the stem.
A slight resistance when you very gently tug the cutting after several weeks is a reasonable sign that roots have anchored. Once a cutting holds firmly and shows new leaf growth, it is ready to begin hardening off, but that process should be gradual.
Move the tray to a slightly brighter or less humid spot for a few hours each day over one to two weeks, increasing outdoor exposure slowly so the plant adjusts without wilting or scorching.
Timing for permanent planting depends on where in Arizona you garden. UA Cooperative Extension’s growing-herbs guide identifies roughly October through May as the cool growing season in the Tucson region, and fall planting in that area allows roots to establish under milder temperatures before summer returns.
For Phoenix and Yuma low-desert gardeners, the same logic applies: aim for late September through October or even November to give newly hardened plants the best conditions for establishment. Do not move freshly rooted cuttings directly into full summer sun in any Arizona location, because the shift from a protected propagation setup to intense outdoor exposure can overwhelm a plant that has not yet built a strong root system.
Plant Lavender Where Water Drains Away
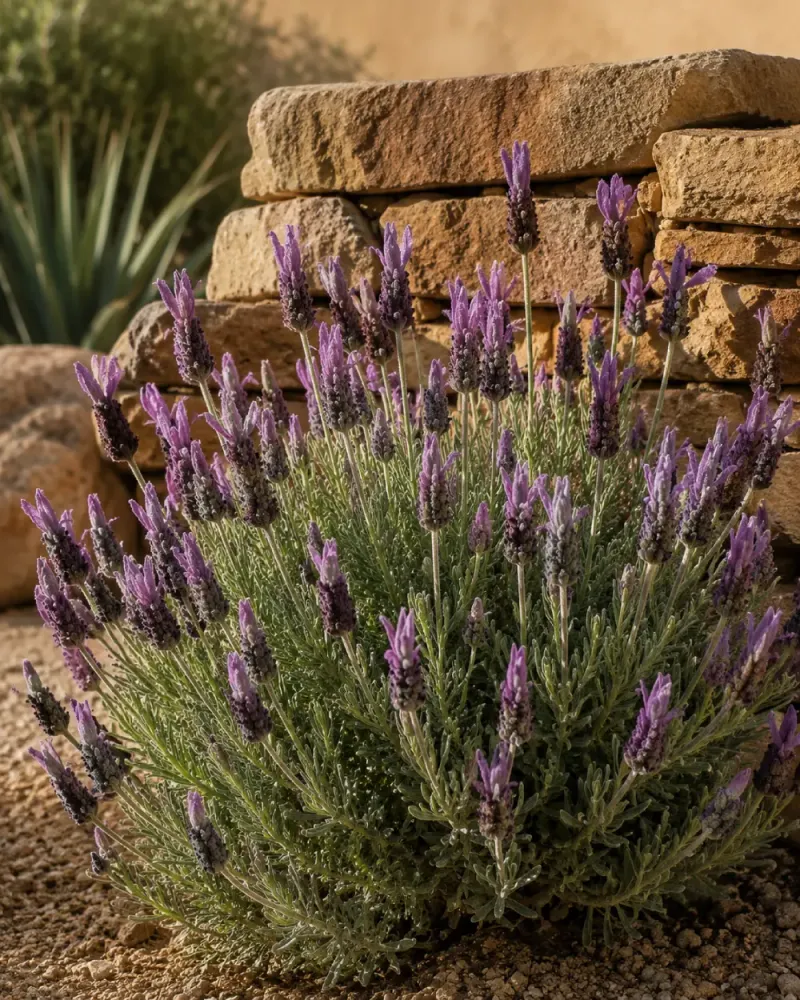
Drainage is the single most important factor when choosing a permanent spot for lavender in Arizona. UC IPM lists a preferred soil pH of approximately 6.5 to 7.5 for lavender, while NC State gives a broader range up to 8.3, which means most Arizona alkaline soils fall within an acceptable window.
The bigger concern is not pH adjustment but whether water moves through the soil freely, because lavender crowns sitting in slow-draining ground are prone to rot.
Caliche, the hard calcium carbonate layer common across Arizona, can act as a nearly impermeable barrier beneath the surface. Where caliche or compacted soil prevents drainage, mounded planting areas, raised beds, or large containers filled with fast-draining mix are practical alternatives that give roots somewhere to go.
UA Extension irrigation guidance notes that poor drainage is one of the most common causes of plant failure in Arizona landscapes, so testing drainage before planting saves a lot of frustration later.
Space lavender plants for the mature size of your specific cultivar, using roughly 3 feet between plants as a general starting point and adjusting for larger or smaller varieties. Tight spacing reduces airflow and raises the risk of fungal problems, which is a real concern in the humidity spikes that accompany Arizona’s monsoon season.
After planting, water by drip rather than overhead spray, and position emitters a few inches away from the crown rather than directly against the stem. Established lavender in Arizona needs careful, consistent irrigation rather than heavy soaking, since excess moisture around the root zone can undo all the work of a careful propagation process.
Expect a Low Informal Border, Not a Free Privacy Hedge
Propagating from cuttings can preserve the traits of a favored mother plant and reduce what you spend on nursery stock, but the project is not entirely free. Trays, sterile medium, shade cloth, and irrigation supplies all cost money, and normal losses mean some cuttings simply will not root regardless of how carefully you follow each step.
A peer-reviewed lavandin study found substantial variation in rooting success across cultivars and hormone treatments, which reinforces the point that results differ by plant, not just by technique.
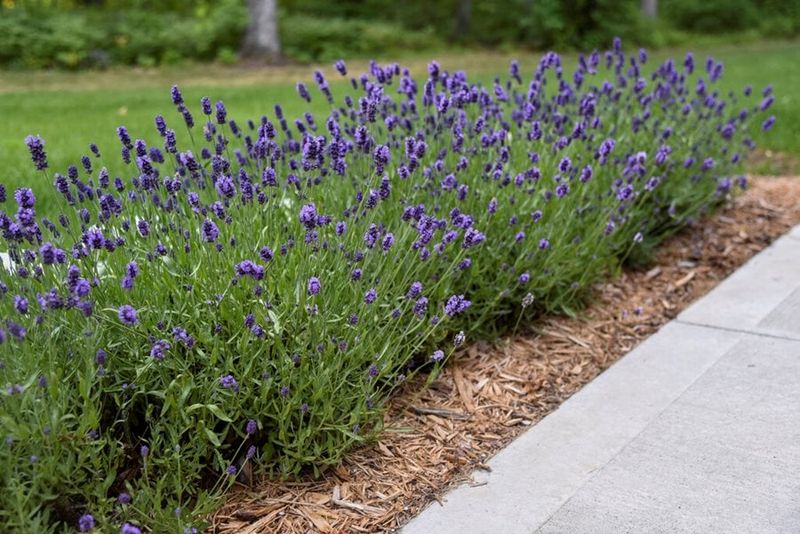
Lavender’s mature form is a low, spreading shrub that works well as an informal border or repeated edging along a path or bed. UC Agriculture and Natural Resources guidance on spacing and growth habit makes clear that common Lavandula does not grow into a tall screening hedge, and final size depends heavily on the species and cultivar you are working with.
If screening or privacy is the goal, lavender is the wrong tool.
The flowers are a genuine asset in a diverse Arizona planting. UA Cooperative Extension notes that most low-desert pollinators are generalists that benefit from a variety of plants blooming across the season, so lavender can contribute to that mix without being the only plant doing the work.
Moderated propagation, gradual acclimation, and region-appropriate establishment give your Arizona border project its best realistic chance.