8 Reasons Why Houseplant Leaves Turn Yellow After Summer
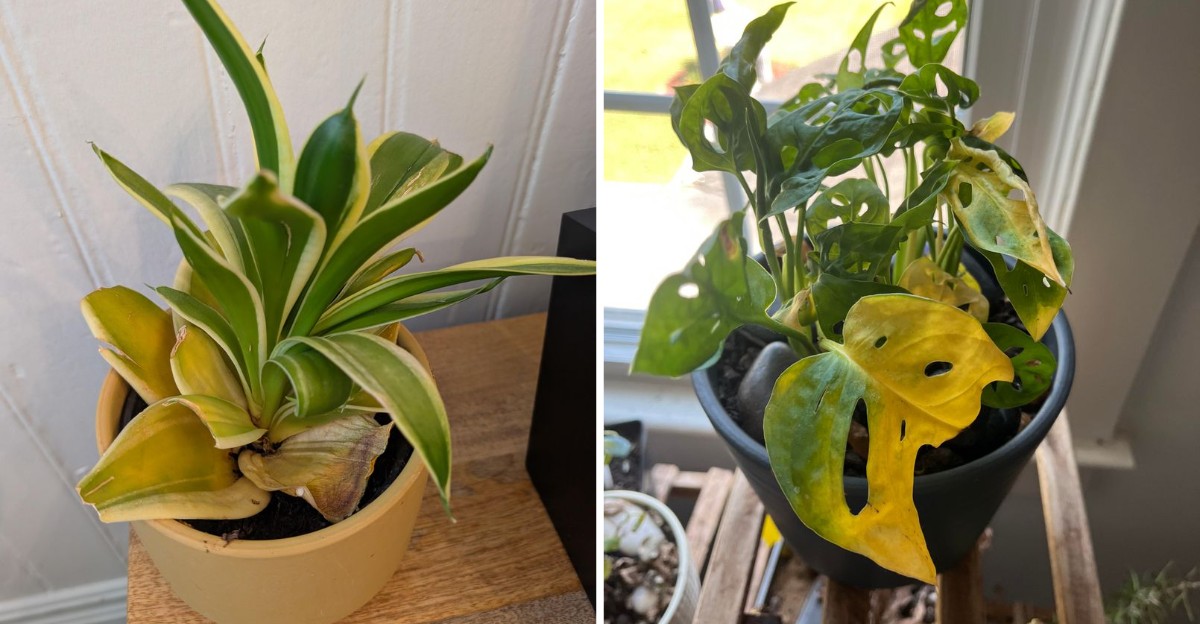
The light shifts, the windows cool, and suddenly your favorite green friend looks a little washed out. One morning there is a soft yellow leaf resting on the shelf, and you have no idea when it let go.
It feels personal, like the plant is holding a grudge about something you did in July. Most of the time, it is simply reacting to a season that changed faster than your watering habits did.
Indoor plants keep a quiet calendar of their own, and the end of summer flips several pages at once. Light, warmth, humidity, and root activity all shuffle within a few short weeks.
Yellow leaves are usually a message rather than a verdict. Learn to read them, and you can steer your plant into autumn looking steady and green.
1. The Seasonal Reset Behind Fading Green Leaves
Picture your plant as someone who spent all summer running at full speed. Long days, strong light, and warm air pushed it to grow quickly, and that pace cannot continue once the sun sits lower in the sky.
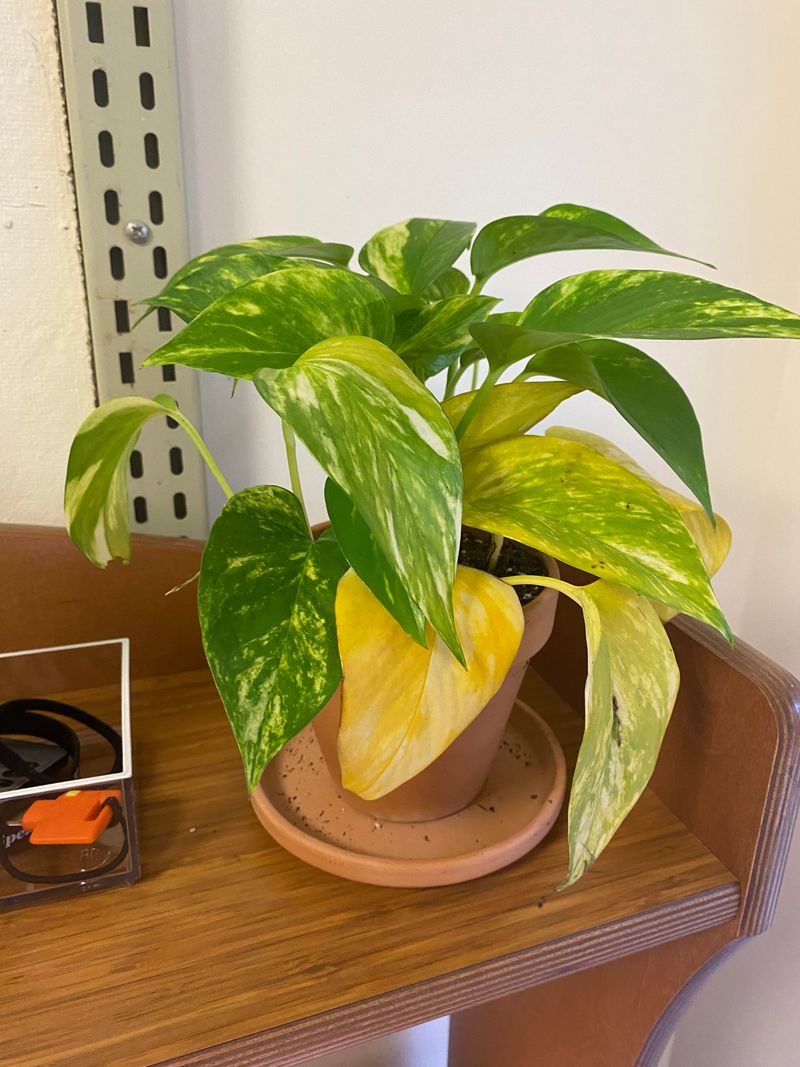
When light drops, chlorophyll production slows down. Chlorophyll is the pigment that makes leaves look green, and plants are surprisingly practical about it. Rather than feeding every single leaf, they pull nutrients out of the oldest or shadiest ones and send those resources toward newer growth.
That withdrawal is what you see as yellowing. Usually it starts at the bottom of the plant or on leaves tucked behind others, which is a strong clue that the change is natural rather than alarming.
Growth rate matters too. A plant that grew quickly in July often adds far fewer leaves by October, so it simply does not need as much leaf surface to stay fed.
Watch the pattern instead of panicking over a single leaf. Scattered yellowing across the top, along with mushy stems or crispy edges, points to a care issue worth fixing. Slow, orderly yellowing of older leaves points to seasonal housekeeping.
Here is a small comfort. Many tropical houseplants shed a few leaves every autumn in their native habitats, so the behavior is baked into their nature.
Trim the faded leaves once they come away easily, keep your routine steady, and let the plant finish its transition without extra fuss.
2. Shorter Days And Weaker Window Light
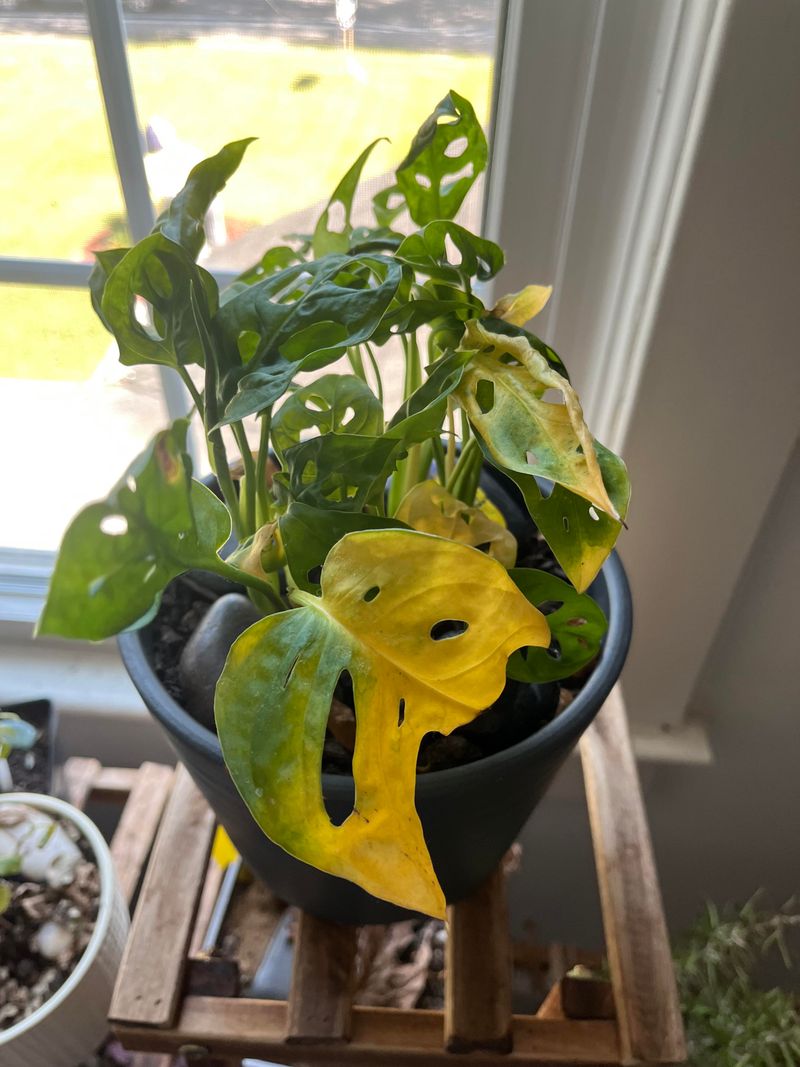
Step into your living room in late September and you might notice something odd. The same window that blasted light across the floor in June now delivers a thin, slanted glow that fades by late afternoon.
Plants notice long before you do. Light intensity can drop sharply indoors between midsummer and mid autumn, and daylight hours shrink by several hours in many regions.
Less light means less food. Photosynthesis powers everything a plant does, so when the fuel supply shrinks, leaves that sit in shadow become expensive to maintain and get retired first.
Position makes a huge difference. A pot that thrived three feet from an east window in July may be starving in that same spot in October, simply because the sun now rises further south and lower.
Try moving light-hungry plants closer to the glass, or shift them from a north window to a brighter south or west exposure for the cooler months. Even a foot or two can change everything.
Clean windows help more than people expect. Dust and summer grime on glass can block a noticeable slice of light, and a quick wash costs nothing.
Wipe leaf surfaces too, since a film of household dust acts like sunscreen your plant did not ask for.
If your home stays dim, a simple full spectrum grow bulb in an existing lamp fixture can carry tropical plants through winter with far fewer yellow surprises.
3. Watering Habits That Stopped Matching The Weather
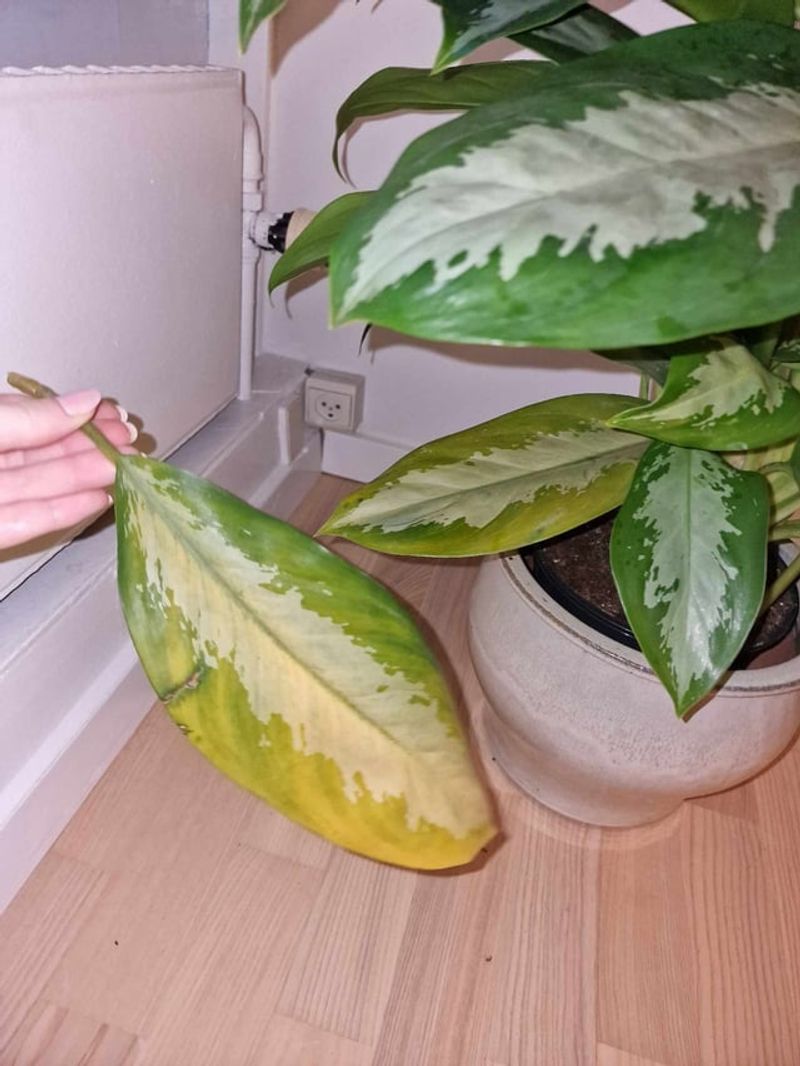
Ask any plant parent about their biggest autumn mistake and the answer is almost the same. They kept watering on the summer schedule while the plant quietly stopped drinking at the summer rate.
Warm months mean fast evaporation and thirsty roots. Once temperatures drop and growth slows, soil stays wet far longer, and roots sitting in soggy conditions cannot pull in oxygen.
Suffocating roots stop delivering nutrients, and the first visible signal is often a soft yellow leaf near the base. Add a slightly sour smell from the soil and you have a clear case of overwatering.
Underwatering causes yellowing too, though it looks different. Those leaves tend to feel dry and papery, with crispy brown tips and a pot that feels light when you lift it.
Ditch the calendar and use your finger. Push it two inches into the soil, and only water when that depth feels dry for most tropical foliage plants.
Drainage deserves a check as well. Empty saucers after watering, since a pot standing in a puddle stays wet from the bottom up for days.
Cooler rooms also mean cooler water hanging around the roots, so let tap water sit until it reaches room temperature before pouring.
A moisture meter costs very little and settles arguments fast. Once you match watering to the season instead of habit, yellowing usually slows within a few weeks and new growth firms up.
4. Nutrients Running Low After A Heavy Growing Season
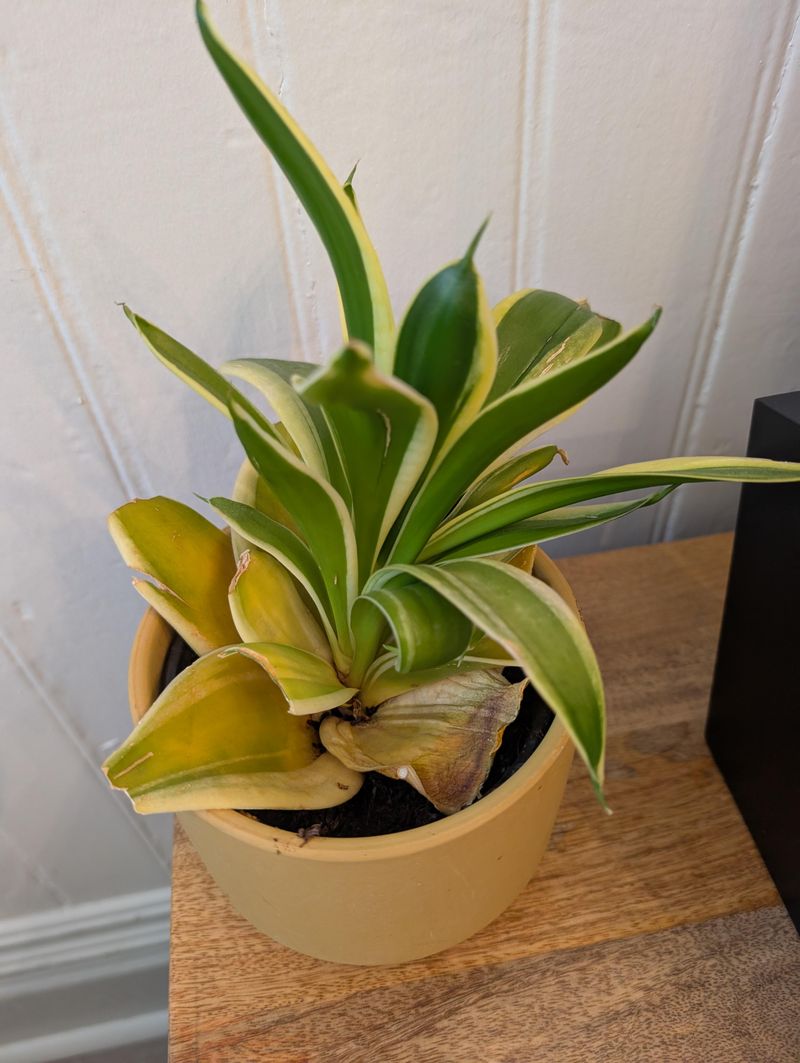
Summer growth is expensive. Every new leaf, stem, and root your plant produced between May and August drew nitrogen, magnesium, and iron out of a finite pot of soil.
By September, that soil can be running on fumes. Frequent watering also flushes nutrients straight out the drainage holes, so the pantry empties faster than most people realize.
Nitrogen shortage shows up as older leaves fading to a uniform pale yellow while newer growth stays greener. The plant is shifting its remaining supply toward the tips where growth happens.
Iron or magnesium shortage looks different and rather striking. Veins stay green while the tissue between them turns yellow, creating a stained glass effect that is easy to recognize once you have seen it.
Resist the urge to dump on a heavy dose of fertilizer. Plants slow down in autumn, and roots that cannot use extra salts end up burned, which creates brown edges on top of the yellow.
A diluted balanced feed at half strength, given once every four to six weeks through autumn, keeps things stable without overwhelming the roots.
Repotting into fresh mix is another option, though spring is generally kinder for that job. If the plant is badly rootbound, a gentle size up now can still help.
Flush the pot with plain water every couple of months to clear built up mineral salts, then feed again. Fresh soil plus light feeding usually brings color back to newer leaves.
5. Sudden Temperature Swings And Dry Indoor Air
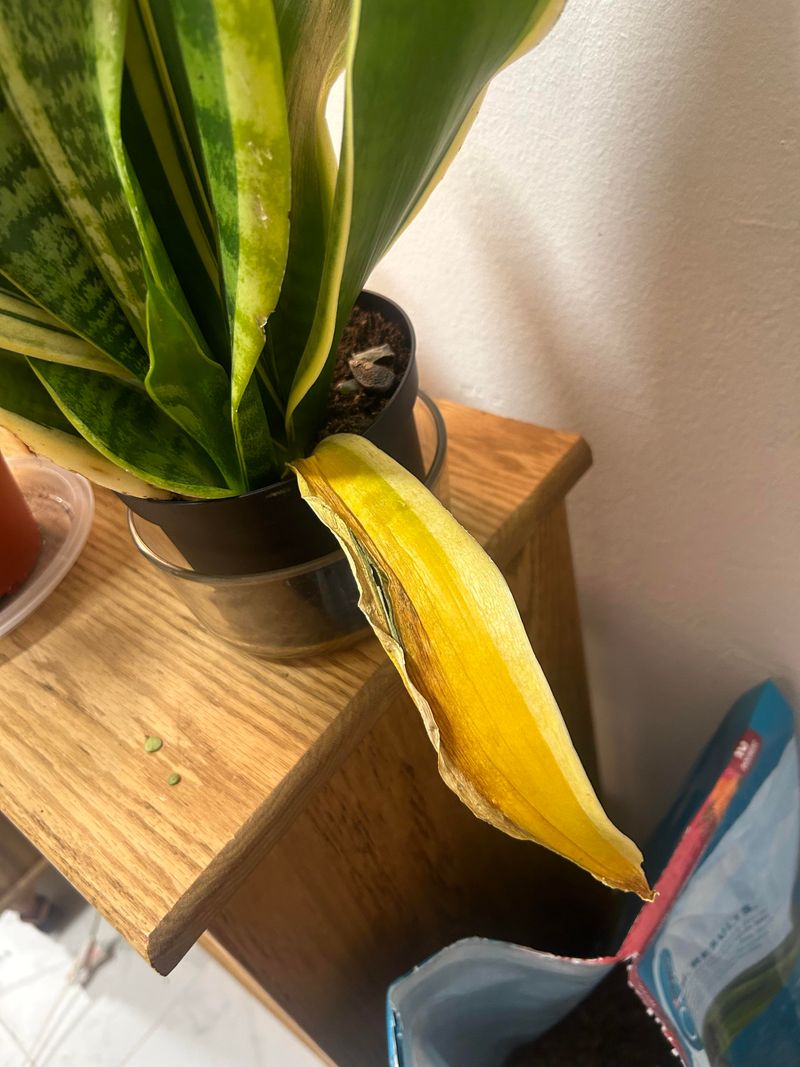
Autumn is the season of confused thermostats. Windows crack open on a mild afternoon, heating kicks on at night, and your plant experiences a rollercoaster it never signed up for.
Most popular houseplants come from stable tropical climates where the temperature barely wobbles. A ten degree swing between day and night stresses their systems and often shows as yellowing paired with drooping.
Cold drafts are especially rough. A leaf pressed against chilly glass on a frosty night can yellow within days, and plants near frequently opened doors take similar hits.
Heating vents cause the opposite problem. Hot dry air pulls moisture out of leaves faster than roots can replace it, leaving pale, thin foliage with brittle brown margins.
Indoor humidity often falls sharply once the furnace runs, turning comfortable summer air into something far drier. Tropical plants find that genuinely uncomfortable.
Simple fixes work well. Move pots away from radiators and exterior doors, group plants together so they share moisture, and set trays of pebbles and water underneath thirsty species.
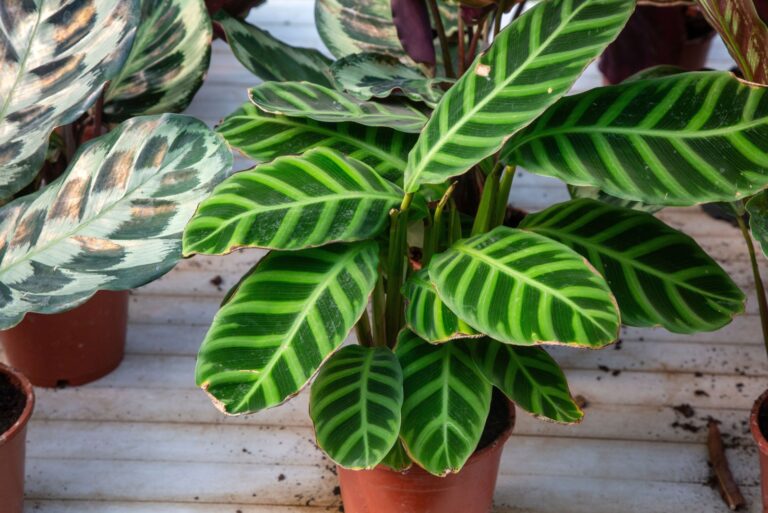
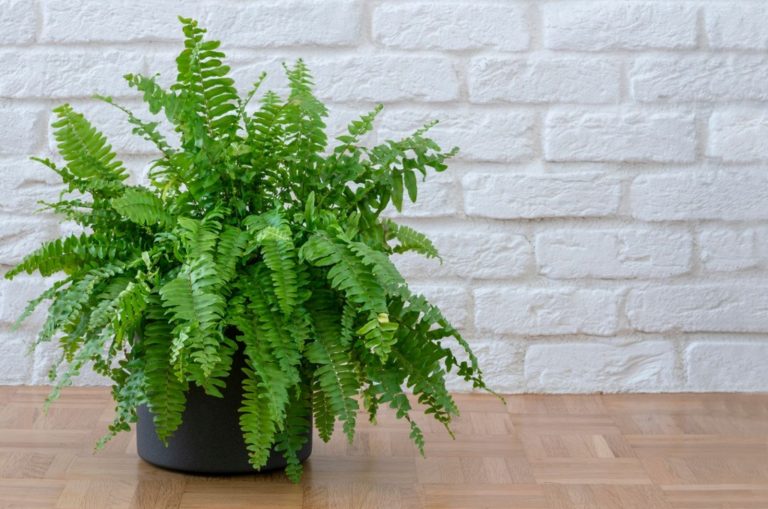
A small humidifier running a few hours a day makes a noticeable difference for calatheas, ferns, and other moisture lovers.
Give plants a chance to adjust gradually when you bring summer vacationers back indoors. A week of slow transition beats a sudden move, and you will lose far fewer leaves in the process.
6. Pest Activity Hiding Beneath The Yellow Spots
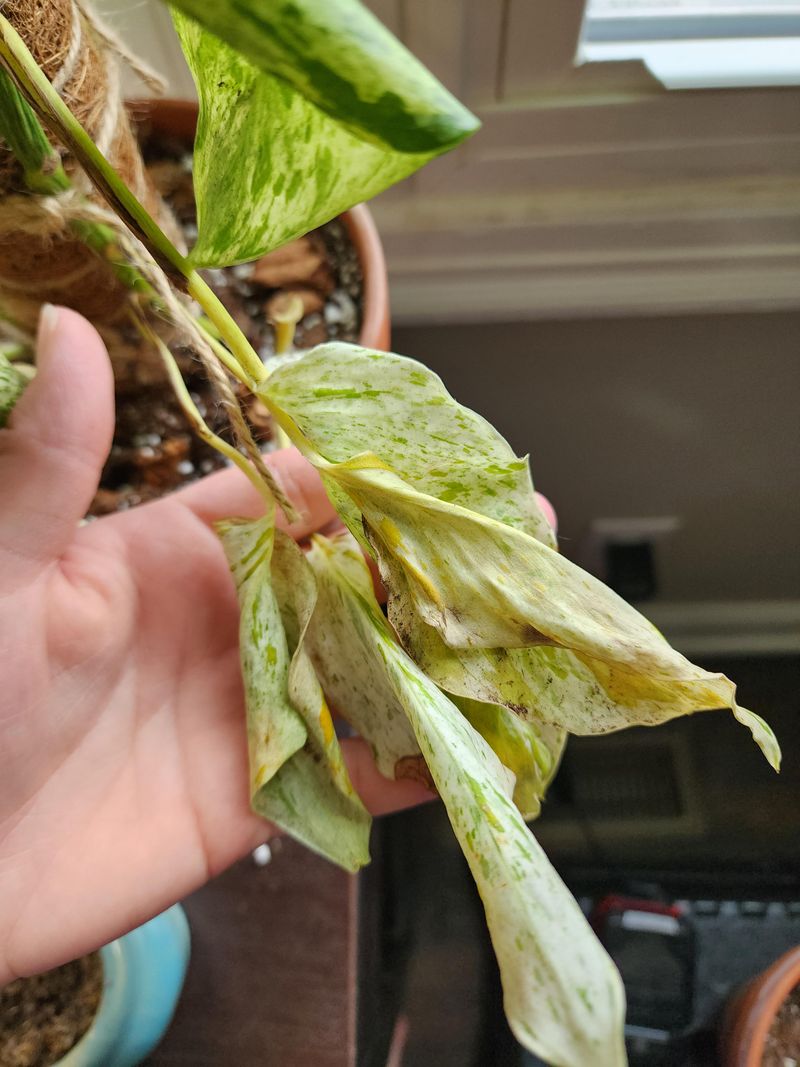
Not every yellow leaf comes down to light, water, or nutrients. Cooler, calmer indoor air gives spider mites, scale, and aphids far more room to settle in unnoticed.
These insects pierce plant tissue and drain out sap, and the leaf loses its green color exactly where the damage sits. Fine yellow stippling, faint webbing near stems, or small raised bumps along the ribs are the usual giveaways.
Scale insects are especially easy to miss because they barely move and blend into stem color. A plant can carry a colony for weeks before anyone notices the yellow patches spreading across nearby leaves.
Aphids behave differently and cluster on new growth instead of older leaves. Their feeding often curls or twists a leaf before the yellowing even shows up.
Check the undersides of leaves and along stem joints every couple of weeks, since early infestations are far easier to manage than established ones. A magnifying glass helps catch mites too small to spot with the naked eye.
Treatment rarely needs to be complicated once the pest is identified. Wipe leaves with a damp cloth for light infestations, or reach for an insecticidal soap spray on anything more established, testing one leaf first.
Isolate an infested plant from its neighbors while treatment runs its course, since these pests travel easily between pots sitting close together. New growth typically comes in green again, though the leaves already marked with yellow rarely regain their color.
7. Rootbound Pots And Tired Growing Space
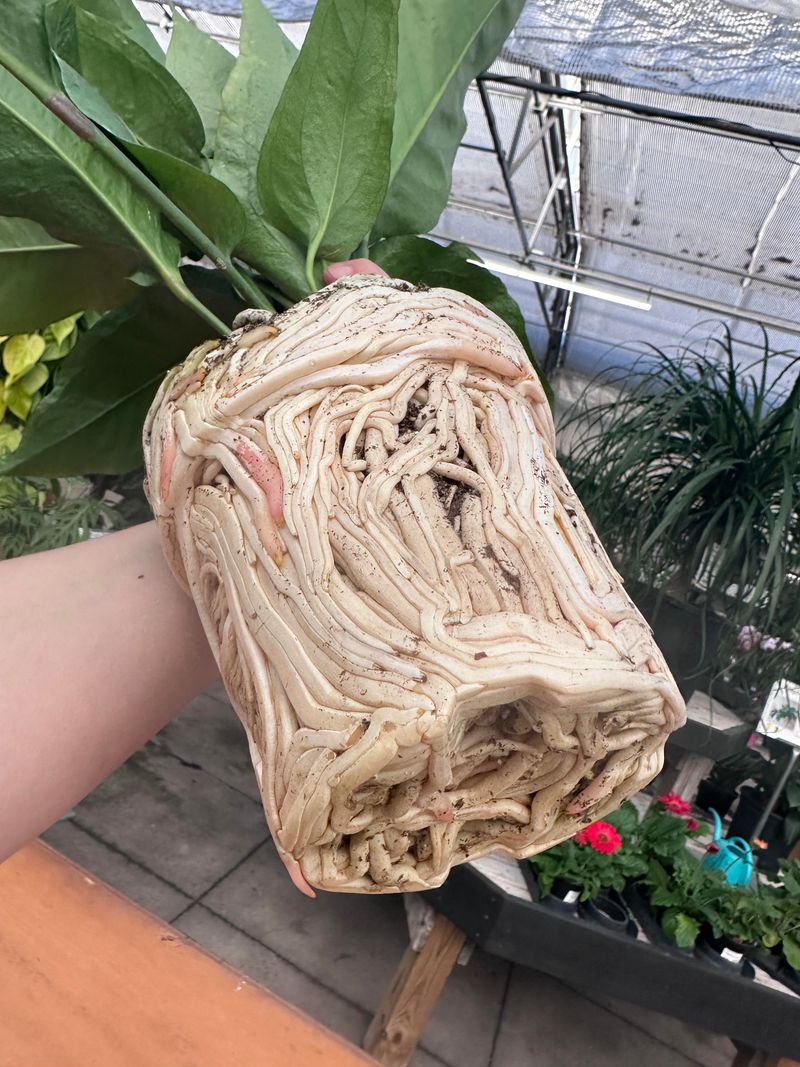
A plant that outgrows its pot runs into trouble long before the leaves show it. Roots circling the inside of the container eventually choke each other and lose the ability to pull in water and nutrients efficiently.
Yellowing from this cause tends to appear gradually across the whole plant rather than in one isolated spot. Growth also slows down noticeably, and leaves may feel thinner or slightly smaller than the ones that grew earlier in the year.
Check for rootbound signs by looking at the drainage holes on the bottom of the pot. Roots poking through the openings, or a root mass that has taken over most of the visible soil, both point to a container that has become too small.
Water behaves strangely in a rootbound pot too, since there is barely any soil left to hold moisture. Water often runs straight through and out the bottom within seconds instead of soaking in the way it should.
Sizing up is usually the fix, though autumn is not the ideal season for a full repot. Choose a container only one or two inches wider in diameter, since an oversized pot holds excess moisture the roots cannot use yet.
If a full repot feels risky this late in the year, loosen the outer roots gently and refresh the top few inches of soil instead. This buys the plant breathing room until spring arrives and a proper repot becomes the safer option.
8. Mineral Buildup From Tap Water And Fertilizer Salts
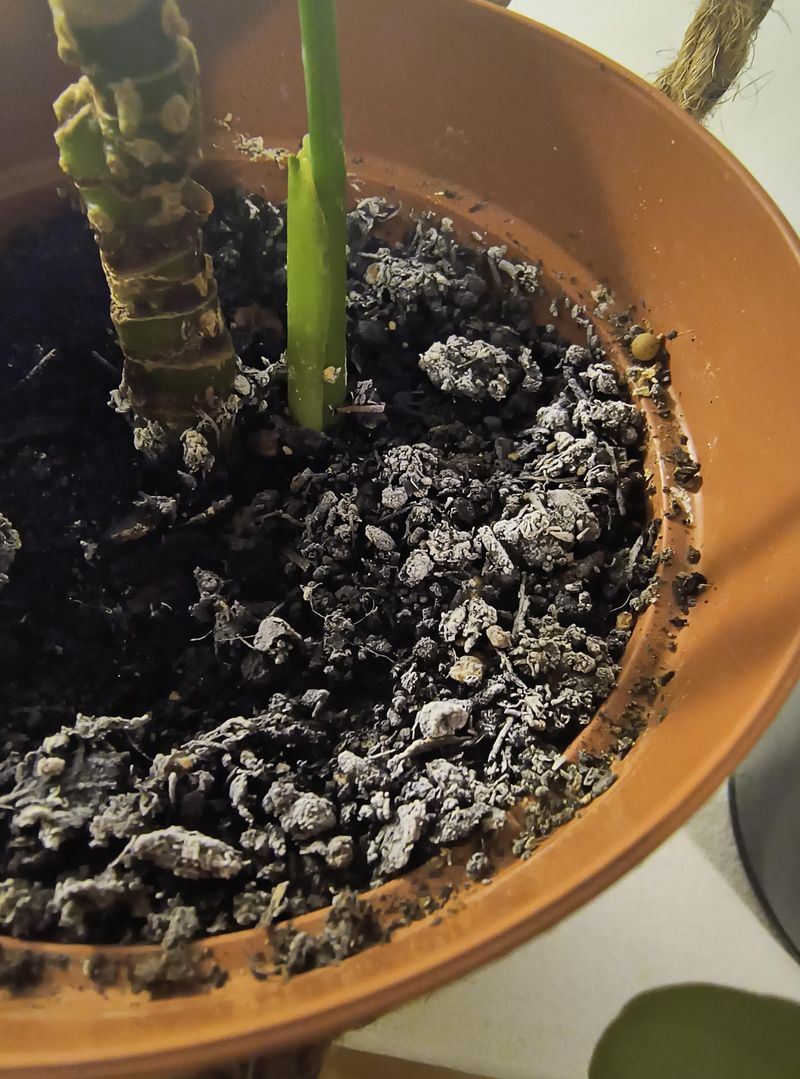
Tap water and fertilizer both leave residue in the soil over time. Minerals like calcium, chlorine, and fluoride build up with every watering, especially in pots that rarely get flushed.
Fertilizer salts stack on top of that, particularly when feeding outpaces what the plant can use. The result shows up as yellowing along leaf edges or tips, sometimes with a crusty white residue on the soil surface or pot rim.
This kind of yellowing looks similar to nutrient deficiency at first glance, which makes it easy to misdiagnose. The key difference is that adding more fertilizer only makes mineral buildup worse instead of correcting it.
A visible white crust on the soil is the clearest sign of salt accumulation building up unnoticed. Pots without drainage holes are especially prone to this, since nothing carries the minerals away.
Flushing the soil solves most of the problem, and it works best on pots with drainage. Run room temperature water through the pot slowly until it drains freely from the bottom, repeating the process two or three times in a row.
Switching to filtered or distilled water occasionally reduces how fast minerals return to the soil after a flush. Fertilizing at a lighter, less frequent rate afterward keeps the buildup from creeping back in before the next season begins.