Common Seed Saving Mistakes North Carolina Gardeners Make After Fall Harvest
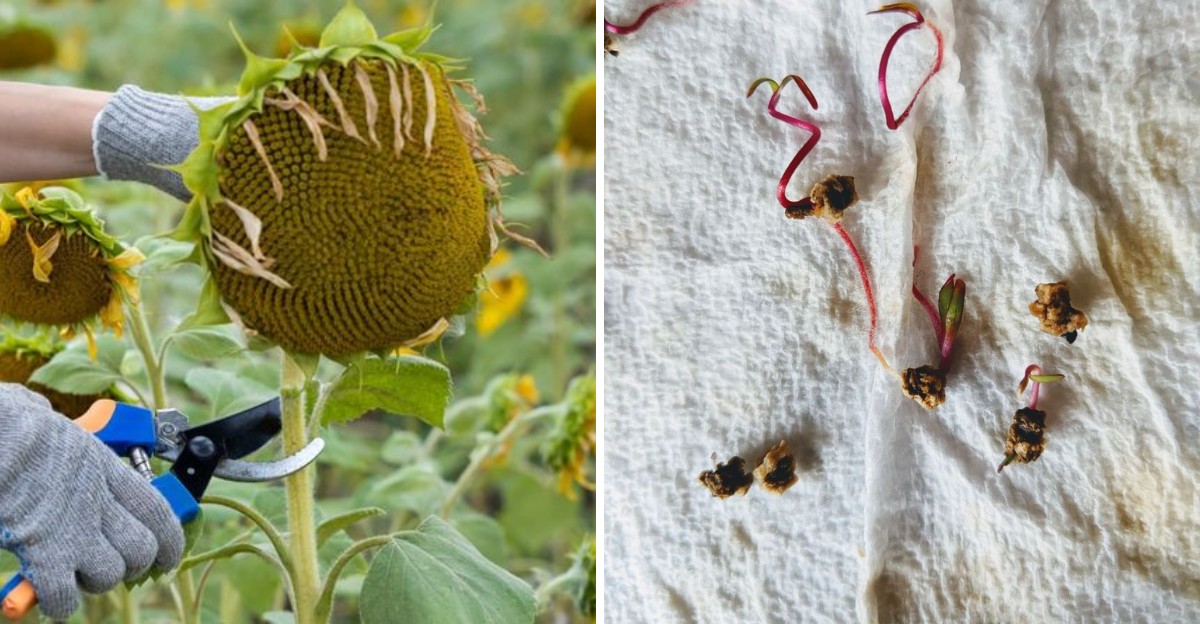
Saving seeds after a fall harvest is a rewarding way for North Carolina gardeners to carry favorite plants into next season, but a few common habits can quietly ruin seeds before they’re ever planted again.
Mistakes like harvesting seeds too early, skipping proper drying time, or storing them in the wrong conditions can all lead to poor germination down the road, even when everything looked fine at first.
Since seed viability depends so much on how they’re handled right after harvest, small missteps now can undo an entire season’s effort.
For gardeners hoping to successfully save and replant their favorites, here’s a look at the common seed-saving mistakes to avoid this fall.
1. Saving Seeds From Hybrid Plants
Picture planting seeds from your best tomato, then getting fruit that looks nothing like the parent. That surprise happens often with hybrid plants, and it catches many gardeners off guard.
Hybrids come from crossing two different parent plants. Seed companies often label them as F1 on the packet. Their seeds carry a mix of genes, so the next generation can grow into all sorts of shapes, sizes, and flavors.
You might get small fruit, odd colors, or plants that barely produce. Open-pollinated and heirloom varieties work differently.
Their seeds grow true to the parent, meaning next year’s plants match the ones you saved from. That is why seed savers love heirlooms so much.
Before you collect a single seed, find out what kind of plant you have. Check the original seed packet, plant tag, or catalog listing. If it says hybrid or F1, save those seeds only if you enjoy surprises and experiments.
Many popular North Carolina crops come in both types. Tomatoes, peppers, cucumbers, and squash all have heirloom and hybrid versions. Choosing open-pollinated seeds from the start makes seed saving far more reliable.
If you already have a garden full of hybrids, no worries. You can still buy heirloom seeds this season and begin saving from those instead.
Knowing your plant type turns guesswork into a real plan. It saves you time, space, and disappointment, and it helps you build a seed collection you can trust year after year.
2. Harvesting Seeds Too Early
Grabbing seeds too soon is one of the easiest mistakes to make, especially when frost is coming and you feel rushed. But timing matters more than you might think.
Seeds need to fully mature on the plant before you pick them. A seed is like a tiny plant packed with stored energy. If you harvest before it finishes forming, that energy supply is not complete, and the seed may never sprout.
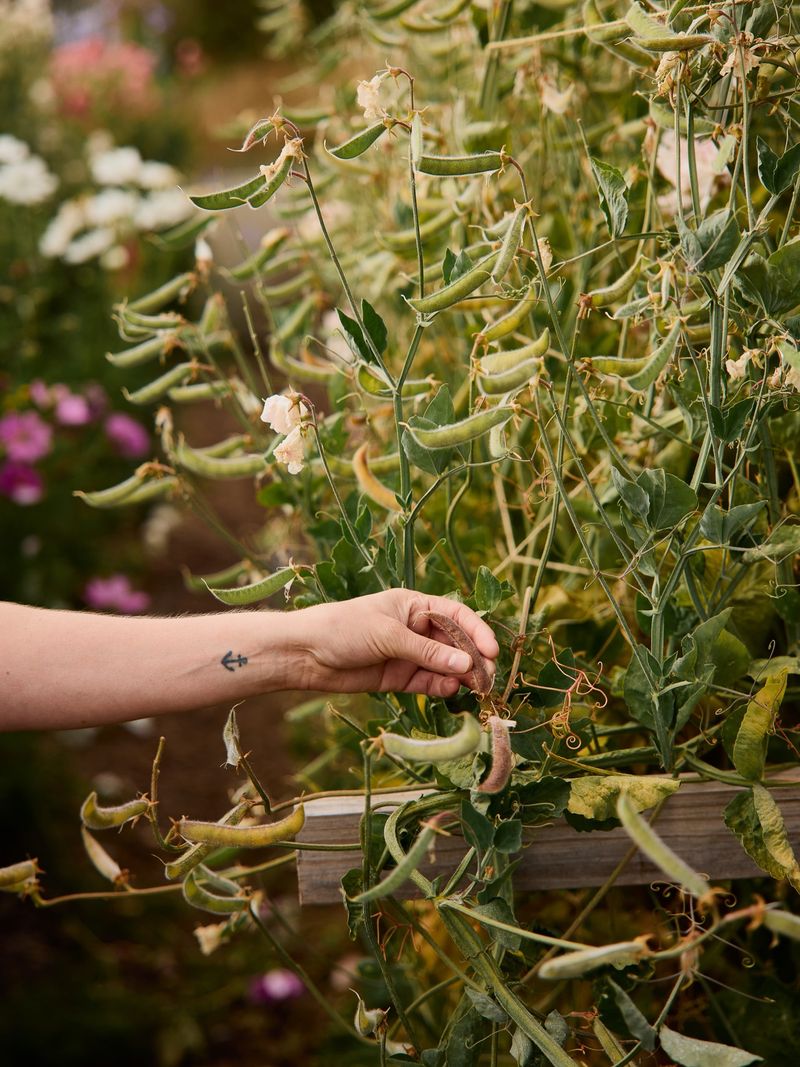
Immature seeds often look pale, soft, or small. Mature ones usually feel firm and show their full color. Beans, for example, should rattle in dry, papery pods.
Tomato seeds should come from fruit that is fully ripe, sometimes even a little past eating stage.
Rushing the harvest leads to poor germination later. You might plant a whole row in spring and see only a few weak sprouts, or none at all. That wastes your effort and garden space.
Your North Carolina Garden Changes Every Week. Your Plan Should Too.
Gardening in North Carolina changes quickly throughout the season. Every Friday you’ll receive a simple weekly plan showing exactly what to plant, prune, fertilize, harvest, and protect so you never miss the right timing.
Weather in North Carolina can make patience tricky. Fall rain and early cold snaps push gardeners to collect everything fast. When frost threatens, you can pull whole plants and hang them indoors to let seeds finish ripening in a dry spot.
Watch each crop closely and learn its signs of readiness. Lettuce forms fluffy tops, while squash needs to stay on the vine until the rind hardens.
Giving seeds the extra days they need pays off big. Fully ripe seeds store better, sprout stronger, and give you healthier plants when spring finally rolls around.
3. Storing Seeds Before They Are Completely Dry
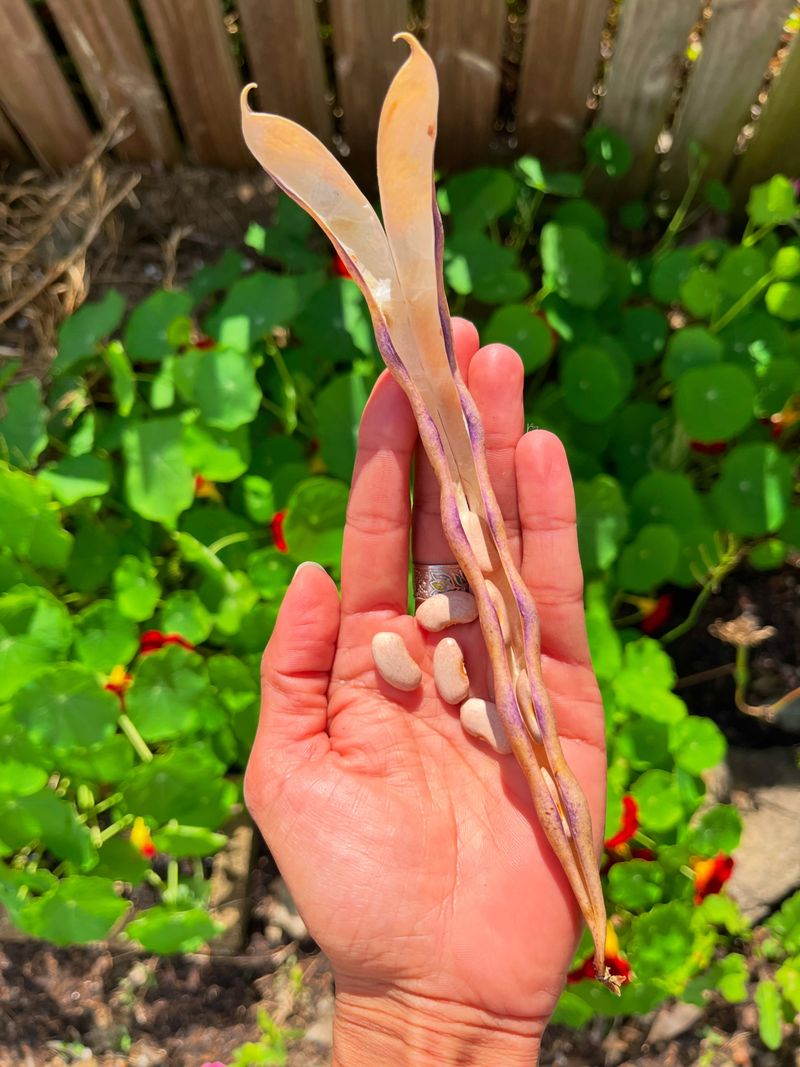
Damp seeds are a recipe for trouble, and moisture ranks as one of the biggest threats to any seed collection. Even seeds that feel dry can hold enough water to cause problems.
When you seal moist seeds in a jar or bag, mold and rot move in fast. That fuzzy growth ruins the seeds and can spread to the whole batch. A little extra water inside the container is all it takes.
Drying seeds well before storage keeps them safe. Spread them in a single layer on a plate, screen, or paper towel. Place them somewhere with good airflow and out of direct sun. Depending on the seed, drying can take one to three weeks.
North Carolina’s humid air makes this step even more important. Sticky fall days slow drying and add moisture back into seeds you thought were ready. Running a fan or using a room with a dehumidifier helps a lot.
You can test dryness with a simple trick. Try snapping a bean or pressing a seed with your fingernail. Truly dry seeds break cleanly and resist a dent, while damp ones bend or leave a mark.
Adding a small silica gel packet to your storage container soaks up leftover moisture too. Just keep it from touching the seeds directly.
Taking the time to dry seeds fully protects all your hard work. Properly dried seeds resist mold, store for years, and stay ready to grow whenever you decide to plant them.
4. Forgetting To Label Saved Seeds
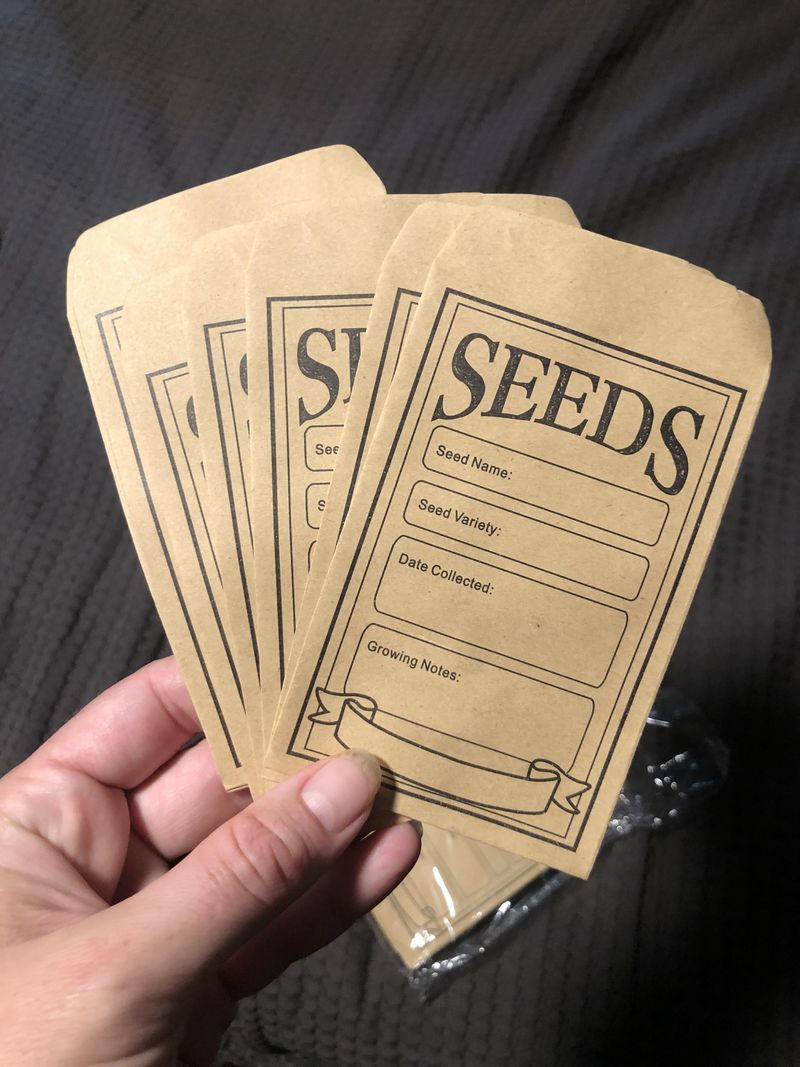
Come next spring, a drawer full of mystery seeds is no fun at all. Without labels, even experienced gardeners struggle to tell one variety from another.
Many seeds look nearly identical once they dry. Different tomato types, pepper kinds, and squash varieties can be almost impossible to sort by sight alone. Guessing wrong wastes a whole season of growing space.
Good labels solve the problem before it starts. Write down the plant name, the exact variety, and the year you harvested. That date matters because seeds slowly lose their sprouting power over time.
Adding a few notes makes your labels even more useful. You might record how tasty the fruit was, how well the plant handled North Carolina heat, or how much it produced. Those details help you pick your best performers year after year.
Use waterproof ink so your writing does not smear or fade. Paper envelopes, small jars, and zip bags all work well for storage. Just make sure every container gets its own clear label.
Keeping a simple garden notebook adds another layer of backup. Jot down what you saved and where you stored it, so nothing gets lost or forgotten.
A tiny bit of writing today saves big headaches later. Labeled seeds let you plant with confidence, plan your garden layout, and share extras with friends who ask what variety you grew.
Trust me, your future self will thank you every time you reach for that neatly marked seed jar.
5. Ignoring Cross-Pollination
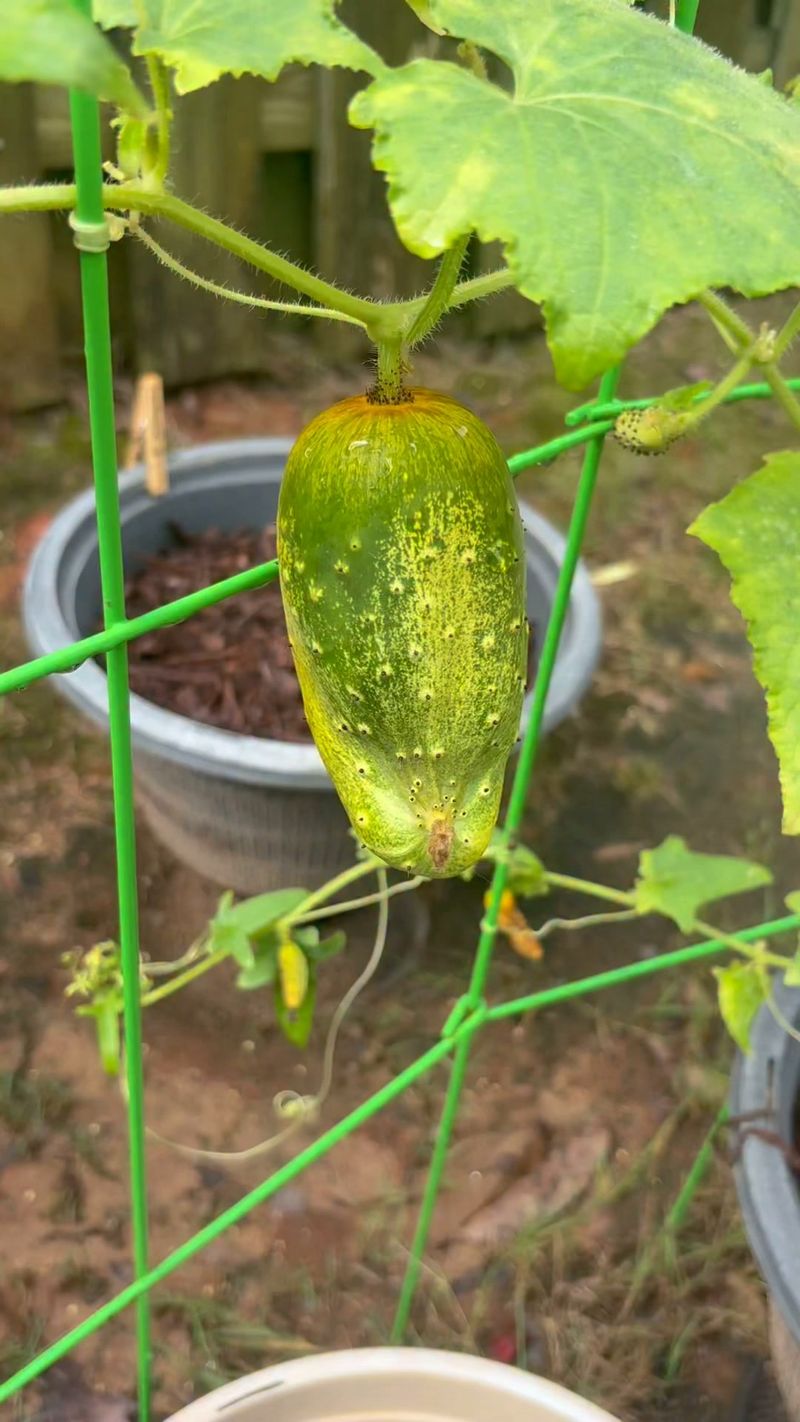
Ever save seeds from a perfect zucchini, only to grow strange lumpy fruit the next year? Cross-pollination is usually the reason behind that odd result.
Some plants share pollen easily with nearby relatives. Squash, pumpkins, peppers, corn, and cucumbers all can mix when their flowers get pollinated by bees or wind. The parent fruit looks normal, but the seeds inside carry a blend of both varieties.
When you plant those mixed seeds, surprises pop up. Corn might lose its sweetness, squash can turn bitter, and peppers may change shape or heat level. That is not always the flavor you were hoping for.
Keeping varieties apart helps you save true seeds. You can plant only one variety of a crop, space different types far apart, or grow them at different times so their flowers bloom weeks apart.
Gardeners who want to grow several varieties use hand-pollination. You cover a flower before it opens, brush pollen from the same variety onto it, then cover it again. It sounds fancy but works great with a little practice.
North Carolina gardens often sit close to neighbors’ plots, and pollen travels farther than you think. Bees can carry it hundreds of feet, so nearby gardens matter too.
Knowing which crops cross easily lets you plan smarter. Beans, tomatoes, lettuce, and peas rarely cross, making them great beginner seeds to save.
Controlling pollination keeps your seeds pure and your harvests predictable, so every plant grows into exactly what you expected.
6. Saving Seeds From Diseased Plants
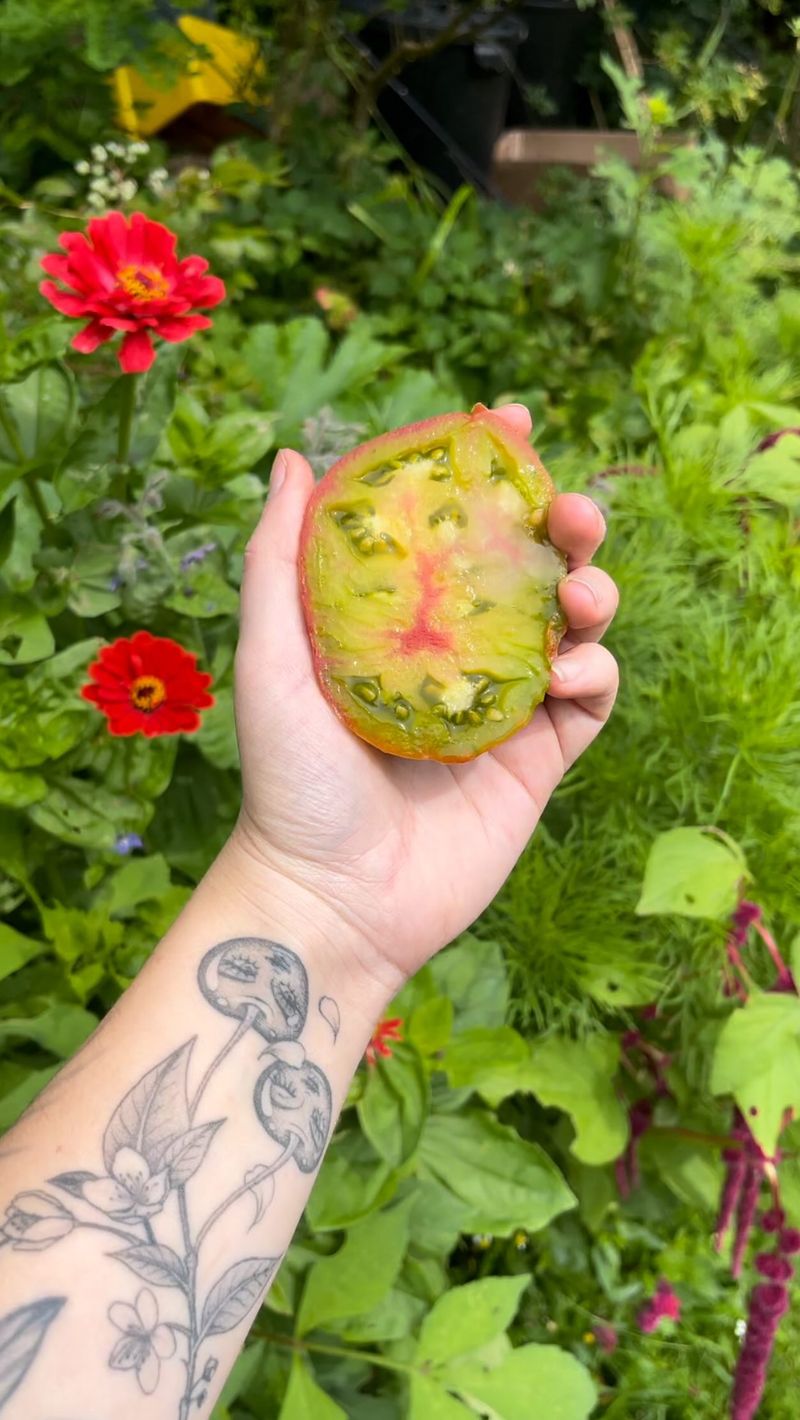
Your sickest plant might tempt you with a few last fruits, but those seeds can bring trouble into next year’s garden.
Some plant diseases hide inside seeds. When you save seeds from a plant covered in spots, wilt, or rot, you might carry that same problem into spring. The new seedlings could show the same illness before they even get growing.
Healthy plants make the smartest seed sources. Look for ones that stayed strong all season, produced well, and showed no serious signs of sickness. Their seeds pass along that vigor and resistance to the next generation.
Choosing your best plants is a form of gentle improvement. Over the years, saving seeds only from strong performers helps your garden adapt to North Carolina’s climate, pests, and soil.
A few yellow leaves near the end of the season usually mean nothing serious. But major problems like blight, mosaic virus, or heavy fungus are warning signs to skip those plants entirely.
Cleaning your tools and hands between plants also helps stop disease from spreading while you harvest. Simple habits keep your whole collection safer.
If you are unsure whether a plant is sick, your local extension office can help identify the problem. North Carolina has great gardening resources ready to answer questions.
Picking seeds from thriving, robust plants sets you up for success. You get stronger seedlings, healthier gardens, and better harvests, all from paying attention to which plants truly earned a spot in your seed jar.
7. Storing Seeds In The Wrong Place
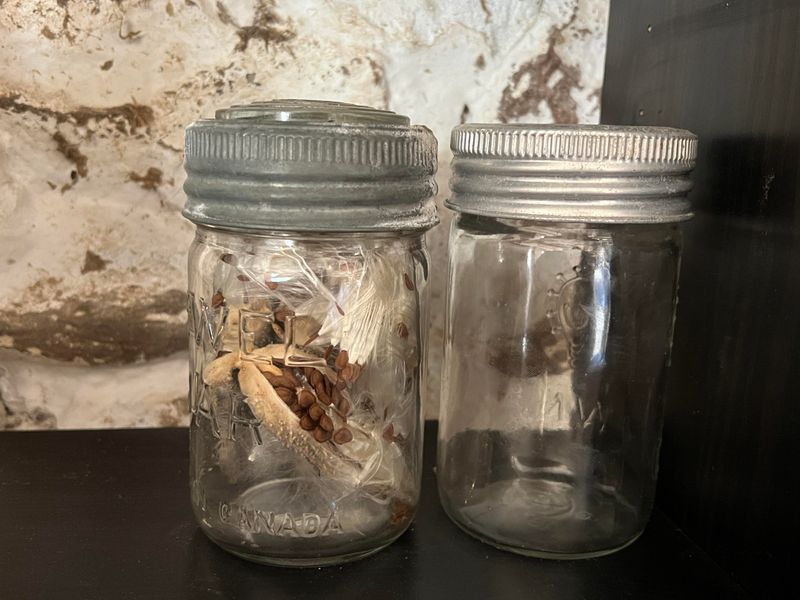
Where you keep your seeds can make or break their sprouting power. A sunny windowsill might seem handy, but it slowly wears seeds out.
Seeds stay strongest in a cool, dark, and dry spot. Heat, light, and moisture all speed up the loss of viability. The steadier and cooler the temperature, the longer your seeds keep their ability to grow.
North Carolina’s warm, sticky weather works against seed storage. Hot summers and humid air can shorten seed lifespan fast, especially in sheds, garages, or attics that heat up. Those spots swing between temperatures too much.
A better choice is inside your home where it stays cooler and drier. A closet, basement, or pantry shelf often works well. Keep containers away from windows, stoves, and heaters.
Many gardeners store seeds in the refrigerator for even longer life. Just seal them tightly in airtight jars or bags first, so fridge moisture stays out. Let the container reach room temperature before opening it to avoid condensation.
Glass jars with tight lids protect seeds from air and pests better than paper alone. Adding a moisture-absorbing packet gives extra insurance against humidity.
Try to keep the storage spot steady rather than changing often. Seeds handle a stable cool space far better than one that heats and cools daily.
Treating your seeds to the right home rewards you with strong germination for years. A little planning now means healthy sprouts later, and far fewer empty gaps in your spring garden rows.
8. Throwing Away Seeds That Need Special Preparation
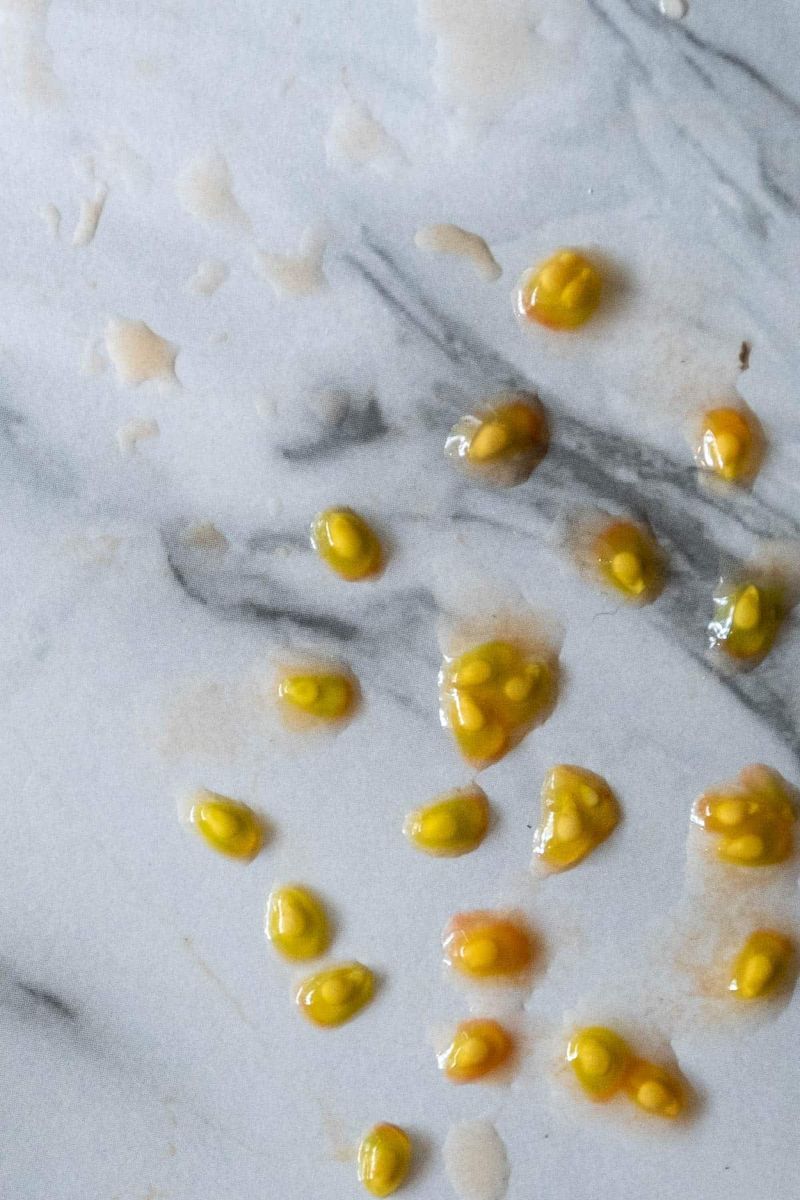
Not every seed is ready to store the moment you pull it from the plant. Some crops need a special step first, and skipping it can leave you with seeds that will not grow.
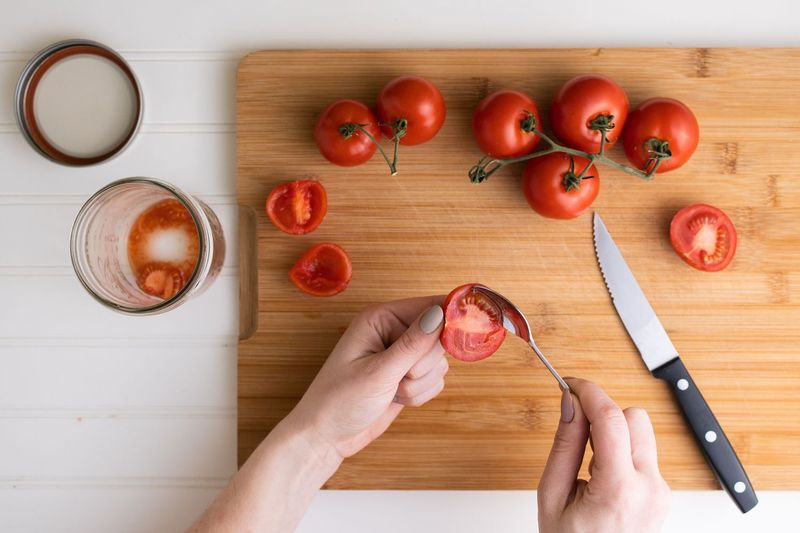
Tomatoes are a classic example. Their seeds come wrapped in a slimy gel coating that blocks sprouting. Gardeners ferment them in water for a few days to remove that coating, then rinse and dry them clean.
Other seeds need cleaning to separate them from pulp, husks, or chaff. Peppers and melons should have their seeds rinsed and dried carefully. Beans and peas need their dry pods opened and sorted.
A few plants need cold treatment before they will sprout. This trick, called cold stratification, mimics winter and wakes the seed up. Many flowers and fruit seeds require it to grow properly.
Tossing these seeds too soon means missing out. What looks like a useless glob of pulp might hold your best future plants once you know the right steps.
Each crop has its own needs, so learning them pays off. A quick look at a seed saving guide tells you which plants need fermenting, cleaning, or chilling.
North Carolina gardeners grow all kinds of crops, and matching your method to each one makes a big difference. Getting the preparation right boosts germination and keeps your seeds healthy in storage.
Taking a few extra minutes to prep seeds properly turns your harvest into a real seed bank you can plant with confidence next season.
9. Saving Too Few Seeds
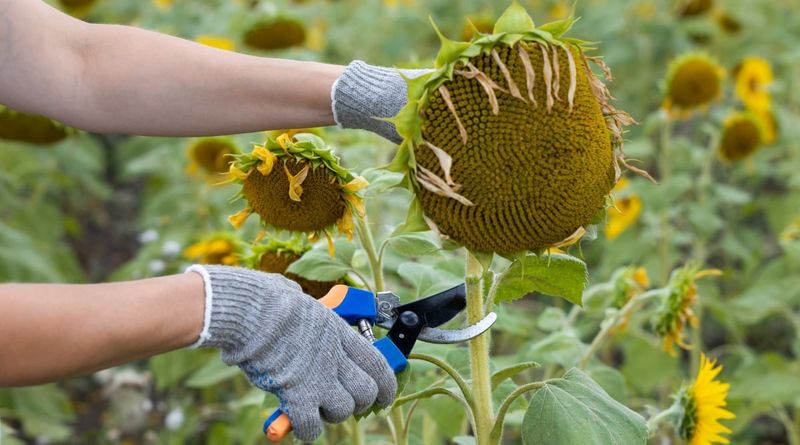
Grabbing just a pinch of seeds feels like plenty in the moment, but small stashes often leave gardeners short when planting time arrives.
Not every seed sprouts, even under perfect conditions. Some may be weak, some may not survive storage, and a few simply refuse to grow. If you saved only a handful, a low sprouting rate can leave your rows nearly empty.
Collecting extra seeds acts like insurance. When you have plenty, poor germination stings a lot less. You can plant thickly, thin out weak sprouts, and still fill your whole garden with strong plants.
Weather adds another reason to save more. North Carolina springs can bring surprise cold snaps, heavy rain, or dry spells that harm young seedlings. Extra seeds let you replant without scrambling to buy more.
Pests and other troubles can wipe out seedlings too. Slugs, birds, and hungry bugs love tender sprouts. Having backup seeds means one bad week does not ruin your season.
Extra seeds also make sharing possible. You can trade with neighbors, join a local seed swap, or hand some to a friend just starting their garden. Sharing keeps beloved varieties growing for years.
Most seeds store well for several seasons when kept cool and dry, so gathering more than you need rarely goes to waste. Leftovers stay ready for next year.
Being generous with your seed collecting gives you flexibility, peace of mind, and a real safety net, so your garden thrives no matter what surprises spring throws your way.
10. Forgetting To Test Old Seeds
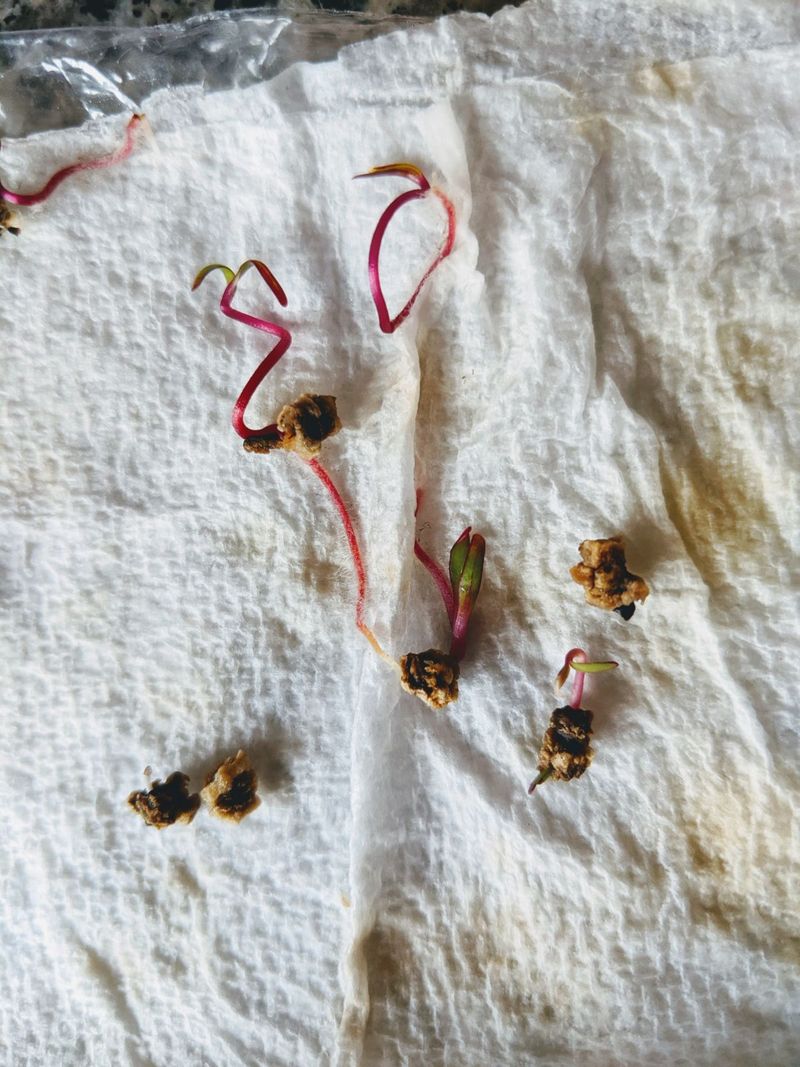
Old seeds sitting in a jar can be a mystery. Will they sprout, or will you waste weeks waiting on rows that stay bare? A quick test clears up the guessing.
Seeds slowly lose sprouting power as they age. Some, like beans and tomatoes, stay good for years. Others, like onions and lettuce, fade much faster. Testing tells you what you are really working with.
A germination test is simple and cheap. Dampen a paper towel, place ten seeds on it, then fold it up and slip it into a plastic bag. Keep it warm and check after a week or two.
Count how many seeds sprout to figure out your rate. If seven of ten grow, you have about seventy percent germination. That is plenty good for planting a little thicker.
Low results still give you useful information. If only two or three sprout, you can sow extra to make up the difference or replace those seeds with fresh ones.
Running this test before spring saves time and space. Instead of discovering weak seeds after planting a whole bed, you learn the truth early and plan around it.
North Carolina’s growing season is generous, but every week counts when you want a full harvest. Testing keeps you from losing valuable early planting time to seeds that no longer perform.
A few minutes with a paper towel and a bag gives you real answers. That small habit protects your garden, boosts your confidence, and helps every planting season start off strong and productive.