How To Store The Last Ohio Squash And Pumpkins Before Frost
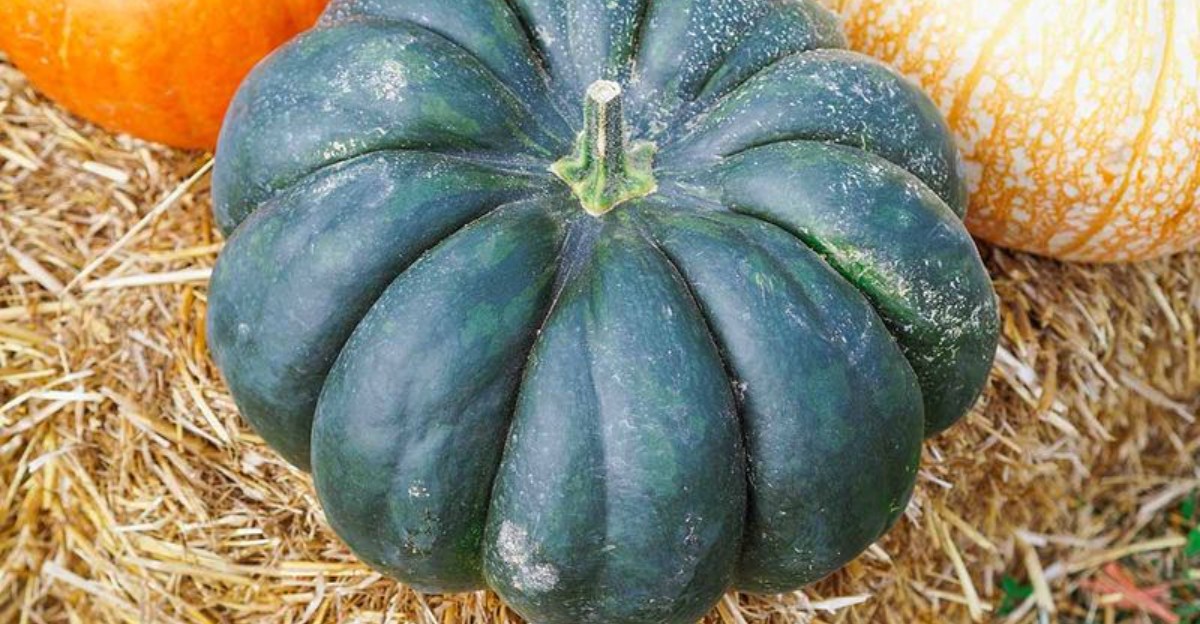
A pumpkin can look completely fine the morning after a frost and still be finished. Not rotting yet, not obviously soft, just quietly done for storage purposes, even though nothing about it looks different from the one sitting three feet away that never got touched.
That’s the part most people miss. Winter squash and pumpkins need time in a warm, dry spot before they ever go into storage, weeks sometimes, to toughen the skin and heal small nicks picked up during harvest.
Skip that step, or let frost interrupt it partway through, and the fruit that was supposed to last through winter starts breaking down within weeks instead.
None of this is about picking a perfect day. It’s about finishing a process before Ohio’s cold makes that decision for everyone.
1. Harvest Before A Hard Frost Arrives
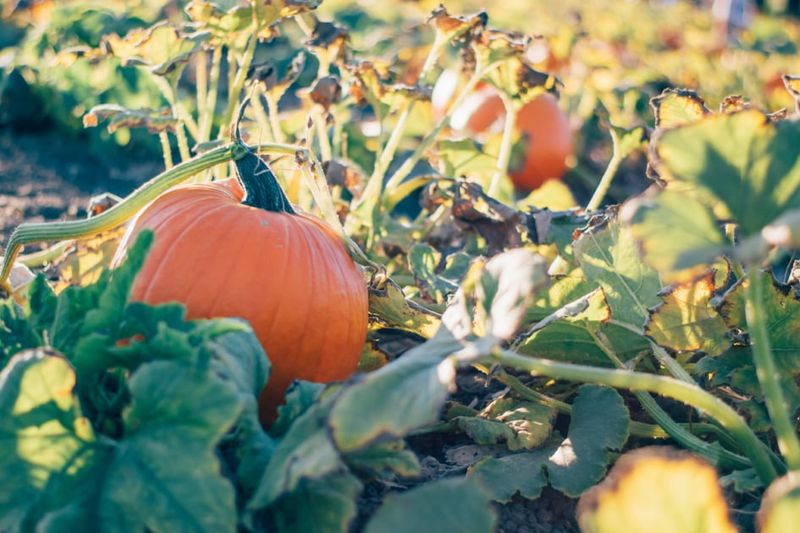
Winter squash and pumpkins are warm-season plants at heart, even though we eat them in sweater weather.
Anything under about 45 degrees makes them uncomfortable, and a hard frost at 28 degrees can bruise the skin in ways you will not notice until soft spots show up weeks later.
Ohio gardeners live on a tight schedule. Much of the state sees its first frost between October 1 and October 15, while southern counties may hold out until late October.
Cleveland usually gets its first air frost around October 5, with a hard ground frost near October 28, and Columbus averages its first freeze around October 25.
Keep an eye on nighttime lows rather than the daytime sunshine. Once evenings start dipping below 50 degrees on a regular basis, chilling injury becomes a real risk, and that damage quietly shortens storage life.
A short brush with 35-degree air will not ruin the crop, but move those fruits somewhere warmer quickly. Harvest in the morning after the dew burns off, and bring everything inside the same day.
Waiting for one more week of vine growth rarely pays off. Frost-touched fruit tends to collapse in storage, so bring them in while the rind is still firm and clean.
2. Check The Rind For Full Maturity
Press your thumbnail against the skin. If it slides in easily, that squash is not ready, and no amount of basement storage will fix it.
Mature fruit carries more stored carbohydrate, which means sweeter flesh, deeper color inside, and far better resistance to rot. Immature squash loses weight fast and breaks down early, which is a sad ending for something you tended since June.
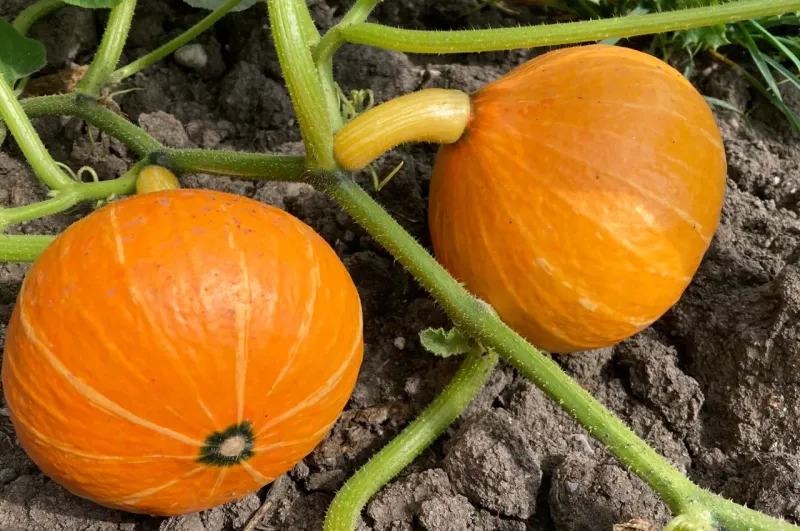
Look for color that has finished developing into its true shade, with the glossy shine fading to a duller, matte finish. Many varieties also show a ground spot where the fruit rested on soil, and that patch should be creamy or tan rather than pale white.
The handle tells its own story. A mature stem dries out, turns corky, and shows brown woody stripes where it joins the fruit, while a fleshy green stem that wobbles means the plant is still feeding it.
Check the little curling tendril nearest each fruit. Once it browns and shrivels, the vine has stopped sending sugars to that squash.
Your Ohio Garden Changes Every Week. Your Plan Should Too.
Gardening in Ohio changes quickly throughout the season. Every Friday you’ll receive a simple weekly plan showing exactly what to plant, prune, fertilize, harvest, and protect so you never miss the right timing.
One warning worth remembering: collapsing vines do not prove ripeness. Drought or disease can knock back foliage while the fruit underneath is still young and soft.
3. Leave A Healthy Stem Attached
Think of the stem as a cork in a bottle. Pull it out and you have opened a door for bacteria and mold to walk right in.
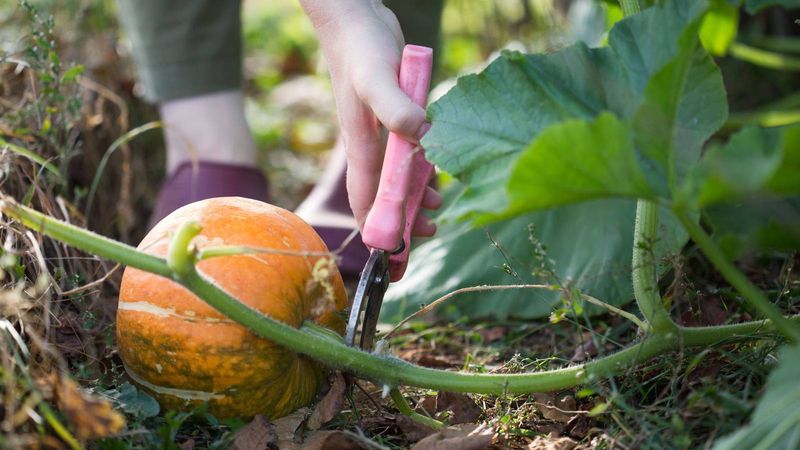
Cut rather than twist. Pruning shears or a sharp knife give you a clean break and keep the handle from splitting, while yanking on the vine usually tears the stem loose at the worst possible spot.
Aim to leave roughly one to four inches attached. That little stub blocks stem-end rot, which is one of the most common reasons a beautiful pumpkin turns mushy on the shelf in December.
Here is the rule everyone breaks at the pumpkin patch: do not carry fruit by the handle. A heavy pumpkin will snap right off, and what looks like a small accident becomes an open wound.
Squash that arrives stemless is not wasted, it just moves to the front of the eating line. Use those first within a few weeks rather than tucking them in with the long-keepers.
Butternuts are a little more forgiving, and some growers snip the stem off flush. If you do that, let the scar dry and seal over before storage so nothing sneaks in through the fresh cut.
4. Handle Every Fruit To Prevent Bruising
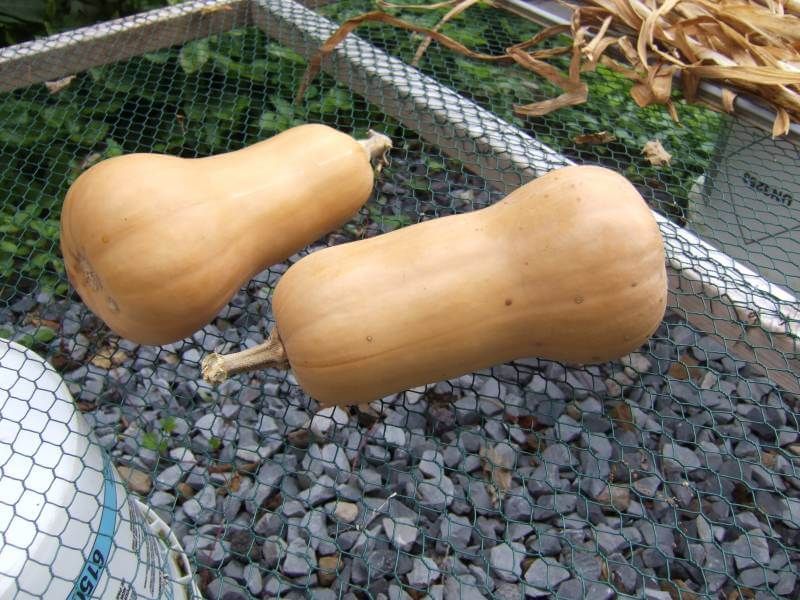
Squash look tough. They are not, and a thump that seems harmless can leave a bruise that turns into a soft brown crater a month later.
Every scrape, nick, or puncture is an invitation for decay organisms. Once mold or bacteria settle into a wound, the breakdown moves fast and can spread to neighbors sitting nearby.
Set fruit down instead of tossing or dropping it. Lining a crate with straw or an old towel cushions the ride from garden to garage, and moving bins on a pallet or wagon beats carrying armloads across a bumpy yard.
Stacking is where a lot of harvests go wrong. Piling squash too high creates pressure bruises on the bottom layer, so keep piles shallow even if it means an extra trip.
Gloves help more than you would think. They protect your hands from prickly stems and protect the rind from fingernails at the same time.
Skip handling on wet mornings if you can. Brush off soil and bits of vine with a dry cloth, and if something truly needs a rinse, dry it thoroughly before it goes anywhere near the storage shelf.
5. Separate Damaged Squash From Keepers
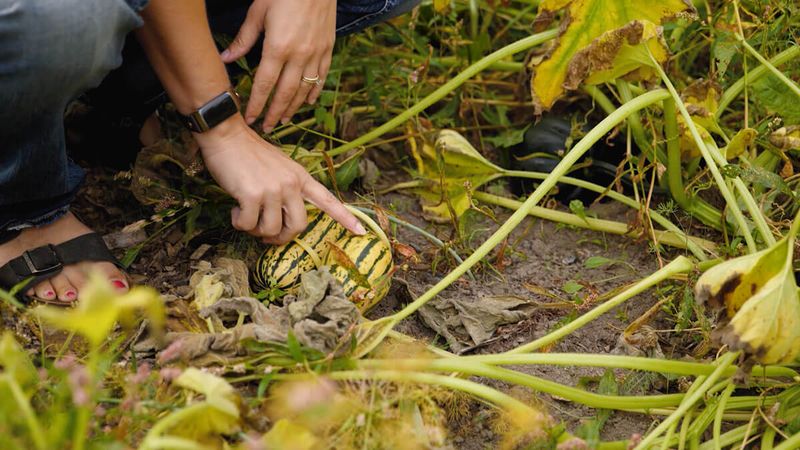
Sorting day is the cheapest insurance in the whole process. Ten minutes with your eyes and hands saves you from opening a cupboard in January and finding a puddle.
Go fruit by fruit and look for cuts, nicks, dents, soft patches, or missing stems. Turn each one over, because the underside where it sat on damp soil often hides the trouble.
Anything with a flaw joins the eat-soon pile. Even a shallow scratch gives bacteria a foothold, and those fruits simply will not hold up over a long winter.
The keepers should be firm all over, clean, evenly colored, and wearing a dry corky handle. Those are the ones worth a spot on the good shelf.
Do not feel bad about the reject pile, because it is dinner, not waste. Roast, puree, and freeze the flesh in bags, or bake it into soup and muffins while the fruit is at its peak.
One bad squash really can spoil the bunch. Mold spores travel easily between touching rinds, so keeping questionable fruit in a separate room or bin protects everything you worked for.
6. Cure Most Winter Squash Before Storage
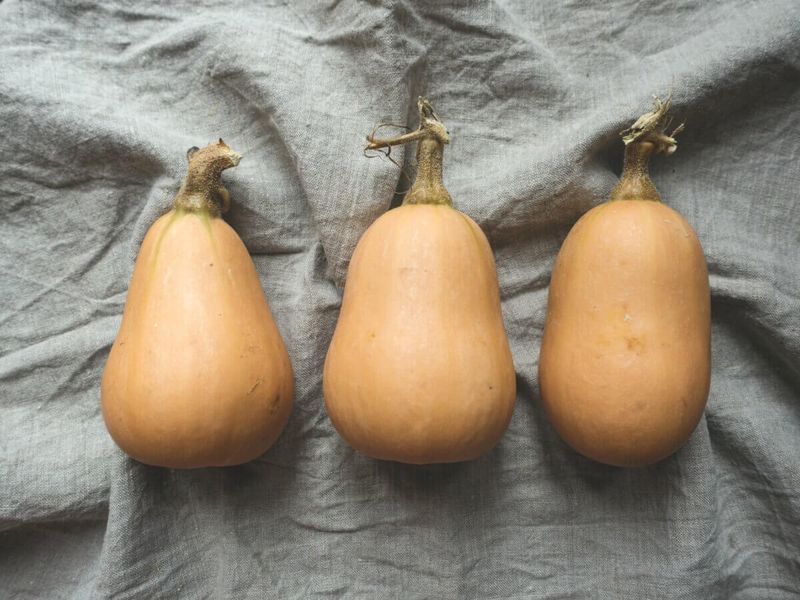
Curing sounds fussy, but it is mostly just letting squash sit somewhere warm and dry while chemistry does the work. Starches shift toward sugar, the skin hardens, and tiny surface scratches seal themselves over.
Warmth also slows the fruit’s breathing rate, which matters because respiration is what burns through stored sugars and moisture. A cured butternut tastes noticeably sweeter than one eaten straight off the vine.
Aim for 70 to 85 degrees with relative humidity around 80 to 85 percent, and give it five to fourteen days. Some growers push toward the 80 to 85 degree end for faster results.
A greenhouse, high tunnel, sunny barn corner, or even a spare room with a fan works well in Ohio. Spread fruit in a single layer with air moving around each one, because piles trap moisture and defeat the purpose.
Field curing is possible during a warm, dry stretch, but Ohio autumns rarely cooperate for long. Skip it if nights drop below 60 degrees, and move everything under cover instead.
Once curing finishes, the rinds should feel harder and look slightly duller. That is your signal to move them to their cool winter home.
7. Skip Curing For Acorn Squash
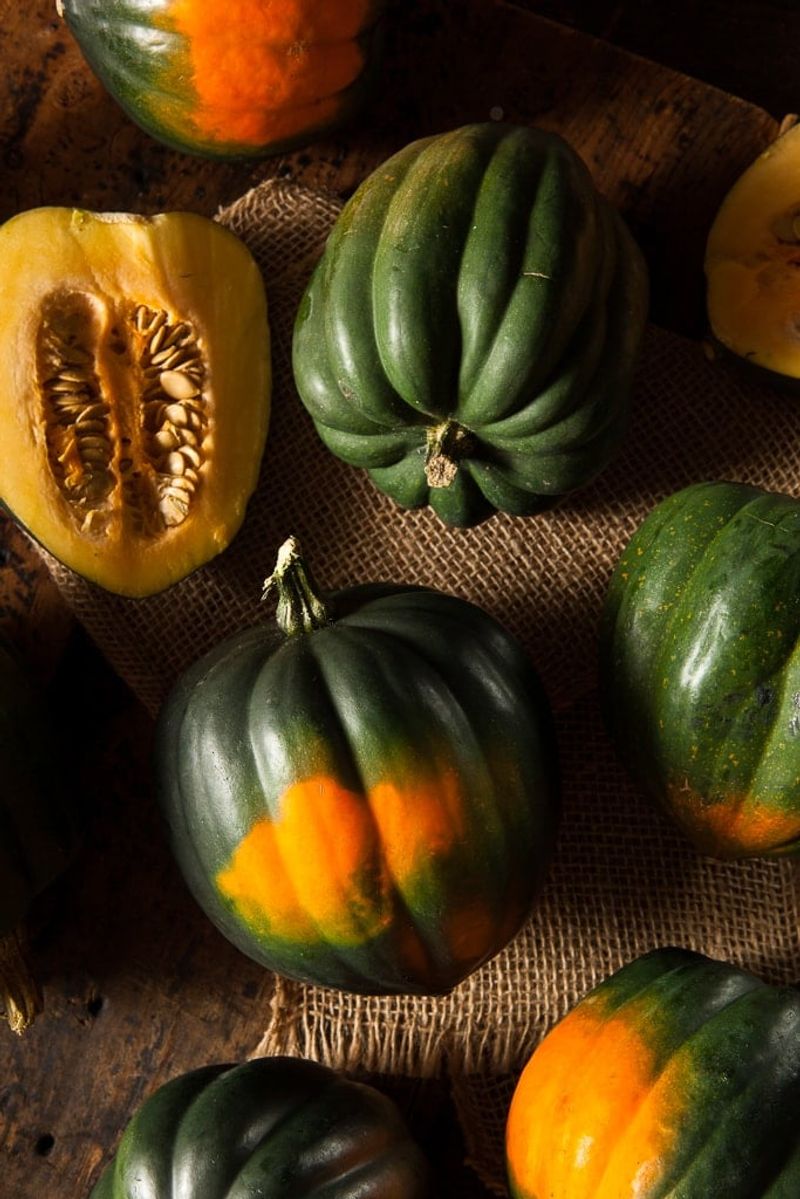
Here is the rule that surprises most gardeners: acorn squash is the odd one out, and warmth does it no favors.
Give an acorn the same 80-degree treatment you give a butternut and you shorten its shelf life instead of stretching it. The dark green skin turns orange faster, the texture goes stringy, and the flavor flattens out.
Cured acorns also pick up decay more easily, which is exactly the opposite of what you were hoping for. So move them straight from the garden to a cool, airy spot with no warm rest stop in between.
Fully mature acorn squash is ready to eat right away, which makes it a nice reward for all that harvest-day work. Cut one in half, add butter and maple syrup, and roast it that same evening.
Plan around a shorter window anyway. Acorn types generally keep one to two months, so they belong at the front of the pantry, not buried behind the Hubbards.
Delicata follows a similar pattern with thin skin and a quicker timeline. Treat both as early-winter eating and save the thick-rind varieties for late February.
8. Store Squash In A Cool Dry Space
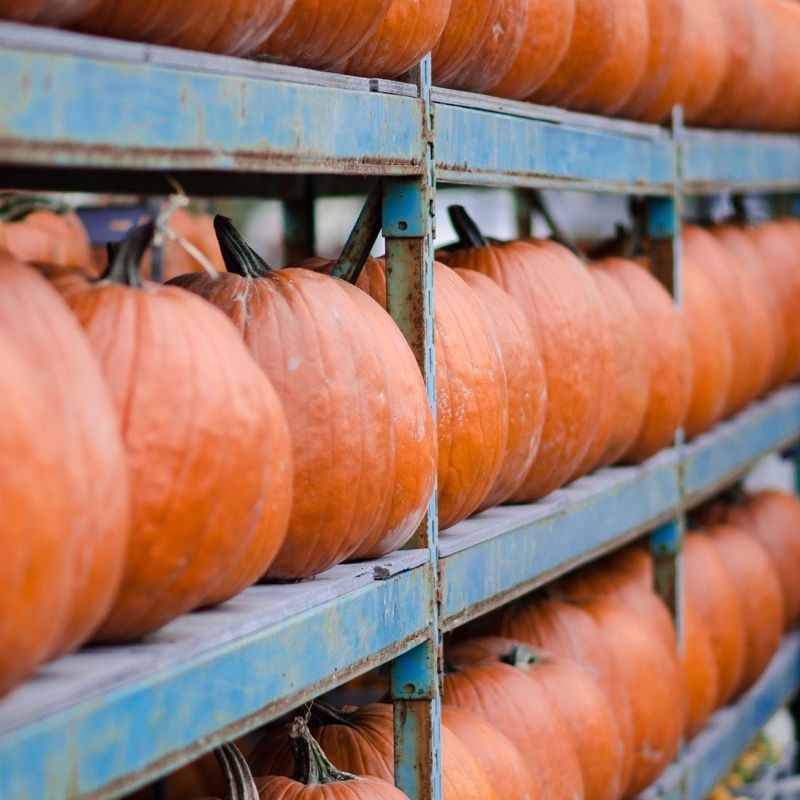
The perfect storage room is boring: cool, dry, dim, and breezy. Most Ohio basements, unheated back bedrooms, and insulated garage corners can be coaxed into the right range.
Shoot for 50 to 60 degrees. Below 50 you risk chilling injury, which shows up as pitting and quick rot once the fruit warms up, and above 60 the squash breathes harder, loses weight, and fades in quality.
Butternuts do best at the warmer end, around 56 to 60 degrees.
Humidity should land in the moderate zone, roughly 50 to 75 percent. Damp air encourages mold, so a musty dirt-floor cellar is usually worse than a dry basement shelf.
Keep fruit off the floor and arranged in a single layer on slatted shelves or racks. Leave a little gap so nothing touches, because air circulation around each rind is what prevents damp contact spots.
Store them away from apples, tomatoes, and pears. Those release ethylene gas, which nudges squash toward ripening and then spoiling ahead of schedule.
Expect acorn, delicata, and spaghetti squash to last one to two months, butternut three to six, and Hubbard or kabocha four to six.
9. Check Stored Squash Regularly For Trouble
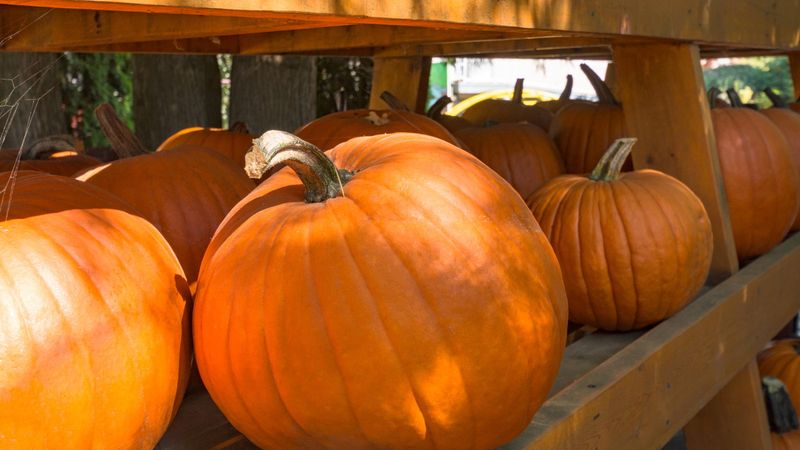
Set a reminder for every week or two, because storage is not a set-it-and-forget-it project. A quick walk past the shelves with a flashlight catches problems while they are still small.
Pick each fruit up and turn it over. The bottom, where it rests on wood, is usually where the first soft patch appears.
Warning signs are easy to spot once you know them: fuzzy mold, squishy areas, dark black or brown spots, or a stem that has gone mushy. A sour or musty smell is another clear signal.
Fading, dull color often means the fruit is past its peak. So does a squash that suddenly feels lighter than it looks, which points to moisture escaping through the rind.
Anything showing trouble comes off the shelf immediately. If the damage is just starting, cut away the bad part and cook the rest that day rather than tossing the whole thing.
Rotate as you go and move the oldest or softest fruit to the front. Eating in order means you finish the short-keepers first and still have firm Hubbards waiting when the snow piles up outside.