Your Tropical Hibiscus Won’t Survive An Ohio Winter Outside – Start Planning Now
Your hibiscus has a countdown running, and most Ohio owners don’t check the clock until it’s already too late.
That plant was built for warmth, full stop. The second temperatures start their seasonal slide, it faces conditions it has zero defense against, and the damage shows up faster than you’d expect, sometimes within a single rough night.
Wait for the first frost warning to start thinking about a plan, and you’re already behind.
A short list of steps decides whether this plant walks into spring looking strong or barely holding on. Skip them, and you’re trading months of growth for a few extra weeks of outdoor color that won’t matter once the cold hits.
Start your move indoors before the weather forces your hand. Your hibiscus has a real shot at making it, but only if you beat the clock instead of chasing it.
1. Know When Tropical Hibiscus Must Come Indoors
Timing is the whole ballgame with this plant. Tropical hibiscus comes from warm, frost-free regions, so freezing temperatures are simply more than it can handle outdoors.
The number to watch is 50 degrees Fahrenheit, or about 10 degrees Celsius. Once nighttime lows start approaching the low 50s regularly, it is time to start planning the move indoors.
In Ohio, that usually lands somewhere between late September and early November, depending on whether you garden near Cleveland or closer to Cincinnati. Keep a weather app handy and check the ten-day forecast twice a week starting in mid-September.
Waiting for the first frost warning is cutting it far too close. Cold damage can set in before the actual freeze arrives, leaving you with a sulking plant that takes months to bounce back.
Here is a trick experienced growers swear by. About two or three weeks before the big move, shift the pot into a shadier corner of the yard.
Doing that lets the plant adjust to lower light gradually instead of getting slammed with the change all at once. The indoor transition becomes far less jarring.
Mark your calendar now while the weather is still pleasant. Future you, hauling a heavy pot through the back door in a chilly drizzle, will be grateful for the plan.
2. Give The Plant A Thorough Pest Check
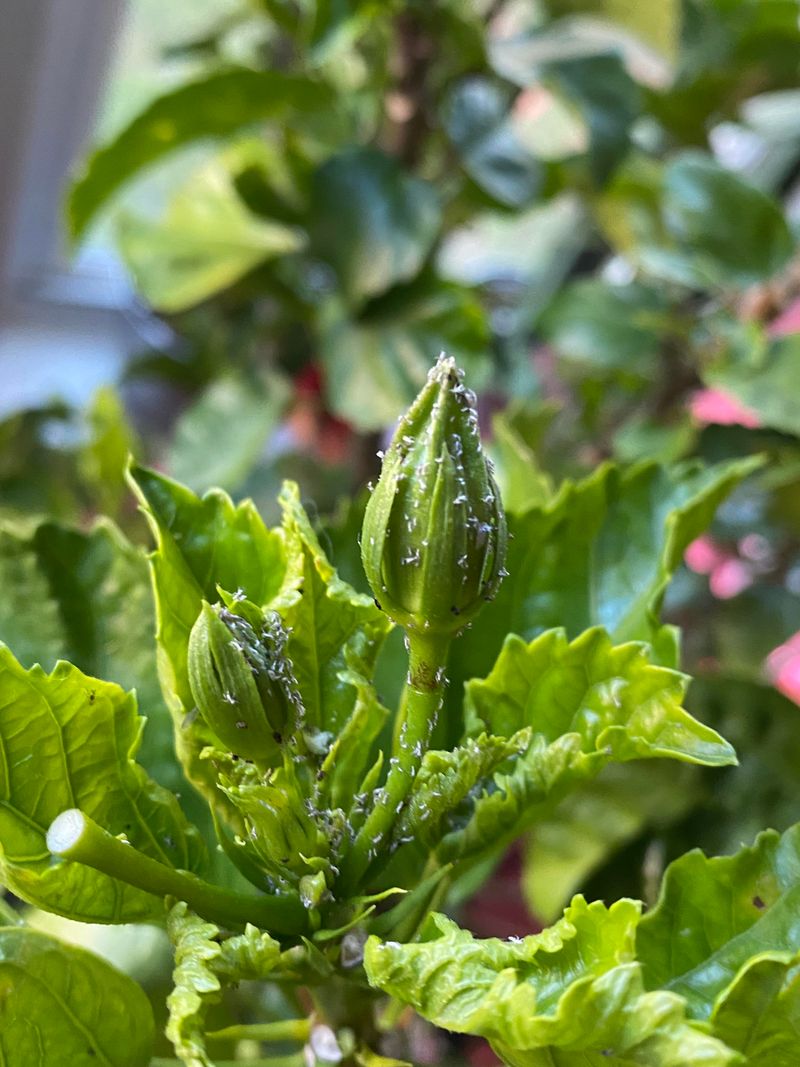
Nothing ruins a cozy winter like discovering your living room has become a bug hotel. Insects that stay harmless outdoors can multiply quickly once they are tucked into a warm house with no predators around.
Start inspecting several weeks before moving day, not the morning of. Look for whiteflies, aphids, spider mites, mealybugs, and thrips.
Turn leaves over and study the undersides carefully. Check buds, stems, the surface of the soil, and even the bottom of the pot where pests love to hide.
Spider mites announce themselves with tiny pale speckles on leaves and fine webbing in leaf joints. Sticky, shiny foliage usually means aphids or whiteflies have been leaving honeydew behind.
Treatment is refreshingly low-tech. Blast the whole plant with a strong spray of water from your hose, repeating the washing a few times over a couple of weeks.
Your Ohio Garden Changes Every Week. Your Plan Should Too.
Gardening in Ohio changes quickly throughout the season. Every Friday you’ll receive a simple weekly plan showing exactly what to plant, prune, fertilize, harvest, and protect so you never miss the right timing.
If you still find pests after washing, use a product labeled for the plant and pest you are treating, following its directions carefully.
Give the plant a last look the day before it comes inside. Ten extra minutes with a flashlight beats months of chasing mealybugs across your windowsill with a cotton swab.
3. Trim Crowded Growth Before Relocating
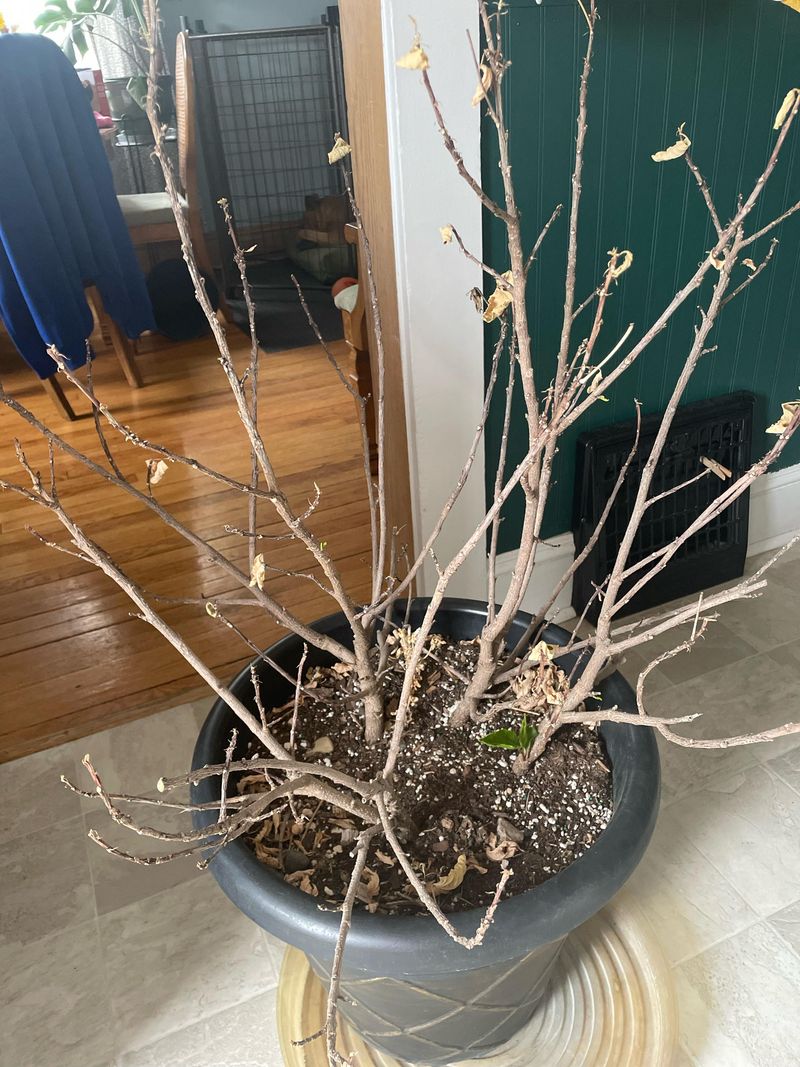
That gorgeous summer growth spurt is lovely on a patio and awkward in a hallway. Pruning before the move keeps the plant a manageable size and makes carrying it much easier.
You have a couple of options depending on how wild things got. Removing up to a quarter of the newest growth works for a modest tidy-up.
For a plant that outgrew its space, cutting stems back by one-third to one-half of their height is perfectly acceptable. Tropical hibiscus is more forgiving than most people expect.
Technique makes a difference. Use sharp, clean bypass pruners and make each cut just above an outward-facing bud so new shoots grow away from the center.
Late fall, before any frost arrives, is the right timing in colder climates like Ohio. Clear out crossing branches and thin the interior a bit to improve airflow.
A light trim often reduces the leaf drop that follows relocation, since the roots have fewer leaves to support in dimmer conditions. Less stress means a smoother transition.
Worth remembering: hibiscus produces flowers on new wood. Every thoughtful cut you make now sets up branching that turns into next summer’s show of blooms.
Toss the trimmings in the compost and enjoy your tidier houseguest.
4. Choose A Bright Window For Winter
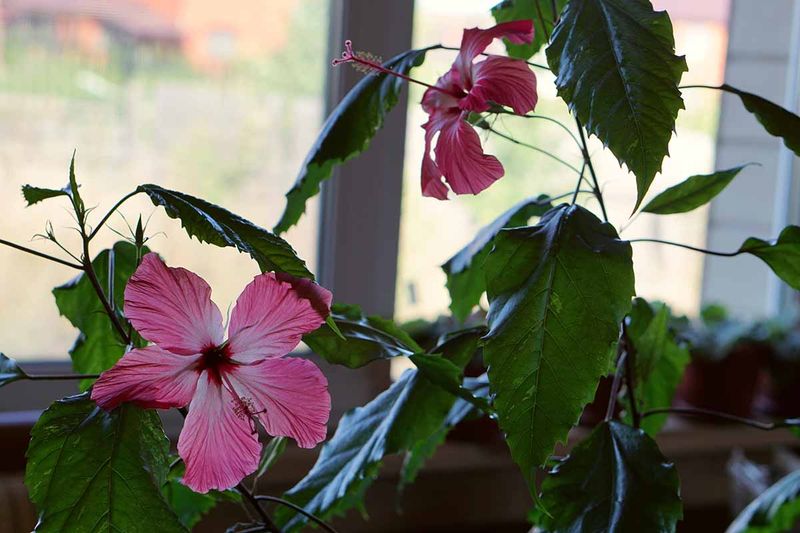
Light is the currency your hibiscus spends all winter, and Ohio hands out very little of it between November and February. Placement inside your home matters more than almost anything else.
Aim for the sunniest spot you own. South-facing and west-facing windows deliver the strongest light, while an east-facing window can work reasonably well too.
Pull the pot close to the glass, but not touching it, since cold panes chill leaves that press against them. A foot or two of breathing room is about right.
Short, gray Midwest days sometimes are not enough on their own. Full-spectrum grow lights running 12 to 14 hours a day give the plant what the sky cannot, and they often coax out a surprise bloom in January.
Temperature deserves attention as well. Hibiscus is happiest between 65 and 75 degrees Fahrenheit and dislikes anything under 50 degrees.
Watch out for drafts sneaking under doors or leaking from old window frames. Equally troublesome is the blast of hot, dry air from a furnace vent or a radiator.
Rotate the pot a quarter turn every week or two. That simple habit keeps growth even instead of leaving you with a lopsided plant leaning desperately toward the glass.
5. Expect Leaves To Drop After The Move
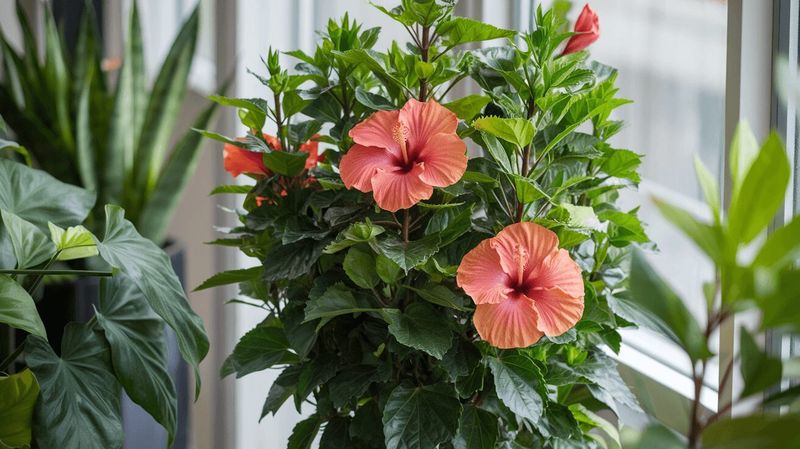
Brace yourself for a mess, because your plant is about to redecorate your floor with foliage. Within a week or two of coming inside, leaves start letting go.
Some plants shed a handful. Others drop nearly everything and stand there looking like a bundle of bare sticks, which is alarming the first time you see it.
The cause is straightforward stress. Light levels, temperature, humidity, and air movement all changed at once, and the plant responds by shedding foliage it can no longer support.
Good news: the reaction is usually temporary. Keep providing steady light, moderate warmth, and careful watering, and fresh growth typically appears within several weeks.
The color of the falling leaves offers a clue worth reading. Yellow leaves hint at watering trouble or a nutrient shortage building up over time.
Green leaves dropping suddenly point squarely at transition shock rather than a care mistake. Resist the urge to start experimenting with fixes.
Do not repot, do not fertilize heavily, and do not soak the soil out of sympathy. Consistency is the medicine here.
Sweep up the fallen leaves promptly so they do not sit on damp soil. Then give the plant some patience and let it sort itself out.
6. Keep Humidity From Falling Too Low
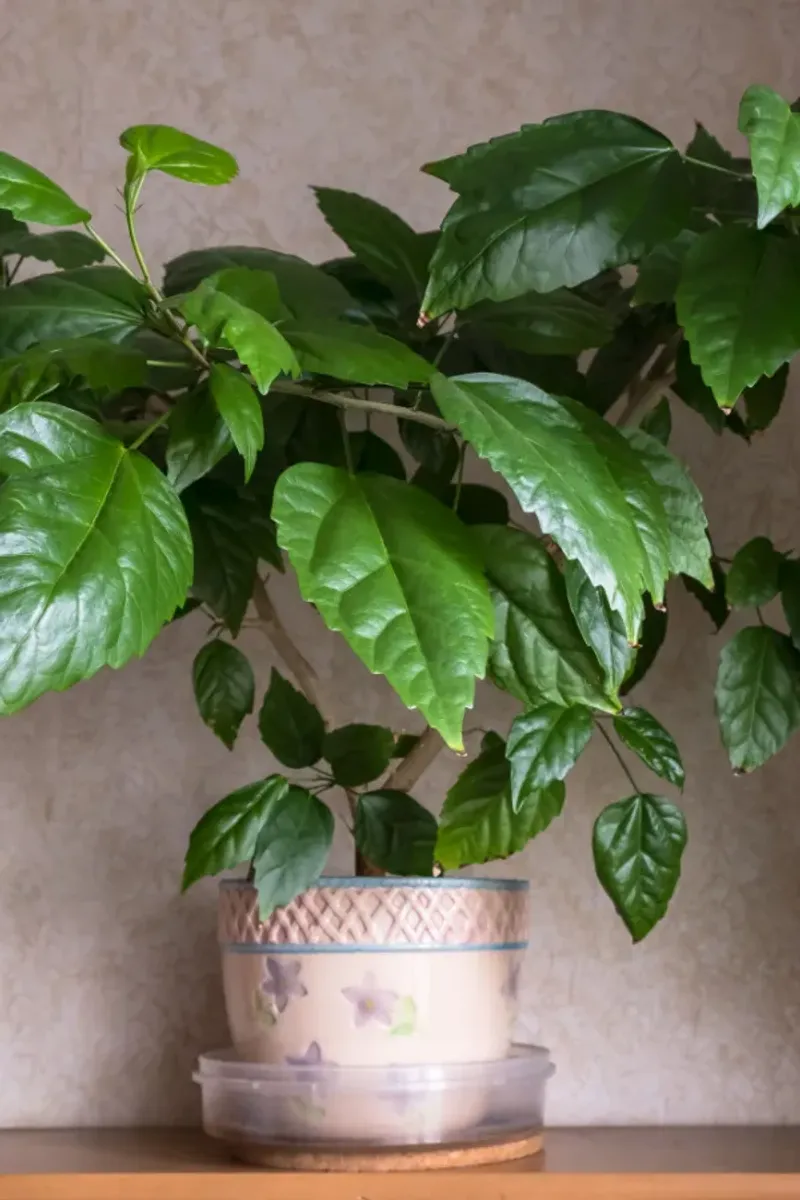
Furnace season turns the average Ohio house into something resembling a desert. Indoor humidity can slide into the teens while your tropical plant quietly wishes for a rainforest.
Hibiscus prefers moderately humid conditions, while heated Ohio homes can become much drier than the plant likes. Getting there takes a little effort, though none of it is complicated.
Warning signs show up on the leaves first. Crispy brown edges, flower buds falling before they open, and droopy foliage all suggest the air has gotten too dry.
A pebble tray is the classic fix. Fill a shallow dish with stones and water, then set the pot on top so the base stays above the waterline rather than sitting in it.
Misting with room temperature water a few times a week helps too, especially in the morning so leaves dry before evening. Skip it if you are dealing with any fungal spotting.
Clustering plants together creates a small pocket of shared moisture, and honestly it looks great. Three or four pots in a group hold humidity better than one lonely plant.
A small room humidifier handles the job with the least fuss. Whatever method you pick, keep the pot far from furnace vents, wood stoves, and fireplaces that strip moisture from the air.
7. Reduce Watering As Growth Slows
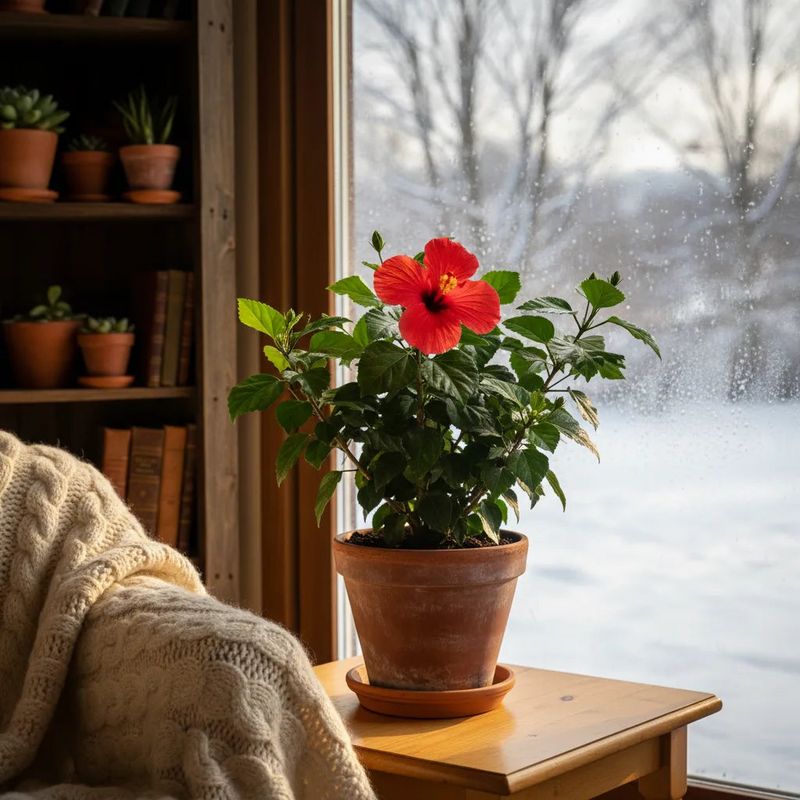
Old summer habits are the biggest threat to an indoor hibiscus. A plant that drank a gallon a day in July needs a fraction of that in January.
Growth slows way down in low light and cool conditions. Less growth means less water used, and soggy soil follows quickly if you keep pouring.
Use your finger instead of a schedule. Push it into the potting mix and water only when the top inch or two feels dry to the touch.
Overwatering is the most common winter mistake, and it leads straight to root problems that are hard to reverse. Droopy leaves paired with wet soil almost certainly mean too much water, not too little.
Drainage deserves a quick audit. Make sure the pot has open holes at the bottom and dump out any water that collects in the saucer within thirty minutes.
Room temperature water is kinder to the roots than cold tap water straight from the faucet. Fill a watering can the night before and let it sit out.
When you do water, water thoroughly until liquid runs out the bottom rather than giving frequent small sips. Deep, spaced-out drinks keep roots healthy through the quiet months.
8. Skip Heavy Fertilizing Through Winter
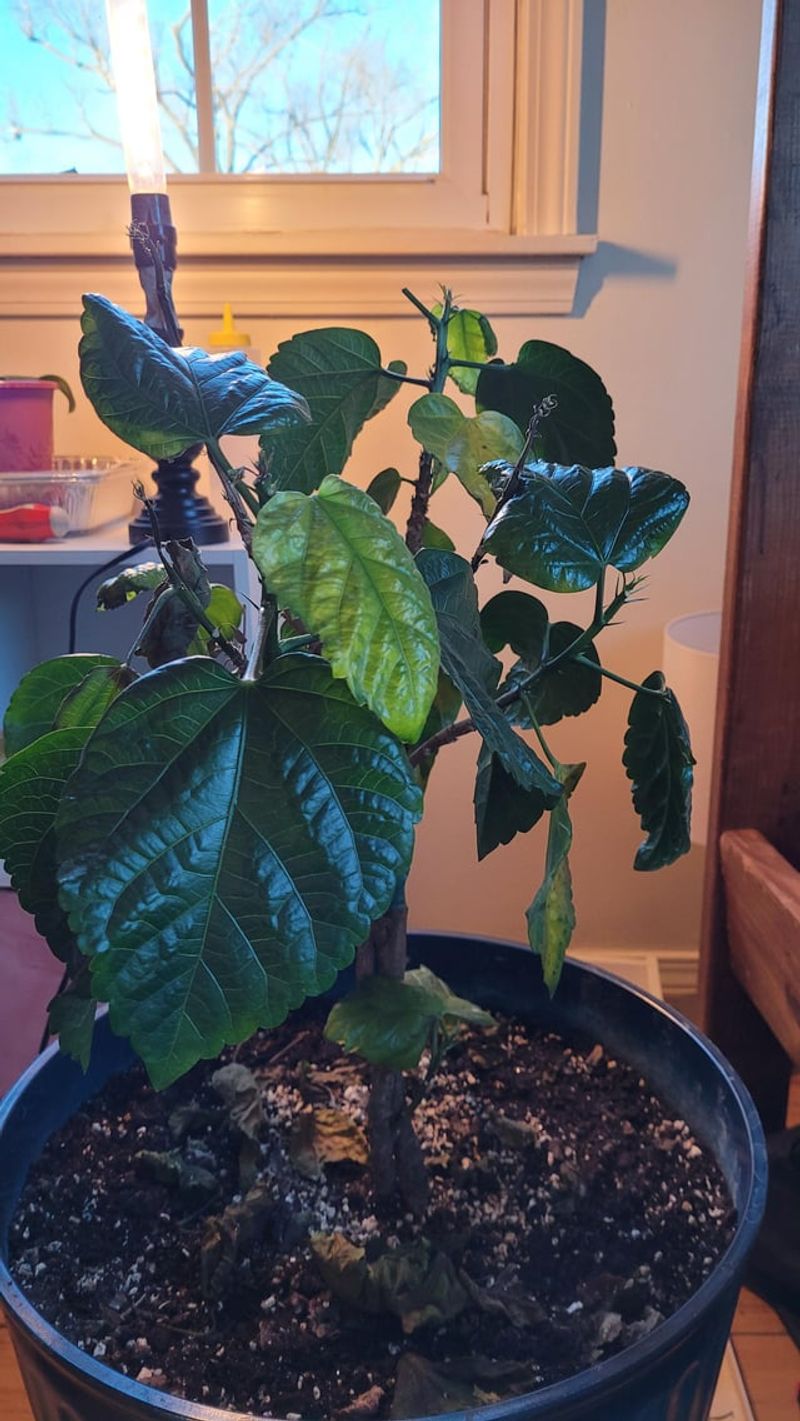
Feeding a resting plant is a bit like serving a big dinner to someone who just went to bed. The food sits there unused and eventually causes problems.
Through the winter months, tropical hibiscus simply does not need fertilizer. Its growth has slowed, and the roots are not pulling nutrients the way they do in July.
As growth slows in fall, reduce or stop feeding rather than continuing the summer schedule indoors.
Unused fertilizer salts build up in the potting mix when there is no active growth to absorb them. That buildup can burn roots and leave a crusty white film on the soil surface.
Winter is a rest period, and letting the plant take it pays off. A well-rested hibiscus comes into spring with energy rather than exhaustion.
Around March, when days stretch longer and you spot fresh green shoots pushing out, pick the routine back up. Start light with a diluted dose before returning to full strength.
Choose a product formulated for flowering plants, since hibiscus appreciates potassium and is sensitive to too much phosphorus. Read the label and follow the mixing directions.
Patience through winter buys you a much stronger bloom season later.
9. Ease Hibiscus Back Outdoors In Spring
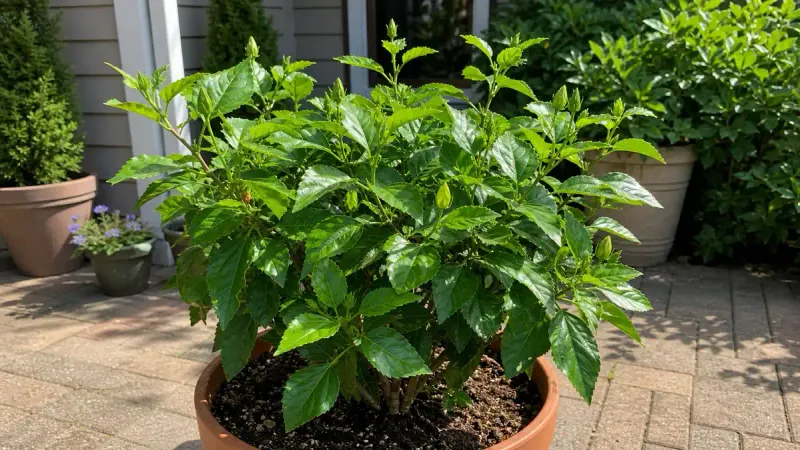
Spring fever hits hard in Ohio, and that first warm April weekend tempts everyone to haul plants outside. Hold off just a little longer.
Wait until frost danger has passed for good and nighttime temperatures stay reliably above 50 degrees Fahrenheit. In most of the state that means sometime in mid to late May.
Moving straight from a dim window into full sun scorches leaves in a single afternoon. Acclimating slowly over two to three weeks prevents that painful lesson.
Begin in a sheltered, partly shaded spot with roughly one hour of direct sun on day one. Add a bit more sunlight each day and watch how the foliage responds.
Water needs climb fast once the plant is outdoors in breeze and sunshine. Check soil moisture daily and water deeply whenever the top few inches feel slightly dry.
After the plant has adjusted, resume regular feeding with a fertilizer made for flowering plants. New growth and fat buds should follow within a few weeks.
Keep an eye on the forecast through early June, because Ohio loves throwing one last chilly night at us. Move the container back inside or into the garage if temperatures threaten to dip.
Then settle in and enjoy the blooms you earned.