The Florida Fall Vegetable That Can Go From Seed To Harvest Before Almost Everything Else
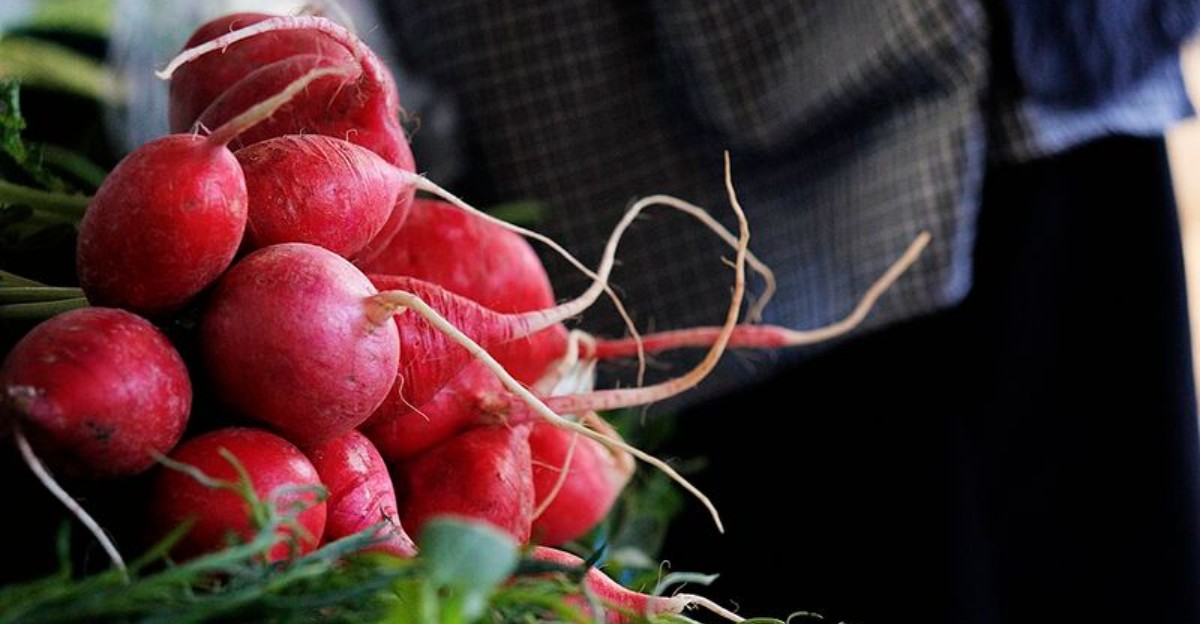
One vegetable is already racing toward your dinner table while everything else in your Florida garden is barely getting started.
Most fall crops ask for patience, weeks of waiting before anything worth eating shows up. This one skips that wait almost entirely, moving from seed to harvest on a timeline that catches gardeners off guard the first time they try it.
Plant it alongside your usual fall lineup and you’ll be pulling a harvest before the slower crops even hit their stride.
That speed comes with a catch though. Plant it while the weather is still too hot, and you lose the exact advantage that makes this vegetable worth growing in the first place.
Get it into the ground this week instead of waiting on your usual schedule. You could be eating from this one before anything else in your garden is even close.
1. Meet Radishes, The Fastest Fall Crop To Start
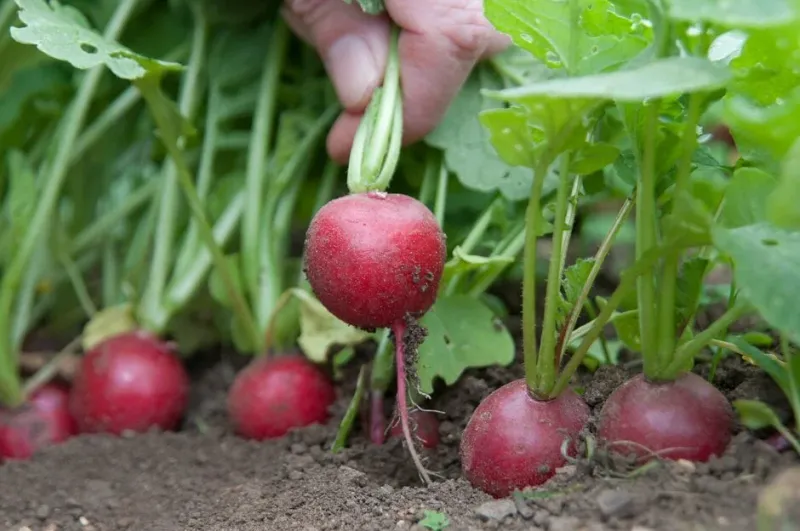
Some vegetables take their sweet time, but radishes treat the garden like a race track. Many varieties go from tiny seed to crunchy root in just 20 to 30 days.
That speed makes them a favorite for Florida gardeners who want quick results. You can plant a row on a Saturday and snack on the harvest before the month is over.
Radishes are a cool-season crop, which means they like mild weather. When temperatures drop in fall, the roots stay crisp and pleasantly peppery instead of harsh and bitter.
Heat can also make radishes bolt. Bolting happens when the plant rushes to make flowers and seeds instead of a tasty root, and the roots turn tough.
Here is a fun bit of history for you. People in ancient Egypt grew radishes thousands of years ago, and workers building the pyramids may have eaten them.
Radishes are also great for beginners and kids. The seeds are big enough to handle easily, and they sprout in only a few days, which keeps young gardeners excited.
You do not need a huge yard, either. A small raised bed, a window box, or a deep container on a sunny porch works nicely.
So if you want a garden win this fall, start here. Radishes give quick rewards and plenty of confidence for bigger projects later on.
2. Sow Radish Seeds As Soon As October Arrives
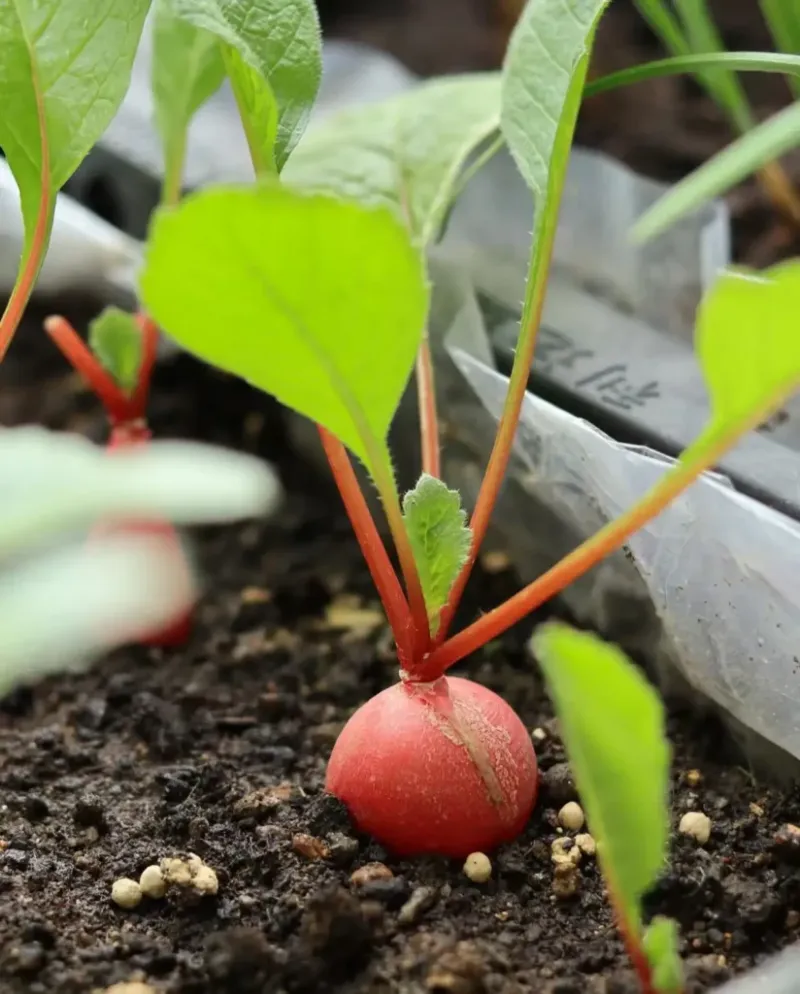
Mark your calendar, because October is a golden month for radishes in Florida. The worst heat has usually eased, and the soil starts to feel friendlier.
Florida gardeners can often plant radishes from September through March. In central and south Florida, the best window usually runs from October through March, when nights feel cooler.
Radishes grow best when air temperatures stay between about 50 and 65 degrees. Florida often runs warmer than that in early fall, so waiting a few weeks can help.
If a late heat wave hangs around, do not worry. Plant in a spot with a little afternoon shade, and the seedlings will handle the warmth better.
Sowing is simple. Push seeds about half an inch deep and about one inch apart in rows, then cover them lightly with soil.
Your Florida Garden Changes Every Week. Your Plan Should Too.
Gardening in Florida changes quickly throughout the season. Every Friday you’ll receive a simple weekly plan showing exactly what to plant, prune, fertilize, harvest, and protect so you never miss the right timing.
Pat the soil gently with your hand so seeds touch the dirt. Water with a soft spray so the seeds do not wash away.
Within three to seven days, little green leaves should pop up. They often look like tiny hearts, which is a sweet surprise for first-time growers.
Save a few seeds from the packet for later plantings. Keep them in a cool, dry place, like a jar in a kitchen cabinet, so they stay ready.
3. Harvest Crisp Roots In Just A Few Weeks
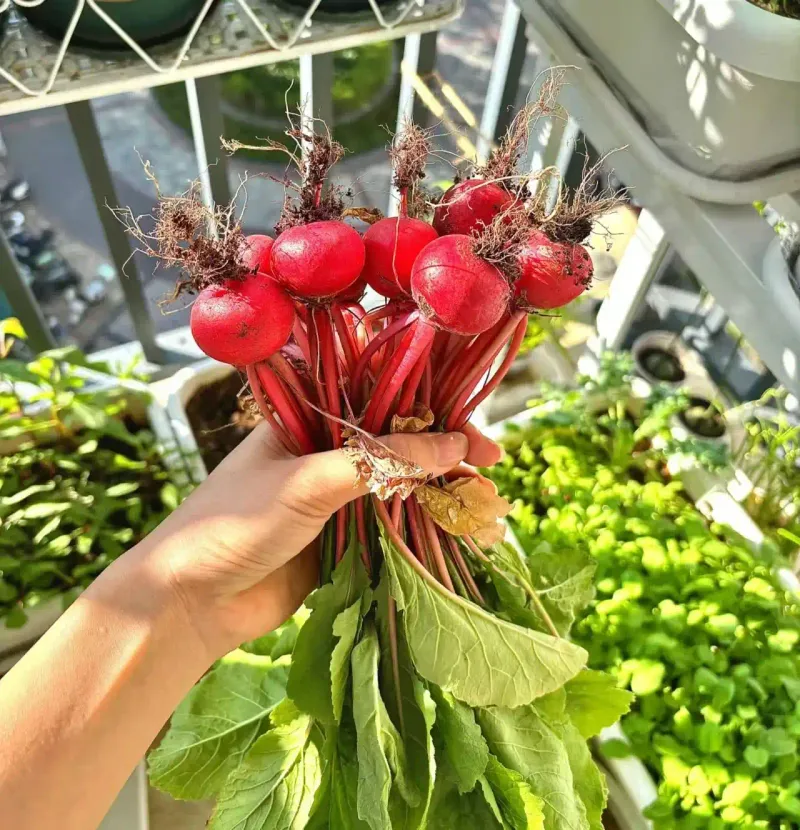
Picture this: you planted seeds three weeks ago, and dinner is already growing. Standard radishes usually reach harvest size in about 20 to 35 days.
So how do you know they are ready? Look at the top of the root peeking out of the soil, called the shoulder.
When the root is about three-quarters of an inch to one inch across, it is time. Brush away a little soil with your finger to check the size.
Pull one radish first as a taste test. If it is crunchy and mildly spicy, go ahead and harvest the rest of that batch.
Timing matters more than you might think. Radishes left in the ground too long can turn woody, spongy inside, or so spicy they make your eyes water.
To harvest, grab the leaves right above the root and pull straight up. If the soil feels firm, water it first to loosen things.
After picking, twist or cut off the leaves. Store roots in a bag in the fridge, where they stay crisp for about a week or two.
Do not toss those green tops, either. Radish leaves taste great sauteed with garlic, blended into pesto, or tossed into soup for an extra peppery kick.
4. Keep Radishes Growing Fast With Steady Moisture
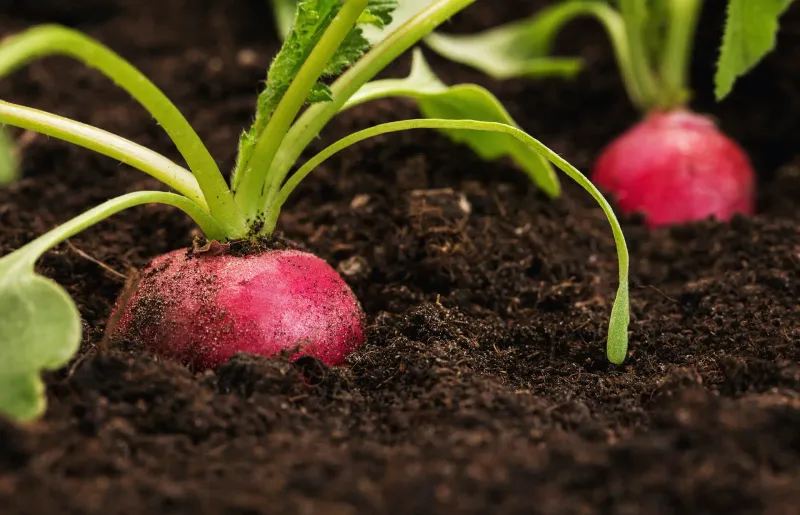
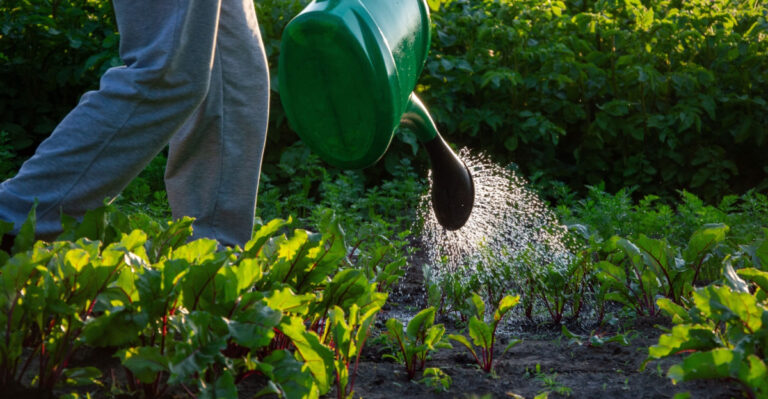
Think of radishes as thirsty sprinters. They grow so fast that they need a steady drink to keep up their pace.
Uneven watering causes real trouble. When soil swings from bone dry to soggy, roots can crack open, turn spongy, or taste extra sharp.
Aim for about one inch of water each week. That includes rain, so a rain gauge or even an empty tuna can in the bed helps you keep track.
Florida gardeners have a special challenge here. Our sandy soil drains quickly, so water can vanish before the roots get much use from it.
In sandy spots, water a little every day or two instead of one big soak. Poke your finger into the soil, and if the top inch feels dry, it is watering time.
Mulch is a handy helper. A thin layer of straw or shredded leaves keeps moisture in and blocks some weeds too.
Morning is the best time to water. Leaves dry off during the day, which lowers the chance of mold and leaf problems.
Try to avoid soaking the bed late at night. A simple soaker hose or drip line makes steady watering easy, even on busy school or work days.
5. Give Radishes Loose Soil For Straight Roots
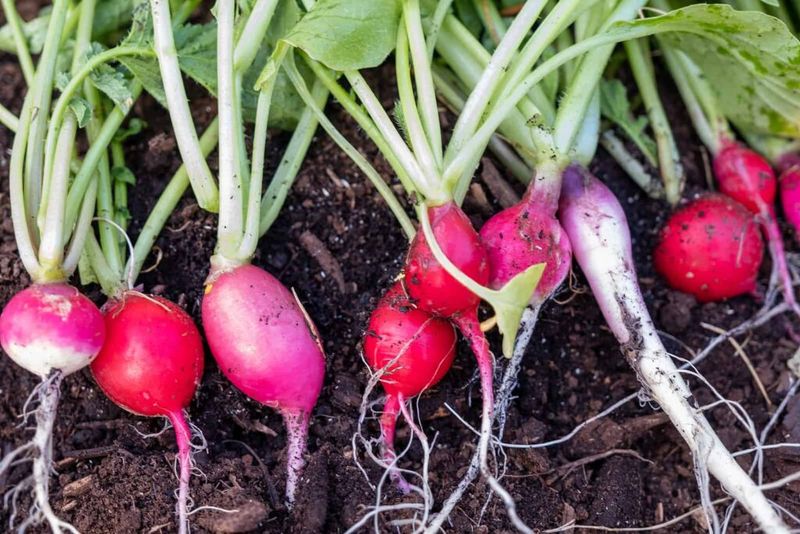
Ever tried running in heavy boots? That is how a radish root feels when it pushes through hard, packed dirt.
Radishes grow best in loose, well-drained soil full of organic matter. Loamy or sandy-loam soil lets roots swell smoothly without bumping into obstacles.
Heavy clay or packed ground causes problems. Roots may twist, split, or stay tiny because they cannot expand the way they want.
The fix is easy and a little messy. Mix two to three inches of compost or well-rotted manure into the top six inches of soil before planting.
Florida sand drains fast but holds few nutrients. Compost helps sand hold water and food, so your radishes get a better meal.
Clear out rocks, sticks, and old roots too. Even a small pebble can make a radish grow crooked or forked, like a funny little pair of legs.
Raised beds are a smart choice if your yard soil is tough. You can fill them with a good mix and control exactly what goes in.
Containers work well as well. Choose one at least six inches deep for round radishes, and use fresh potting mix for the easiest growing experience.
6. Thin Seedlings Before Crowding Slows Them Down
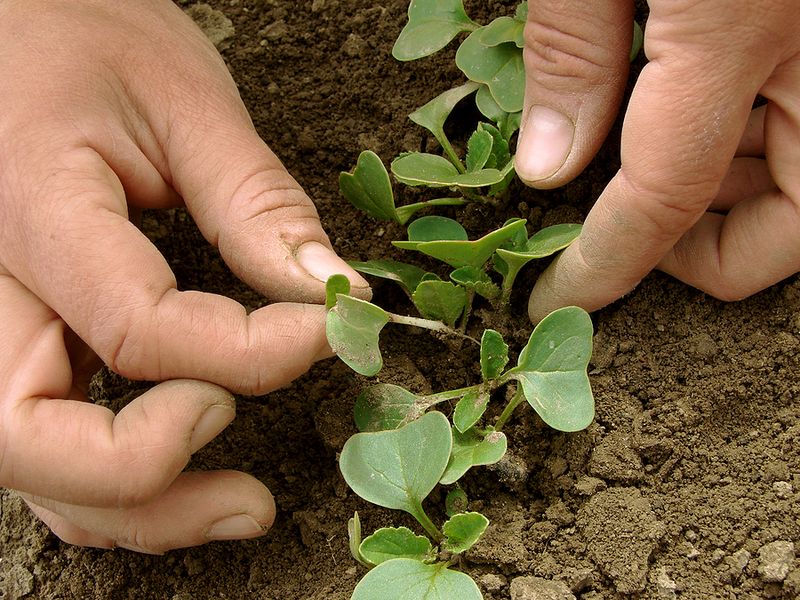
Here comes the hardest job in radish growing, at least emotionally. You have to pull out some of those cute little sprouts.
It feels wrong, but thinning gives each plant room to grow. Crowded radishes fight over water, light, and food, and often end up small or oddly shaped.
Thin your seedlings when they are about one to two inches tall. That is usually around a week after they first sprout.
Leave about two to three inches between plants for most small varieties. Bigger types, like daikon, need even more space, around four to six inches.
Instead of yanking seedlings, snip them at soil level with small scissors. That way you do not disturb the roots of the neighbors you are keeping.
Here is the good news. Those tiny thinned sprouts are edible microgreens with a fresh, peppery taste.
Toss them on sandwiches, tacos, or salads for a zippy crunch. Kids often enjoy tasting their first harvest this way, even before the roots are ready.
If you want less thinning later, sow seeds carefully from the start. Using a seed tape or dropping seeds one at a time saves work and wastes fewer seeds.
7. Choose Daikon For Bigger Roots And A Longer Harvest
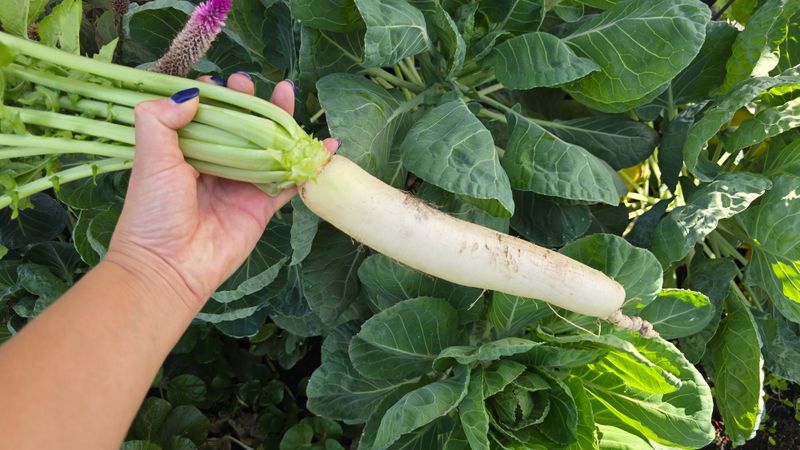
Meet the gentle giant of the radish world. Daikon radishes can grow roots 12 to 24 inches long and weigh several pounds.
Daikon is also called winter radish or oriental radish. Its long white roots look almost like fat carrots and often poke several inches above the soil.
These big fellows take more time than little red radishes. Plan on about 50 to 70 days, and in fall some may take up to 10 weeks.
That longer wait has a bonus. Daikon holds well in the ground, so you can harvest over several weeks instead of all at once.
The flavor is milder and a bit sweet. Many cooks slice it into stir-fries, pickle it, or grate it over rice and noodles.
Fun fact: in Japan, daikon is one of the most grown vegetables. Some farmers even grow special kinds that look like huge white balls.
Because roots go deep, loosen your soil at least a foot down. Space plants about four to six inches apart so each root has elbow room.
Plant daikon early in the season, like October. Then enjoy speedy small radishes while the big ones quietly bulk up underground.
8. Protect Young Radishes From Hungry Garden Pests
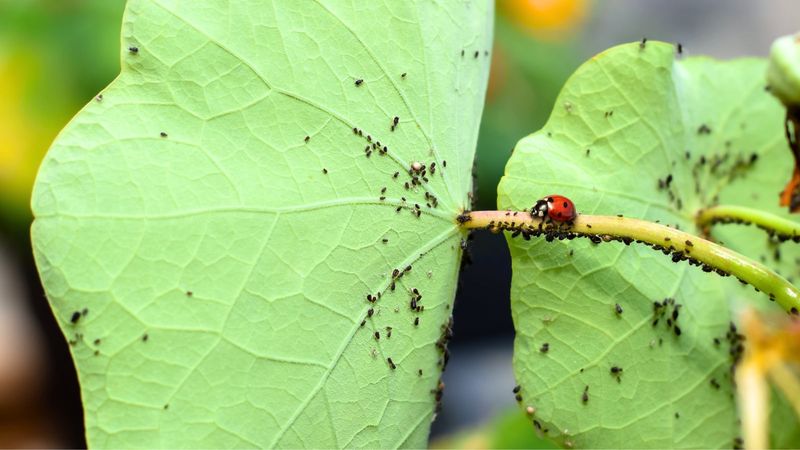
Your radishes are not the only ones excited about fall. Plenty of bugs think those tender leaves make a fine snack.
Radishes belong to the cabbage family, so they attract the same crowd. Watch for whiteflies, aphids, mites, caterpillars, and root maggots.
Check the leaves every few days, including the undersides. Tiny holes, sticky spots, or curled leaves are clues that uninvited guests have arrived.
Floating row covers are a simple shield. This light fabric lets sun and water in while keeping many flying insects out.
Drape the cover over small hoops right after planting. Tuck the edges into the soil so crawling bugs cannot sneak underneath.
Trap crops can help too. Marigolds, arugula, or mustard planted nearby may lure pests away from your main crop.
For light problems, try a strong spray of water to knock aphids off. You can also pick caterpillars by hand and drop them into soapy water.
Healthy plants handle pests better, so keep up with watering and good soil. Moving your radish bed to a new spot each season also helps break pest cycles.
9. Succession-Sow Radishes For Harvests All Fall
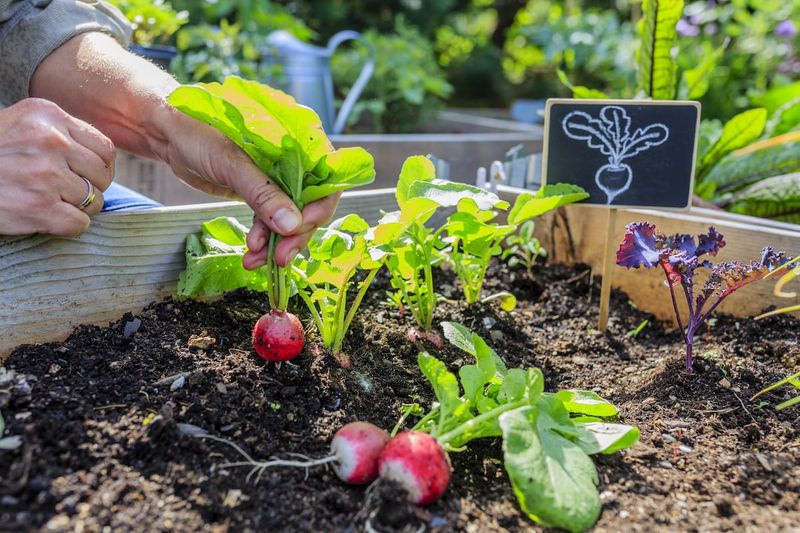
Why eat 50 radishes in one week when you could enjoy a handful every week? That is the smart idea behind succession sowing.
Succession sowing means planting small batches of seeds every one to three weeks. As one row finishes, the next is growing, and another is just sprouting.
Start with a short row in October. Then add another short row every couple of weeks through the cool months, all the way into March.
This method keeps your kitchen stocked without overwhelming you. It also makes good use of space, since harvested rows can be replanted right away.
A simple trick is to set a phone reminder. When it pings, grab your seed packet and sow a new row.
Label each row with the planting date. Wooden craft sticks and a marker work great and help you guess when each batch will be ready.
Try mixing varieties for fun. Cherry Belle, French Breakfast, and Easter Egg radishes come in different shapes and colors.
By the end of the season, you may have eaten radishes for months. Not bad for a crop that fits in a small bed and grows faster than almost anything else.