Get Your Hostas Ready For Winter Before The First Frost Hits New York
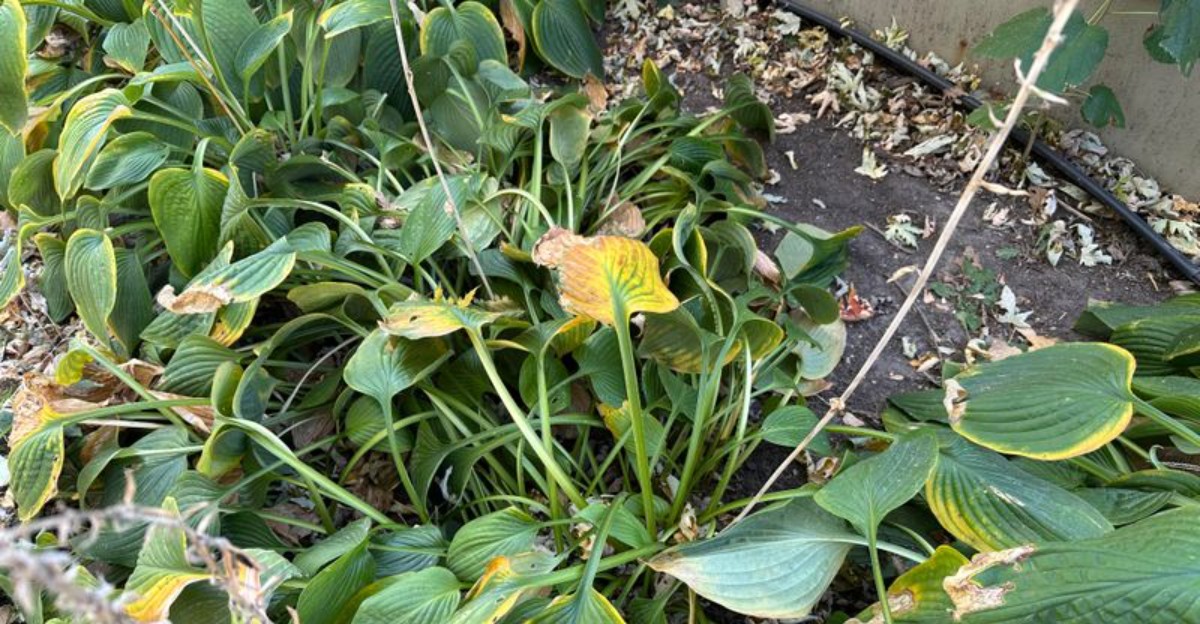
Somewhere between pumpkin spice season and the first scrape of an ice scraper, your hostas start asking for help. Those big, leafy beauties spent all summer shading your yard like green umbrellas.
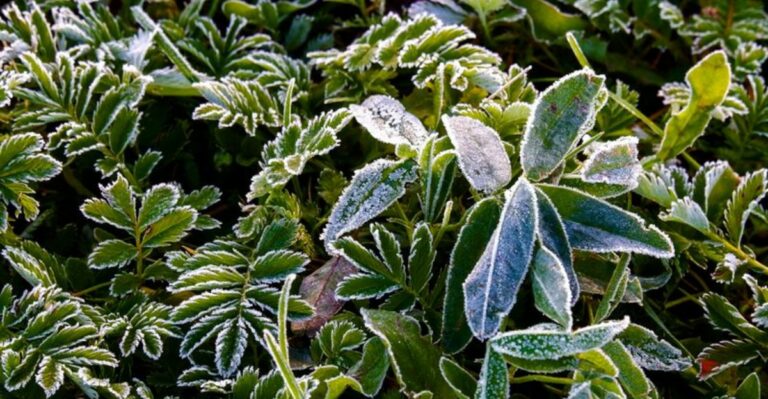
Now the air smells like fallen leaves, and chilly mornings nip at your fingers. Across New York, the first frost can sneak in faster than you expect.
A little fall care now can mean fuller, happier clumps when spring rolls around. Most of these jobs are simple, quick, and even a bit fun.
They cover everything your hostas need before winter settles in. Finish them now, and you’ll be rewarded with a leafy comeback next year.
1. Water Deeply During Dry Fall Spells
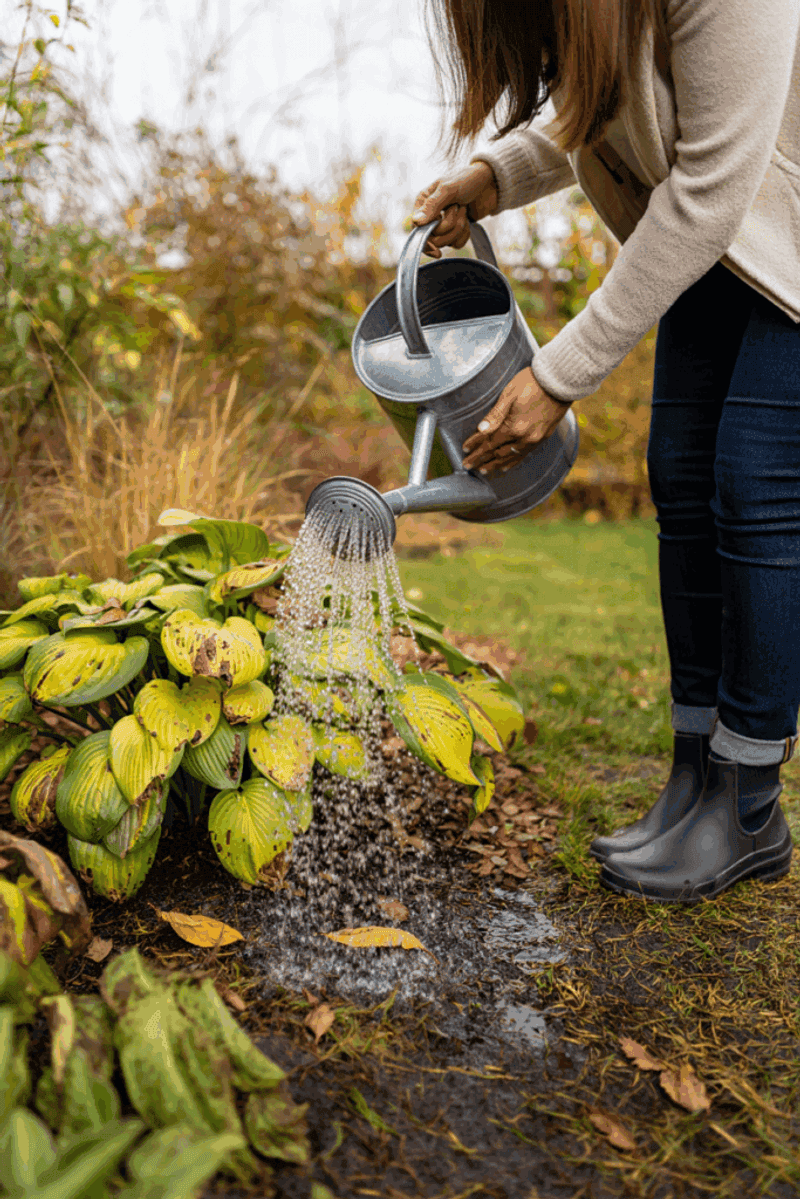
Picture a camel filling up before a long desert trip. Your hostas work the same way before winter arrives.
Roots need a good drink to carry them through months of frozen ground. A dry autumn can leave them thirsty right when they need moisture most.
Fall in New York sometimes brings weeks without steady rain. Check the soil with your finger to see how moist it feels.
Dig down about two inches before deciding to water. If the soil feels dry there, your hostas are ready for a drink.
Deep soaking works far better than quick, shallow sprinkles. Let a hose trickle slowly at the base for several minutes per clump.
Slow watering lets moisture sink deep where roots can reach it. Quick sprays mostly wet the surface and evaporate fast.
Aim for about an inch of water each week while plants are still active. A simple rain gauge or empty tuna can helps you measure.
Soggy soil is not the goal, though. Puddles that linger can lead to root rot, which hostas really dislike.
As temperatures cool, you can water less often. Many gardeners slow down to about once a month as frost nears.
Keep going until the first frost settles over your yard. After that, the frozen ground takes over and watering can stop.
Well-hydrated roots store energy for a bigger spring show. Think of each deep soak as a savings deposit for next year.
Plus, hand watering gives you a chance to look closely at each plant. You might spot slugs or damage you would otherwise miss.
2. Hold Off On Fertilizer So Plants Can Go Dormant
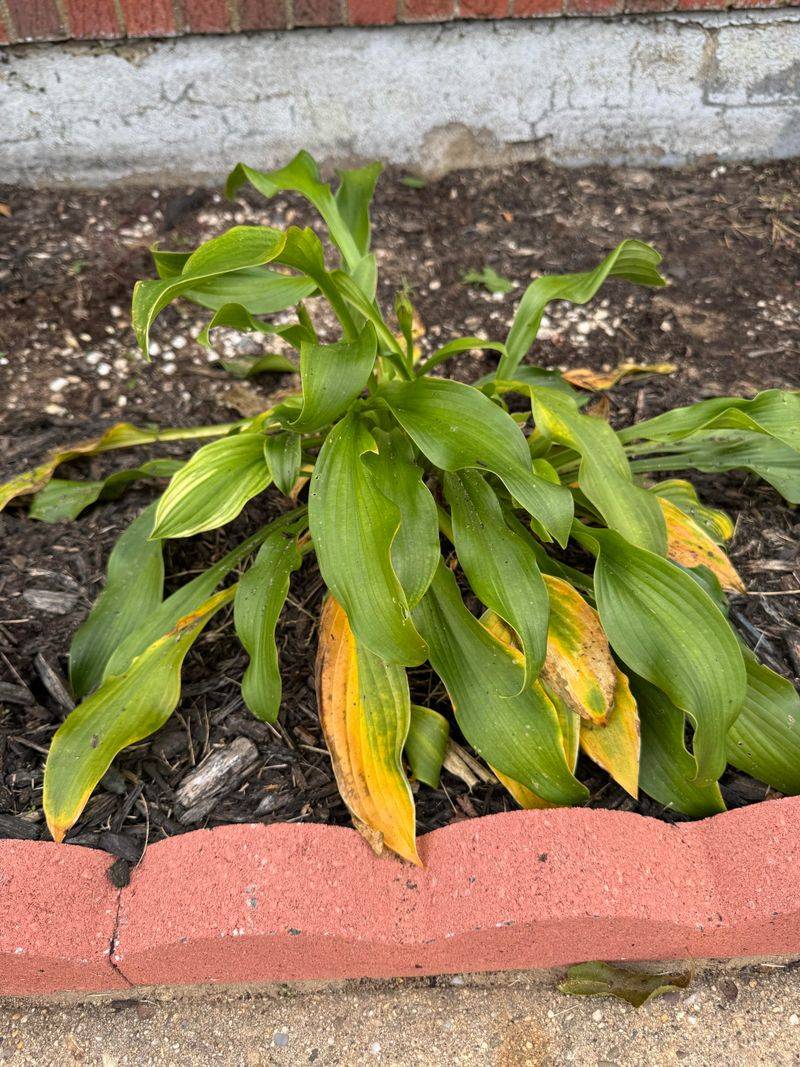
Nobody wants a triple espresso right before bedtime. Hostas feel the same way about fertilizer in late summer and fall.
Feeding them now sends a wake-up signal at the worst possible moment. Plants respond by pushing out soft, tender new leaves.
Fresh growth like that has no time to toughen up. One cold snap can turn it into brown mush overnight.
Meanwhile, the plant wastes energy it should be saving. Every leaf it grows now means fewer reserves tucked away in the roots.
Hostas have a smart natural rhythm. In autumn, they slowly shift energy downward into the crown and root system.
Stored energy acts like a packed lunch for winter. It fuels those first bold shoots when spring finally returns.
Your New York Garden Changes Every Week. Your Plan Should Too.
Gardening in New York changes quickly throughout the season. Every Friday you’ll receive a simple weekly plan showing exactly what to plant, prune, fertilize, harvest, and protect so you never miss the right timing.
Here in New York, fall weather can flip from warm to freezing quickly. Soft growth caught in that swing rarely holds up well.
So when should you feed? Spring is ideal, right as the pointed shoots poke through the soil.
Early summer works for a second light feeding if needed. After midsummer, it is wise to put the fertilizer bag away.
Craving something helpful to do instead? A thin layer of compost offers gentle nutrients without triggering a growth spurt.
Compost breaks down slowly over the colder months. By spring, the soil will be richer and ready for action.
Fun fact: hostas are native to Japan, Korea, and China. Their cold-weather rest period is built right into their DNA.
Trust their instincts this season. Sometimes the best gardening move is simply stepping back.
3. Spread Compost Around, Not Over, The Crowns
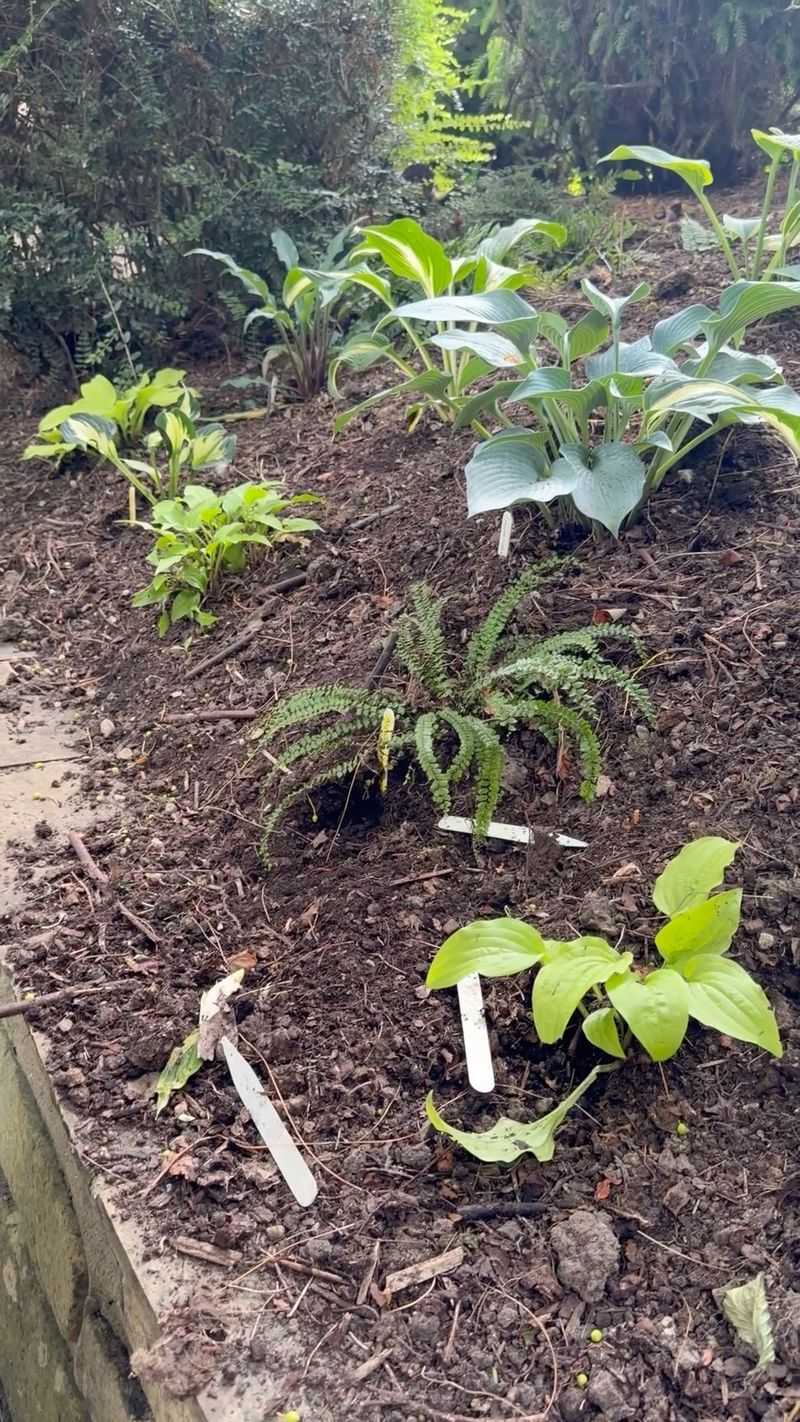
Think of compost as a cozy scarf, not a heavy hat. Wrap it around your hostas, but keep it off their heads.
The crown sits right at soil level where the leaves meet the roots. It holds next year’s buds, so it needs room to breathe.
Piling compost directly on top can trap moisture there. Wet, smothered crowns invite rot and hungry pests.
Instead, spread a ring around each plant. Leave a small gap of a few inches around the center.
A layer about two to three inches deep works nicely. You get good coverage without burying anything important.
So what does compost actually do? Quite a lot, as it turns out.
It insulates roots from wild winter temperature swings. One week might bring a thaw, the next a deep freeze.
It also feeds the soil slowly over time. Earthworms pull it down, mixing nutrients deeper where roots can use them.
Drainage gets better too, especially in heavy clay soil. Sandy soil, on the other hand, holds moisture more easily with compost added.
Homemade compost from kitchen scraps and leaves is perfect. Bagged compost from a garden center works just as well.
Got hostas in pots? A shallow top layer of compost gives them a small boost as well.
Grab a small rake or your gloved hands for the job. Gently pull compost away from the center if any slides inward.
Ten minutes of work can pay off with richer soil and sturdier plants. Not bad for a pile of old leaves and banana peels.
4. Label Each Clump Before The Leaves Disappear
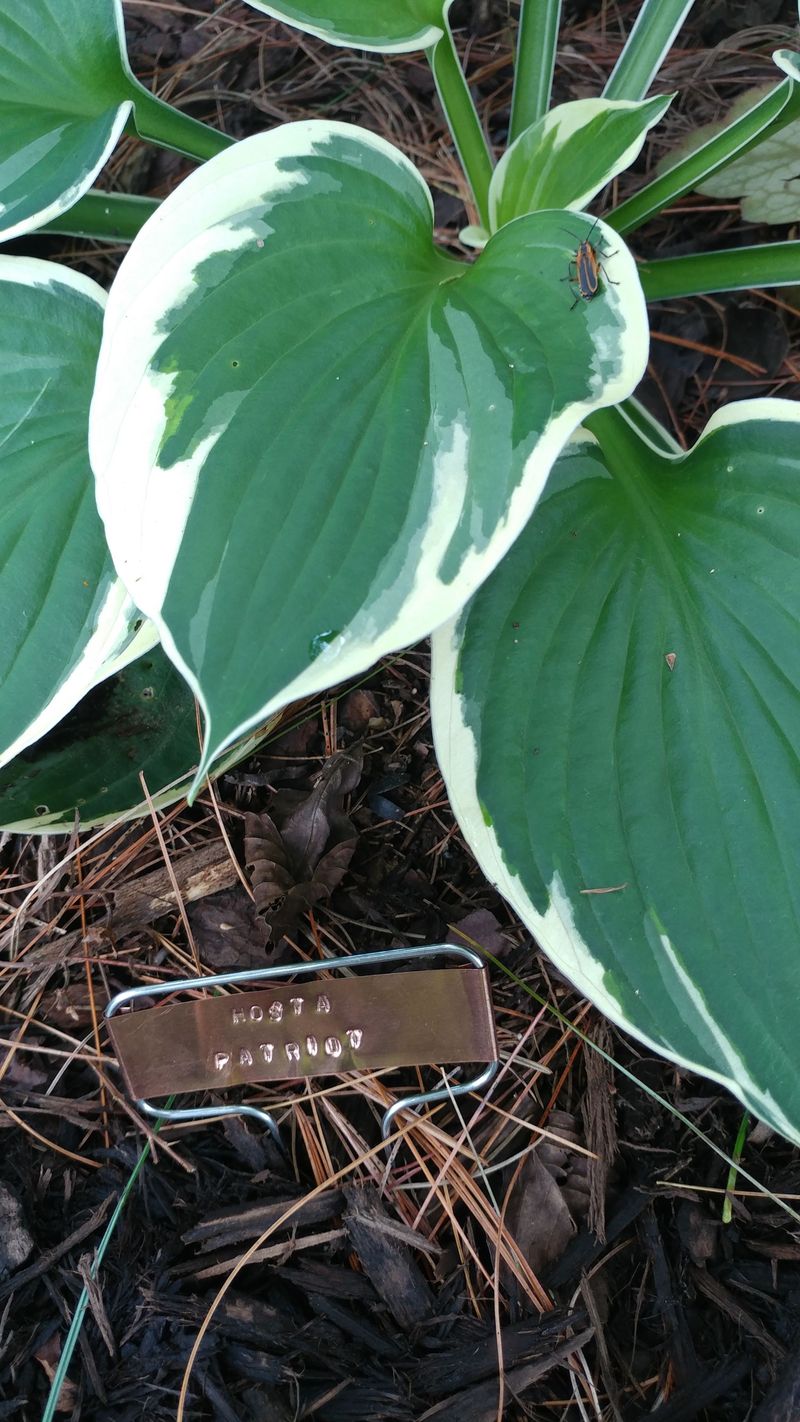
Ever stuck a shovel into bare soil and heard a sad crunch? Many gardeners have accidentally sliced into a sleeping hosta that way.
Once the leaves vanish, hostas become invisible. The spot looks like empty dirt, just waiting for a new plant.
Marking each clump now saves heartache later. It takes only a few minutes per plant.
Place a short stake or sturdy tag just behind each clump. Setting it behind, not on top, keeps the crown safe.
Write the variety name if you know it. Names like Sum and Substance or Frances Williams are easy to forget by April.
Choose labels that can handle winter. Snow, ice, and sun can fade regular ink faster than you might think.
Permanent garden markers on plastic or metal tags hold up well. Some folks use printed label tape for extra durability.
Popsicle sticks are cute but tend to rot quickly. Save those for seedlings indoors instead.
Many New York gardens get buried in snow for weeks at a time. Taller stakes help you find spots even under a white blanket.
For special varieties, back up your tags with a simple notebook list. Tags can get pulled by squirrels or kicked by boots.
A quick phone photo of each labeled clump helps too. You get a visual record with the date attached.
Labels also come in handy when friends ask for a division. You can tell them exactly which beauty they are getting.
Get this done before the first big snowfall. Your spring self will be very grateful.
5. Move Potted Hostas Into An Unheated Garage
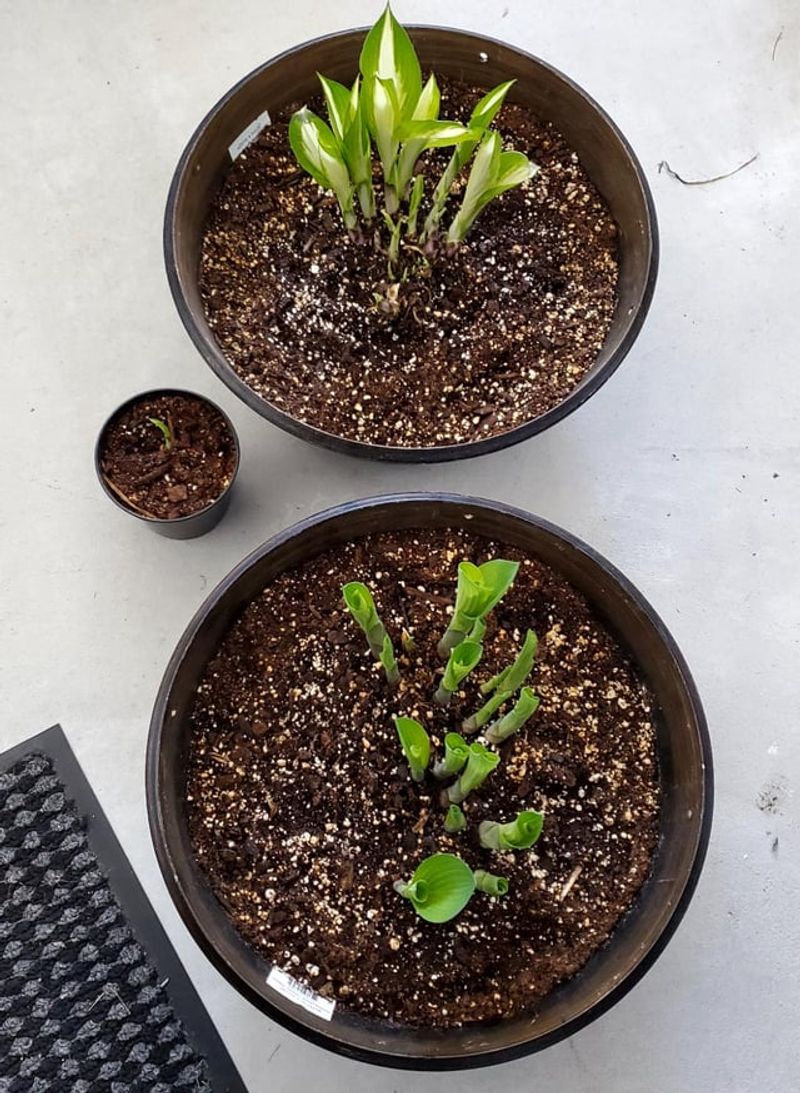
Container hostas live a little dangerously in winter. Their roots sit above ground, with only a thin pot wall for protection.
In-ground roots have tons of soil to buffer them. Potted roots can freeze solid, then thaw, then freeze again.
Those freeze-thaw cycles are rough on plants. Cracked pots and damaged roots often follow.
An unheated garage offers a happy middle ground. It stays cold but usually avoids the harshest dips outside.
Move pots once temperatures settle around 40 degrees Fahrenheit. In much of the state, that happens between late October and November.
Give each pot a good watering before the move. Moist soil helps roots stay hydrated during their long nap.
Then ease way off. Check every month or so and add a little water if the soil feels bone dry.
Too much water in a cold garage can cause rot. A light splash is plenty.
Resist the urge to bring hostas into your warm living room. They are not houseplants and truly need a chilly rest.
Without that cold period, they may sprout weakly or struggle next season. Winter chill is part of their yearly routine.
No garage? A shed, a cold porch, or a sheltered spot against the house can work.
Some gardeners bury pots in the ground or pile leaves around them. Both tricks add extra insulation.
Set pots on a board or old pallet to keep them off cold concrete. Come spring, roll them back out once hard frosts pass.
6. Set Vole Guards Around Prized Plants
Meet the vole, a tiny rodent with a big appetite for hosta roots. Many gardeners never see one until the damage is done.
Voles look a bit like chubby mice with short tails. They tunnel underground and munch on fleshy roots and crowns.
Winter is their favorite feasting time. Snow cover hides them from hawks and foxes, so they snack freely.
Come spring, you might tug a hosta and find it lifts right out. No roots, just a sad, chewed stub.
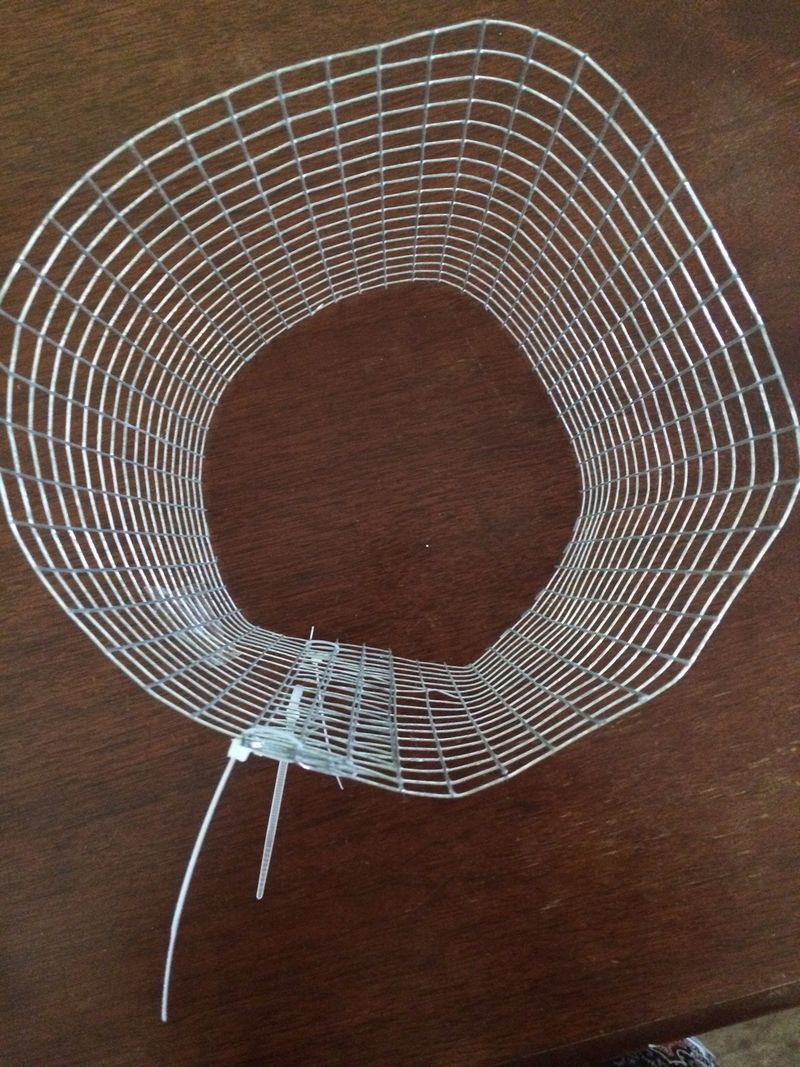
Wire guards offer solid protection. Hardware cloth with quarter-inch openings works best for most yards.
Shape the mesh into a cylinder around each prized clump. Bury it several inches deep so voles cannot tunnel underneath.
Leave at least an inch sticking above the soil. Otherwise, clever voles might simply scurry over the top.
Wear gloves while cutting mesh because the edges are sharp. Tin snips make the job much easier.
Voles are common across New York, from Long Island to the Finger Lakes. Rural and suburban yards both see plenty of activity.
Castor oil sprays can add another layer of defense. A mix of castor oil and dish soap on the soil helps repel them.
Apply it before the ground freezes for the best results. Rain washes it away, so reapply as needed.
Tidy up thick leaf piles near your beds too. Messy cover gives voles safe highways to your plants.
Guarding your favorite few hostas is a smart start. Pick the rare or pricey ones first.
7. Sketch Where Spring Divisions Will Go
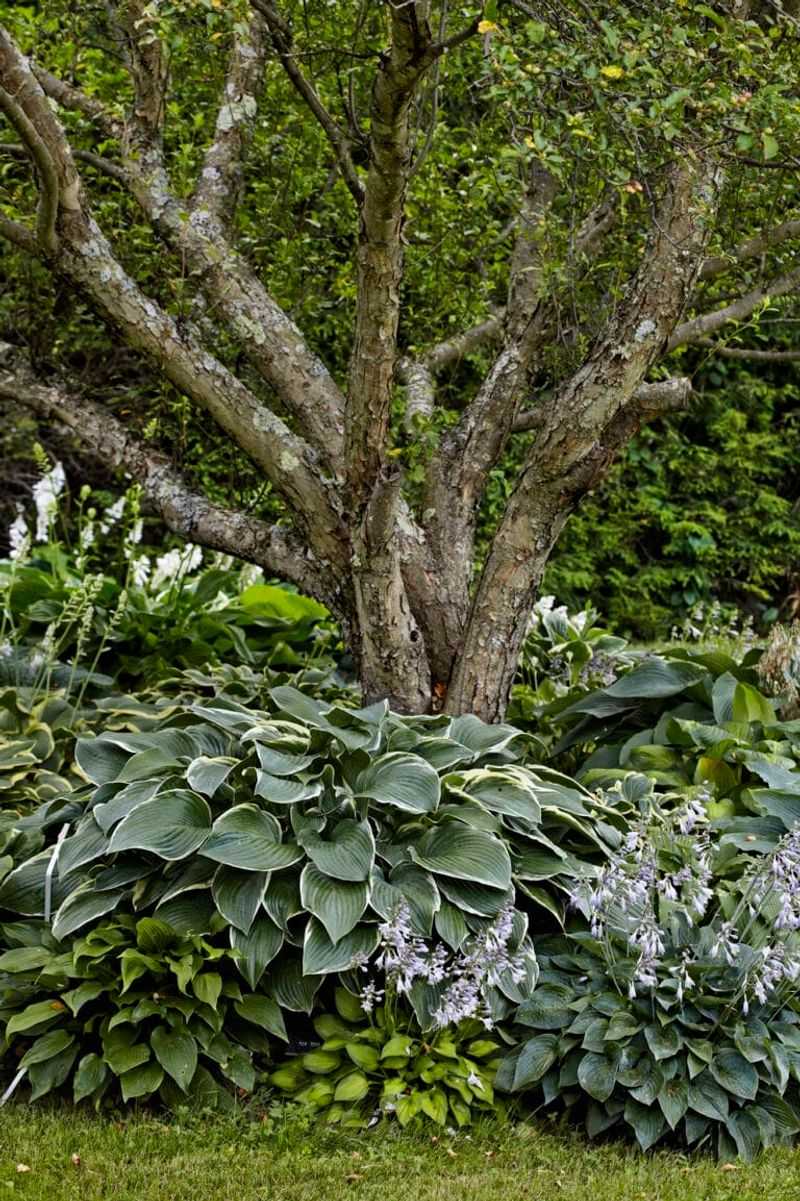
Grab a pencil and pretend you are a garden architect for a day. Fall is the perfect time to plan your hosta future.
Right now, you can still see each plant at full size. Once the leaves drop, that helpful view disappears.
Walk around and study every clump closely. Which ones are crowding their neighbors or looking cramped?
Big, mature hostas often have room to share. Dividing them in spring gives you free plants for other spots.
Look for bare patches that could use some green. Shady corners under trees are hosta heaven.
Now sketch it out on paper. Draw your beds, mark current hostas, and circle where new divisions could live.
Nothing fancy is needed here. Stick figures and rough boxes work just fine.
Prefer tech? Garden planning apps or a simple photo with notes can do the trick.
Think about spacing as you draw. Many hostas spread two to four feet wide at maturity.
Giving them room now prevents crowding headaches later. Good airflow also helps reduce disease.
Early spring is the classic time for dividing. The pointed shoots, called pips, make clumps easy to split.
Having a plan ready speeds up the whole process. You will know exactly where each piece belongs.
Your sketch also protects sleeping crowns from stray shovels. It works hand in hand with your plant labels.
Tuck the drawing somewhere safe for winter. A kitchen drawer or garden journal works great.
8. Leave Foliage Standing Until Frost Knocks It Down
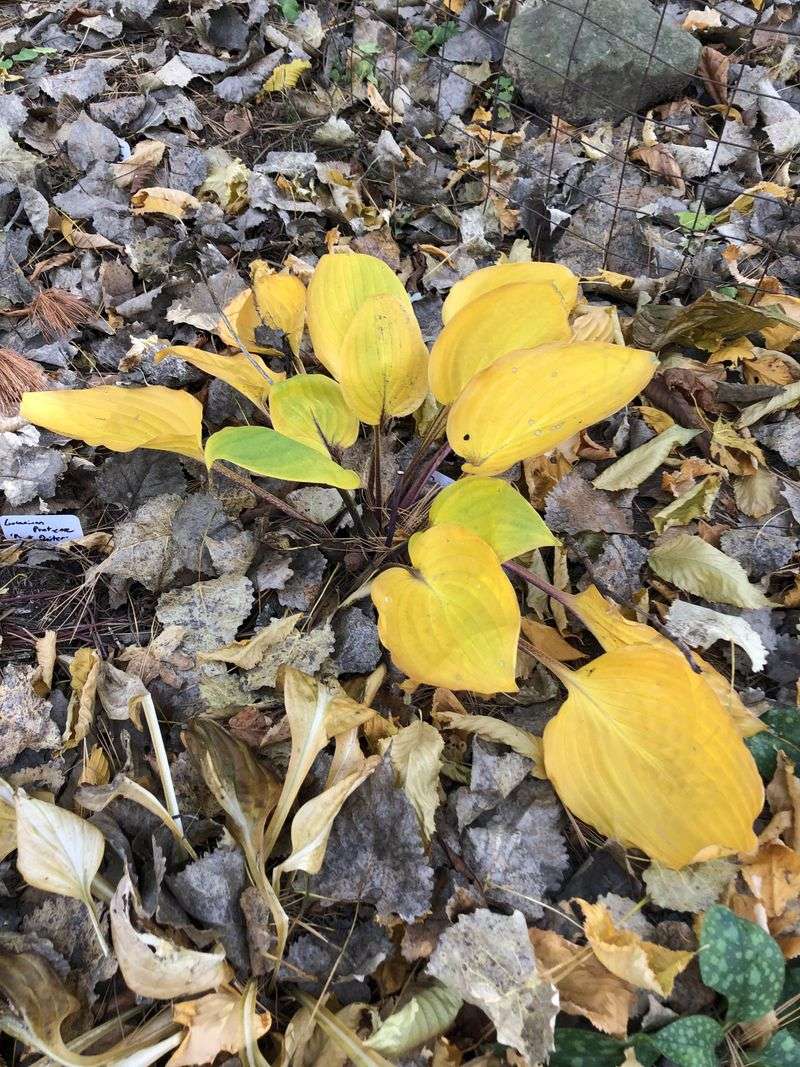
Tidy gardeners, this one might sting a little. Those hosta leaves need to stay put a while longer.
Green leaves are tiny solar panels. Even in cool autumn weather, they keep making food for the plant.
That food travels down into the crown and roots. It becomes the fuel that powers next spring’s growth.
Cutting healthy leaves early stops that energy flow. Your hostas may come back smaller or slower as a result.
So wait patiently for nature’s signal. A hard frost usually turns leaves yellow, brown, or mushy.
You will know it when you see it. The leaves flop over like wet paper towels.
Now it is time to trim. Grab clean, sharp shears for neat cuts.
Cut stems down to about one or two inches above the soil. Take care not to nick the crown below.
Why bother cleaning up at all? Soggy, rotting leaves make cozy winter homes for slugs and snails.
Slug eggs love hiding in that damp mess. Removing it means fewer hungry critters chewing holes in spring.
Fungal diseases can linger in old foliage too. Tossing it out lowers the chance of problems returning.
Skip the compost pile if leaves look spotted or diseased. Bag them for trash pickup instead.
Wipe your shears with rubbing alcohol between plants if disease is present. Clean tools help stop spreading trouble.
Patience pays off with this step. Let frost do the hard part, then swoop in with your shears.
9. Mulch After The Ground Freezes
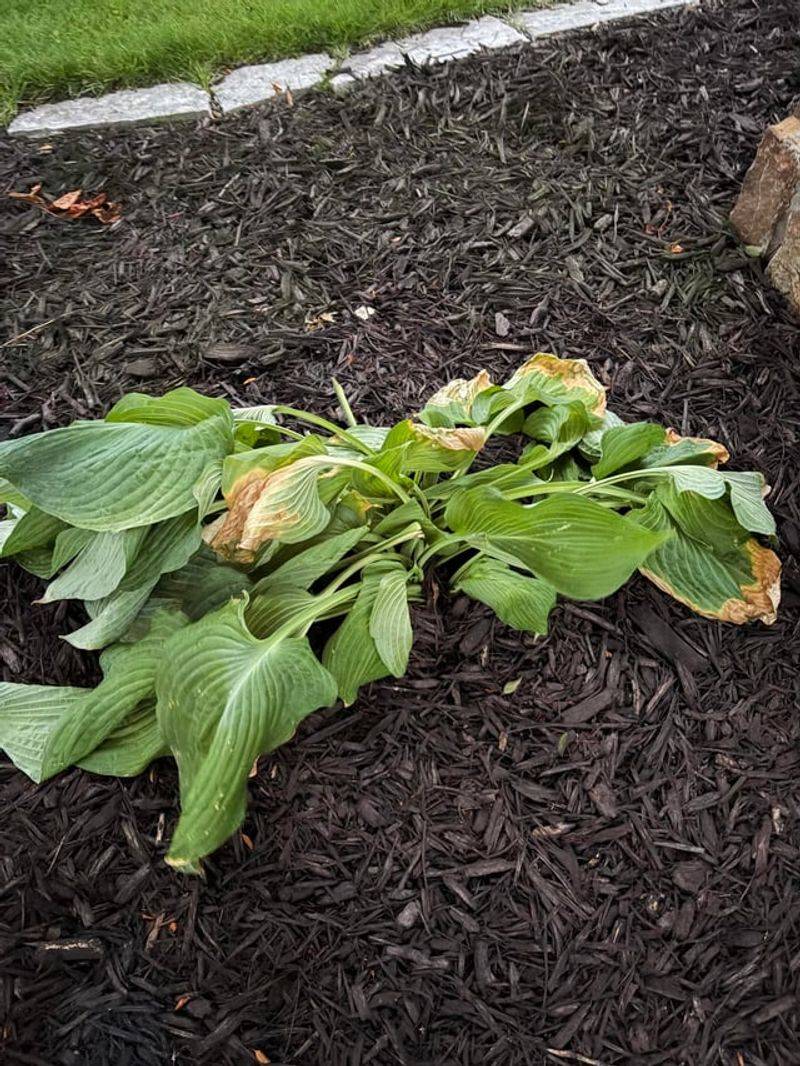
Timing is everything with winter mulch. Spread it too soon, and you might cause more harm than good.
Warm soil under fresh mulch can stay damp and cozy. Pests move in, and crowns may start to rot.
Waiting for the ground to freeze solves that problem. The goal is keeping soil cold, not warm.
Mulch acts like a lid on a cooler. It holds the frozen temperature steady through sunny winter days.
Steady cold prevents frost heaving. That happens when soil freezes and thaws repeatedly, pushing roots right out of the ground.
Heaved roots dry out fast in winter wind. A good mulch layer helps keep everything snug and in place.
In most of New York, soil freezes solid by December. Upstate areas may reach that point sooner.
Pick a natural material you have on hand. Shredded leaves, pine needles, straw, or shredded bark all work nicely.
Spread two to four inches around each plant. Keep a small gap near the crown, just like with compost.
Shredding leaves first matters more than you might think. Whole leaves mat down and can smother plants.
A lawn mower makes quick work of leaf shredding. Run over a pile a few times and you are set.
Mulch also helps hold moisture and block early weeds. Your spring cleanup gets a little easier as a bonus.
When new shoots appear, gently pull back extra mulch. Let the sun warm the soil and welcome your hostas home.