8 Mistakes To Avoid When Growing Hostas In New York
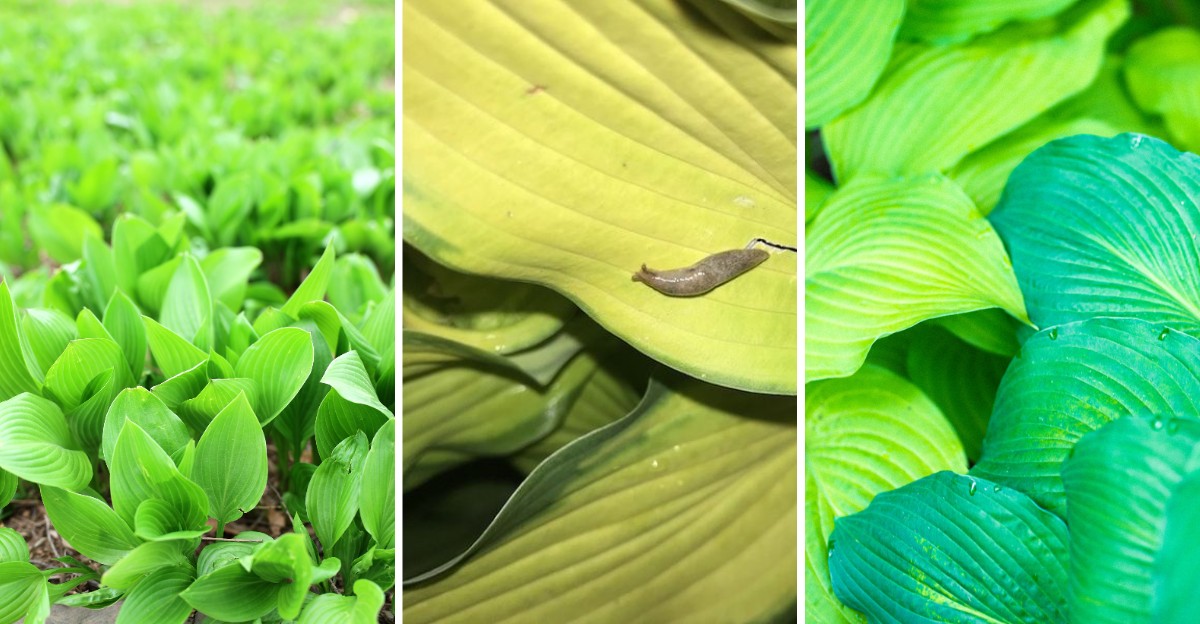
Deer in New York treat your hostas like a free salad bar. You plant them, they sprout, and then holes appear overnight.
Slugs nibble your leaves during soggy springs, leaving silver trails behind. Strong sun fades your thin leaf edges into brown, papery curls. Planting depth matters more than you think. Set the crown too deep, and you invite mushy roots.
Crowd your clumps too tightly, and you hold moisture that fungus loves. Lean on smart habits, and you gain a border that lasts decades.
Choose blue varieties for slug resistance, then give them shade to protect that waxy coating. Spray repellent on your plants before buds open, because deer sniff out tender shoots early.
Match each variety to your light, and you protect thin leaves from afternoon glare. Succeed in New York, and your neighbors will lean over fences.
1. Planting Them In Strong Afternoon Sun
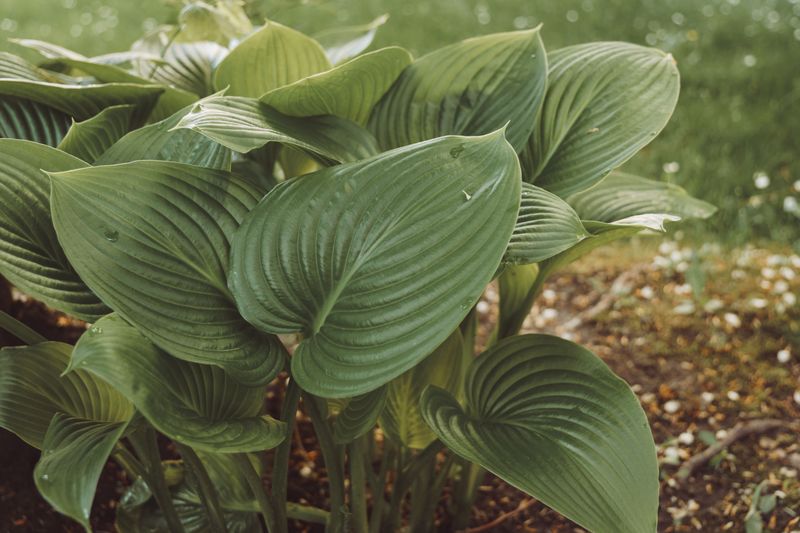
Picture a Long Island gardener who moves her prized blue hostas beside a sunny driveway for better viewing. By late July, the leaves turn brown and papery, and the bright color fades from view.
Hostas grow best with morning light and afternoon shade, especially in New York heat waves. Strong sun after noon dries out the leaf edges and fades bright colors into dull tones.
Blue varieties are sensitive because the waxy coating that gives them color wears away in strong heat. Gold and yellow types can handle a bit more light, but even they need relief by midafternoon.
Before planting, spend one sunny day watching your yard every couple of hours. Jot down where shadows fall at noon, two, and four o’clock so you know the real conditions.
North and east sides of houses usually work well in places like Albany, Buffalo, or Brooklyn. Spots under tall oaks or maples also offer dappled light that feels like a natural umbrella.
If your plants already show browned edges, consider moving them in early spring or early fall. Dig a wide root ball, water deeply afterward, and give them a few weeks to settle.
A quick fix for this season is a shade cloth or a tall potted plant placed nearby. Your hostas will thank you with fresh, glossy leaves by the next growing season.
Remember that trees leaf out later in upstate springs, so early sun may fool you in April. Check again in June, when the canopy fills in and the true shade pattern appears.
2. Overlooking The Pressure From Hungry Deer

Ask any Westchester gardener about deer, and you might hear a long, frustrated sigh. To a hungry doe, a bed of hostas looks like an all-you-can-eat buffet.
New York has roughly a million white-tailed deer, and many live close to suburban yards. They often visit at dawn or dusk, stripping many leaves from plants in a single night.
Fencing is a dependable deer defense, but it needs to stand about eight feet tall. Deer jump surprisingly well, so short garden fences only slow them down for a moment.
Your New York Garden Changes Every Week. Your Plan Should Too.
Gardening in New York changes quickly throughout the season. Every Friday you’ll receive a simple weekly plan showing exactly what to plant, prune, fertilize, harvest, and protect so you never miss the right timing.
Repellent sprays work too, especially ones made with egg, garlic, or hot pepper. Spray every couple of weeks and after heavy rain, since the scent washes off quickly.
Switching between two different repellent brands can often help over time. Deer may get used to one smell, so changing things up keeps them more wary.
Some gardeners tuck hostas behind plants deer dislike, such as ferns, hellebores, or barrenwort. Bitter flavors and tough textures can make the whole area feel less tempting to visitors.
Motion-activated sprinklers are another clever trick for open yards near woods or fields. A sudden burst of water startles deer, though they may adapt to it over time.
Thicker-leaved varieties like Sum and Substance resist slugs well, though deer browse them. Still, no hosta is truly deer-proof, so plan your protection before the first leaves unfurl.
Starting early matters because deer remember where they found a good meal last year. Break that habit in spring, and your summer garden will look far more peaceful.
3. Letting Slugs Feast On The Leaves
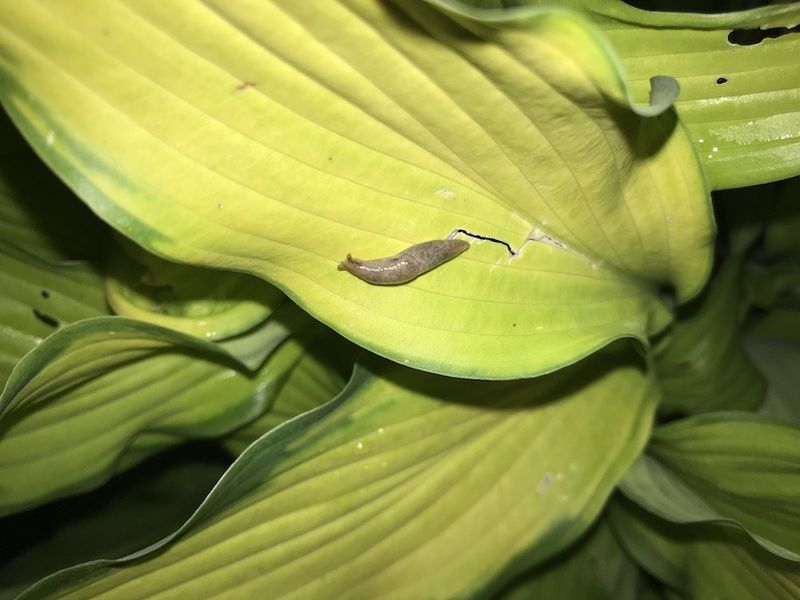
Walk outside with a flashlight on a damp June night, and you may catch the culprits. Slugs glide across the mulch, munching neat little holes in your best hosta leaves.
New York’s wet springs and humid summers create ideal conditions for these garden slugs. They hide under mulch, rocks, and boards during the day, then feed after dark.
The damage looks like irregular holes, often with shiny silver trails nearby. A few bites seem harmless, but a large slug group can leave foliage heavily perforated.
Beer traps are an old favorite that can catch some slugs in gardens. Bury a shallow dish level with the soil, fill it with beer, and empty it each morning.
Iron phosphate pellets are a lower-risk option, but keep pets away. Scatter them lightly around plants in early spring, when young slugs first start feeding.
Hand-picking is unpleasant, but it can make a real difference in small beds. Wear gloves, grab a bucket of soapy water, and head out after sunset.
Cutting back on thick mulch near the crowns can also help here. Keep mulch a few inches away from stems so slugs have fewer cozy hiding spots.
Watering in the morning instead of evening is another simple change worth trying. Soil dries a bit by nightfall, and slugs prefer moist ground for their late-night travels.
Thick, textured leaves resist slugs better than thin ones. Varieties like Blue Angel and Frances Williams hold up nicely against these nighttime nibblers.
4. Skipping Water During Dry Summer Spells
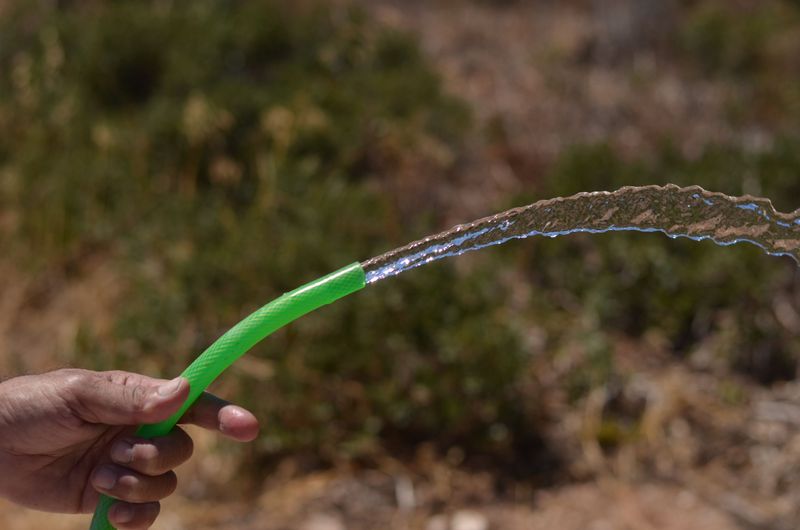
Hostas may love shade, but they are broad-leafed plants with surprisingly high water needs. Those wide leaves lose water quickly, especially during sticky New York summers.
July and August often bring dry spells, even in usually rainy places like the Hudson Valley. Without water, leaf edges turn brown and dry, and whole plants can flop over.
Aim for about one inch of water each week, from rain or your hose combined. A simple rain gauge stuck in the garden helps you track how much falls.
Deep, slow watering works much better than quick daily sprinkles. Let water soak down six inches or more so roots grow strong and reach deeper.
Soaker hoses are a useful tool for busy gardeners with large shady beds. Snake them between plants and run them until the soil is moist several inches down.
Trees overhead can steal moisture too, since their roots spread wide and grab water first. Hostas under maples need extra water, because maple roots are shallow and compete strongly.
Try the finger test before grabbing the hose each time. Push a finger two inches into the soil, and water only if it feels dry.
Morning watering is a reliable choice for healthy plants. Leaves dry quickly in daylight, which lowers the chance of rot and keeps slugs less interested.
Container hostas on patios or rooftops dry out even faster than garden ones. Check them daily in July, since pots in city heat can overheat by afternoon.
5. Waterlogged Roots In Heavy Clay Soil
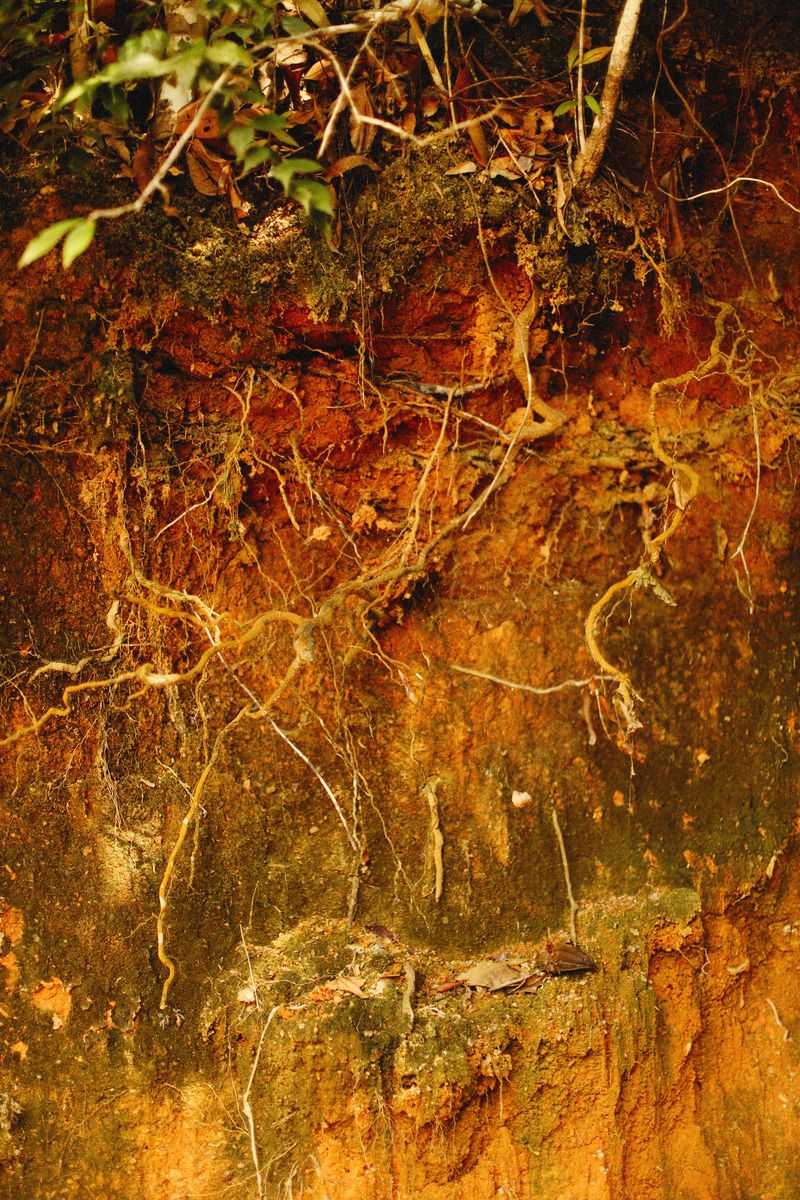
Many areas of New York have naturally heavy clay that holds water for long periods. Too much moisture around roots can lead to crown rot, a gradual, hidden problem.
Hostas enjoy moist soil, yet they struggle when sitting in puddles for days. Roots need air pockets to breathe, and soggy clay squeezes those pockets shut.
Warning signs include yellow leaves, mushy stems, and a sour smell near the base. Sometimes the whole plant pulls loose from the ground with one gentle tug.
Test drainage before planting by digging a hole about a foot deep. Fill it with water, and if it still holds water after several hours, you need changes.
Mixing compost into the soil is the easiest way to improve heavy clay. Work in two or three inches of compost across the whole bed, not just one hole.
Raised beds are another smart fix for low, wet spots in the yard. Even six inches of extra height can keep crowns above water during spring thaws.
Avoid planting in the lowest part of your lawn where snowmelt collects. Those dips stay wet for weeks in March and April across upstate regions.
Shredded leaves, aged bark, and leaf mold all loosen clay over time. Add a fresh layer each fall, and soil gets softer and darker year after year.
Common earthworms can help in compost-rich soil by opening channels for water and air. Avoid invasive jumping worms, and never add worms to your beds.
6. Planting Too Deep Or Too Shallow
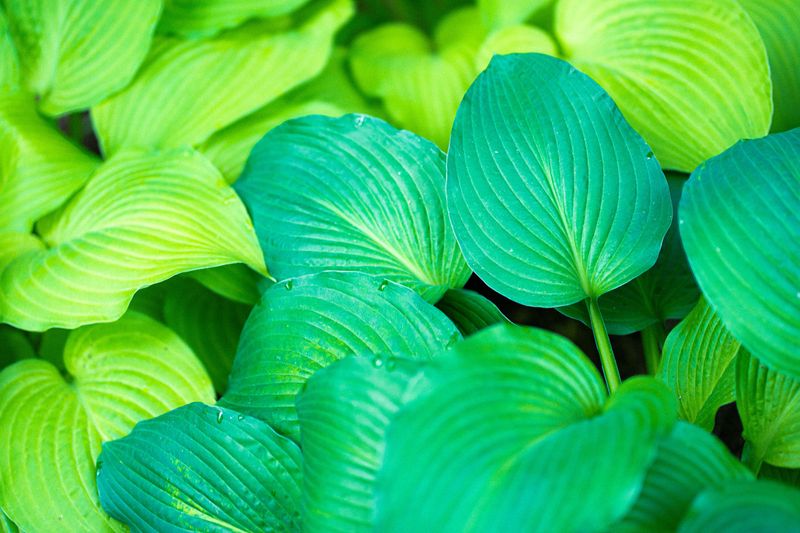
Depth sounds like a tiny detail, but it affects how well a new hosta establishes. The crown, where leaves meet roots, needs to sit right at soil level.
Planting too deep buries the crown and invites rot, especially in wet New York springs. Growth may also slow down, leaving you with a small, stunted plant for years.
Planting too shallow causes the opposite problem during cold winters. Exposed roots can dry out or get pushed up by frost heaving between freezes and thaws.
Frost heaving happens often in places like Syracuse and Rochester. Soil freezes, swells, thaws, and shifts, slowly lifting shallow plants right out of the ground.
Dig a hole about twice as wide as the root ball but no deeper. Wide holes give roots loose soil to explore, which helps them settle in faster.
Lay a shovel handle across the hole to check your level. The crown should line up with the handle, not sit above or below it.
Backfill gently with soil, then press it down with your hands to remove air pockets. Water slowly afterward, and add a little more soil if anything sinks.
Potted hostas from the garden center are easy to judge. Plant them at the same depth they sat in their plastic nursery pot, no lower.
Bare-root plants bought by mail need a bit more care. Spread the roots over a small mound of soil, with the crown buds just peeking out.
Check new plantings after the first big rain, too. Soil often settles, and a quick touch-up keeps the crown at its proper height.
7. Crowding Plants Without Room To Grow
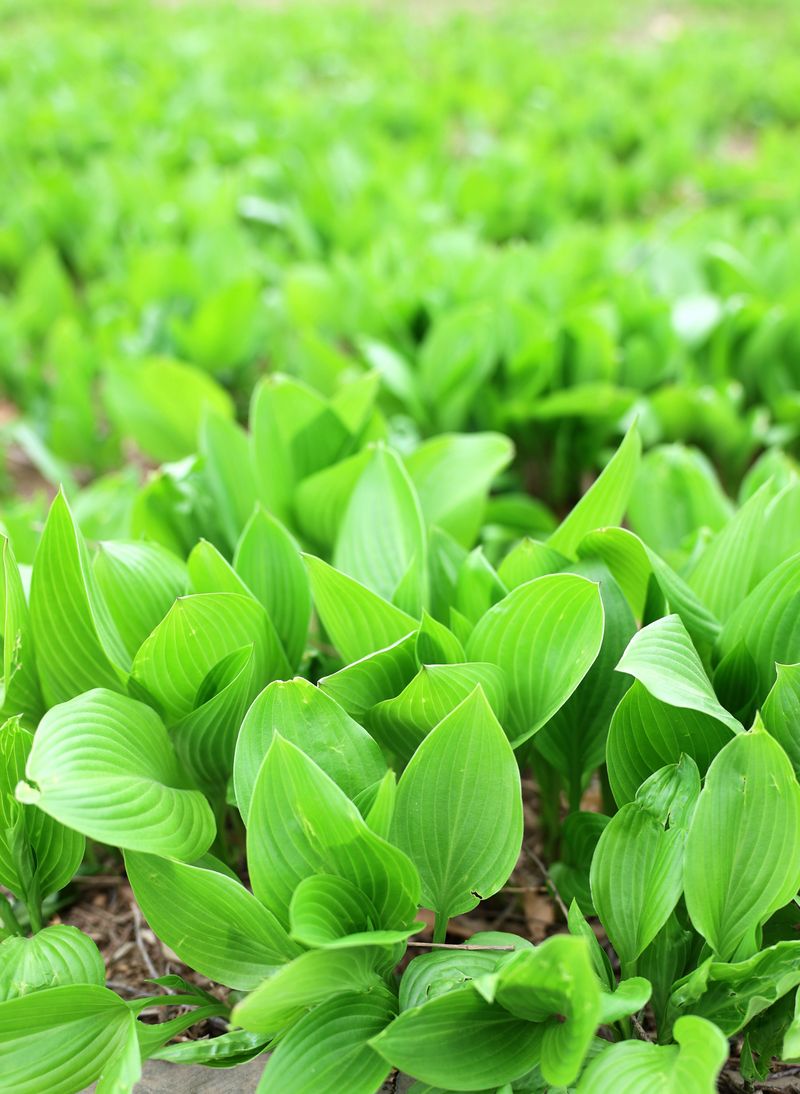
That tiny hosta in a one-gallon pot looks so innocent at the store. Give it five years, and a large variety might stretch nearly four feet wide.
Many New Yorkers plant hostas too close together, hoping for a full look right away. Crowded plants compete for water and nutrients, and few of them reach their best size.
Tight spacing also blocks airflow between leaves, which matters a lot in humid summers. Damp, still air encourages fungus, leaf spots, and happy slug families.
Read the plant tag carefully before you dig, and look for the mature width. Small varieties may need only a foot of space, while giant types need several feet.
A good rule is to space plants about as far apart as their full width. Sum and Substance, for example, deserves at least five feet of elbow room.
Empty gaps may look bare for the first couple of years. Fill them with coleus or New Guinea impatiens until the hostas grow into their space.
Watch for crowding near other plants, too, like ferns, astilbe, and shrubs. Tall neighbors can shade hostas too heavily or steal water from their roots.
Overcrowded clumps often show smaller leaves and a hollow center over time. Those clues mean the plant needs more space or a good division now.
Sketching your bed on paper before planting helps you picture the final layout. Draw circles for each mature plant size, and the right spacing becomes easy to see.
8. Forgetting To Mulch As Winter Arrives
Winter in New York can often swing widely, from icy blasts to sudden warm spells. Hostas handle cold well, but those big swings can stress their roots.
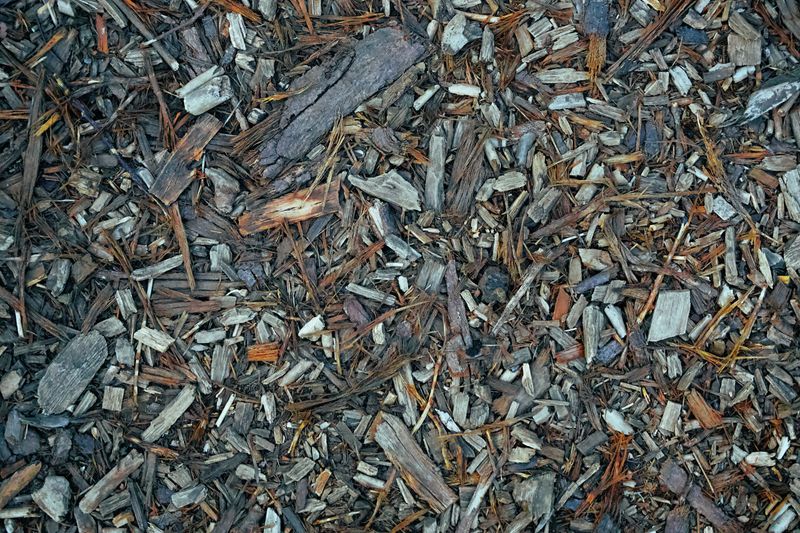
A layer of mulch acts like a cozy blanket over the soil. It keeps temperatures steady, so the ground stays frozen instead of thawing and refreezing repeatedly.
Wait until the ground freezes lightly, usually between November and December depending on region. Mulching too early can trap warmth and invite mice to build winter homes nearby.
Shredded leaves, pine needles, and straw all work well as winter mulch. Spread about two or three inches over the bed, keeping it loose and fluffy.
Clean up old hosta leaves first, once they turn yellow and flop over after frost. Old foliage hides slug eggs and fungus spores that wake up hungry in spring.
Gardeners in the Adirondacks and Tug Hill face cold winters with deep snow. Snow actually insulates plants nicely, so a good snow cover can be a helpful friend.
Potted hostas need extra attention because their roots sit above ground. Move containers into an unheated garage or bury pots in the garden for the season.
Come spring, pull mulch back gently as soon as you see shoots poking up. New sprouts need sunlight and air, and heavy mulch can make them weak and pale.
Keep a little mulch close by in case of a late frost in April. A quick cover overnight can protect tender new leaves from brown frost damage.