When To Cut Back Phlox In Virginia For Bigger Blooms Next Summer
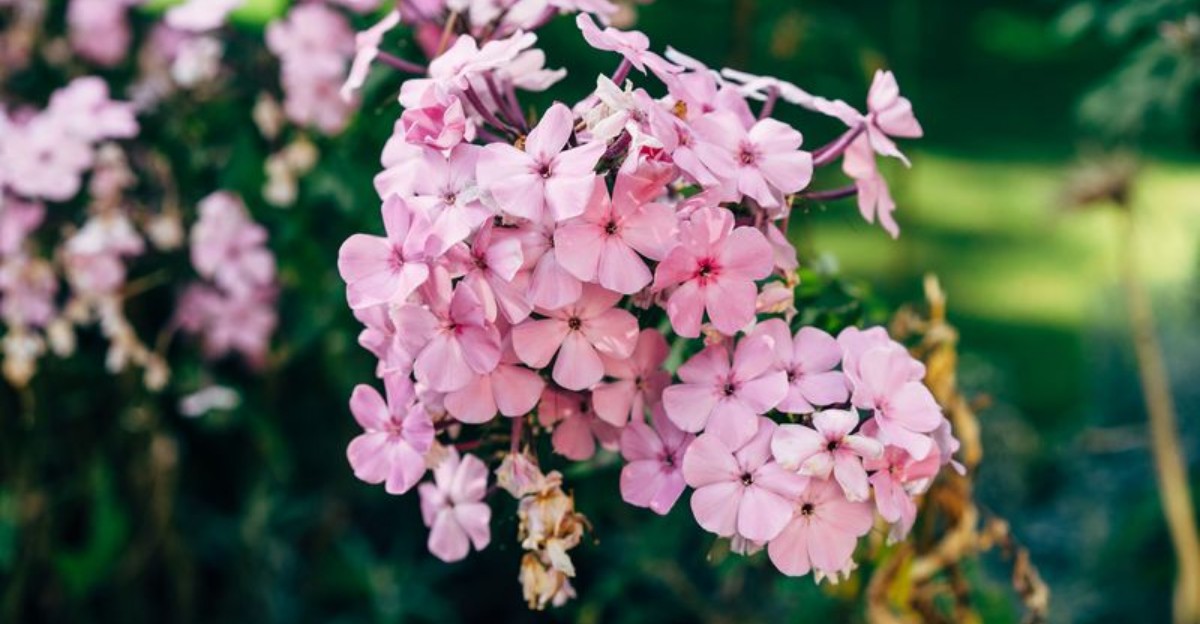
Snip at the wrong moment, and your phlox might sulk all next summer. Get the timing right, and those sweet-smelling clusters come back bigger, brighter, and buzzing with butterflies.
Virginia’s long growing season and sticky summer air make phlox care a little different than in colder states. That humidity also invites powdery mildew, which smart timing helps keep in check.
A July evening with pink and lavender blooms glowing by the porch starts months earlier. Often, it begins with a pair of sharp shears and a little patience.
Some jobs belong in late fall, while others wait for the first green shoots of spring. A few even happen right in the middle of summer.
Luckily, phlox are forgiving plants that reward a little attention. The schedule below shows exactly when to cut, thin, and pinch for your best season yet.
After A Hard Frost Blackens The Foliage
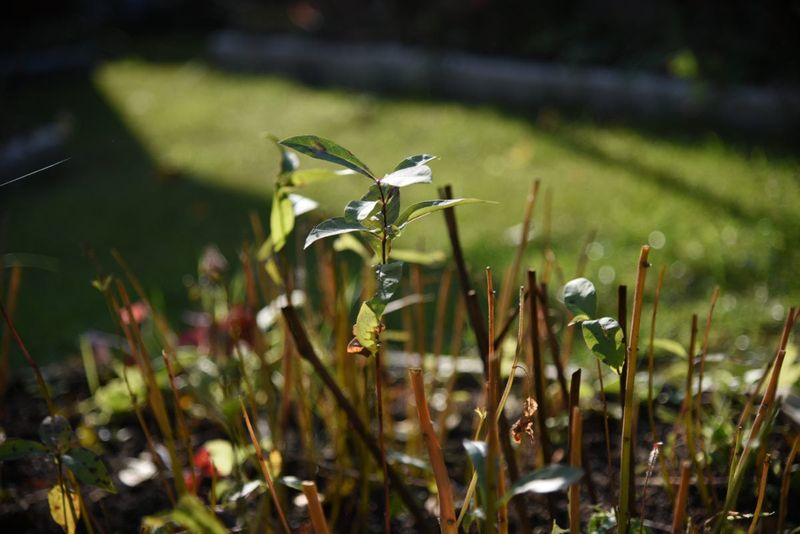
Patience pays off in a big way with tall garden phlox. Your cue to prune comes from nature, not the calendar hanging in your kitchen.
Wait until a hard frost turns the leaves and stems dark and limp. In much of Virginia, that usually happens between late October and late November.
Mountain gardens near Blacksburg may see that first hard freeze weeks before the coast does. Folks near Virginia Beach might wait until December before their plants finally slump.
Blackened foliage tells you the plant has settled into its winter rest. Roots are now storing energy underground instead of sending it up to leaves and flowers.
Cutting too early can confuse the plant during a warm spell. Tender new shoots may pop up and then get zapped by the next cold snap.
Fall pruning also gives you a head start against powdery mildew. Old, crusty leaves can hold fungal spores that wake up hungry when spring arrives.
A quick walk through the garden each morning helps you spot the change. Healthy green leaves will look wilted, dark, and a little mushy after a solid freeze.
Some gardeners mark the date in a notebook every year. Over time, you learn the pattern for your own yard and plan your cleanup day with ease.
Keep a small bucket nearby while you work. Tossing clippings in as you go keeps the bed tidy and saves a second trip later.
Cut Stems Down To A Few Inches
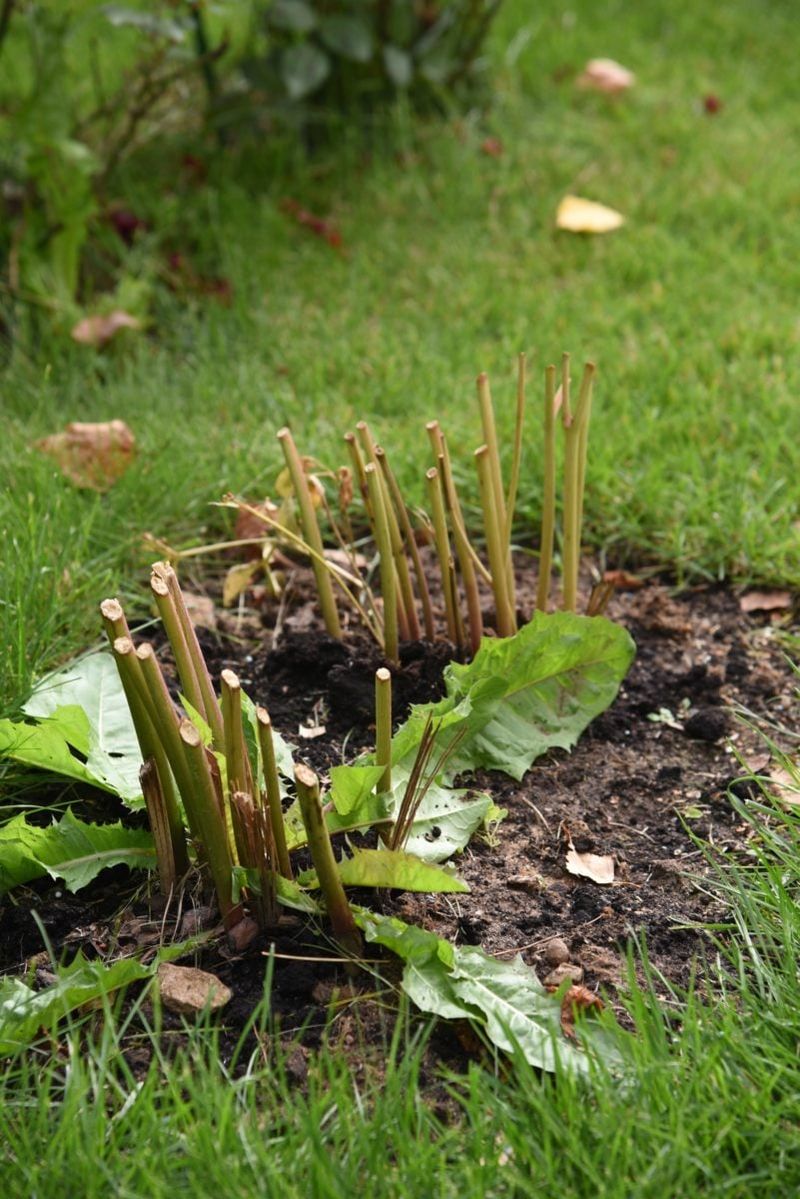
Short and sweet is the goal once frost has done its job. Most experts suggest trimming tall phlox stems to about two or three inches above the soil.
Some gardeners go even lower, leaving just one or two inches. Either height works well, so pick what feels comfortable for your routine.
Sharp, clean pruning shears make the task smooth and quick. Dull blades can crush stems, leaving ragged ends that invite rot and disease.
Wipe your blades with rubbing alcohol before you start. A clean tool helps stop problems from hopping from one plant to the next.
Hollow phlox stems make cozy winter hideouts for certain insects. Trimming them low removes those shelters before pests can move in for the season.
Your Virginia Garden Changes Every Week. Your Plan Should Too.
Gardening in Virginia changes quickly throughout the season. Every Friday you’ll receive a simple weekly plan showing exactly what to plant, prune, fertilize, harvest, and protect so you never miss the right timing.
Leaving short stubs also helps you remember where each plant sits. Come spring, you will know exactly where not to dig or plant bulbs.
Here is a handy trick for bigger beds. Grab a bundle of stems in one hand, then cut them together in a single clean snip.
Angle each cut slightly if you have time. Water slides off slanted ends more easily, which helps prevent soggy stubs during wet winters.
After trimming, spread a thin layer of shredded leaves or mulch around the crown. Keep it loose and light so the base can breathe through winter.
A tidy bed in November makes spring cleanup much faster. Your future self will thank you when March arrives.
Bag Leaves Spotted With Powdery Mildew
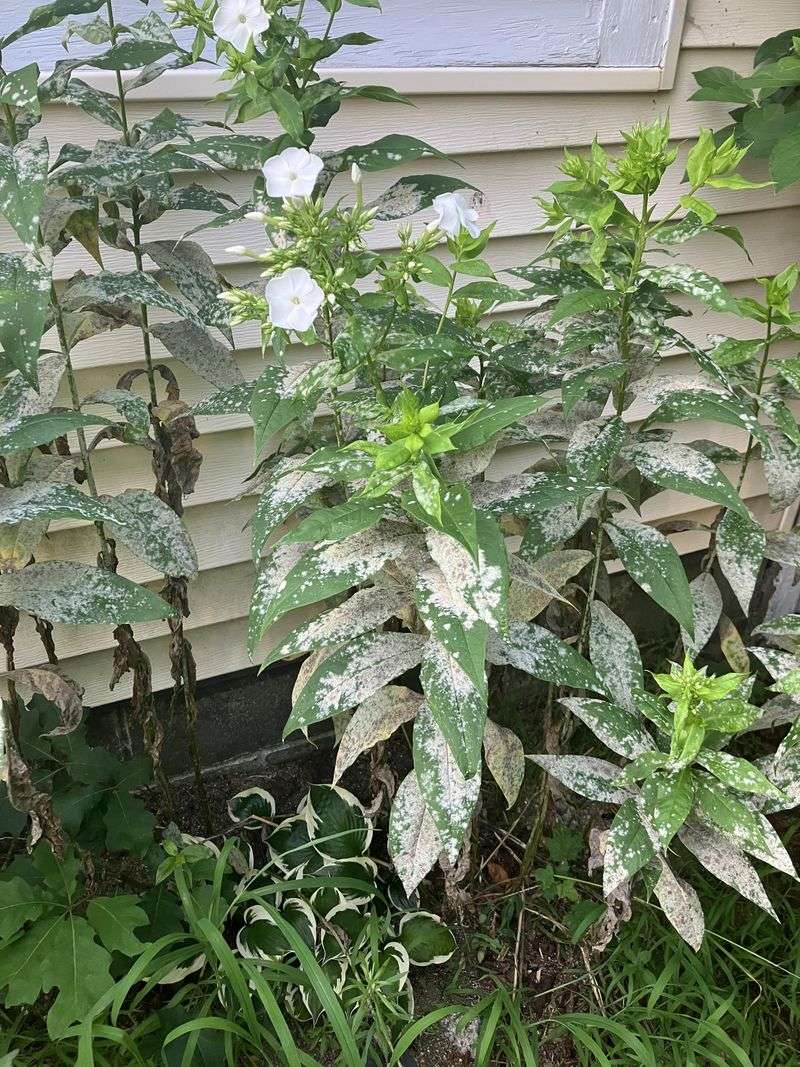
White dust on your phlox leaves looks harmless, almost like someone sprinkled flour. Sadly, that powder is a fungus called powdery mildew, and it loves Virginia humidity.
Tall garden phlox is especially prone to it. Muggy August nights across the state create the perfect playground for this stubborn disease.
Mildew spores can survive winter hiding on old leaves. When spring warms up, they spread to fresh shoots and start the cycle again.
Removing every scrap of spotted foliage breaks that chain. Rake up fallen leaves around the base too, since spores cling to them.
Skip the compost pile for these clippings. Most home compost bins stay too cool to destroy fungal spores fully.
Instead, bag the infected leaves and put them out with the trash. Tying the bag shut keeps spores from drifting back into your garden.
Clean your shears after handling sick plants. A quick dip in a bleach solution or a wipe with alcohol does the trick nicely.
Fun fact for curious gardeners: many newer phlox varieties were bred for mildew resistance. Names like David and Jeana often stay cleaner through humid summers.
If your old plants struggle every year, try swapping one for a tougher variety. You might be surprised at how much greener your border looks by midsummer.
Healthy leaves feed the roots, and strong roots grow bigger blooms. A little cleanup now truly shapes next year’s flower show.
Leave Creeping And Moss Phlox Out Of Fall Cleanup
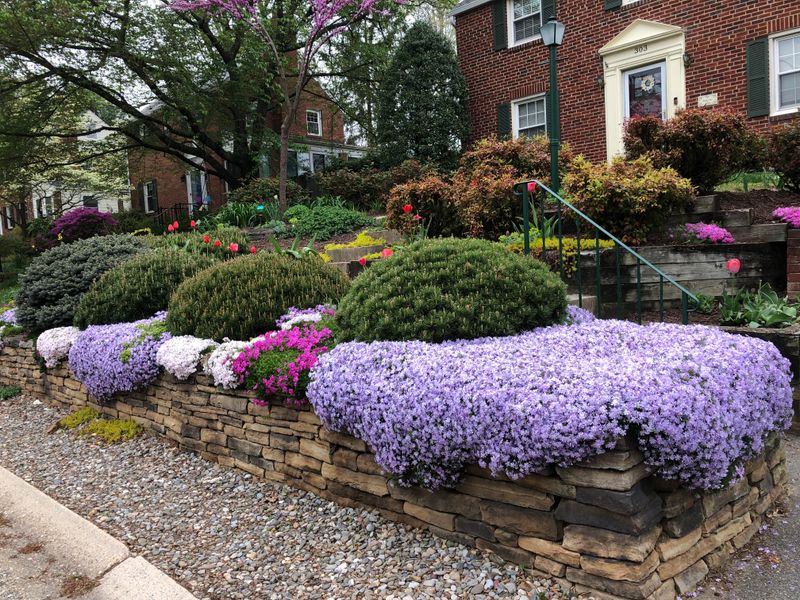
Not every phlox wants a fall haircut. Creeping phlox and moss phlox play by a very different set of rules.
These low mats burst into color in mid to late spring. Pink and purple carpets often spill over rock walls and slopes all across Virginia in April.
Their needle-like foliage often stays green through milder winters. Cutting it back in fall strips away that protection and weakens the plant.
Instead, prune these ground huggers right after they finish blooming. Late spring or early summer is the sweet spot for shaping them.
Shear off faded flowers and trim straggly edges by about half. The plant responds with thick, lush growth that sets up next year’s buds.
Wait too long, and you may snip off flower buds forming for spring. Creeping phlox sets those buds during the summer and fall months.
Moss phlox has a bonus perk worth celebrating. It tends to resist powdery mildew far better than its taller cousins.
A light tidy-up in early spring is usually enough. Pull out any brown patches or leaves that blew into the mat over winter.
Think of these plants as low-maintenance neighbors. They ask for one trim a year and pay you back with a sea of blossoms.
Keep them in mind during your autumn chores. Skipping them saves time and protects one of spring’s prettiest shows.
Thin Crowded Stems When New Shoots Appear In Spring
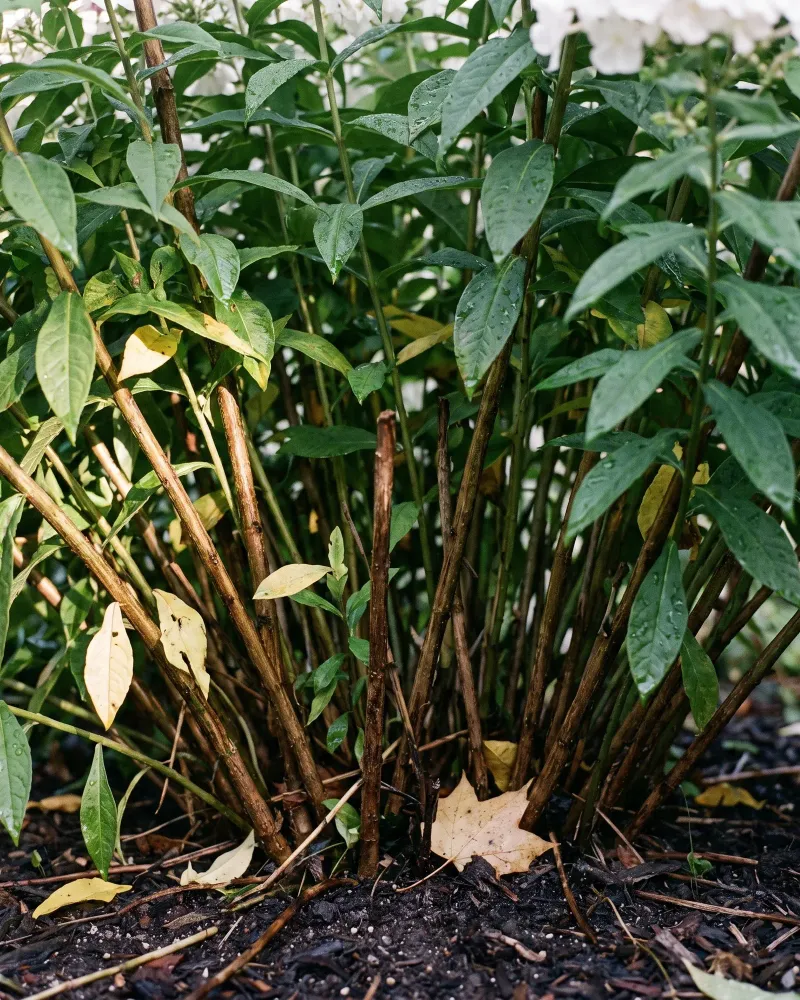
Spring shoots pop up like excited kids at recess, all crowding together. A little thinning helps the strongest ones shine.
Wait until the new stems reach about four to six inches tall. In Virginia, that often happens between late March and mid April.
Look for the thickest, healthiest shoots and keep those. Snip or pinch out the skinny, weak ones right at ground level.
A good rule is to leave about four to six strong stems per clump. Mature plants with wide crowns might handle a few more.
Why bother removing perfectly good growth? Each stem you remove sends more energy into the stems that stay.
Better air flow is another major win. Breezes can move through the plant, drying leaves faster after rain or morning dew.
Dry leaves give powdery mildew far fewer chances to settle in. Thinning ranks among the easiest ways to fight it without sprays.
Picture a crowded bus on a hot day versus one with open seats. Your phlox feels the same relief when it has room to breathe.
Thinned plants often produce larger flower heads, too. Fewer stems mean each one gets more food, water, and sunlight.
Toss the removed shoots in your compost if they look healthy. Clean, fresh green growth breaks down quickly and feeds your garden later.
Pinch Tips In Late Spring For Fuller Plants
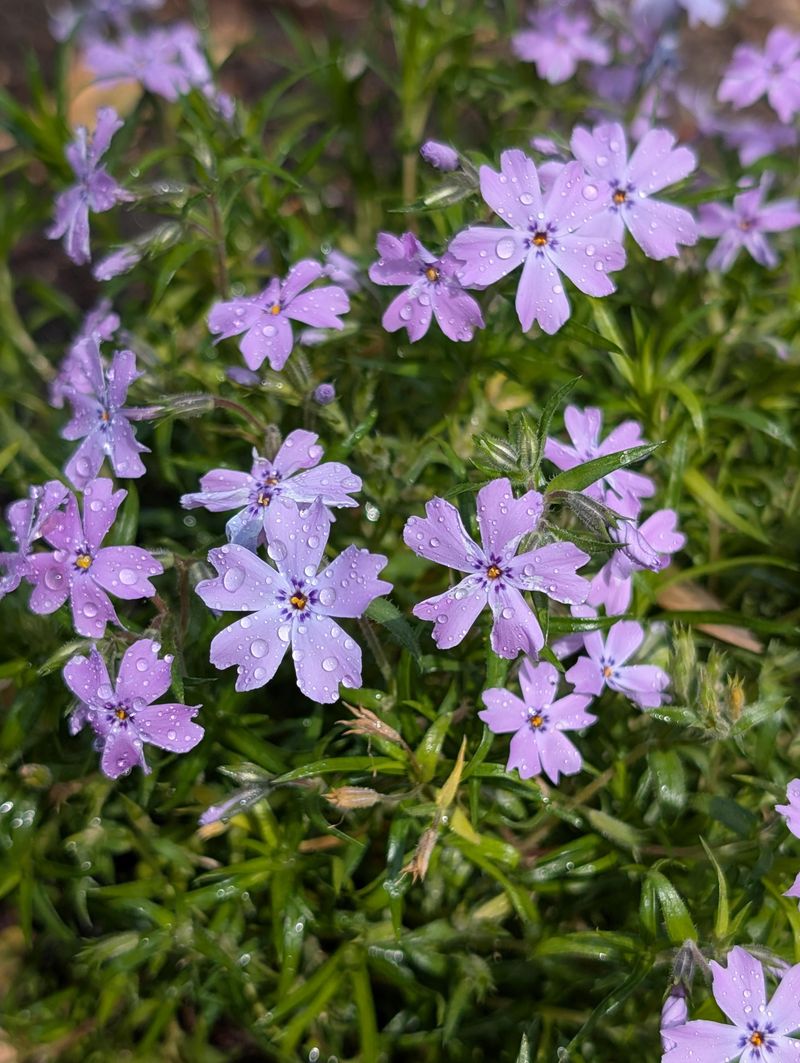
Ever wish your phlox looked less leggy and more lush? One quick trick can turn a lanky plant into a bushy beauty.
Pinching means removing the top growing tip of each stem. You can use your fingers or small snips for the job.
Aim for late spring or very early summer. Late May through early June usually works well for tall garden phlox.
Cut or pinch stems back by about one-third to one-half. Side shoots will branch out below the cut within a couple of weeks.
More branches mean more flower heads later in summer. Your plant also stands sturdier, so it flops less during summer thunderstorms.
Blooms will show up a bit later than usual. That short delay is a fair trade for a fuller, flower-packed display.
Here is a clever idea many gardeners love. Pinch only half the stems on a clump and leave the rest alone.
The untouched stems bloom first, and the pinched ones follow a few weeks behind. Your flower season stretches out longer without any extra plants.
Avoid pinching after late June, though. Late cuts can remove the buds forming for July and August blooms.
Keep a light touch and trust the process. Within weeks, you will see new shoots racing upward, ready to fill the garden with color.
Remove Spent Flowers In Summer For A Second Flush
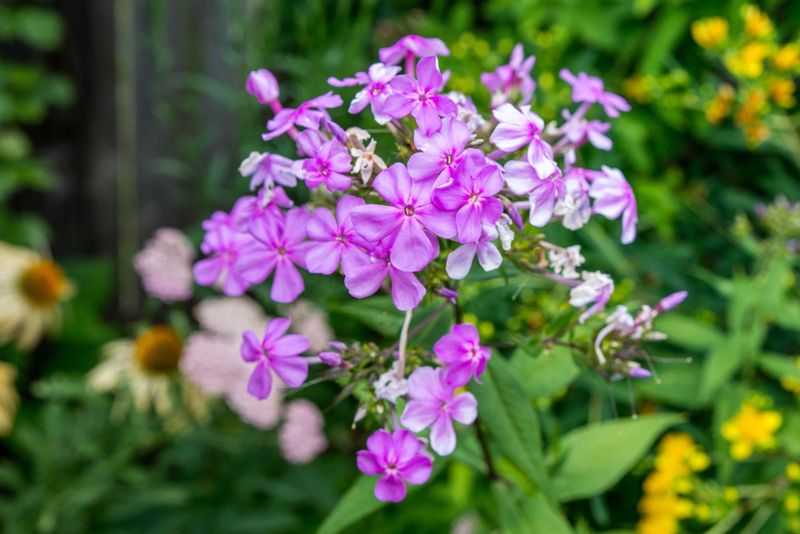
Faded flowers can make a garden look a little tired by August. Luckily, a few snips can wake your phlox right back up.
That means cutting off blooms that have finished. Once petals brown and drop, the plant starts making seeds instead of new flowers.
Removing those spent heads redirects energy toward fresh buds. Many plants respond with a second round of color within a few weeks.
Cut just below the faded flower cluster, above a set of healthy leaves. Some gardeners trim the stem back by about one-third for a tidier look.
Side buds often wait just below the old bloom. Snipping above them lets them open into smaller, charming clusters.
Keep at it from midsummer into early fall. Regular removing spent flowers can keep phlox flowering for several extra weeks in warm summers.
Butterflies and hummingbirds will thank you for the bonus meals. Swallowtails especially love visiting phlox on sunny afternoons.
Did you know phlox can self-seed if you let flowers linger? Seedlings often come up in muddy colors unlike the parent plant.
Removing spent flowers keeps your chosen colors true and prevents surprise volunteers. Your border stays neat and looks the way you planned.
Make it a relaxing evening habit with a cold drink in hand. Five minutes every few days keeps the show going strong.
Divide Crowded Clumps Every Few Years
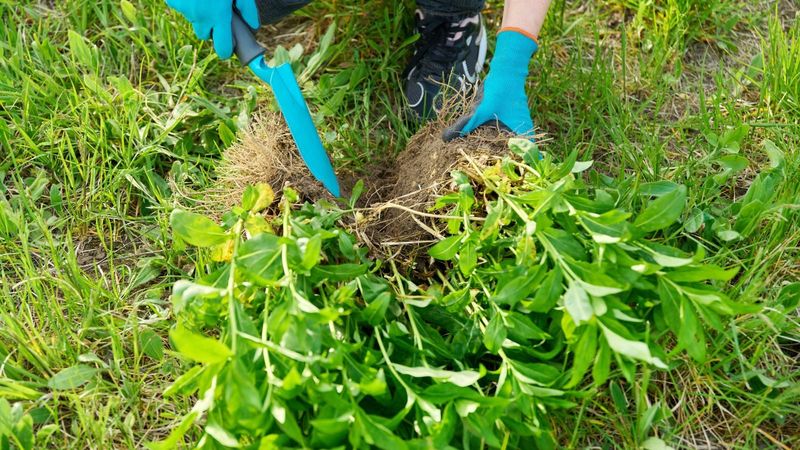
Old phlox clumps can turn into a traffic jam of stems. When the center looks thin and flowers shrink, division is calling your name.
Most tall phlox benefit from splitting every three to four years. Fast growers may need attention sooner, especially in rich Virginia soil.
Early spring is a great time, right as new shoots appear. Fall also works if you give roots several weeks before the first hard frost.
Water the plant well the day before you dig. Moist soil holds the root ball together and makes lifting much easier.
Dig a wide circle around the clump with a sharp spade. Lift the whole plant out gently, keeping as many roots as possible.
Slice the clump into pieces with a spade or old bread knife. Each section needs several healthy shoots and a good chunk of roots.
Toss the tired, woody center if it looks weak. The younger outer pieces usually grow faster and bloom more.
Replant divisions at the same depth they grew before. Space them about eighteen to twenty-four inches apart for good air flow.
Water them deeply and keep the soil evenly moist for a few weeks. Roots settle in faster with steady moisture.
Extra pieces make wonderful gifts for friends and neighbors. Sharing phlox is a sweet old garden tradition worth keeping alive.
Save The Fertilizer For Spring
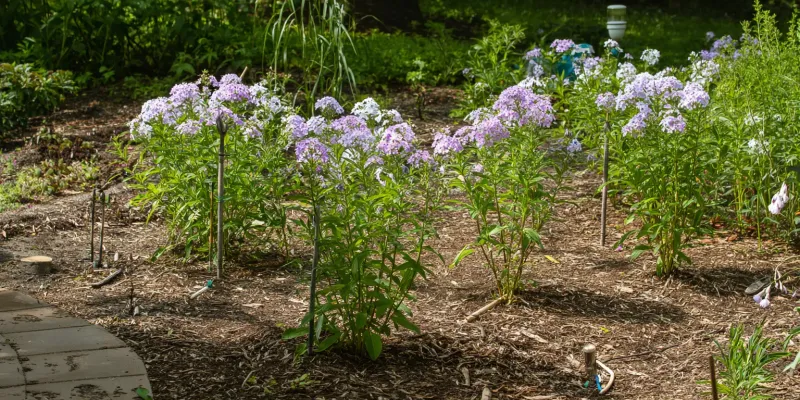
Feeding phlox in fall might seem kind, but it can backfire. Fresh growth sparked by late fertilizer often gets hurt when winter arrives.
Hold off until late winter or early spring instead. March is usually a smart window for most gardeners.
A balanced fertilizer gives phlox a solid start. Look for equal numbers on the bag, like 10-10-10.
Want even more flowers? A bloom-boosting formula with slightly higher phosphorus may help encourage bigger flower clusters.
Spread a layer of compost around each plant, too. Compost feeds the soil slowly and improves drainage in heavy clay.
Add mulch on top to hold in moisture. Keep it an inch or two away from the stems to prevent rot.
Water deeply after every feeding. Moisture helps nutrients reach the roots and prevents fertilizer from burning tender shoots.
Some gardeners give a light second feeding after the first summer flush. That little boost can fuel a stronger round of late blooms.
Go easy on the amount, though. Too much nitrogen creates tall, floppy leaves with fewer flowers.
Think of spring feeding as breakfast before a long day. Your phlox wakes up hungry, and a good meal sets the tone for a spectacular summer.