Why Late October Is Prime Garlic Planting Time In Virginia Zone 7a
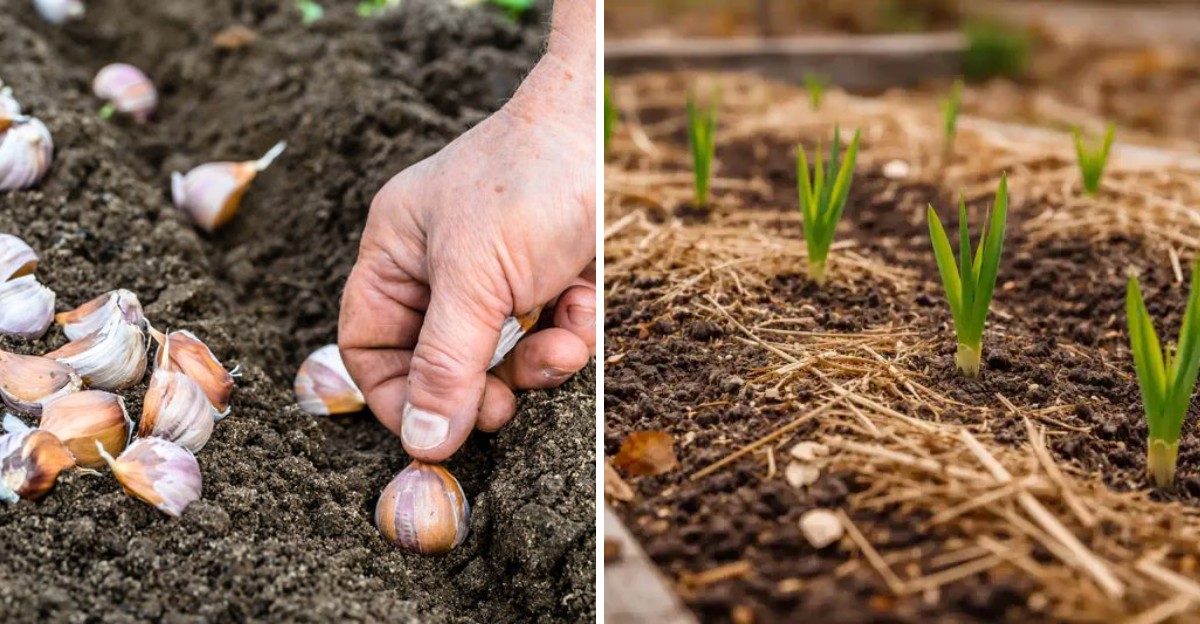
Few things smell better than fresh garlic sizzling in a pan, and it all starts with one chilly afternoon in fall. When the maple leaves blaze orange and the air turns crisp, gardeners have a tasty secret job to do.
Garlic is a little odd because it wants to sleep through winter in cold soil before it grows big and bold. Timing matters more than most people think.
Push those cloves into the ground too soon or too late, and next summer’s bulbs may come up small or strange. Here in Virginia Zone 7a, late October hits a sweet spot that is hard to beat.
Soil is cooling, rain is steady, and hard freezes are still weeks away. So grab a trowel, a sweater, and maybe a mug of cider.
We are about to dig into why this short window works so well, and how you can make the most of it.
Cooling Soil Signals Roots To Grow
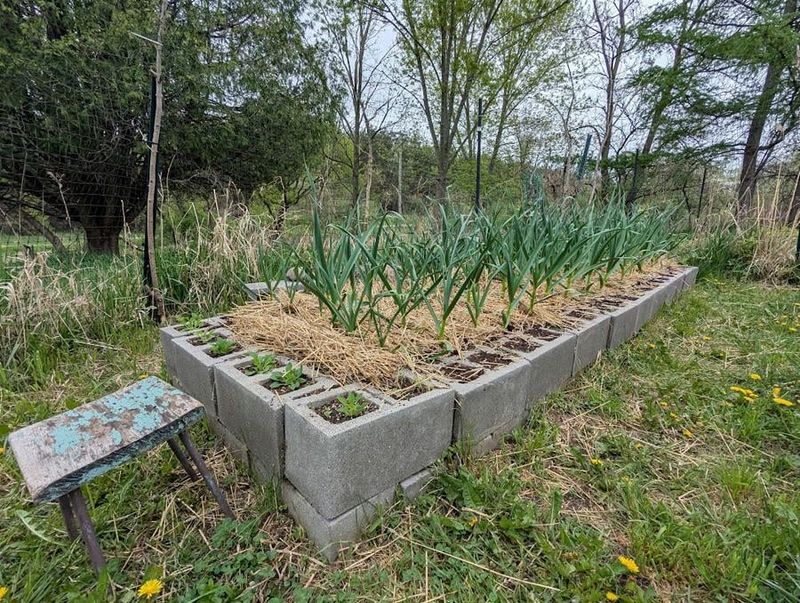
Picture a garlic clove as a tiny alarm clock waiting for the right signal. That signal is cool soil, not warm sunshine.
Garlic roots wake up best when soil sits between 50 and 65 degrees Fahrenheit. In most Virginia Zone 7a gardens, late October brings soil into that friendly range.
Warm summer soil sends a confusing message to the clove. It may sit idle, rot, or push leaves instead of roots.
Cool soil tells the clove to stay calm above ground. Down below, it starts sending out pale white roots like little anchors.
Want to check your own beds? A simple soil thermometer costs only a few dollars at most garden centers.
Push the probe about four inches deep in the morning. Morning readings give a truer picture than warm afternoon numbers.
Take readings for a few days in a row. One cool morning after a cold front can fool you into planting early.
Look for a steady pattern near 60 degrees or a bit lower. Once you see it, your garlic is ready for its new home.
Here is a fun fact for your next dinner party. Garlic has been grown for over 5,000 years, and ancient growers also watched the seasons closely.
Pay attention to your local weather, too. Nights in the 40s and days in the 60s usually mean the soil is cooling nicely.
Jot your readings in a garden notebook each year. Over time, you will learn exactly when your own yard hits that perfect zone.
Roots Settle In Before The Ground Freezes
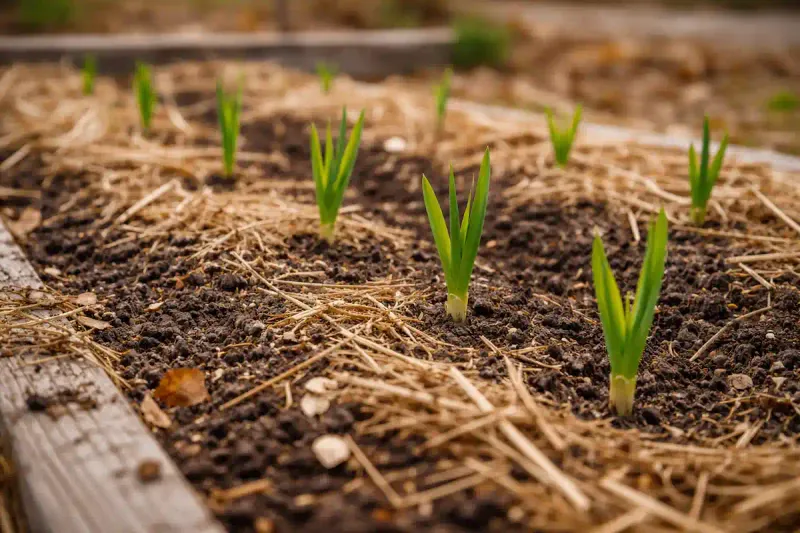
Think of fall garlic like a camper setting up a tent before the storm. The work happens early, so the night goes smoothly.
Cloves need about four to six weeks of root growth before a hard freeze arrives. Late October planting gives them that head start.
Across much of the state, the ground rarely freezes solid until December or later. Those mild weeks in November are pure gold for young roots.
Strong roots do more than hold the plant steady. They soak up water and nutrients that fuel spring growth.
Your Virginia Garden Changes Every Week. Your Plan Should Too.
Gardening in Virginia changes quickly throughout the season. Every Friday you’ll receive a simple weekly plan showing exactly what to plant, prune, fertilize, harvest, and protect so you never miss the right timing.
Frost heave is another reason roots matter. Freezing and thawing soil can push weakly rooted cloves right up to the surface.
Well-anchored cloves resist that shoving much better. They stay snug in place, even after a rough cold snap.
Before planting, water your bed if the fall has been dry. Moist soil helps new roots stretch out quickly and easily.
Skip heavy fertilizer at this stage, though. A little compost mixed into the bed is plenty for root building.
Curious gardeners sometimes dig up one clove in late November to peek. You will often find a tidy beard of roots several inches long.
That hidden progress pays off big in spring. Garlic with a solid root base greens up fast once the days warm again.
Mark your calendar for your area’s average first hard freeze. Count back about five weeks, and you have a smart planting target.
Planting Too Early Risks Tender Top Growth
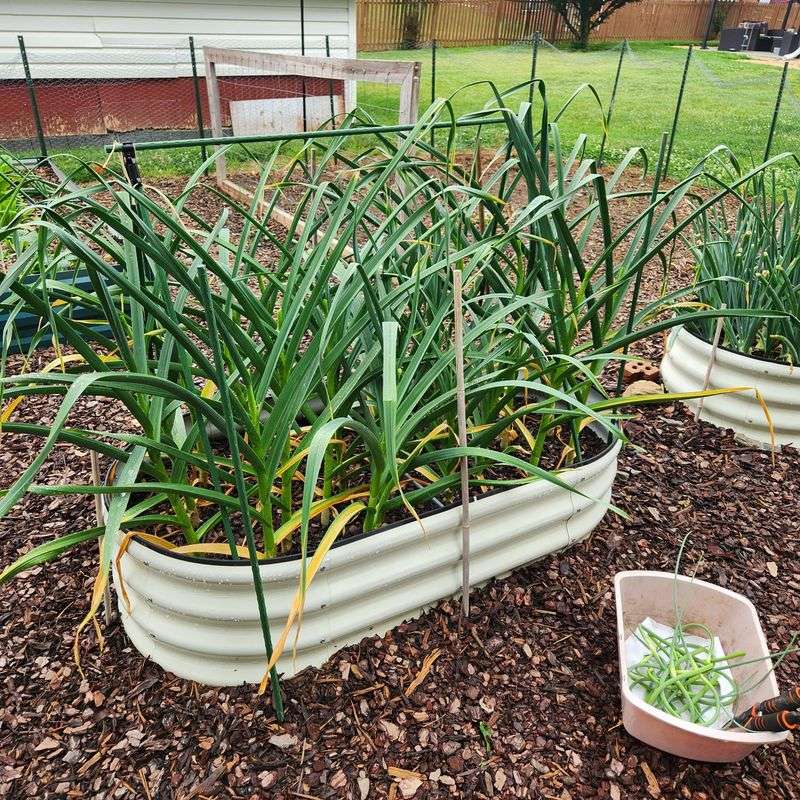
Eager gardeners mean well, but September planting can backfire. Warm weather tricks garlic into growing leaves way too soon.
Those green shoots look exciting at first. Then a sharp freeze arrives and nips the soft new tissue.
A little leaf growth in fall is fine and even normal. Tall, lush tops before winter are where trouble starts.
Stressed plants may form seed stalks too early in spring. That shift pulls energy away from the bulb you actually want to eat.
The result is often smaller heads at harvest time. Nobody wants a summer of tiny garlic after months of waiting.
Early planting also gives weeds and pests more time to bother young plants. Fall armyworms and late-season heat can add extra stress.
So what if you already planted early? Relax, because garlic is tougher than it looks.
Add a thick mulch layer to shield those leaves from the coldest nights. Damaged tips usually bounce back once spring arrives.
For next year, wait until nights stay cool and soil drops near 60 degrees. Patience really is the secret ingredient here.
One handy trick is to plant garlic after your first light frost. Frost is nature’s way of saying summer has packed its bags.
Keep cloves stored in a cool, dry, airy spot while you wait. A paper bag or mesh sack works well until planting day.
Planting Too Late Leaves Weaker Roots
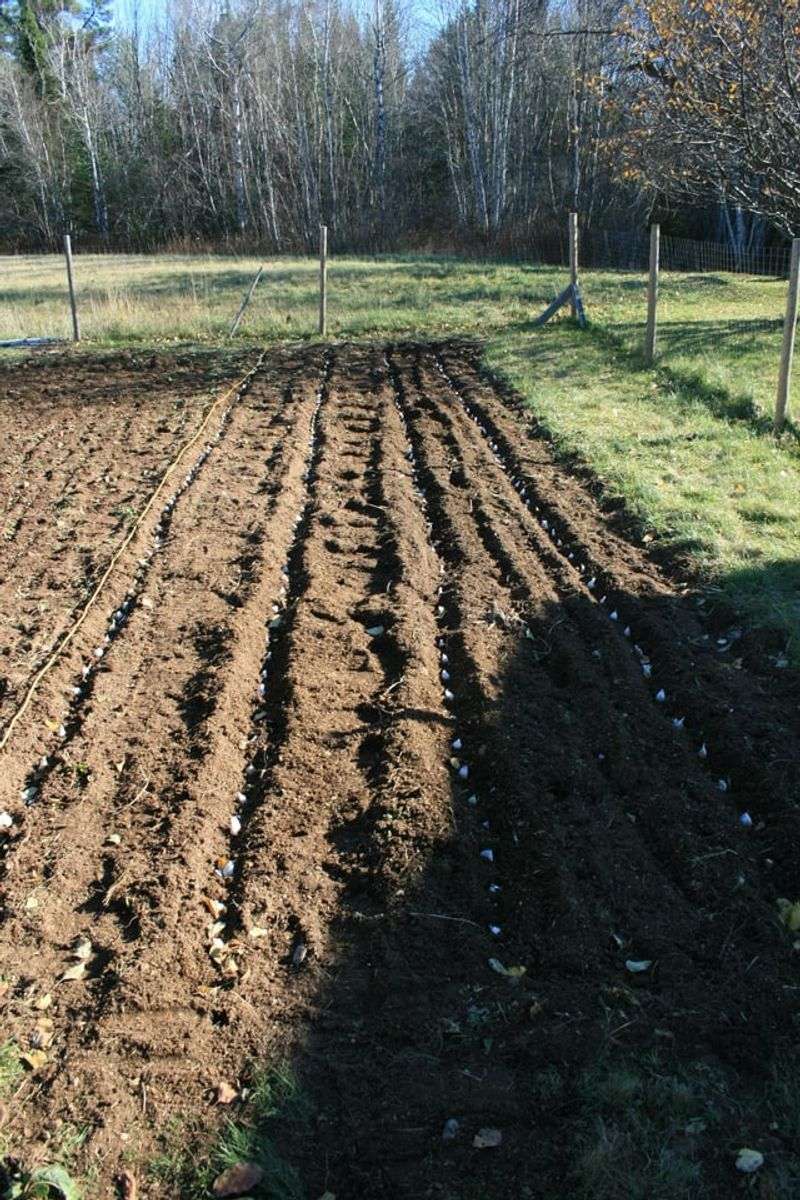
Life gets busy, and suddenly it is mid-December. The garlic bag is still sitting in the garage, looking a little guilty.
Late planting is not a disaster, but it does cost you. Cloves get fewer weeks to build roots before cold weather slows everything down.
Weak roots lead to slower spring growth. Slower growth usually means smaller bulbs when summer rolls around.
In parts of Virginia, gardeners consider November a bit too late. Western mountain areas cool down much faster than the coastal plain.
Cold, soggy soil adds another problem. Cloves sitting in wet, chilly ground can rot before roots ever form.
If you are running behind, a few tricks can help. Pick your biggest, healthiest cloves for the best chance of success.
Plant in a raised bed if you have one. Raised soil drains faster and stays slightly warmer than flat ground.
Cover the bed with mulch right after planting. That blanket holds in the last bits of warmth from the soil.
Some growers even plant in very early spring as a backup plan. Those bulbs often stay small, but they still taste wonderful.
Set a phone reminder in early October each year. A little nudge keeps your garlic from getting lost in the holiday rush.
Late October feels busy too, with leaves and yard chores. Still, one hour of planting now saves you from smaller harvests later.
Hardneck Types Love A Cold Winter
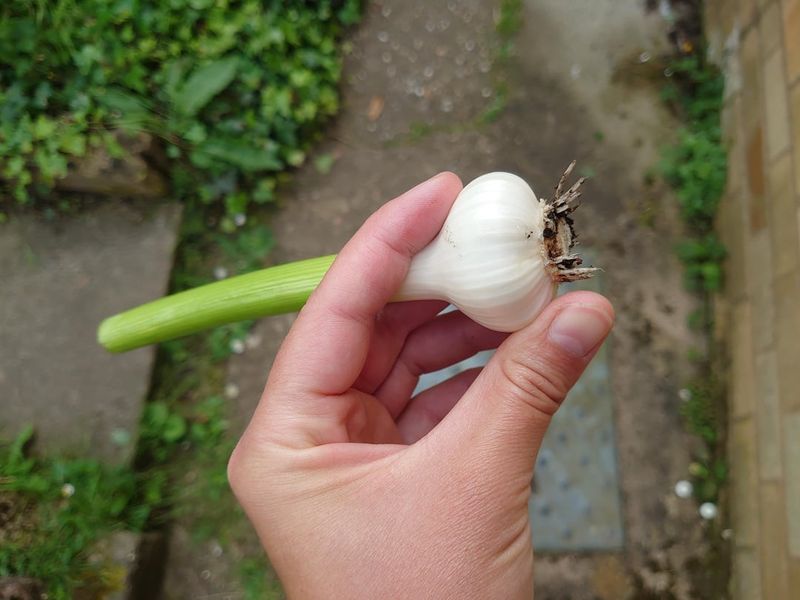
Some plants shiver through winter, but hardneck garlic actually craves it. Cold weather is the key that unlocks its best bulbs.
Hardnecks need about four to six weeks below roughly 40 to 45 degrees. Growers call this chilling process vernalization.
Without enough cold, hardneck cloves may form one round bulb with no divisions. That is tasty, but not what most cooks expect.
Virginia Zone 7a winters give hardnecks just the right chill. Our cold is steady, yet rarely harsh enough to harm well-mulched cloves.
Popular hardneck choices include Music, German Extra Hardy, and Chesnok Red. Each brings its own flavor, from mellow to fiery.
Hardnecks also grow a curly flower stalk called a scape in late spring. Snapping it off sends more energy into the bulb.
Bonus tip: scapes are delicious! Toss them into pesto, stir-fries, or scrambled eggs for a mild garlicky kick.
Softneck types can grow here too, and they store longer. Many gardeners plant both to enjoy a longer garlic season.
Hardneck cloves are usually bigger and easier to peel. Busy cooks tend to appreciate that small kitchen win.
Here is a quirky fact for fun. Hardneck garlic is closer to wild garlic than the softneck kinds sold in most stores.
Try two or three varieties your first year. Taste tests next summer will help you find your household favorite.
Plant Cloves Pointy Side Up
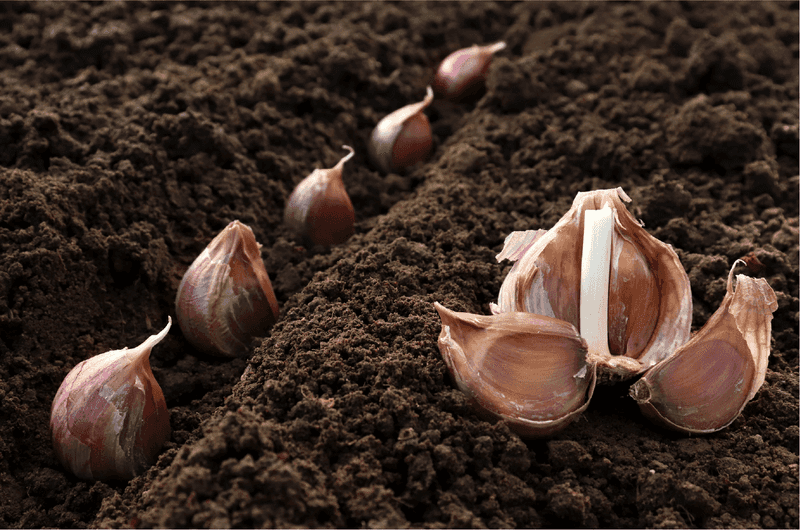
Here is a question that stumps plenty of beginners. Which end of the clove goes down?
The flat, rough end is the root plate. That bottom spot is where the roots will sprout and spread.
The narrow, pointed tip faces the sky. Green shoots push up from that point in fall or early spring.
Planting upside down usually will not ruin a clove. Still, the shoot must curve around to reach light, wasting precious energy.
Curved stems can also lead to oddly shaped bulbs. Proper placement helps the plant grow a straight, strong neck.
Separate your bulbs into cloves only a day or two before planting. Breaking them apart too early can dry out the root plate.
Leave the papery skin on each clove. That thin wrapper offers a bit of protection against rot and pests.
Toss any soft, moldy, or shriveled cloves. Only firm, plump ones deserve a spot in your bed.
Kids love helping with this step. Turning it into a game of finding the pointy end makes planting day more fun.
Working with a big batch? Lay cloves on top of the soil first, all pointing up, and then push each one down.
Gently press the soil back over each clove when you finish. Good contact between clove and soil helps roots start faster.
Space Them A Few Inches Deep And Apart
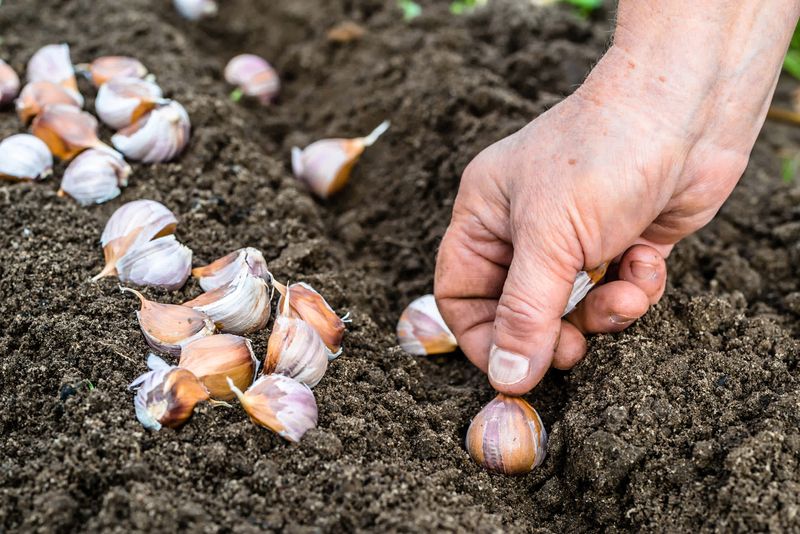
Garlic does not like a crowded room. Give each clove some elbow space, and it will reward you with a fat bulb.
Aim for a planting depth of about 2 inches in most home gardens. Cloves set too shallow are more likely to suffer winter damage.
Space cloves roughly 4 to 6 inches apart within each row. Some growers go as wide as 8 inches for extra-large varieties.
Rows should sit about 12 to 18 inches apart. Wider paths make weeding and watering much easier later.
Squeezing plants together might seem like a smart way to grow more. Sadly, crowded garlic tends to produce smaller heads.
In raised beds, a grid pattern works nicely. Try spacing cloves 6 inches apart in every direction.
A simple tool can speed things up. Mark a stick at 2 inches and use it to poke even holes.
Loose, well-drained soil makes this job far easier. Heavy clay, common in much of the state, benefits from added compost.
Good drainage keeps cloves from sitting in water all winter. Soggy soil invites rot and disease.
Want a rough planning guide? A 4 by 8 foot bed holds around 100 cloves with 6-inch spacing.
That adds up to plenty of garlic for one family. You may even have extra bulbs to share with lucky neighbors.
A Straw Mulch Blanket Protects Over Winter
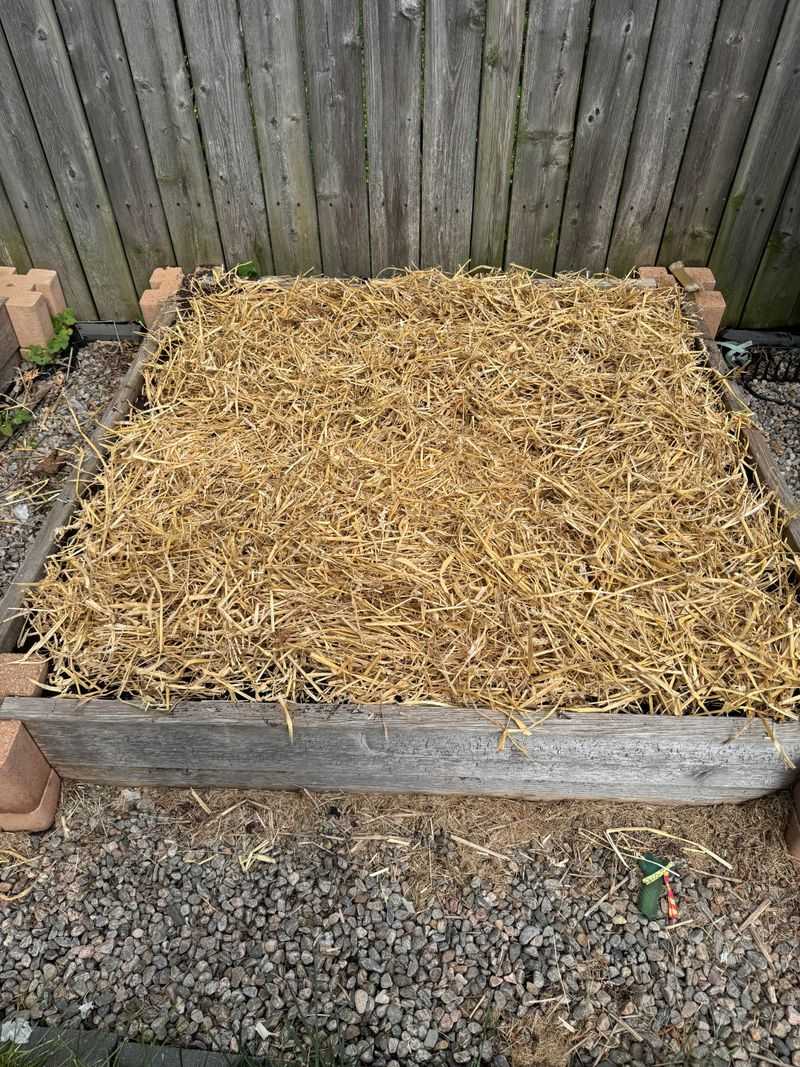
Imagine heading out on a frosty night without a coat. Bare garlic beds face a similar chill all winter long.
A fluffy straw layer acts like a cozy quilt. Spread about 3 to 4 inches right after planting.
Mulch keeps soil temperatures steadier through wild weather swings. That calm helps reduce frost heave and stress on young roots.
The Piedmont region is famous for freeze-thaw cycles. One week feels like spring, and the next brings ice.
Straw also blocks many weeds from sprouting. Garlic hates competition, so fewer weeds mean bigger bulbs.
Choose straw, not hay, whenever possible. Hay often carries weed and grass seeds that cause headaches later.
Shredded leaves make a fine free substitute. Run them over with a mower first so they do not mat down.
Shoots will poke through the mulch on their own. You do not need to pull it back for them.
Come spring, the straw helps hold in moisture. That means less watering during dry spells in April and May.
Here is a fun bonus. Straw breaks down slowly and feeds the soil, improving your bed for future crops.
Check the mulch after big winter storms. Strong winds can blow straw away, leaving patches of bare ground exposed.
Buy Seed Garlic, Not Grocery Bulbs
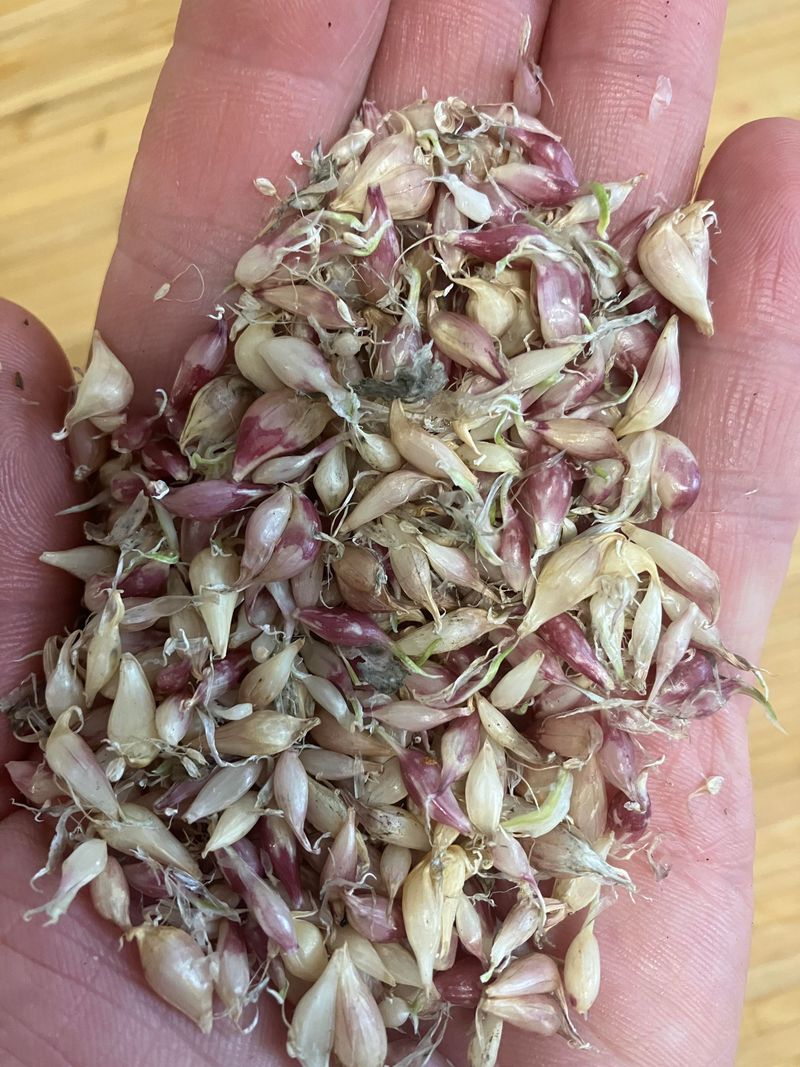
That grocery store garlic looks tempting, right? It is cheap, handy, and already sitting in your kitchen.
Unfortunately, store bulbs make shaky planting stock. Many are treated to slow sprouting so they last longer on shelves.
Grocery garlic often comes from faraway places with very different climates. Those varieties may not adjust well to winters.
Store bulbs can also carry hidden diseases or pests. Once introduced, some problems linger in your soil for years.
Seed garlic is simply garlic grown and sold for planting. Growers select healthy stock suited to specific regions.
Shop at local garden centers, farmers markets, or trusted online suppliers. Order early, since popular kinds sell out by September.
Look for large, firm bulbs with tight skins. Avoid any that feel soft, look moldy, or smell musty.
Bigger cloves usually grow bigger bulbs. Save the small inner cloves for cooking instead of planting.
Seed garlic does cost more up front. Over time, though, you can save your own best bulbs for next fall.
Many gardeners keep the same strain going for decades. Each year, the garlic adapts a little more to their own backyard.
Ask growers at local markets which types thrive near you. Their hands-on experience is often better than any catalog description.
Harvest Arrives Early Next Summer
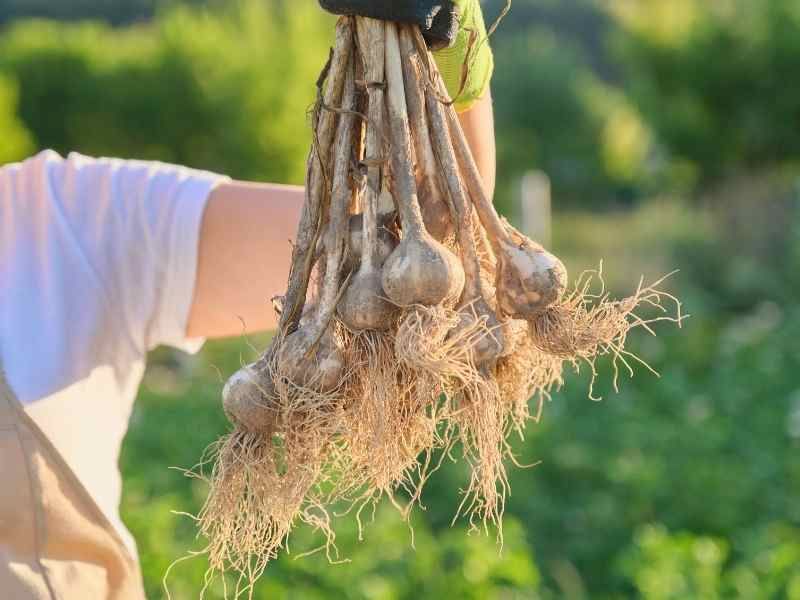
All that fall effort finally pays off when summer arrives. Pulling up plump garlic feels a bit like finding buried treasure.
Across Virginia, harvest usually lands between late May and early July. Exact timing depends on your variety and local weather.
Watch the leaves for clues. When about half to two-thirds turn yellow or brown, your bulbs are likely ready.
Dig one test bulb before harvesting the whole bed. Look for plump cloves wrapped in several tight papery layers.
Harvest too early, and bulbs stay small. Wait too long, and the wrappers split, which shortens storage life.
Use a garden fork to loosen soil gently around each plant. Yanking stems by hand can snap them right off.
Brush off loose dirt, but skip washing the bulbs. Extra moisture can cause mold during storage.
Next comes curing, a simple drying step. Hang bundles in a shady, airy spot for two to four weeks.
A porch, garage, or barn works well if it stays dry. Bright sun can scorch the bulbs, so keep them shaded.
Once cured, trim the roots and stems. Store bulbs somewhere cool and dark for months of kitchen use.
Remember to save your biggest, best heads for replanting. Before you know it, another late October in Virginia Zone 7a will roll around.