How To Fix Bare Lawn Patches Without Renting A Seeder
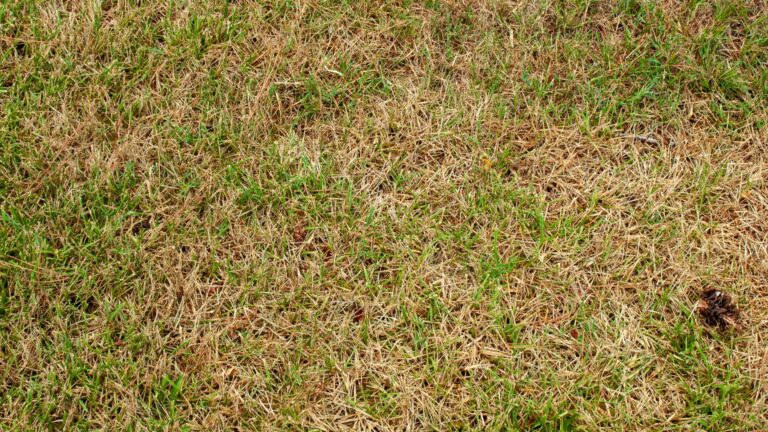
That brown spot in your yard keeps staring at you, like a bald patch on a ball. Neighbors stroll past, dogs sniff it, and you wonder if your lawn is plotting against you.
Many people assume fixing it means renting a loud, heavy machine from the hardware store. Honestly, the real secret often hides in your garage, tucked behind a dusty rake and flowerpot.
Early fall brings cool mornings, soft rain, and warm soil, a cozy nursery for fresh growth. Weeds slow down this time of year, so young blades face less competition for sunlight.
Picture walking barefoot across that same spot next spring and feeling only cool, springy softness underfoot. A little effort now, plus some patience, can turn that patch into a smooth, green spot.
1. Rake Away The Old Mess First
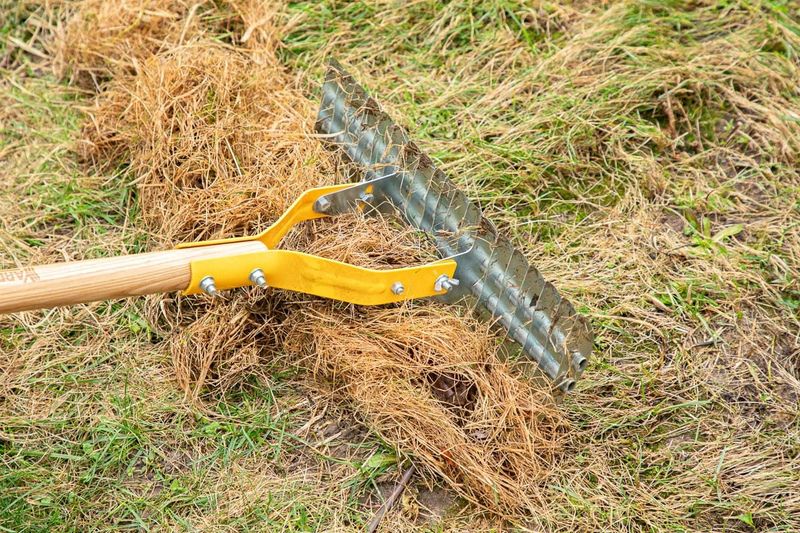
Imagine trying to plant a garden on top of an old doormat, because that is basically what thatch does. Brown, matted grass and crumbly leaves form a tight layer that keeps new seeds from reaching the soil below.
Grab a sturdy metal rake, the kind with stiff tines, and scratch hard across the bare patch several times. Pull toward you with short, firm strokes, almost like you are combing tangles out of a stubborn dog.
Toss the loose clumps into a bucket or compost pile so they do not blow right back later. Rocks, sticks, and buried bits of old mulch should come out too, since they block tiny roots underground.
Early October is a smart time for this chore because the soil is still warm from the summer sun. Cooler air also makes it comfortable to work outside for an hour.
Look closely at the edges of the bare spot, where healthy turf meets the brown section of lawn. Rake a few inches past that line so the repair blends in smoothly and avoids a visible ring.
Fun fact, a thatch layer thicker than half an inch can make lawns struggle even without bare spots. Water and fertilizer often get trapped in that spongy mat instead of reaching the roots that need them.
When you finish, the patch should look rough and scratchy, with plenty of dark soil peeking through. That rough, open surface gives new seed the soil contact it needs to settle in.
2. Wake Up The Soil With A Garden Fork
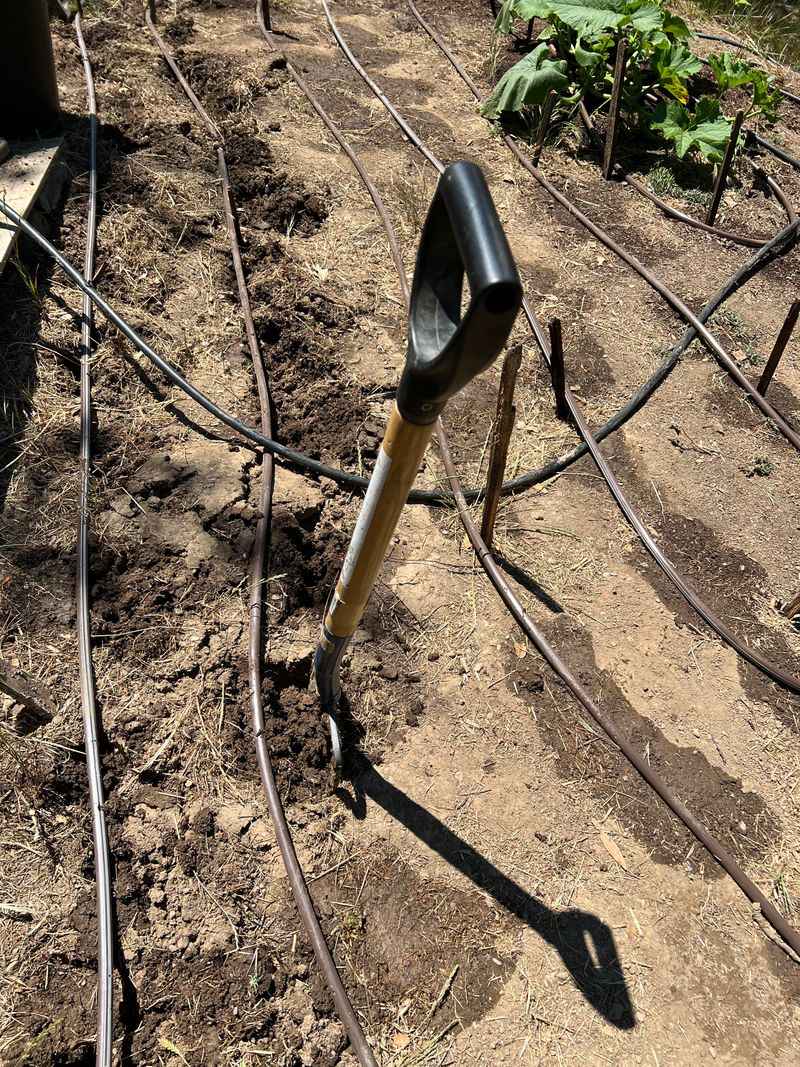
Soil under a bare patch is often packed as hard as a playground path after years of foot traffic. Roots struggle to push through that crust, which is one big reason grass gave up there in the first place.
A plain garden fork loosens a small patch much like an aerator would, and you may already own one. Push the tines straight down about four inches, then rock the handle back and forth a few times.
You should hear a soft crunch and feel the ground loosen, almost like breaking apart a stale cookie. Move over three or four inches and repeat until the whole patch is dotted with little holes.
Try this a day after a gentle rain, when the dirt is damp but not sticky or muddy. Dry, rock-hard ground resists the tines, while soaking wet soil clumps up and smears like brownie batter.
Fall rain in many areas makes this timing easy, so keep an eye on the weather forecast. If rain stays away, water the spot lightly the evening before you plan to start digging.
Once the soil is loose, use the back of your rake to break up any large clods. You want a crumbly surface that looks a bit like coarse brown sugar spread across the patch.
Earthworms tend to move into loosened soil, and their tunnels help air and water reach the roots. Think of them as tiny helpers working below the surface.
3. Match The Seed To Your Sunshine
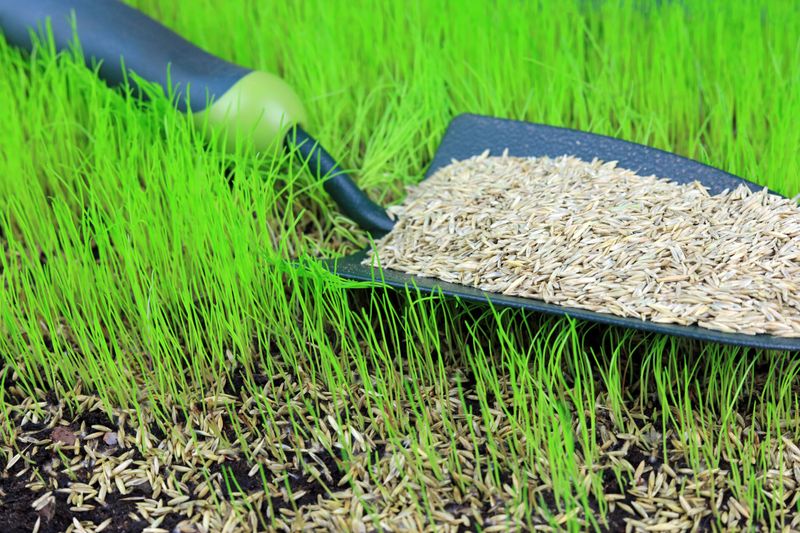
Not every bag of grass seed is the same, and picking the wrong one is a sneaky mistake. Before buying anything, watch how much sunlight actually reaches your bare patch throughout the whole day.
Spots that bake in full sun for six or more hours need tough seed blends built for heat. Shady corners under big trees do better with fine fescues, which handle dim light well.
Your location matters too, since northern lawns usually grow cool-season grasses like Kentucky bluegrass and tall fescue. Those hardy types do well in early fall, when daytime temperatures sit between sixty and seventy-five degrees.
Southern yards often use warm-season grasses like Bermuda or zoysia, which slow down as autumn arrives. For those lawns, patching with sod plugs or waiting until late spring may work better than seeding now.
Try to match the seed to the grass already growing around the patch so the colors blend nicely. A bright green square in the middle of a darker lawn can look like a mismatched gym sock.
Check the label for weed seed and filler content, and pick bags with the lowest numbers listed. Cheaper bags can contain more filler or annual ryegrass, which fades after a single year.
Did you know a single pound of Kentucky bluegrass seed holds roughly two million tiny seeds inside? That means a small bag goes a long way, so buy only what your patches really need.
4. Toss The Seed By Hand Like A Farmer
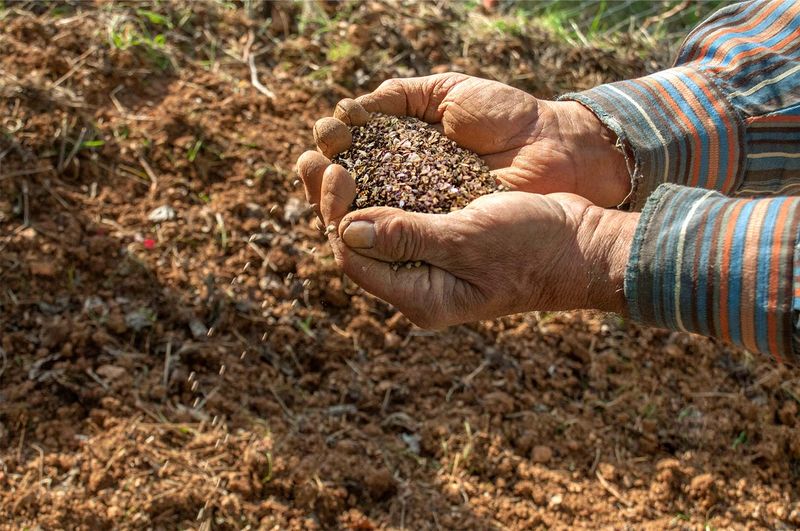
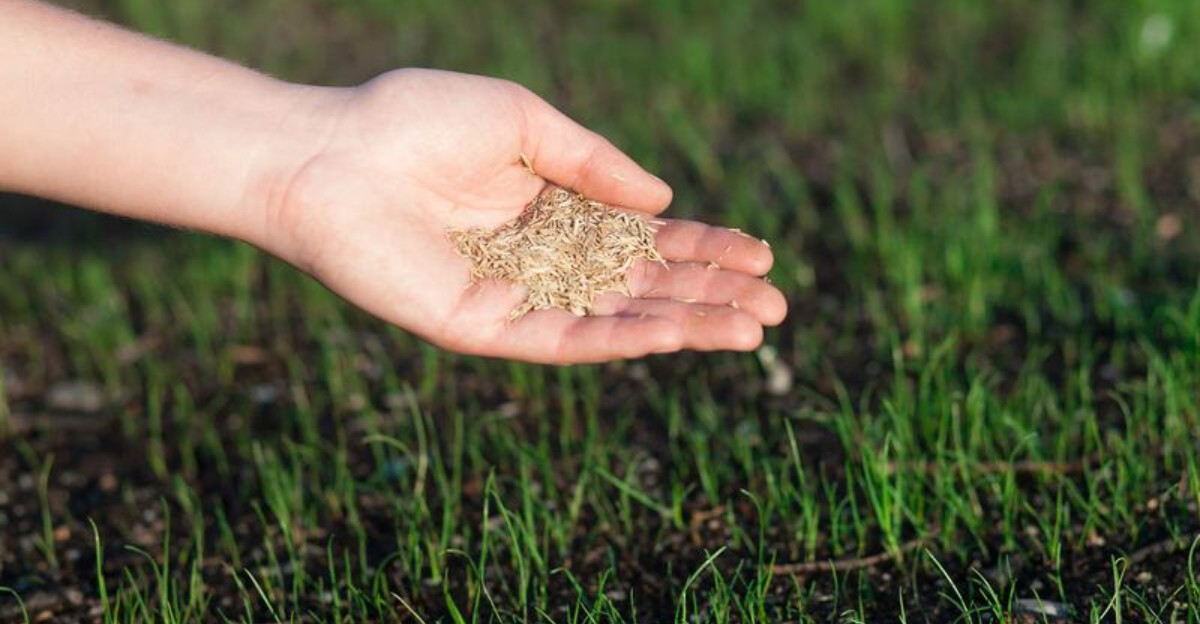
Long before shiny machines existed, farmers spread seed by hand across wide fields with a simple wrist flick. Your small bare patch is much easier, and your hands can do the job with surprising accuracy.
Pour the seed into a small cup or coffee can so you can grab pinches without spilling. Check the bag for the recommended rate, which usually lists how much seed covers each square foot.
Stick to that rate, since it changes with the type of grass, and avoid sowing more than the bag suggests. Piling seed too thick makes young sprouts compete for water, light, and growing space.
Split your seed into two equal piles before you start, because this trick helps even out thin and crowded areas. Scatter the first pile walking north to south, then spread the second pile walking east to west.
Hold your hand low, about knee height, and let the seeds fall gently from your loose fingers. Tossing from too high lets the breeze carry them into flower beds, sidewalks, or your neighbor’s yard.
An inexpensive handheld spreader works well if you have several patches to fix. Simply turn the crank while walking slowly, and it flings seed in a neat little fan shape.
Pick a calm October morning for this step, since gusty afternoons can scatter your hard work everywhere. Morning dew also helps the seeds settle onto the soil.
5. Tuck The Seeds Under A Cozy Blanket
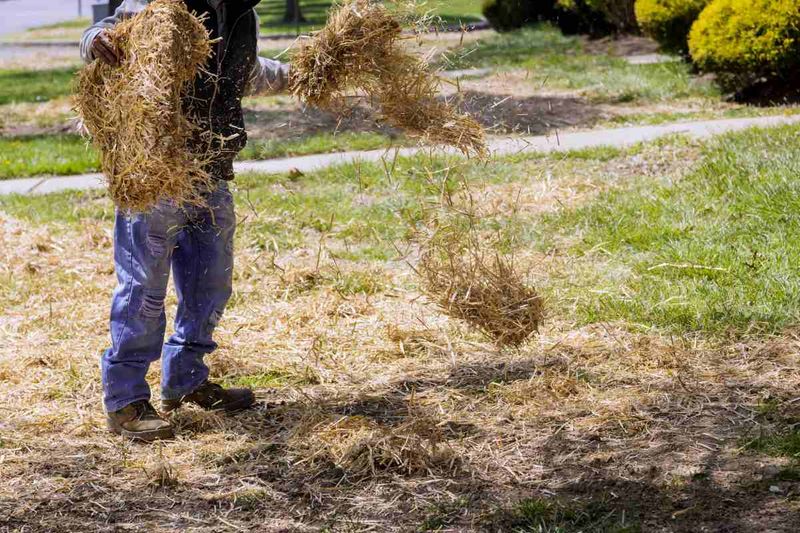
Birds are quick to notice freshly scattered seed, and some will snack on it. Covering the seed with a thin layer helps protect it from birds, drying winds, and heavy raindrops.
Compost, bagged topsoil, or peat-free seed starter mix all work well for this simple but important step. Sprinkle about a quarter inch over the patch, just enough to hide most of the seeds from view.
Grass seed sprouts best near the surface, so burying it deep can keep it from growing well. Think of the layer as a light bedsheet on a warm night rather than a heavy winter quilt.
Straw is another classic option, though you should choose clean wheat straw instead of weedy hay bales. Spread it loosely so you can still see about half of the soil showing between the golden strands.
Compost brings a bonus, since it feeds the soil with nutrients that young roots can easily use. It also holds moisture like a sponge, which helps a lot during breezy and dry fall afternoons.
Use the flat back of a rake to smooth the covering gently, without pushing seeds into little piles. Light, even strokes work best, kind of like frosting a cake without scraping off the bottom layer.
Leaves start falling in many areas in October, so check the patch often and gently lift any that land there. A soggy leaf sitting on new sprouts can block sunlight and slow their growth.
6. Stomp The Patch With Happy Feet
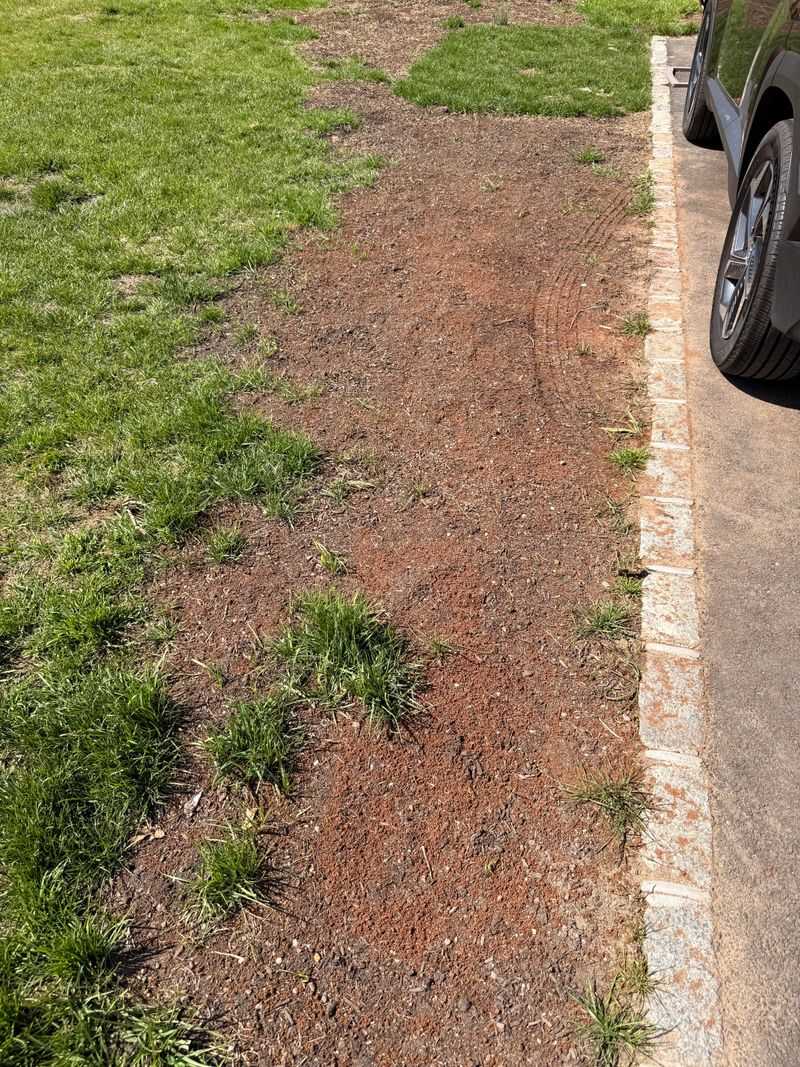
Few yard jobs feel as silly or as satisfying as stomping all over a freshly seeded patch of dirt. Pressing the seed down gives it firm contact with soil, which is the secret handshake for fast sprouting.
Seeds sitting loosely on top struggle to soak up moisture, so many of them dry out and fail. A gentle press squeezes out air pockets and lets each tiny seed snuggle right into the damp earth.
Professional crews use heavy rollers, but your own feet can firm a small patch at no cost. Wear flat-soled shoes or boots, since deep treads can leave bumpy ridges that collect puddles later.
Shuffle across the patch in small steps, overlapping each footprint like you are doing a slow dance. Kids usually jump at the chance to help, so turn it into a goofy family stomping party.
For larger spots, lay a flat piece of plywood over the soil and walk across the board instead. The wood spreads your weight evenly, giving you a smooth, level surface without any deep dents.
Press firmly, but do not pack the ground so hard that you undo all your forking work. The soil should feel like a firm mattress, with just a slight give when you push it.
Golf course crews also roll newly seeded areas to press seed into the soil, which shows how useful firm contact is. Once your patch looks flat and slightly packed, it is finally ready for its first refreshing drink of water.
7. Keep The Soil Moist Without Making Mud
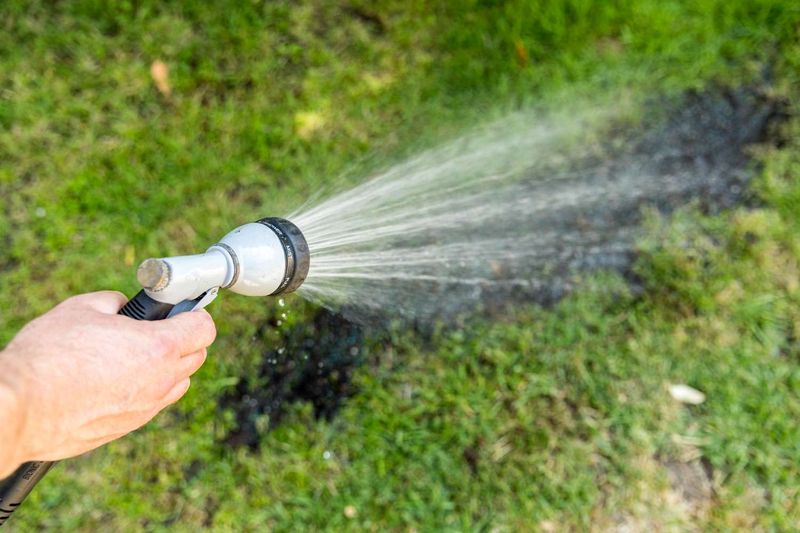
Water is a key step, and new patches often struggle when the soil dries out too soon. Seeds need steady moisture to crack open, and a long dry stretch can set their progress back.
Aim to keep the top inch of soil damp, like a dish towel wrung out over the sink. Puddles are a bad sign, because they wash seeds away and leave little muddy craters behind.
Light sprinkles two or three times a day usually work best for the first two weeks. A hose with a gentle shower nozzle feels like soft rain and keeps the seeds right in place.
Cool October weather makes this easier, since the soil dries much slower than it did in August. On cloudy or drizzly days, you may only need to water once that day, or skip it altogether.
Morning is the best time for the main watering, because grass blades dry quickly and fungus has less chance to grow. Add a light second pass around midday if the surface dries out.
Watering late at night leaves the patch wet for hours, which can invite mold and other problems. Once tiny green sprouts appear, usually within one to four weeks depending on the grass type, you can start watering less often.
Switch to deeper soakings every few days, which trains the roots to reach down for moisture. A cheap but handy trick is to stick a finger into the soil up to your first knuckle.
If it feels dry and crumbly, grab the hose, and if it feels cool and moist, relax.
8. Mow And Feed At Just The Right Moment
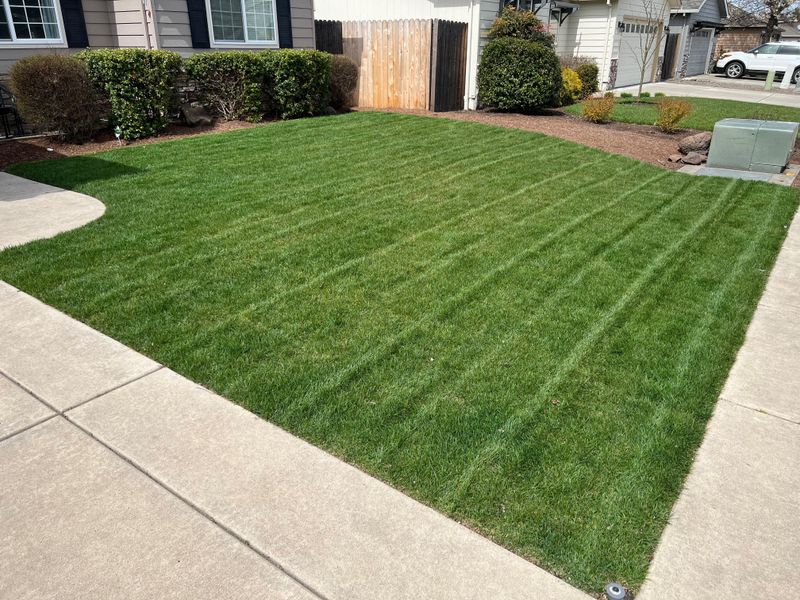
Patience gets tested once those fresh green blades start waving, because you will itch to mow them right away. Hold off until the new grass reaches about three to four inches tall, roughly the height of a crayon.
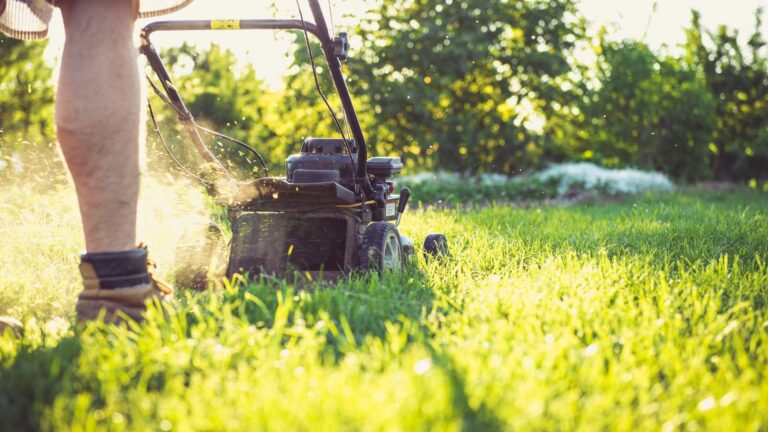
Sharpen your mower blade first, since a dull blade tears young grass and leaves ragged, brown tips. Set the mower high and only trim off the top third of the blades during each cut.
Make sure the soil is dry enough that your shoes leave no deep prints before you start mowing. Heavy wheels on soggy ground can pull up tender roots and set the patch back.
Starter fertilizer works best when applied at seeding or soon after sprouts appear, and it gives young grass a boost before winter. Look for a bag with a higher middle number, which stands for phosphorus that helps roots grow strong.
Some states restrict phosphorus in lawn fertilizer, so check local rules before you buy anything. A slow-release formula feeds the lawn gradually, like snacks spread out over the day instead of one feast.
Skip weed control sprays on the new patch for now, since those products can harm young seedlings. Most labels suggest waiting until the new grass has been mowed three or four times first.
Keep mowing as needed until the grass stops growing in late fall, usually sometime in November depending on your area. By next spring, that once-bare spot should blend right in, and you can proudly enjoy your handiwork.