How To Harvest And Cure Black Walnuts In California
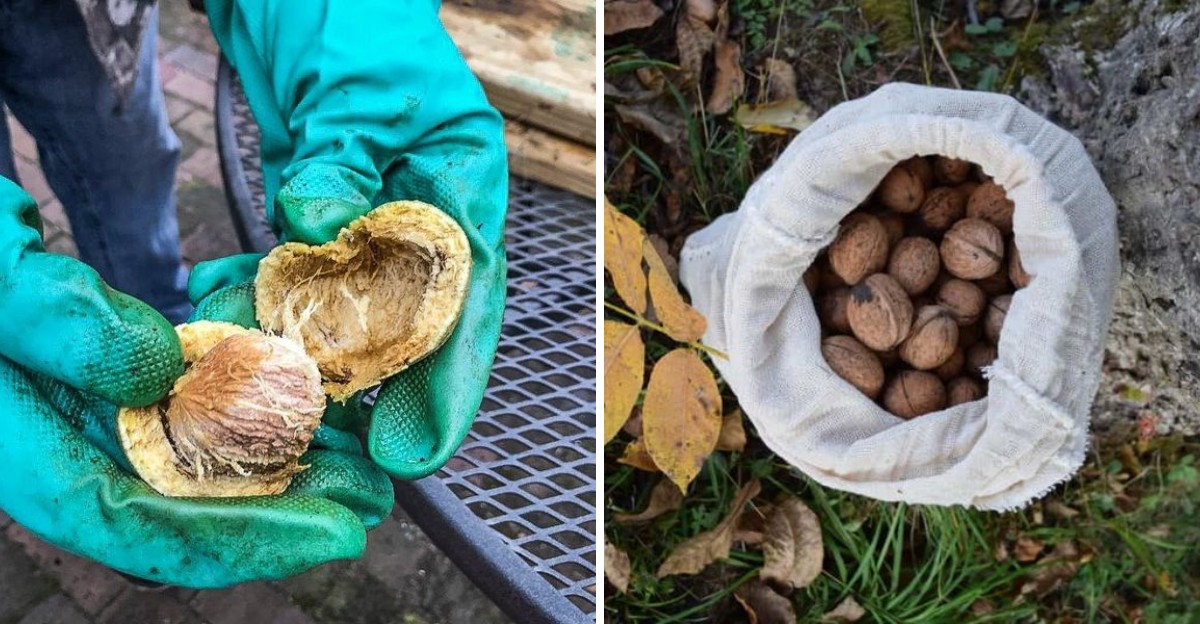
October brings a messy, rewarding harvest to many California yards. Lumpy green balls drop from certain trees with a soft thud, scattering across lawns and sidewalks.
Inside each smelly husk hides a rich, bold kernel with a flavor far more intense than anything sold in a grocery bag.
The state is home to native species of these trees, along with an eastern cousin planted in many parks and older neighborhoods.
Much of the advice floating around online fits a different, more familiar orchard crop, which leads plenty of people astray.
A few careful habits protect hands, flavor, and nearby garden beds, and they turn a sticky backyard chore into a pantry full of treasure.
1. Gather Nuts Once They Drop Naturally
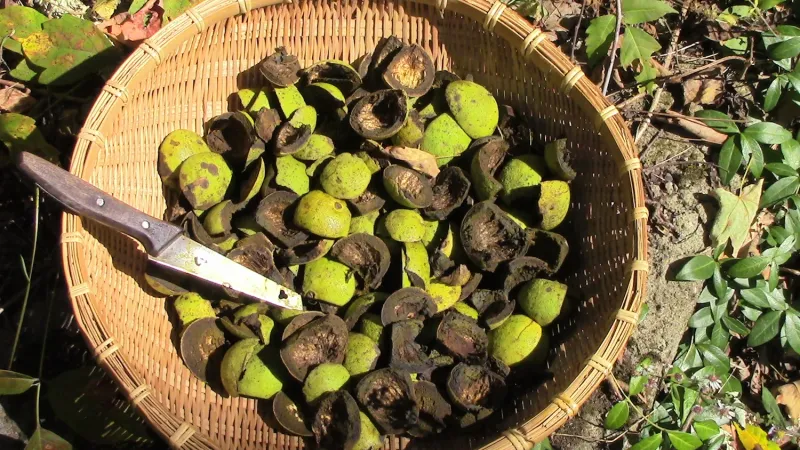
A soft thud on the lawn works like a harvest bell. Black walnuts announce their readiness by letting go of the branch on their own.
In California, that drop usually happens from late summer into fall, depending on the species and local weather. Each tree follows its own schedule, so watching the ground beats watching the calendar.
Shaking limbs or knocking nuts down with a pole is best skipped. Nuts that cling to the tree are often not fully mature, and their kernels may be pale or underfilled.
Ripe hulls shift from bright green toward yellow-green. A gentle thumb press leaves a slight dent, and a few hulls already show dark patches when they land, which is normal.
Once nuts start falling, a check under the tree every day or two pays off. Speed matters here.
Nuts left lying in damp grass can mold, while hulls break down into a dark, mushy layer that soaks color and bitter flavor into the shell.
Squirrels, jays, and other wildlife also keep a close eye on the same tree, and they rarely share.
A bucket or old feed sack works well for collecting. Nuts with obvious holes are best tossed, since they may hold insect larvae such as the walnut husk fly.
Native California black walnuts usually run smaller than eastern ones. Size has little to do with flavor, and the small ones often taste surprisingly rich.
2. Wear Gloves Because Hulls Stain Deeply
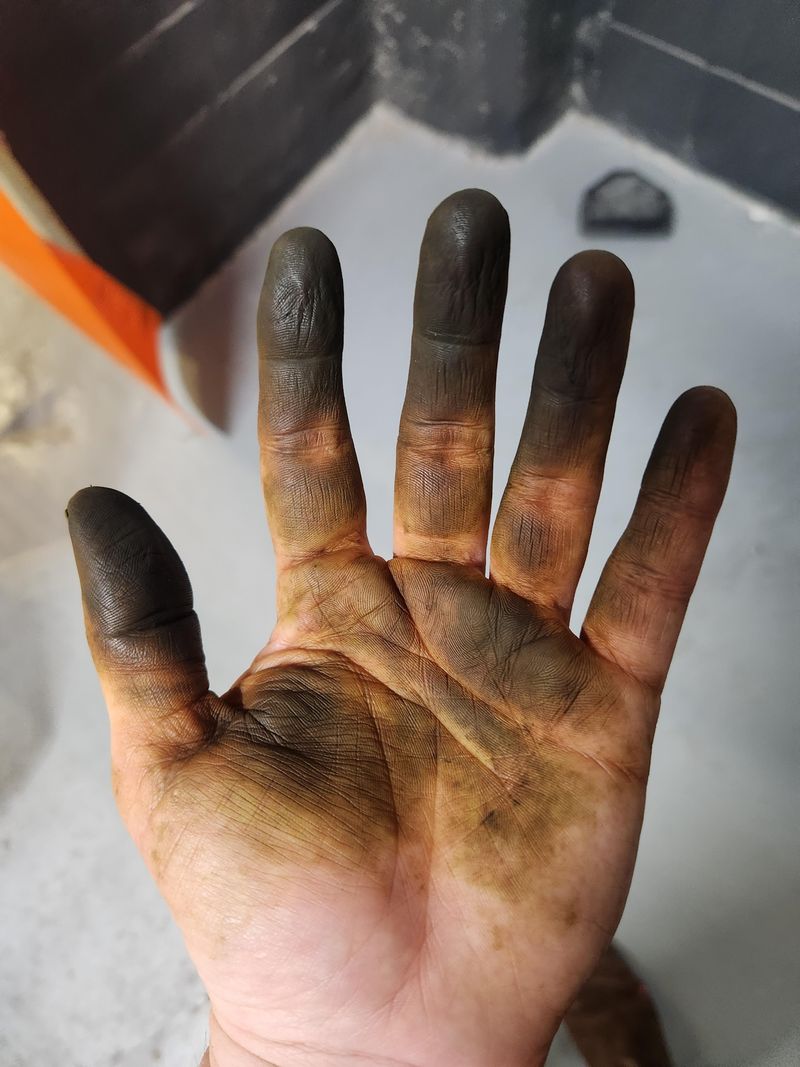
One bare-handed afternoon with black walnuts can leave fingers looking as if they painted a fence with coffee. Hull juice contains natural dyes so strong that people once used them to color wool and wood.
Soap barely touches the stain, which can linger on skin for a week or more. Waterproof gloves make the best defense.
Heavy rubber or nitrile gloves work far better than cloth ones, since juice soaks right through fabric. A pair reaching past the wrists helps, because hull goo tends to slide down sleeves at the worst moment.
Clothing deserves the same thinking. Old jeans, a worn shirt, and shoes past their prime make the ideal harvest outfit.
Those dark spots rarely wash out of fabric. A vinyl or canvas apron adds another layer of protection.
Surfaces stain, too. Concrete patios, wooden decks, and light-colored driveways can hold dark blotches for months.
Your California Garden Changes Every Week. Your Plan Should Too.
Gardening in California changes quickly throughout the season. Every Friday you’ll receive a simple weekly plan showing exactly what to plant, prune, fertilize, harvest, and protect so you never miss the right timing.
A tarp, a patch of gravel, or an out-of-the-way spot makes a smart work area. A dedicated walnut kit of tools, buckets, and brushes keeps the color from spreading to other gear.
The staining power has a long history. Black walnut hulls have served as a natural dye for baskets, yarn, and furniture for generations.
Stained gloves carry on that very old tradition, intentionally or not. A little planning simply keeps that tradition confined to the gloves rather than the patio.
3. Remove Hulls Within A Few Days
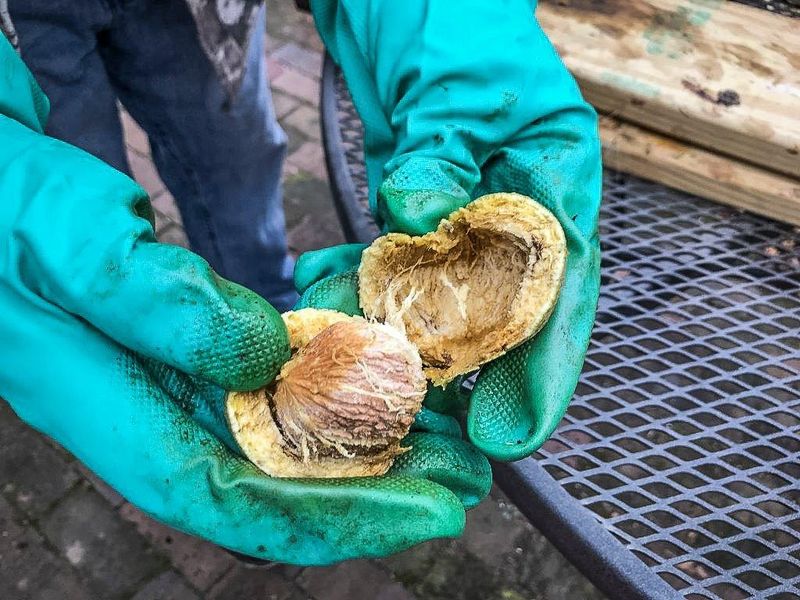
A bucket of fresh walnuts forgotten in the garage for two weeks opens to a smelly, slimy mess. As hulls soften and rot, their dark juice seeps through the shell and into the kernel.
The result can be a stained, strong, or off-tasting nut. Removing hulls soon after gathering keeps the harvest clean and fresh.
Hulling within a few days of picking works best. Prompt removal also cuts down on mold and on fly larvae that tunnel through soft hulls.
Several methods work, depending on space. Some people roll each nut under a boot on a hard surface until the hull pops loose.
Others tap hulls with a rubber mallet or press them through a hole in a board just big enough for the shell. Hulls that are still firm and green may need a few more days to soften.
Driving over walnuts on a gravel driveway is a classic backyard trick. It can crack some shells and fling hulls everywhere, though.
A simple hand method moves more slowly but treats the nuts more gently. Gloves matter most during this step, since hulling releases more juice than any other part of the process.
Loose hulls belong in a bag or bin as the work goes along. They carry a garden surprise that calls for careful disposal later.
That small extra step protects sensitive plants nearby. The final section explains exactly why those hulls deserve special handling.
4. Rinse And Sort Out Bad Nuts
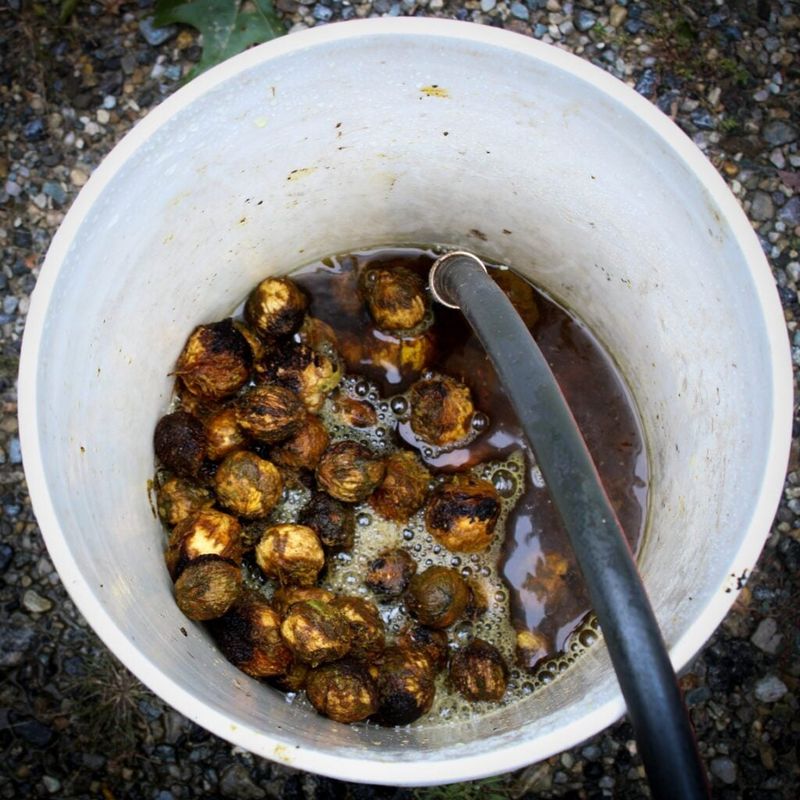
Freshly hulled nuts look rough, sticky, and a little sad. Bits of fibrous hull cling to the grooves in the shell, and dark juice coats every surface.
A good rinse turns that mess into something workable. Nuts placed in a bucket or wheelbarrow with water can be stirred around with a stick or gloved hand.
Dirty water is best dumped away from garden beds. Repeating the process until the water runs clearer gets the job done.
A stiff brush loosens stubborn hull scraps from the deep ridges. A strong hose spray over a wire screen also works well.
Floating nuts offer a helpful clue. Many gardeners treat floaters as likely empty or poorly filled and toss them.
That float test works as a quick screen rather than a perfect verdict. The sinkers still deserve a look by hand.
Careful sorting comes next. Nuts with fuzzy mold, a strong sour smell, cracks, or insect holes belong in the discard pile.
Shriveled or very light nuts usually hold shrunken kernels and aren’t worth space on the drying rack. Damaged shells also let moisture and mold reach the kernel during curing.
Being picky now saves heartache later, since one moldy nut on a drying screen can spread trouble to its neighbors.
A smaller pile of sound walnuts beats a big pile that needs sorting all over again, every time.
5. Cure In A Dry Airy Spot
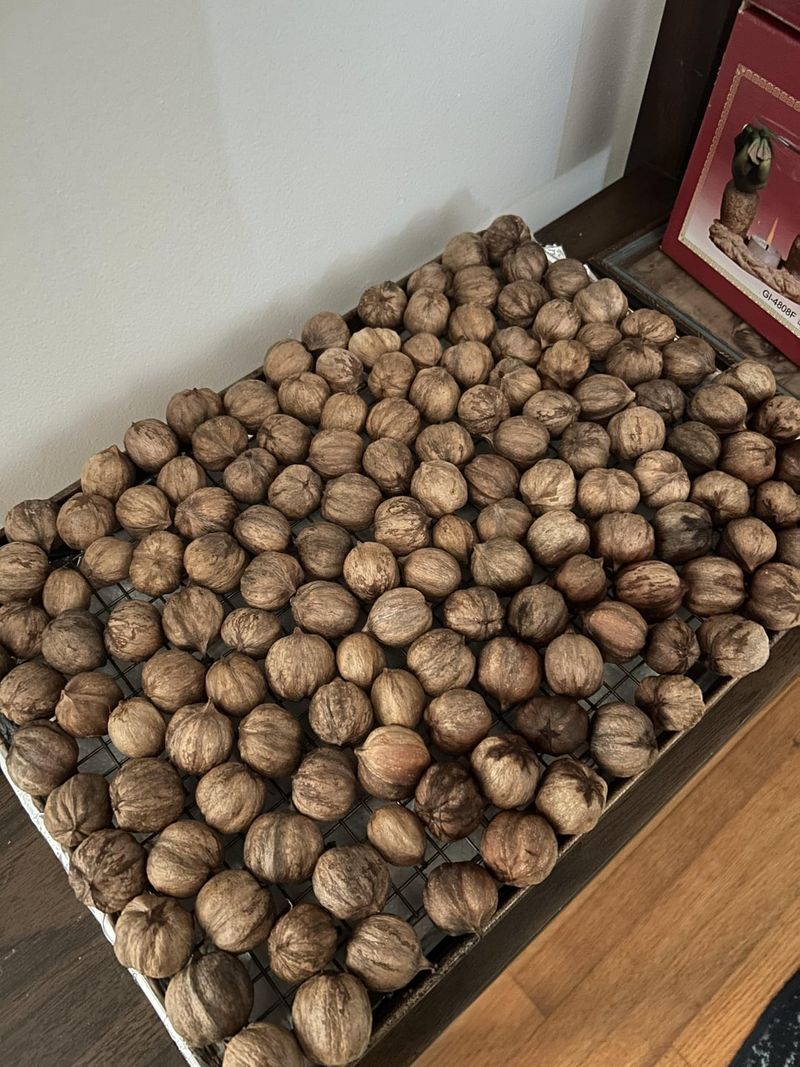
Damp walnuts piled in a box resemble a crowded elevator on a hot day, with moisture trapped and nowhere to go. Curing gives each nut room to breathe so shell and kernel dry slowly and evenly.
A single layer works best. Stacked nuts stay wet at the bottom of the heap and can mold.
Screens, old window screens set on bricks, wire racks, or shallow mesh trays all work well. Air reaches the nuts from above and below, speeding even drying.
A warm, dry, well-ventilated spot out of the rain makes the ideal location. A garage, covered porch, shed, or attic with good airflow can handle the job nicely.
In many parts of California, mild, dry autumn days help the process along. Coastal spots with morning fog may need extra airflow, and a small fan running nearby lends a hand.
Strong, direct sun is best avoided. Very hot conditions can harm the oils in the kernel, leaving a stale, bitter taste.
Gentle warmth with steady air movement beats baking heat every time. Patience pays off in flavor.
Critters love a free buffet. Rats, squirrels, and mice happily raid drying racks, so a hardware cloth cover or trays raised off the floor protect the harvest.
Turning or stirring the nuts every few days gives every side equal time in the breeze. That simple habit keeps drying even and discourages mold.
6. Curing Takes Weeks, Not Days
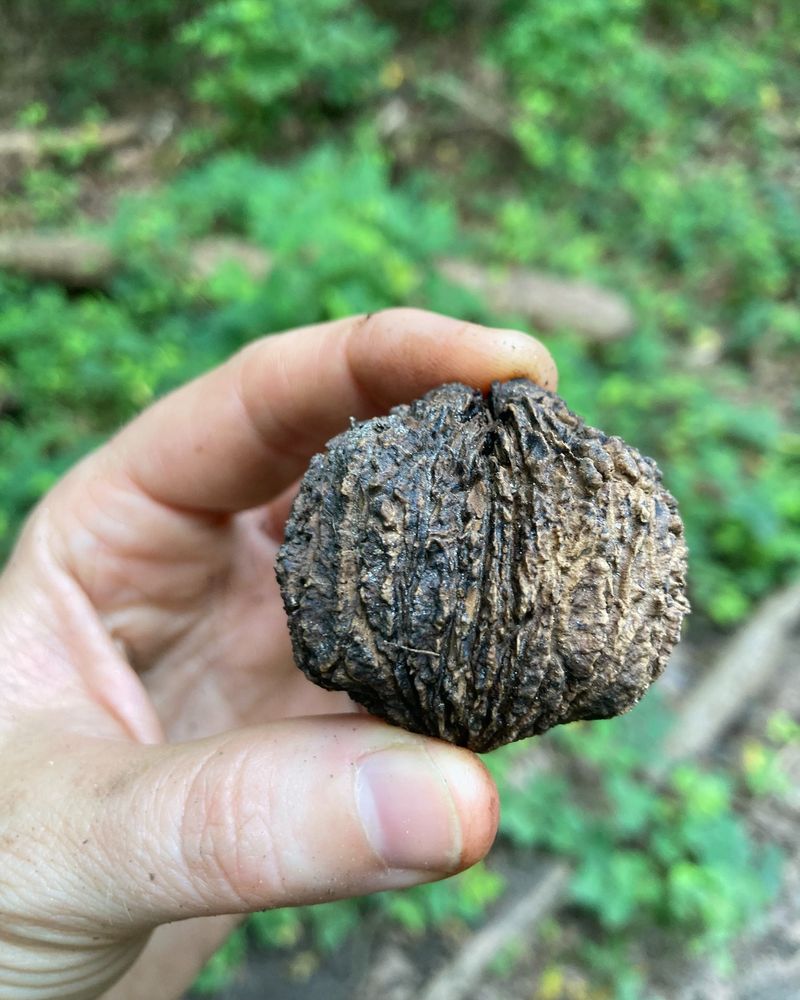
Patience may be the hardest part of the whole job. After all that hulling and scrubbing, cracking a nut right away feels tempting.
Black walnuts need a few weeks of curing before they’re truly ready, though. Drying time depends on weather, location, and nut size.
A warm, breezy garage moves things along faster than a damp, foggy porch. Reading the nuts themselves works better than watching the calendar.
A test nut tells the story. A hammer or a sturdy nutcracker built for hard shells handles the job, since black walnut shells are famously tough.
A cured kernel snapped in half breaks with a clean, crisp sound. One that bends, feels rubbery, or looks moist needs more time.
The shell offers clues, too. It should feel dry and light, without damp patches or cool spots.
A gentle shake can help as well. A loose kernel sometimes rattles a little inside the shell once it has dried and pulled away.
Testing a few nuts from different parts of the rack gives a clearer picture than checking just one.
Nuts on the edges can dry faster than those in the middle, and any that show mold during curing belong in the trash right away.
The wait rewards the taste buds. Well-cured black walnuts carry a deep, earthy, smoky flavor that bakers prize in cookies, cakes, and ice cream.
7. Store Nuts In A Cool Dry Place
Rich oils give black walnuts their bold flavor, and those same oils can turn rancid when storage goes wrong. Heat, moisture, and light cause most of the trouble.
A smart storage plan keeps the harvest tasting fresh well into the next year. Nuts still in the shell hold up best.
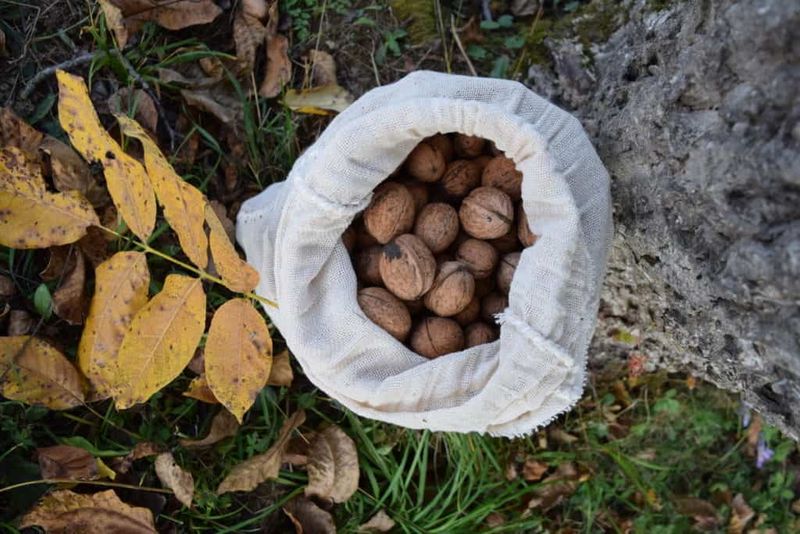
Mesh bags, baskets, or breathable sacks stored in a cool, dry pantry, basement, or insulated garage work well. Sealing damp nuts in plastic is best avoided, since trapped moisture invites mold.
Shelled kernels need more care. Once removed from the shell, they lose their natural armor and go stale faster.
Airtight jars or freezer bags protect them nicely. The refrigerator suits shorter storage, while the freezer handles longer keeping.
A harvest date on every container helps track freshness. A quick sniff later reveals plenty.
Fresh kernels smell sweet and nutty, while rancid ones smell like old paint or crayons. Nuts that smell off, show mold, or look dark and oily belong in the trash.
Sharing deserves a little care, too, since tree nut allergies are common and can be serious. Clear labels on cookies, salads, and gifts containing black walnuts help everyone stay safe.
Cracking those tough shells takes patience. Many people crack a batch at a time, then freeze the kernels in small bags.
That way, a handful stays ready whenever a recipe calls for one. Frozen kernels often keep their flavor for many months.
8. Keep Hulls Out Of Garden Beds
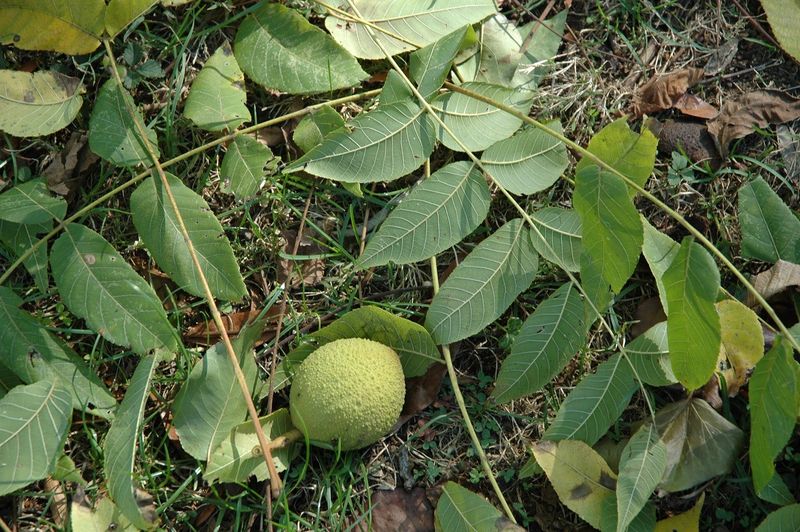
Tomato plants wilting near a walnut tree for no clear reason make a classic garden mystery. The usual suspect is juglone, a natural chemical found in black walnut hulls, leaves, roots, and bark.
UC ANR explains that juglone can harm many sensitive plants. Some react quite strongly.
Tomatoes, peppers, potatoes, eggplants, blueberries, azaleas, and rhododendrons are well-known examples. They may yellow, wilt, or simply struggle near walnut roots or debris.
Other plants, such as many squash and beans, tend to shrug it off much better. Knowing the difference helps with planning.
A pile of hulls is packed with juglone. Hulls and fallen walnut leaves are best kept out of compost destined for sensitive crops.
Dumping them in a vegetable bed can quickly stunt a summer harvest. Local green waste programs offer the best disposal option in many cities.
Leaves deserve a little extra thought. Raking them up in fall keeps them from piling under shrubs or near beds.
Rinse water from cleaning nuts also carries hull juice, so pouring it away from garden plants helps. Plenty of space between walnut trees and sensitive crops makes a smart rule of thumb.
Juglone-sensitive plants grow best well away from the canopy and root zone, which can spread wider than the branches. Raised beds with fresh soil add another layer of protection.
With a little respect for these trees, the walnut harvest and the vegetable garden can thrive side by side. Nobody enjoys a nutty neighbor feud.