Don’t Let Frost Take Your New York Geraniums, Here’s How To Keep Them
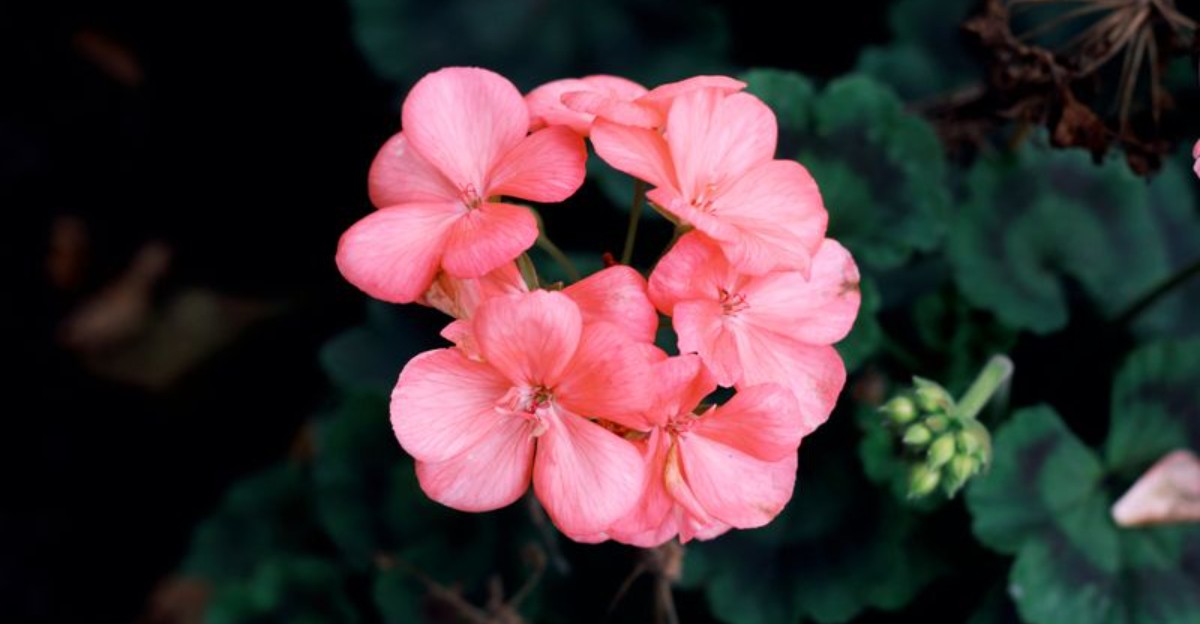
One October night can turn a porch full of scarlet geraniums into a droopy mess. If you garden in New York, you know the sinking feeling when the first frost sneaks in.
Those bright blooms are tender plants called Pelargoniums. They come from warm South Africa, so our chilly winters hit them hard.
Luckily, you don’t have to buy new ones every spring. With a few smart moves, you can tuck them away for the cold months and bring them back stronger.
Some methods need a sunny window, while others need only a cool basement and a paper bag. Each one works for a different kind of gardener.
The steps below show how to save your geraniums before the frost arrives. It’s easier than you might think.
1. Check The Forecast And Move Before Frost
Weather apps can be a gardener’s best friend in fall. One quick glance each morning could save a whole summer of blooms.
Geraniums slow down once temperatures slip below 41 degrees Fahrenheit. A real frost can turn their leaves black and mushy overnight.
Across New York, frost timing changes a lot from place to place. Upstate gardeners may see a chilly night by late September or early October.
New York City usually stays milder for a few extra weeks. Central Park’s average first frost lands around November 20, though it can arrive much sooner.
Here is a simple habit worth starting in mid-September. Check your local ten-day forecast and watch for nights dipping into the low 40s.
Once those numbers appear, start making a plan. Decide which plants you want to save and which method fits your space best.
Small pots are easy to carry into a garage or sunroom on short notice. Bigger planters might need a helper or a rolling plant caddy.
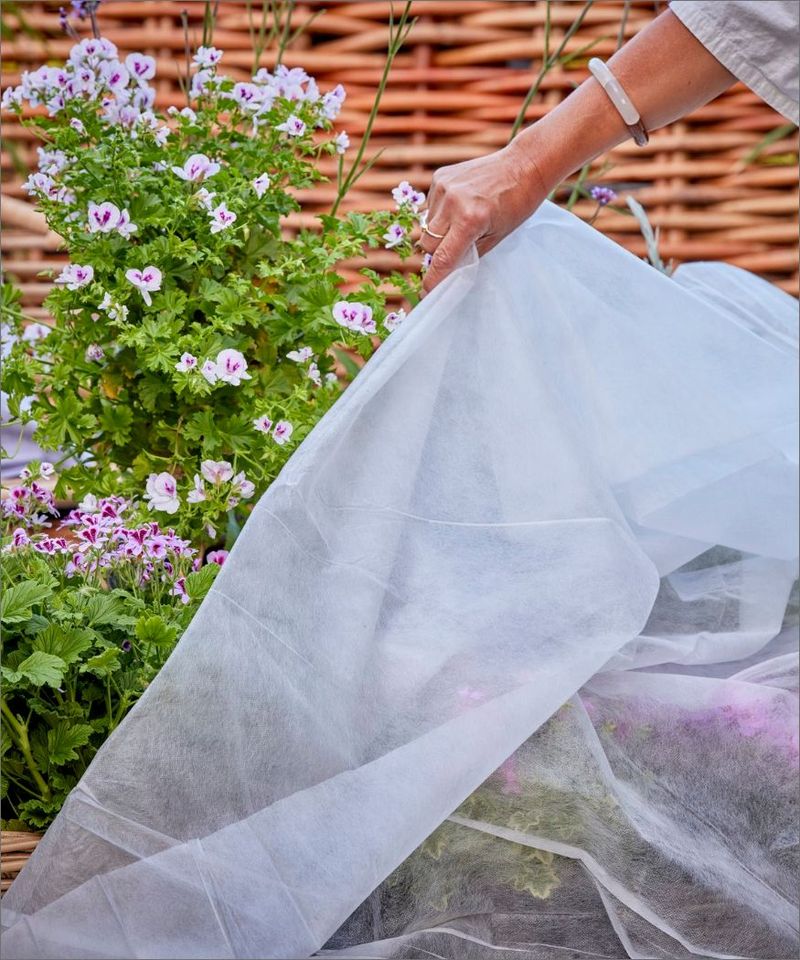
Got a surprise cold night coming before you are ready? Toss an old bedsheet over the plants for a little temporary shelter.
Skip plastic sheeting, though, because it can trap cold against the leaves. Fabric works better and lets the plants breathe through the night.
Fun fact for curious gardeners: the word geranium comes from the Greek word for crane. The seed pods look a bit like a crane’s long beak.
2. Dig The Whole Plant And Pot It Up
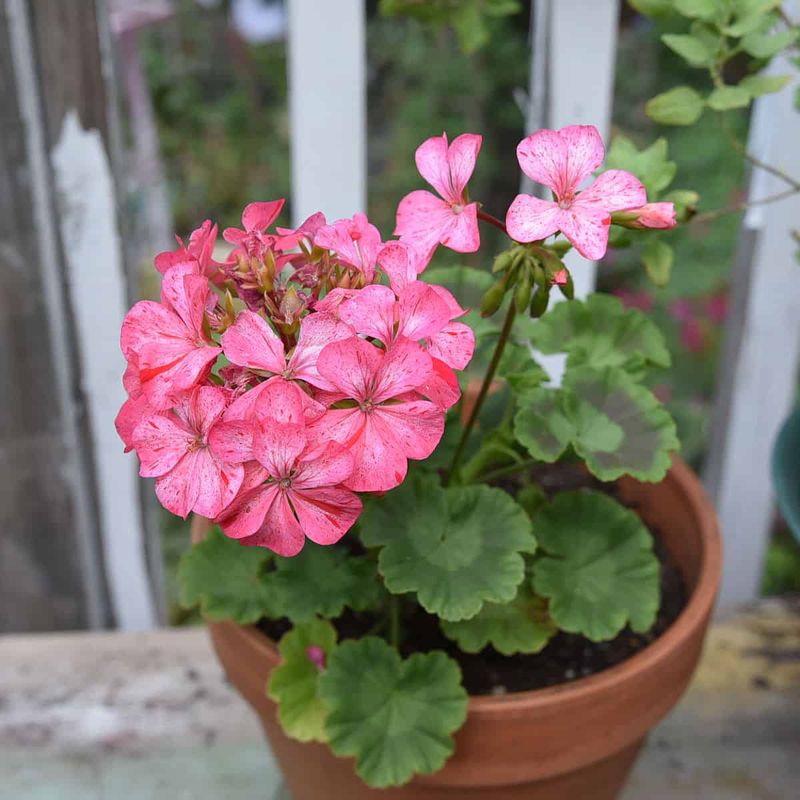
Picture your favorite coral geranium blooming on the kitchen sill in January. Moving the entire plant indoors makes that cozy scene possible.
Start by choosing only the strongest plants in your garden. Leave behind any with spotted leaves, soft stems, or obvious bugs.
Use a garden fork or trowel to loosen the soil around each one. Work in a wide circle so you protect as many roots as you can.
Lift the plant gently and shake off the loose dirt. A little soil clinging to the roots is perfectly fine.
Pick a pot that fits the root ball without lots of extra room. Oversized containers hold too much water, and soggy soil leads to rot.
Your New York Garden Changes Every Week. Your Plan Should Too.
Gardening in New York changes quickly throughout the season. Every Friday you’ll receive a simple weekly plan showing exactly what to plant, prune, fertilize, harvest, and protect so you never miss the right timing.
Drainage holes matter more than a pretty design. Water needs a way out, or the roots will sit in a puddle all winter.
Fill the pot with a light, fluffy mix that drains well. Many growers blend potting soil with perlite or coarse sand for extra airflow.
Set the plant at the same depth it grew outside. Press the mix down lightly so the stems stand upright and steady.
Water slowly until it trickles from the bottom of the pot. Let the extra drain away before moving the plant inside.
Give your newly potted geranium a few days in a shady spot first. A gradual change helps it settle in without much shock.
3. Cut Plants Back Before Bringing Them In
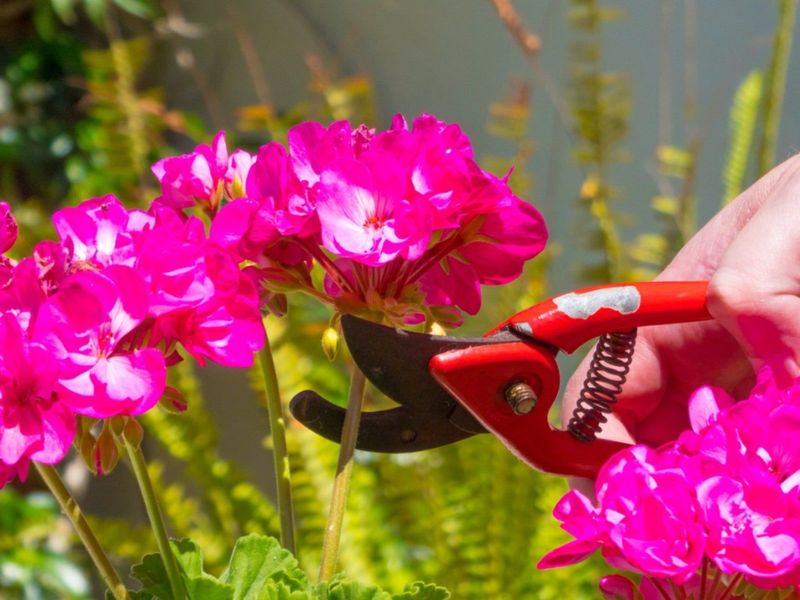
Think of it as a fall haircut for your plants. A good trim now makes winter care much easier later.
Overgrown geraniums take up too much room inside your home. They also waste energy feeding long stems that will not do much.
Aim to remove about one third to one half of each plant’s height. Some gardeners go shorter, leaving stems just four to six inches tall.
Sharp, clean shears make all the difference here. Wipe the blades with rubbing alcohol before you begin cutting.
Look for a leaf node, which is the small bump where leaves grow. Snip just above it so new shoots can sprout from that spot.
Take off yellow leaves, faded flowers, and any broken stems too. Clearing that clutter lowers the chance of mold and disease indoors.
Do not panic if your plant looks a little bare afterward. Geraniums bounce back quickly once they get light and steady care.
Save the healthiest trimmings rather than tossing them in the compost. Those pieces can become brand new plants, which you will read about soon.
A tidy, compact plant fits nicely on a windowsill. It also lets light reach the center, which keeps growth sturdy instead of floppy.
Many experienced growers swear by this step above all others. Shorter plants simply handle the indoor season with far less stress.
4. Inspect Leaves For Whiteflies And Aphids
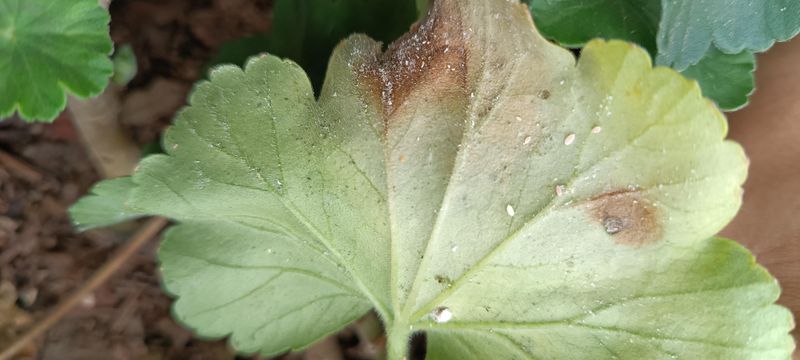
Nobody wants surprise roommates for the winter. Tiny bugs love hitching a ride indoors on outdoor plants.
Whiteflies, aphids, and spider mites are the usual troublemakers. Inside your warm home, their numbers can grow fast without birds or rain to stop them.
Flip over several leaves and look closely underneath. Pests like to hide there where you are less likely to notice.
Watch for sticky spots, specks, webbing, or curled leaves. A cloud of tiny white insects flying up when you shake the plant is a clear sign.
Spotted a few invaders? Start with a firm spray from the garden hose to knock them loose.
For stubborn bugs, insecticidal soap or neem oil works well. Coat the tops and bottoms of the leaves, then repeat in about a week.
Here is a helpful trick many gardeners use. Hang a yellow sticky card near the plant to catch any flying whiteflies.
Keep treated plants apart from your other houseplants for two or three weeks. That waiting period lets you confirm the problem is truly gone.
A small mistake here can spread to every pot on your shelf. Ten minutes of careful checking now can prevent weeks of frustration.
Treat this step like a quick checkup at the doctor. Healthy plants coming inside means a calmer, cleaner winter for everyone.
5. Take Stem Cuttings From Healthy Shoots
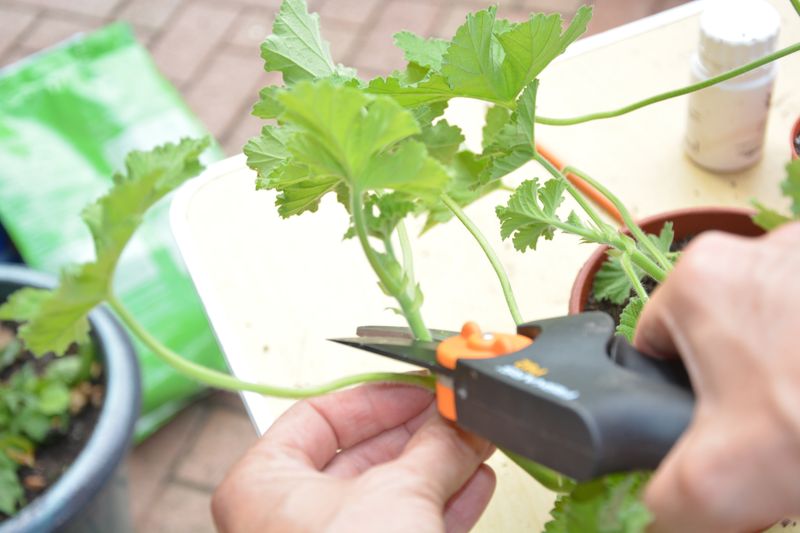
Grandmothers have shared geranium cuttings over backyard fences for generations. Copying their trick gives you free plants and saves precious indoor space.
Cuttings work great if you lack room for big potted plants. Small starts fit easily on a narrow sill in an apartment.
Late summer or early fall is the sweet spot for snipping. Plants are still growing actively, which helps cuttings root faster.
Choose firm, green stems that do not have flowers. Blooms pull energy away from root growth, so skip those shoots.
Grab a clean, sharp knife or pair of shears. Cut just below a leaf node to make a piece about three to four inches long.
Strip off the lower leaves, keeping two or three at the top. Bare stem is what will sit in the soil and grow roots.
Rooting hormone is optional but helpful. Dip the cut end lightly, then tap off any extra powder.
Label each cutting with its color if you grow several kinds. Trust me, it is hard to remember later which one was the salmon pink.
Take a few more cuttings than you think you need. Not every piece will root, so extras give you a safety net.
By spring, these little sprigs grow into fresh, bushy plants. Many gardeners find them stronger and prettier than the old parent plant.
6. Let Cuttings Callus Before Planting
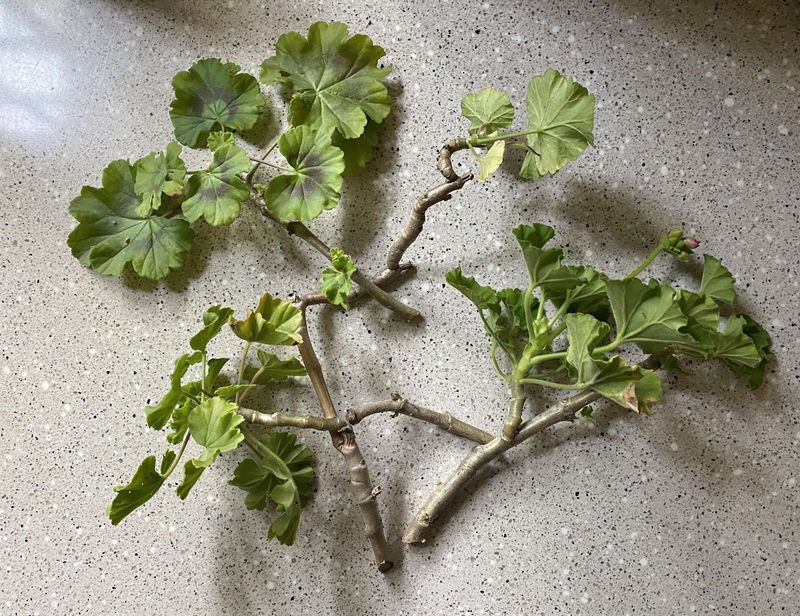
Patience pays off in a surprising way with geranium cuttings. Leaving them alone for a bit actually helps them root better.
Callusing means letting the cut end dry and seal over. A tough, corky layer forms, a bit like a scab on a scraped knee.
Geraniums have juicy stems that rot easily in damp soil. Fresh cuts are open doors for fungus and a nasty problem called black leg.
Simply lay your cuttings on newspaper or a paper towel. Keep them in a shady, room-temperature spot away from direct sun.
A few hours can be enough in dry air. Some growers wait up to five days for a firmer seal.
Expect the leaves to look a little limp during this time. Relax, because they usually perk up after planting.
When ready, poke each stem about an inch deep into moist potting mix. Gently firm the soil so the cutting stands upright.
Avoid covering them with plastic bags like you might with other plants. Geraniums prefer drier air and can mold under a cover.
Roots typically form in three to four weeks. Tug very gently, and slight resistance means roots are holding on.
Fun fact: geraniums store water in their thick stems, almost like succulents. That built-in supply is exactly why they handle a drying-out period so well.
7. Hang Bare-Root Plants In A Cool Basement
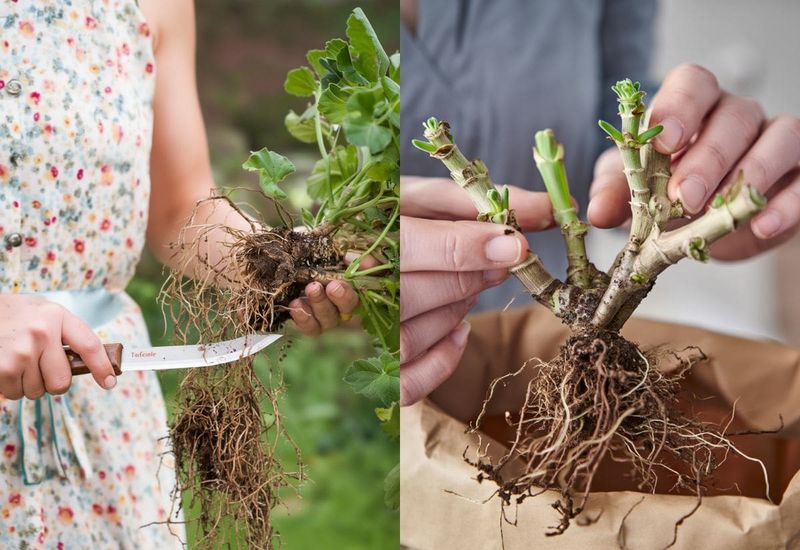
Old farmhouses across upstate New York once had geraniums dangling from basement beams. It looks odd, but this old-school method still works today.
Dig up your plants before the first hard freeze. Shake away all the soil until the roots are bare.
Trim each plant back by about half. Snip off every flower, bud, and damaged leaf before storing.
Pick a cool, dark, dry room for winter storage. An unheated basement, garage, or shed often fits the bill nicely.
Temperatures between 45 and 50 degrees are ideal. Make sure the spot stays above freezing, even on the coldest January nights.
Tie the stems with string and hang them upside down from rafters. Open paper bags or cardboard boxes work too if you lack beams.
Good airflow matters a great deal here. Crowded, damp plants can grow mold, so give each one breathing room.
Check on them about once a month. Shriveled roots mean they could use a drink.
Soak the roots in a bucket of water for an hour or two. Let them drip dry before hanging them back up.
Your plants will look rough by late winter, with dry, droopy leaves. Firm green stems mean they are resting, not gone, and ready for spring.
8. Place Potted Plants In Your Brightest Window
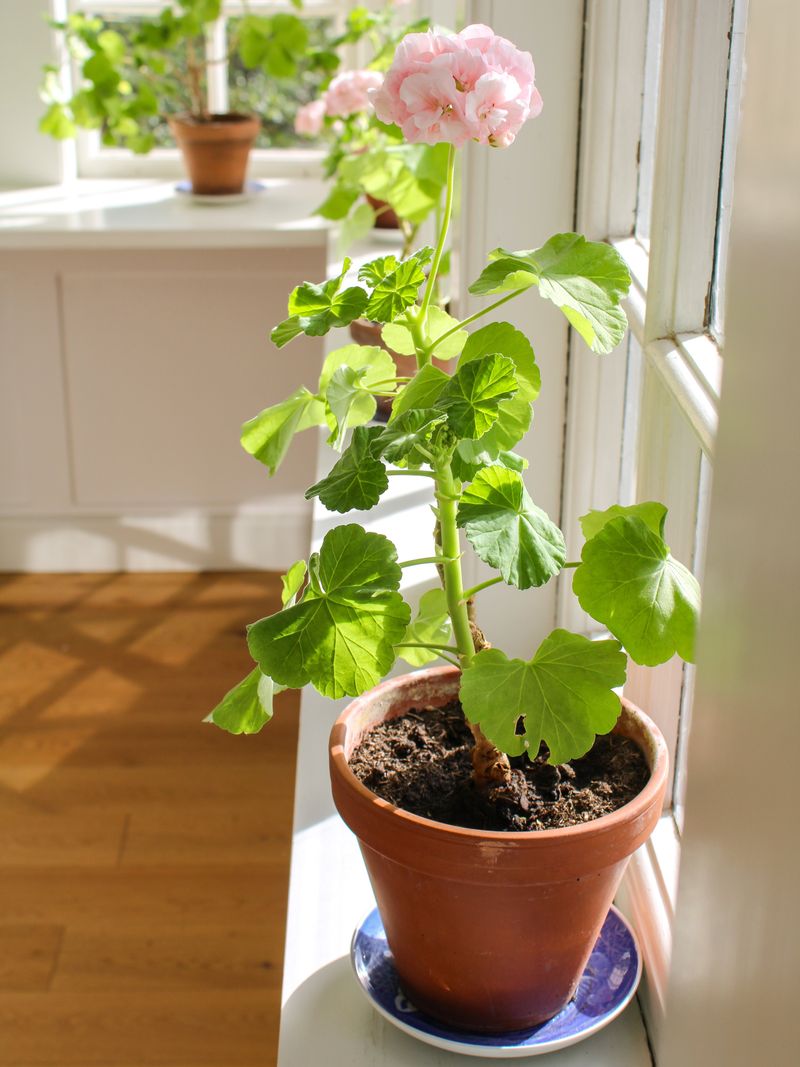
Few things brighten a gray February like red blooms in the window. Plenty of light keeps potted geraniums growing and sometimes flowering all winter.
Geraniums crave at least six hours of direct sun each day. Winter days are short, so window choice really counts.
South-facing windows usually win. West-facing windows come in second, catching strong afternoon rays.
Not enough sunshine where you live? An inexpensive LED grow light can fill the gap nicely.
Run the light about 12 to 14 hours a day. A simple plug-in timer makes it easy to stay consistent.
Comfort matters too, just like it does for people. Daytime temps around 65 to 70 degrees suit them well.
Cooler nights near 50 to 60 degrees actually help them stay sturdy. Keep pots away from radiators, heating vents, and icy drafts.
Watch for long, stretched stems with gaps between leaves. That leggy look means the plant is reaching for more light.
Pinch the tips of those stretchy stems with your fingers. New side shoots will form, giving you a fuller, bushier plant.
Turn each pot a quarter turn every week or so. Even light on all sides keeps your geranium from leaning toward the glass.
9. Water Sparingly Through Winter
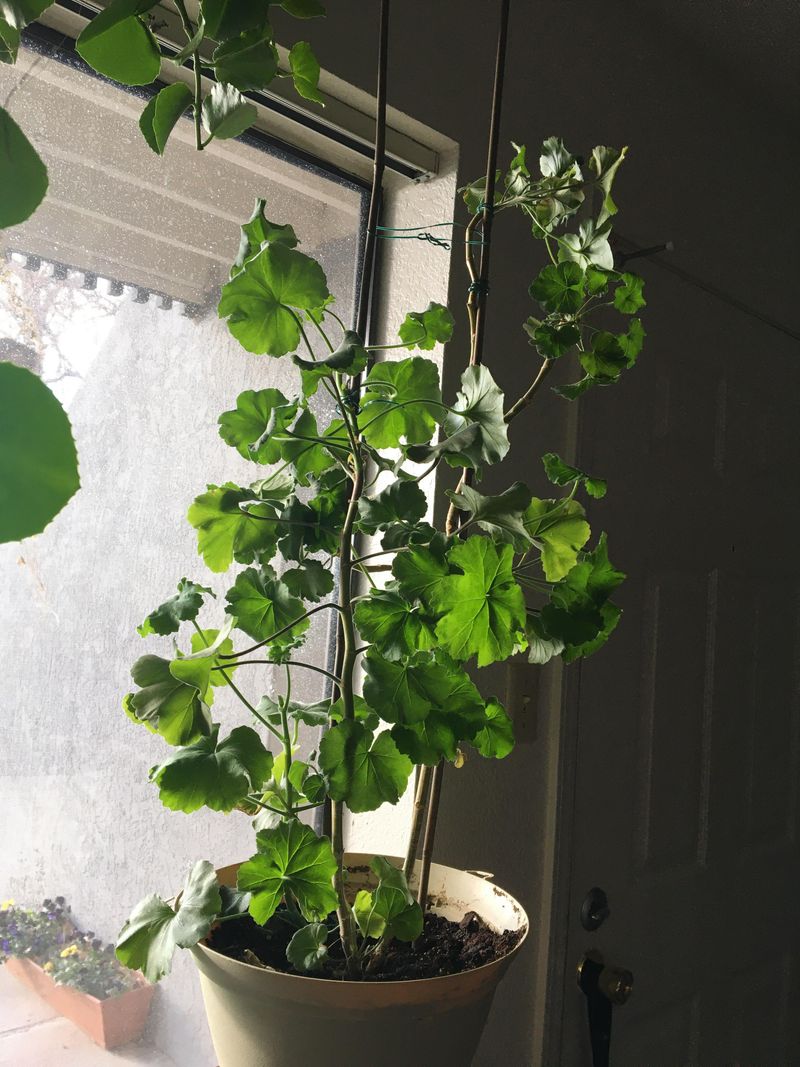
Here is the mistake almost everyone makes at first. Loving your geraniums too much with the watering can is a quick path to trouble.
Winter growth slows way down indoors. Less light and cooler air mean the plants drink far less than in July.
Soggy soil invites root rot, which spreads quietly below the surface. By the time leaves turn yellow, the damage may already be serious.
Try the easy finger test before every watering. Push a finger an inch or two into the soil.
Dry at that depth? Go ahead and water until a little drains out the bottom.
Still damp? Wait a few more days and check again.
For most homes, that works out to every five to ten days. Dry, heated apartments may need water a bit more often.
Bare-root plants in storage need even less. A brief monthly root soak keeps them from drying out too much.
Empty saucers after watering so pots do not sit in water. Roots need air as much as moisture.
Hold off on fertilizer until spring arrives. Feeding a resting plant pushes weak, floppy growth that struggles later.
Remember, a slightly thirsty geranium recovers fast. An overwatered one often does not, so lean toward dry.
10. Wake Them Up In Early Spring
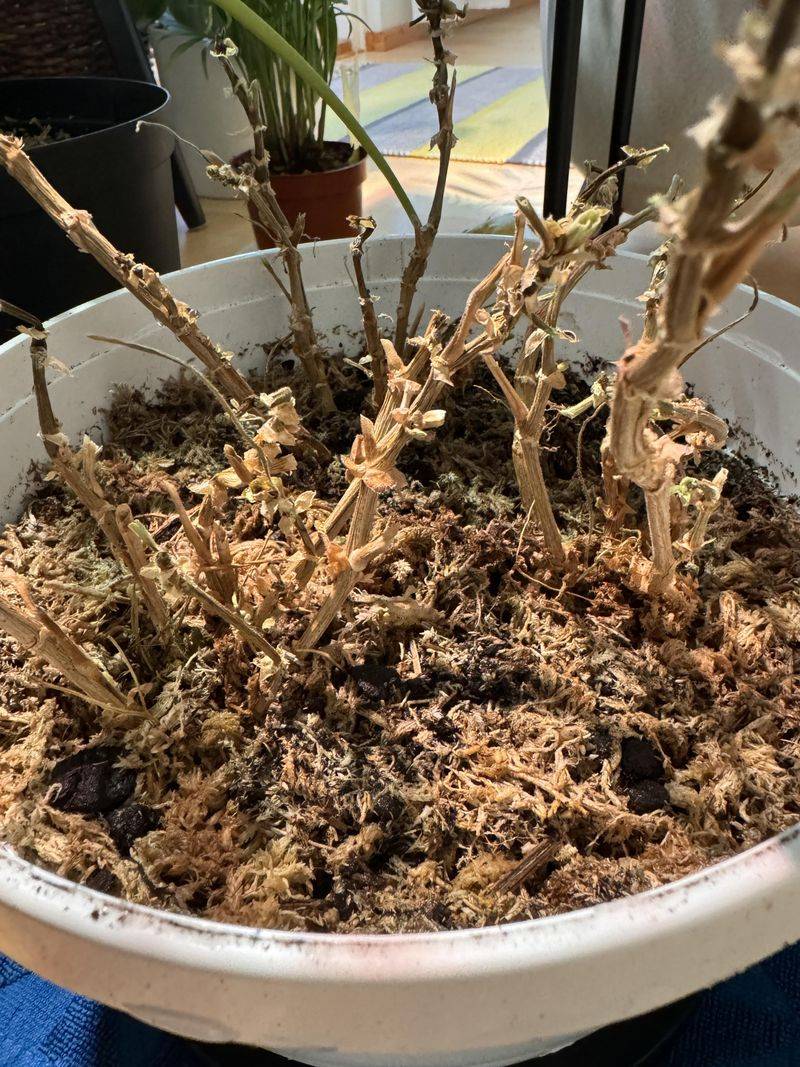
Late winter brings a fun moment for patient gardeners. It is time to shake your geraniums out of their long nap.
Start about six to eight weeks before your last frost date. In much of New York, that means late February or early March.
Your plants may look shriveled and a little sorry for themselves. No worries, because that tired look is normal after months of rest.
Bring bare-root plants out of storage first. Trim away any mushy or brittle stems down to firm, healthy tissue.
Soak the roots in water for one to eight hours. Then pot them up in fresh, well-draining mix.
Potted plants from the windowsill need a tidy-up too. Cut back leggy stems and repot if the soil looks tired.
Move everything into bright light and water regularly again. Once fresh green shoots appear, feed with a balanced liquid fertilizer.
Wait to plant outside until frost danger has passed. Mid-May is a safe target for many New York gardens.
Harden them off slowly over one to two weeks. Begin with a few hours in shade, then add more sun each day.
Before long, your saved geraniums will be blooming on the porch again. Few garden victories feel quite as sweet as that.