Single-Ingredient Fertilizers That Work Wonders On Peppers
Some backyard plants sulk quietly in early fall, dropping blossoms and offering tiny, wrinkled fruit instead of glossy prizes. You might stare at the leaves each morning, coffee in hand, wondering what on earth went sideways out there.
The fix often hides in your kitchen, garage, or garden shed, waiting in a humble bag or jar. No fancy blends with long labels are required, just one plain ingredient chosen with care and good timing.
Everyday scraps and shed staples can turn into real nutrition for hungry roots. Each one brings its own nutrients, and knowing which one to grab makes a difference at harvest.
Cool October nights slow plant growth, so the right nutrient now can stretch your season a little longer. Smart feeding this month also sets up your soil for a stronger, more colorful crop next year.
1. Bone Meal For Strong Root Growth
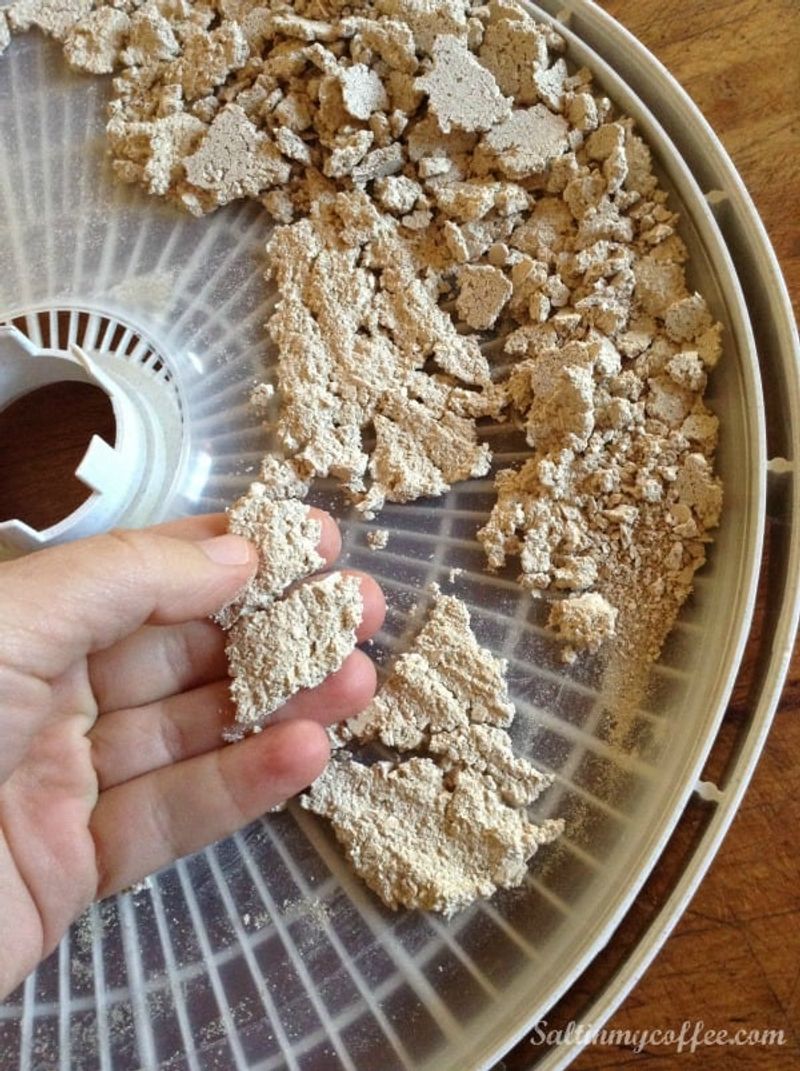
Bone meal is a popular simple feed among home growers, and it is easy to find at any garden center. Made from finely ground animal bones, this powder delivers phosphorus, a nutrient that peppers lean on heavily.
Phosphorus helps plants build strong roots, set flowers, and turn those blossoms into firm, glossy fruit over time. Without enough of it, pepper plants can grow leaves normally but set fewer flowers and fruit.
Bone meal also contains calcium, though it releases slowly, so it is not a quick fix for fruit problems. Getting two useful minerals from one bag makes it a budget-friendly choice for busy home gardeners.
The powder breaks down slowly, feeding plants gradually over several months rather than all at once. That slow release keeps the risk of burning tender roots low.
For plants still producing in early October, scratch about one tablespoon into the soil around each stem. Water it in well afterward so the particles settle close to the roots where they can do work.
Bone meal works best in soil that leans slightly acidic, since alkaline ground holds phosphorus tightly in place. A cheap soil test kit from the garden center can tell you if your beds fit that range.
The same test shows how much phosphorus your soil already holds. Many established beds have plenty, and extra phosphorus can build up over the years, so skip the bag if your results come back high.
Dogs can be drawn to the smell and may get sick if they eat it, so a thin layer of mulch helps keep them away. That small step protects both your pets and your hard work.
2. Crushed Eggshells For Long-Term Calcium
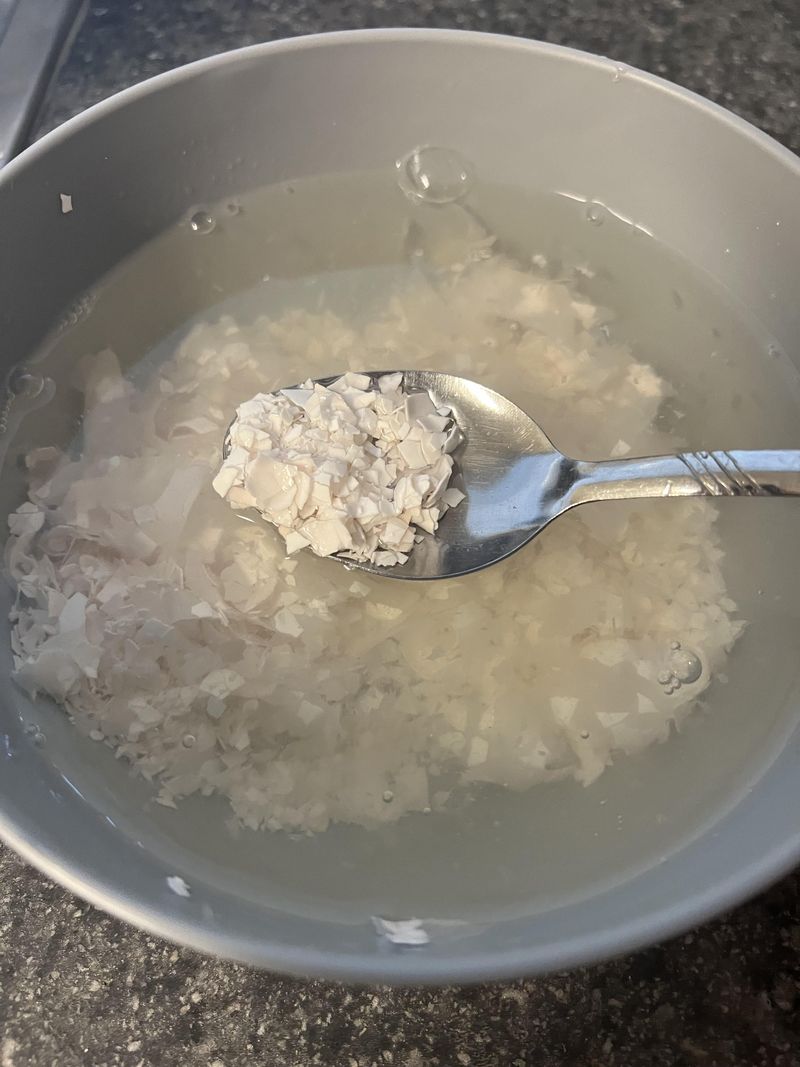
Grandma rinsed every eggshell after breakfast and lined them up on the windowsill to dry in the sun. She knew something many gardeners forget, which is that those brittle shells are packed with useful calcium.
Calcium matters for peppers because poor calcium uptake often shows up as blossom end rot on the fruit. You may notice dark, leathery patches forming on the bottom of developing peppers.
Uneven watering plays a big role too, since plants struggle to move calcium when soil swings from soggy to dry. Steady moisture matters more for smooth, healthy fruit than any amount of shells.
Whole shells can take years to break down, so grinding them into a fine powder speeds things up nicely. An old blender or a mortar and pestle turns a week of shells into fine dust within a minute or two.
Sprinkle about two tablespoons of the powder around each plant and gently mix it into the top inch. Baking the shells first at a low oven temperature helps dry them out and removes lingering kitchen smells.
Because eggshells release calcium slowly, early October is a smart time to start building a supply for spring. Working the powder into empty beds now gives it months to soften before next year’s transplants arrive.
Most of the calcium stays locked in the shell for a long time, so do not expect the powder to rescue fruit that is already forming. Think of it as a savings account for the next season rather than an emergency fix.
Keep a lidded container near the sink, and the habit becomes second nature within a couple of weeks. Your trash bin gets lighter, your soil gets richer, and your future peppers get a slow calcium boost.
3. Epsom Salt Timing In Early October
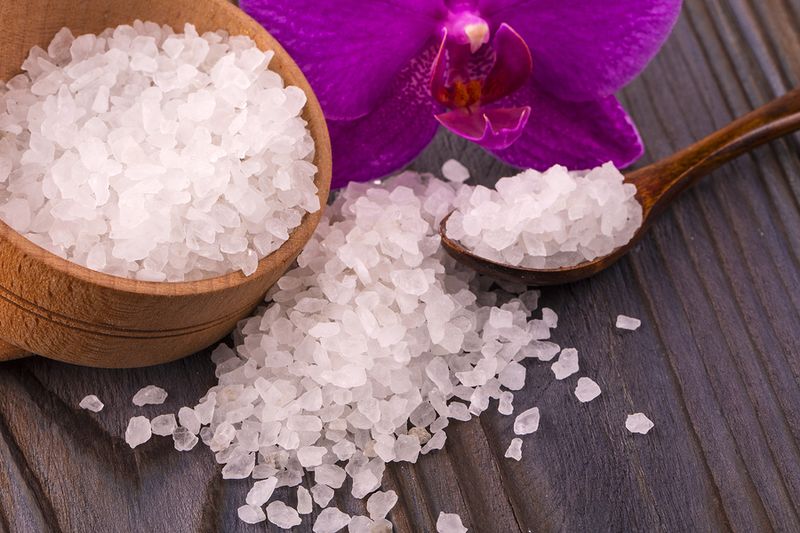
Epsom salt is not really salt like the kind on your dinner table, despite the confusing name. It is magnesium sulfate, a mineral first found in a spring near the English town of Epsom in the early 1600s.
Magnesium sits at the center of every chlorophyll molecule, helping leaves stay green and catch sunlight. When peppers run low, older leaves often turn yellow between the veins while the veins themselves stay green.
Timing matters a lot in early October, because shorter days and cooler nights already slow down plant growth. A quick foliar spray can work faster than soil feeding, giving tired leaves a boost before frost arrives.
Mix one tablespoon of Epsom salt into a gallon of water and stir until the crystals disappear. Spray the leaves in the cool morning hours, coating both the tops and the undersides for best results.
Avoid spraying during the bright afternoon, since strong sun and heat can stress wet leaves. One or two treatments spaced about two weeks apart is usually plenty for plants winding down their season.
More is not better here, because extra magnesium can block calcium uptake and invite other fruit problems. Skip the treatment if a soil test shows plenty of magnesium already sitting in your garden beds.
Yellow leaves can also come from cold nights, overwatering, or a lack of nitrogen, so check those causes before reaching for the box. Epsom salt helps only when magnesium is truly the missing piece.
Plants that were truly low in magnesium may show greener foliage within a couple of weeks. Healthy leaves keep feeding the last fruits as they ripen.
4. Alfalfa Meal For Slow Winter Breakdown
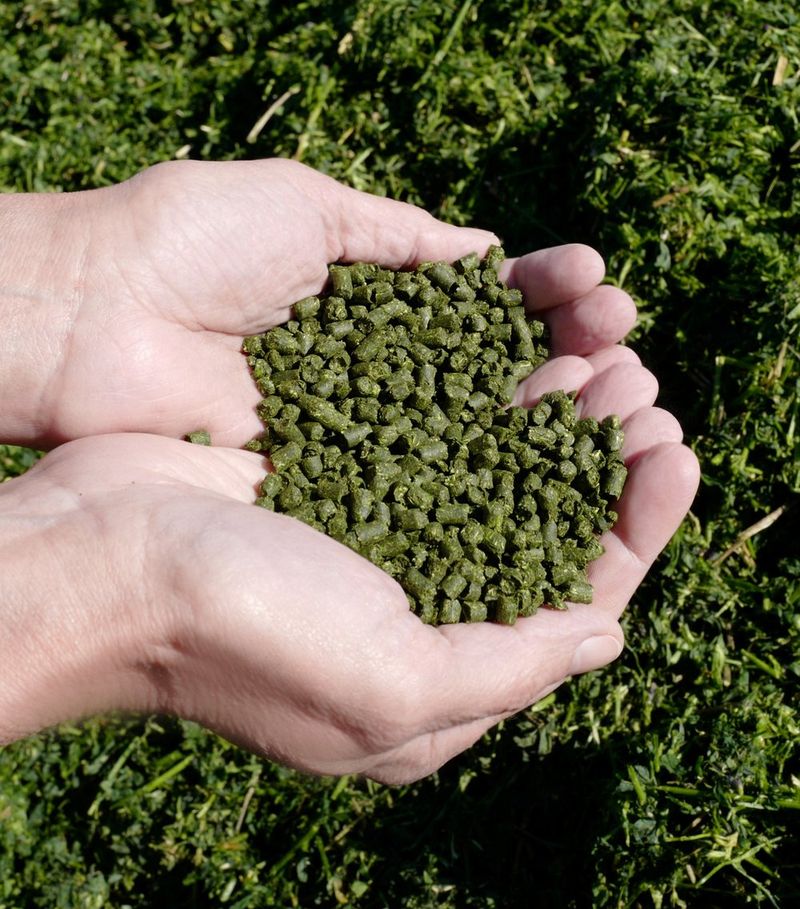
Alfalfa meal is made from dried, ground alfalfa plants, the same crop farmers grow as hay for livestock. It comes as a coarse powder or small pellets at most garden centers.
It offers a mild amount of nitrogen along with small amounts of phosphorus, potassium, and trace minerals. Because the numbers are low, it feeds plants gently rather than forcing fast leafy growth.
Soil microbes need time to break the meal down, which makes fall a practical season to use it. Cool October soil slows that process, so the nutrients become available gradually through winter and into spring.
Pepper plants still holding fruit do not need an extra feed right now. Save the meal for beds that are empty or about to be cleared, so the soil is ready for next year’s transplants.
Follow the rate printed on the package, which is often several cups for every hundred square feet of bed. Rake it into the top few inches of soil and water it in well.
Alfalfa smells like hay and can attract rodents, raccoons, and other critters. Mixing it into the soil instead of leaving it on the surface keeps most of them away.
Plain alfalfa pellets sold as rabbit feed work too, as long as the label lists only alfalfa. Skip blends that add grains, seeds, or molasses, since those extras can draw even more visitors.
Keep the bag sealed and dry, because damp meal can turn moldy within a few weeks. A lidded bucket works well.
5. Banana Peel Tea For A Potassium Boost
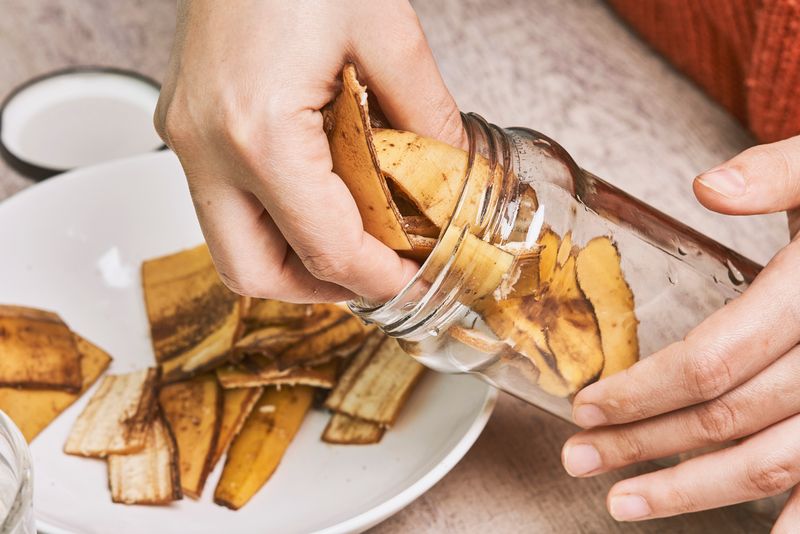
Banana peels might seem like trash, but your peppers would happily argue otherwise if they could talk. Those floppy yellow skins contain potassium, a mineral linked to flavor and fruit quality.
Potassium helps plants move water and sugars around, which supports thicker walls and richer color in peppers. Plants short on it often show brown, scorched edges on older leaves and produce smaller, blander fruit.
Making banana peel tea takes almost no effort and uses scraps you would toss anyway. Chop three or four peels into small pieces and drop them into a large jar of water.
Let the jar sit on the counter for about two days, giving it a gentle swirl each morning. Strain out the soggy peels and pour the cloudy liquid around the base of each pepper plant.
Leaving the jar out much longer than three days invites a sour smell and a cloud of fruit flies. Toss the used peels into your compost bin so nothing goes to waste after the tea is done.
The tea is fairly mild, so think of it as a gentle top-up rather than a powerful feed. Using it once a week through early October adds a small amount of potassium at no cost.
Because the nutrient content is low, the tea works best alongside a soil that is already in decent shape. Gardeners who need a bigger potassium boost often turn to stronger sources, such as the wood ash described below.
Some gardeners bury whole peels near the roots, but they break down slowly and may attract hungry critters. Sticking with the liquid version gives faster results and keeps your garden beds looking neat and tidy.
6. Wood Ash For Next Season Soil Prep
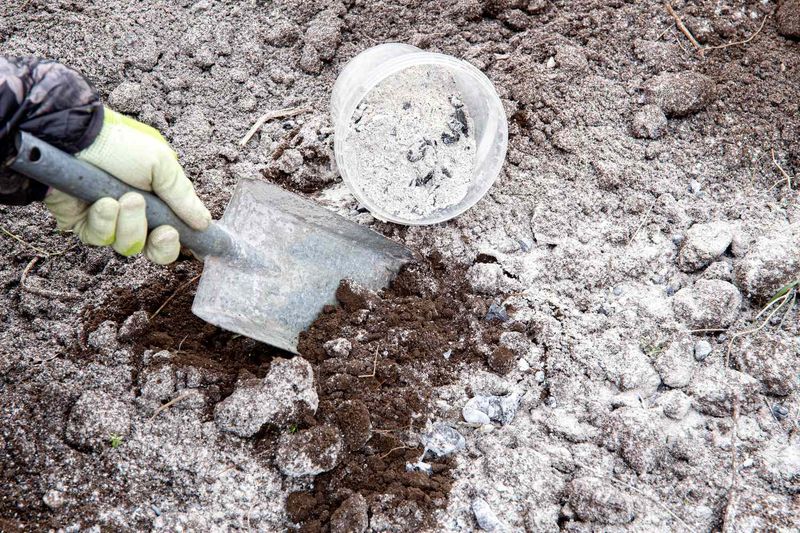
Crisp October evenings bring the first fires of the season, and with them comes a pile of gray ash. Before you dump it in the trash, consider that hardwood ash is a useful source of potassium for peppers.
Wood ash also contains calcium and small amounts of magnesium, giving it a little bit of everything peppers enjoy. It also raises soil pH, which can help beds that have grown too acidic over several seasons.
Fall is a practical time to spread it, since winter rain and snow work the minerals into the ground. By the time spring transplants go in, the soil has settled and the nutrients are ready to use.
Use only ash from clean, untreated hardwood, and skip anything from painted lumber, cardboard, or charcoal briquettes. Those materials can carry chemicals that harm soil life and end up inside the vegetables you eat.
A light hand matters here, so spread about one pound for every hundred square feet of garden space. Rake it in gently, and avoid adding more if your soil test already shows a pH above seven.
Peppers prefer soil that is only slightly acidic, so a bed that already sits near neutral does not need the extra lift. A simple pH test before spreading takes the guesswork out of the job.
Keep the ash away from potato beds, since sweeter soil can encourage rough, scabby skins on those tubers. Store any extra in a lidded metal can so it stays dry.
Wear gloves and a dust mask while spreading, because fine ash floats easily and can irritate your eyes. Next summer, when your peppers hang heavy and bright, you will be glad you saved those cozy ashes.
7. Kelp Meal For A Potassium Lift
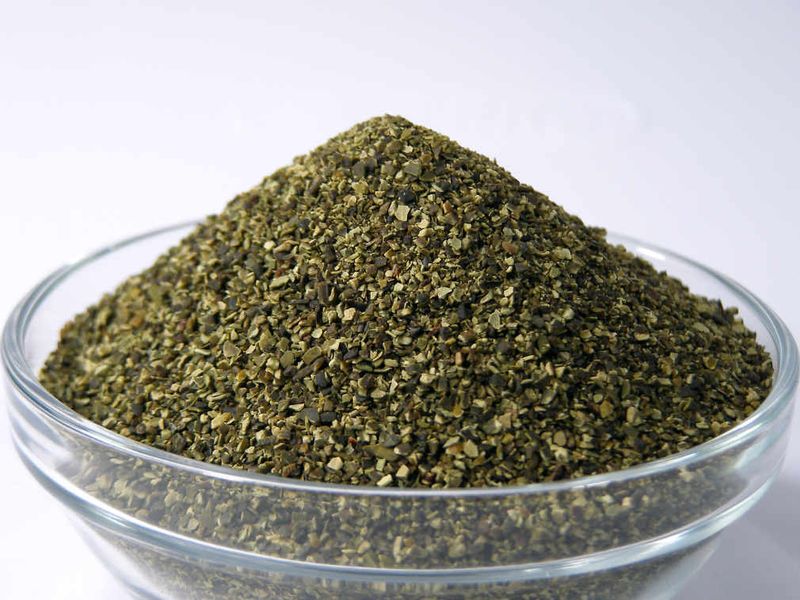
Kelp meal is dried, ground seaweed sold in small bags at most garden centers. It supplies potassium along with a range of trace minerals that peppers use in tiny amounts.
Potassium supports thick fruit walls, steady water movement, and better color as peppers ripen. Kelp meal is lower in potassium than wood ash, so treat it as a gentle supplement.
Scratch about one tablespoon into the soil around each plant, or follow the rate printed on the package. Water it in well so the particles can start to break down, and avoid piling it against the stems.
Kelp meal works slowly, and cool October soil slows it down even more. Fall application is better seen as soil preparation for next year’s crop than a fast fix for current fruit.
It contains very little nitrogen, so it will not push soft leafy growth the way heavy nitrogen feeds can. That makes it a safe choice for plants that are finishing their season.
Trace minerals such as iron, zinc, and boron matter only in tiny amounts and rarely run short in healthy garden soil. A soil test can show if your beds would gain anything from them.
Kelp products can contain natural salts, so avoid heavy doses, especially in containers. Store the dry meal in a sealed bucket to keep out moisture and curious critters. A small bag usually covers a home garden for several seasons.
8. Worm Castings For Gentle Feeding
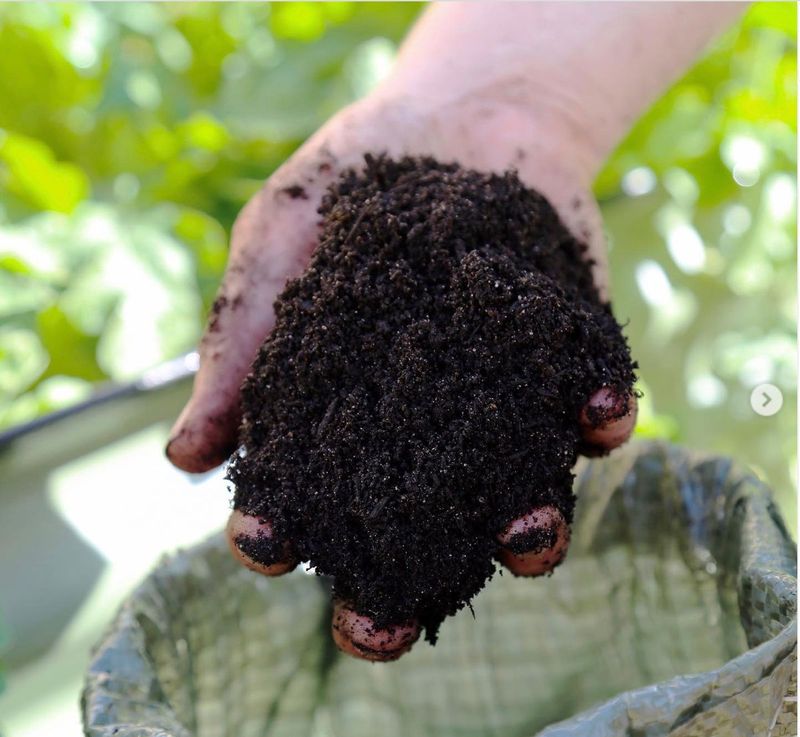
Worm castings are the finished output of earthworms, a dark and crumbly material that smells like fresh forest soil. Garden centers sell them in bags, and home composters can harvest them from a worm bin.
Castings hold small amounts of nitrogen, phosphorus, and potassium, along with organic matter and soil microbes. Their mild nutrient level makes them very unlikely to burn roots.
Sprinkle about a quarter cup around each plant and scratch it into the top inch of soil. Water it in so the nutrients move toward the roots.
Castings also improve soil texture and help beds hold moisture. That supports the steady watering peppers need to avoid fruit problems later.
Because the nutrient levels are low, castings work as a supplement and will not replace a targeted feed when a soil test shows a shortage. Use them to keep soil healthy rather than to rescue a struggling plant.
Early October is a good time to work castings into empty beds. They give the soil a head start for spring transplants.
Quality varies a lot between brands, so look for a product that feels damp and crumbly and has an earthy smell. A sour or sharp odor is a sign the batch was stored poorly. Castings also mix well into potting soil for containers, at about one part castings to four parts soil.