Tips For Taking Rosemary Cuttings In California Before The Cool Nights Settle In
Early fall carries a deadline in California gardens. Afternoons still feel like summer, but evenings have started to nip, and the shift brings a short window worth noticing.
Warm soil and mild air create ideal conditions for one fragrant herb to start something new. Once chilly nights take over, that window begins to close.
A few snips now can bring free plants, thoughtful gifts, or a fresh replacement for an old woody shrub.
Patience plays a bigger role than any fancy gear. A little attention to detail goes a long way.
Mediterranean roots make this plant tough, though it shows a picky side while getting started. The race against cool nights has begun, and the scent of victory smells wonderful.
1. Choose Healthy Stems Without Flowers
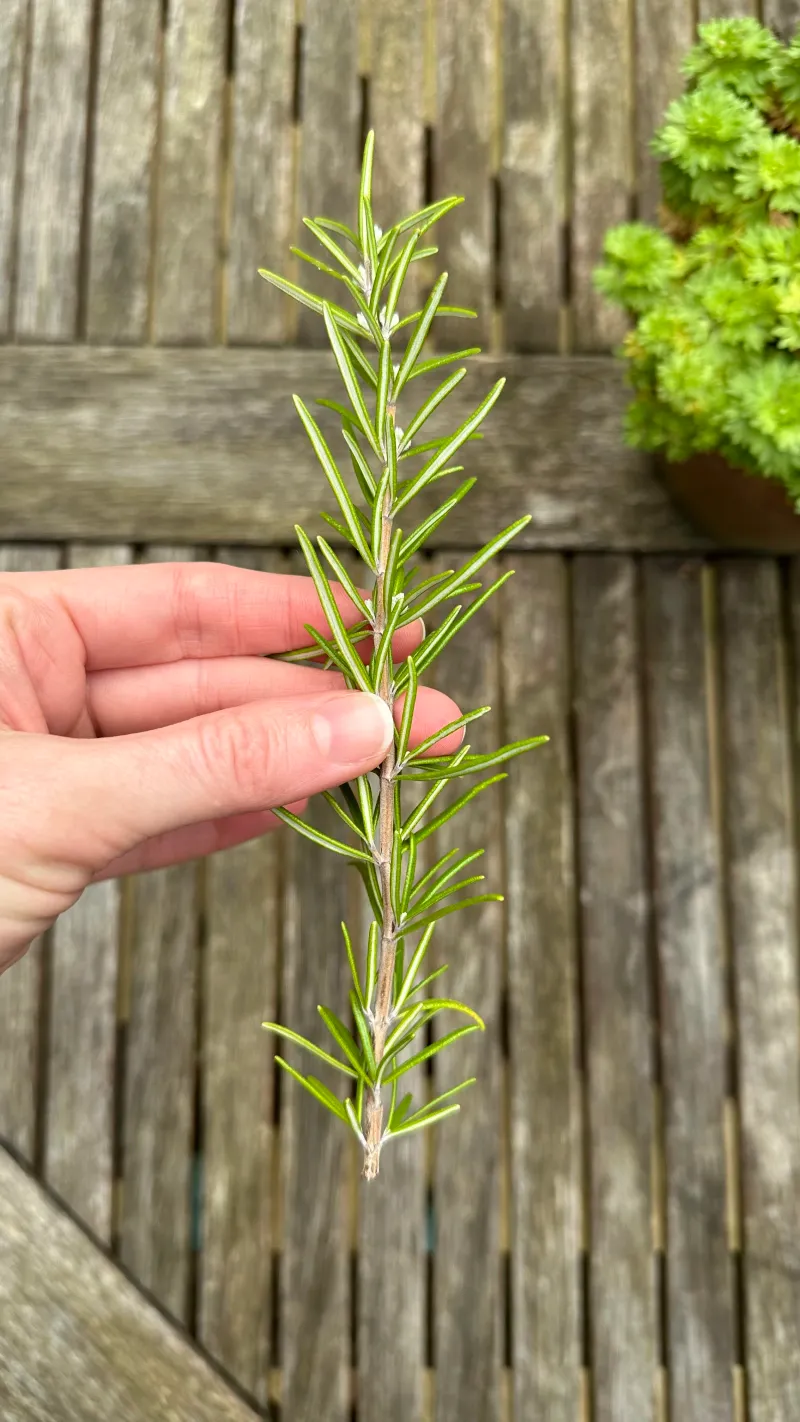
A close look at the bush reveals two kinds of stems. Some are tough, gray, and bark-covered, while others stay soft, green, and bendy at the tips.
Fresh green shoots from this year make the best choice. Young growth roots much faster than old wood, which tends to sit and sulk for weeks.
Gardeners often call these softwood or semi-hardwood stems. They’re firm enough to stand up on their own, yet still flexible.
A gentle bend offers a quick test. A stem that snaps cleanly is too old, while one that flops like a wet noodle is too young.
Stems with flowers or flower buds are best passed over. The blue blossoms look lovely, but they pull energy away from root building.
Any stray buds come off before cutting, redirecting that energy underground.
Health matters, too. Shoots with deep green, glossy needles and no yellow spots, webbing, or sticky residue make the strongest candidates.
Pests like spider mites can hitch a ride on cuttings and cause trouble later. A strong parent plant tends to produce strong offspring.
Timing helps as well. Morning cuts work best, since the plant is fully hydrated after a cool night and stems stay fresh longer.
A good watering of the mother plant the day before helps when weather has been dry. Clean, sharp pruners then complete the setup, ready for the first snip.
2. Cut Four Inch Tips Below A Node
A ruler helps the first time, and soon the eye handles the measuring. Tip cuttings about 3 to 4 inches long work best.
Shorter pieces dry out fast. Longer ones wobble in the pot and lose water through all those extra leaves.
Nodes come next. A node is the small bump on the stem where leaves grow out.
Roots love to form right there, since nodes hold clusters of busy growth cells. The cut goes just below one, about a quarter inch under the bump.
A long stub of bare stem below the node invites rot. Clean, sharp tools make a real difference.
Dull blades crush the stem instead of slicing it, and crushed tissue struggles to drink water.
Wiping pruners or scissors with household disinfectant before starting keeps diseases from spreading between plants. That quick step takes only seconds.
Your California Garden Changes Every Week. Your Plan Should Too.
Gardening in California changes quickly throughout the season. Every Friday you’ll receive a simple weekly plan showing exactly what to plant, prune, fertilize, harvest, and protect so you never miss the right timing.
Taking more cuttings than seem necessary pays off. Not every stem will root, even for expert growers, so eight or ten pieces give a good shot at several new plants.
The mother plant rarely minds a light trim and bounces back quickly. Fall growth fills in any gaps before long.
Freshness matters while working. Cuttings dropped into a plastic bag with a damp paper towel, or set in a shady spot, hold up well.
Warm California afternoons can wilt cuttings in minutes. Planting within an hour or so brings a much better rooting rate.
3. Strip The Bottom Leaves
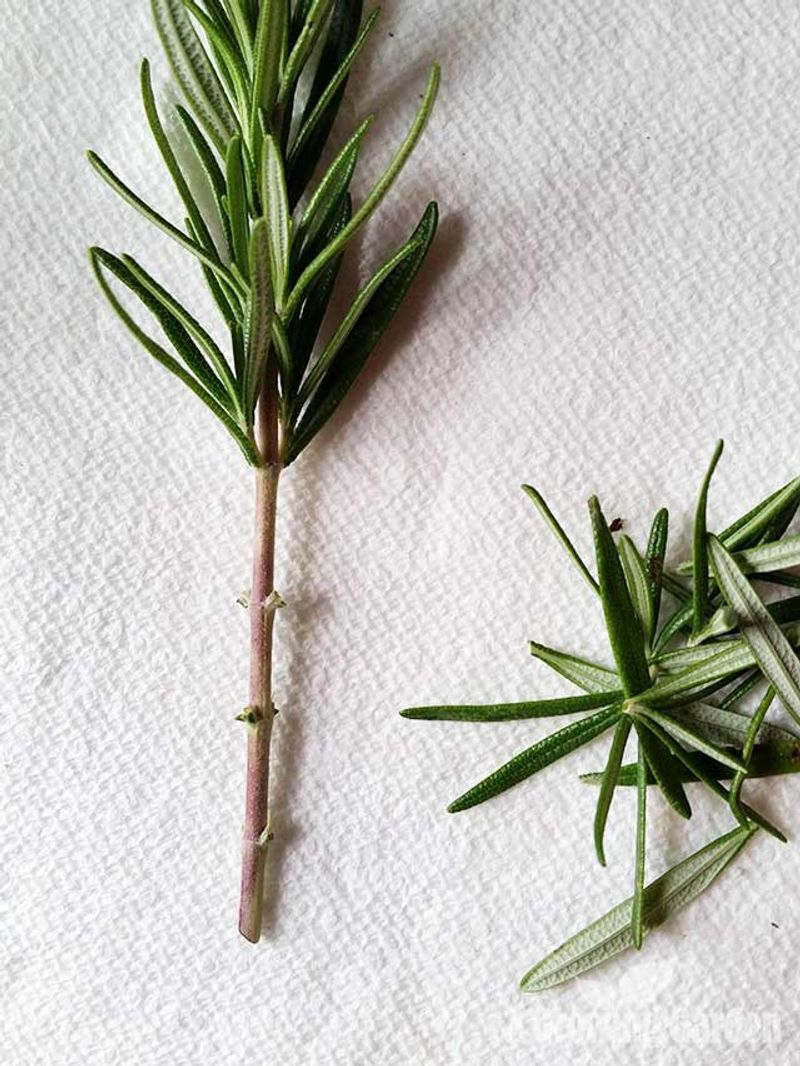
A leaf buried in damp mix for weeks turns brown, mushy, and smelly. That rot can creep right into the stem, so removing lower leaves before planting stops the mess before it starts.
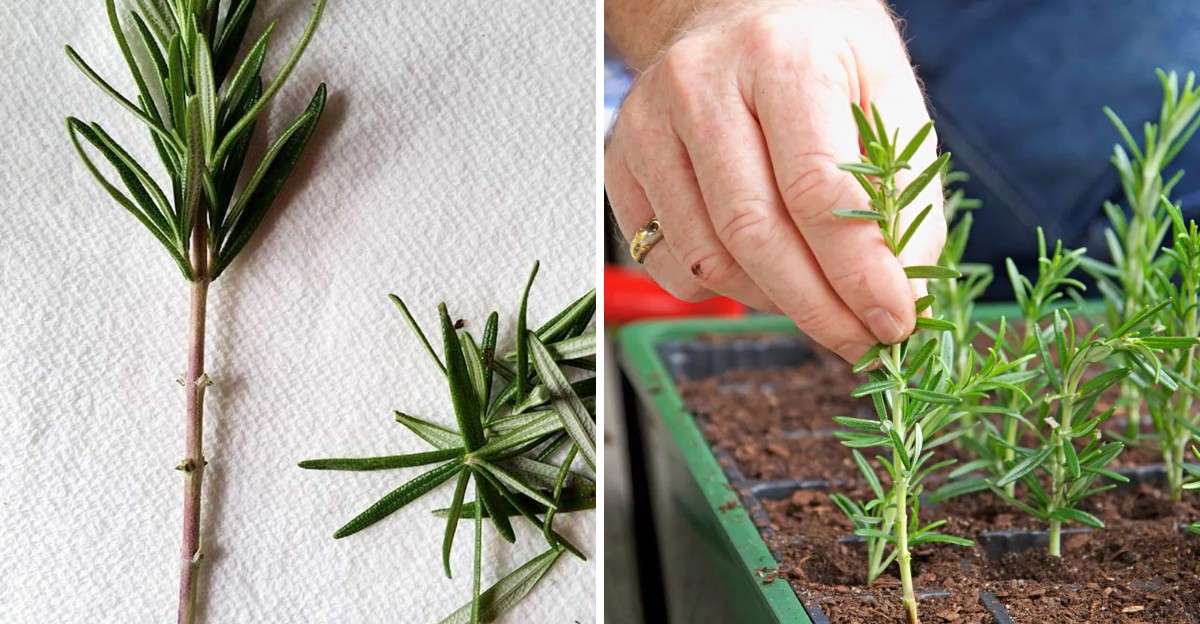
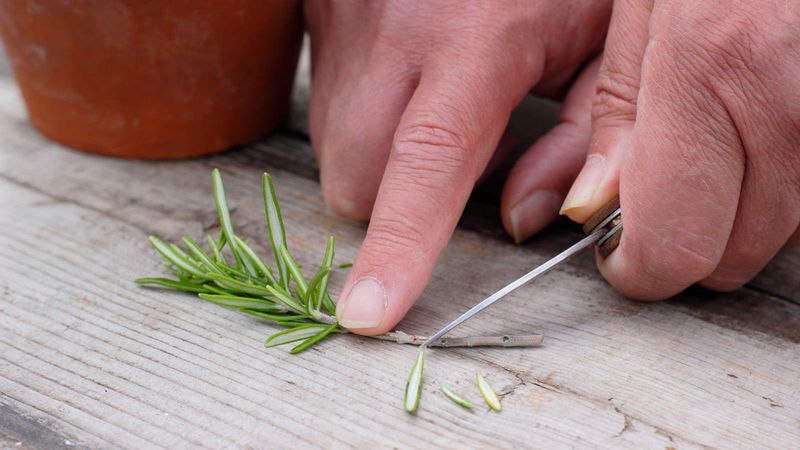
Needles come off the bottom third to half of each cutting. Holding the top of the stem firmly, then pinching the lower leaves and pulling gently downward, does the job. Small scissors work, too.
Slow, careful movements keep the skin on the stem intact. A torn stem offers an open door for fungus.
Bare stem counts as good stem here. Those empty nodes, where leaves used to sit, become prime spots for new roots.
At least one or two bare nodes should sit ready to go below the surface of the mix. More nodes underground mean more chances for roots.
A healthy crown of leaves stays on top. Those leaves make food from sunlight, which fuels root growth.
Fewer leaves still mean less water loss while the cutting has no roots to drink with. A small leafy tuft on a bare stem strikes the right balance.
Those stripped needles deserve a second life. They smell wonderful and work beautifully in the kitchen.
Tossed with roasted potatoes, steeped in hot water for a simple tea, or dried on a plate for later, they turn a garden chore into a small culinary bonus.
Few propagation projects pay off at the dinner table quite like this one.
4. Dip In Rooting Hormone If You Have It
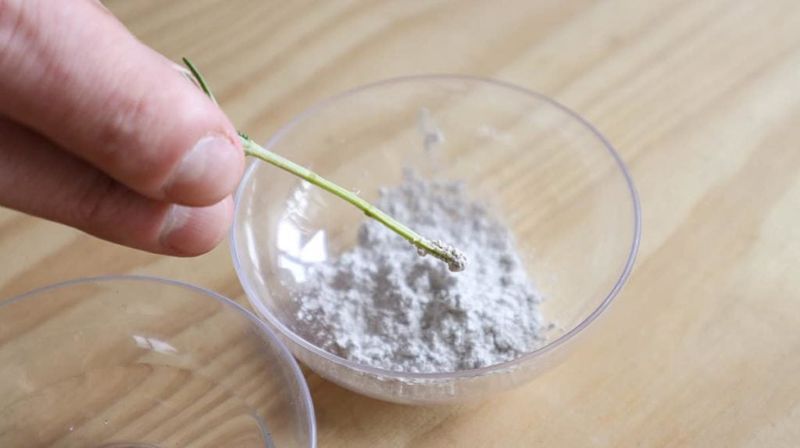
Woody herbs can be slow starters. Softer plants such as mint or basil root in a jar of water almost overnight, while this one takes its sweet time.
That slower pace explains why a little help goes a long way. Rooting hormone comes as a powder, gel, or liquid containing plant growth substances.
These products encourage the cut end to form roots faster and more evenly. UC ANR propagation guidance often mentions them for harder-to-root woody cuttings.
Cuttings can still root without it. Hormone, though, usually speeds things up and boosts success.
Using it stays simple. A small amount poured into a separate dish keeps the whole container from getting contaminated.
The bottom inch of the stem gets moistened with water, then dipped into the powder, with the extra tapped off. A thin dusting works better than a thick coat.
A pencil or chopstick pokes a hole in the rooting mix first. Sliding the cutting in gently keeps the hormone from rubbing off.
Fingers then firm the mix around the stem, with at least one bare node below the surface.
Leftover hormone keeps best in a cool, dry place with the lid tight. Any powder left in the small dish belongs in the trash after the job.
Moisture and stray plant bits can spoil it. Washing hands afterward makes sense, too, since these products are meant for plants, not snacks.
5. Use A Gritty Mix Of Sand And Perlite
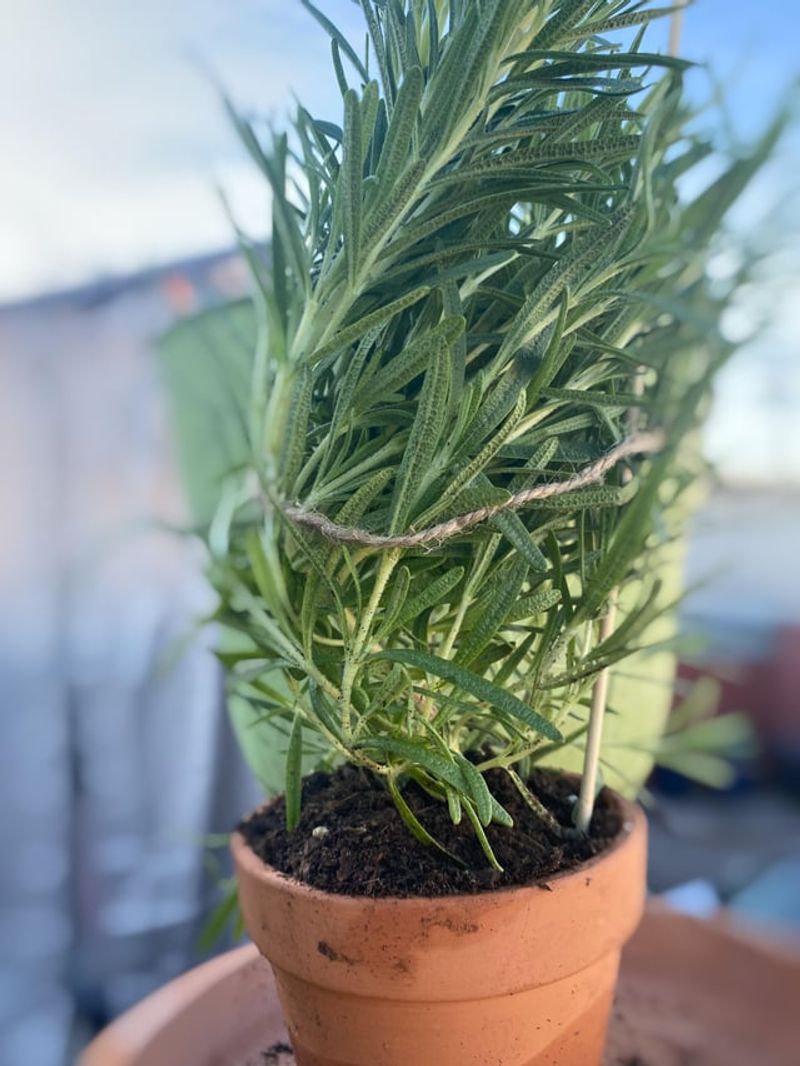
Regular potting soil feels soft and spongy. That suits tomatoes nicely, but it holds too much water for these cuttings.
Soggy soil keeps stems wet, and wet stems tend to rot instead of rooting. A gritty mix solves the problem.
Equal parts coarse sand and perlite make a simple recipe. Perlite, the white, popcorn-like material found in many potting mixes, keeps air pockets open so water drains quickly.
Coarse sand adds weight and helps cuttings stand upright. Some gardeners mix in a little peat or coir for extra moisture, kept to a small share.
Fine play sand or beach sand is best avoided. Fine grains pack tightly and can block drainage, and beach sand may carry salt.
Builder’s sand, horticultural sand, or washed sharp sand from a garden center does the job. Local nurseries can usually point toward the right bag.
Pots deserve some thought, too. Small containers about 3 or 4 inches wide work well, and every pot needs drainage holes.
Clay pots breathe and dry out faster, which suits this herb nicely. Plastic pots hold water longer, so they need a bit less watering.
Moistening the mix before planting keeps dry perlite from floating and sand from shifting. Once it drains, four or five cuttings can fit around the edge of one pot.
Roots often form faster near the pot sides, where air and warmth reach them easily.
6. Keep The Mix Barely Moist
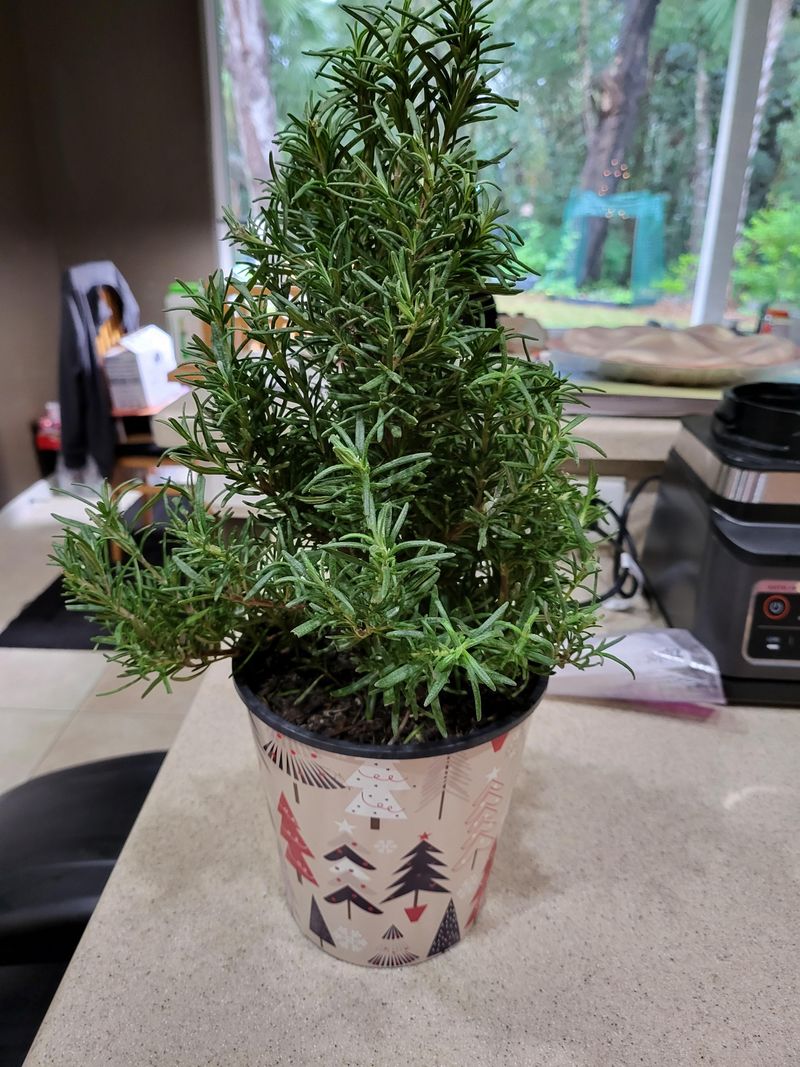
More cuttings struggle from too much attention than too little. Eager gardeners water every day, and the mix stays soaked.
This herb dislikes wet feet, even before it has roots. Mix that feels like a wrung-out sponge, cool and slightly damp to the touch but not dripping, hits the target.
A finger pushed about an inch down offers a quick check. Dryness at that depth calls for a light watering, while dampness means another day or two of waiting.
Gentle watering keeps cuttings from getting knocked loose. A spray bottle or a small watering can with a fine rose works well.
Extra water should drain freely out the bottom. Pots left sitting in a saucer full of water are best avoided.
Humidity helps leaves stay fresh while roots form. Some gardeners cover pots loosely with a clear plastic bag, propped on sticks so it stays off the leaves.
Opening the bag for a few minutes daily lets fresh air in. Mold or fuzzy spots signal time to remove the cover and let things dry a bit.
California’s fall weather can swing wildly. Hot, dry Santa Ana or Diablo winds can parch pots in a single afternoon, so breezy spells call for more frequent checks.
On cooler, cloudy days, the mix stays damp longer, and watering can ease up. Close attention beats any strict schedule on the calendar.
7. Give Bright Light And Gentle Warmth
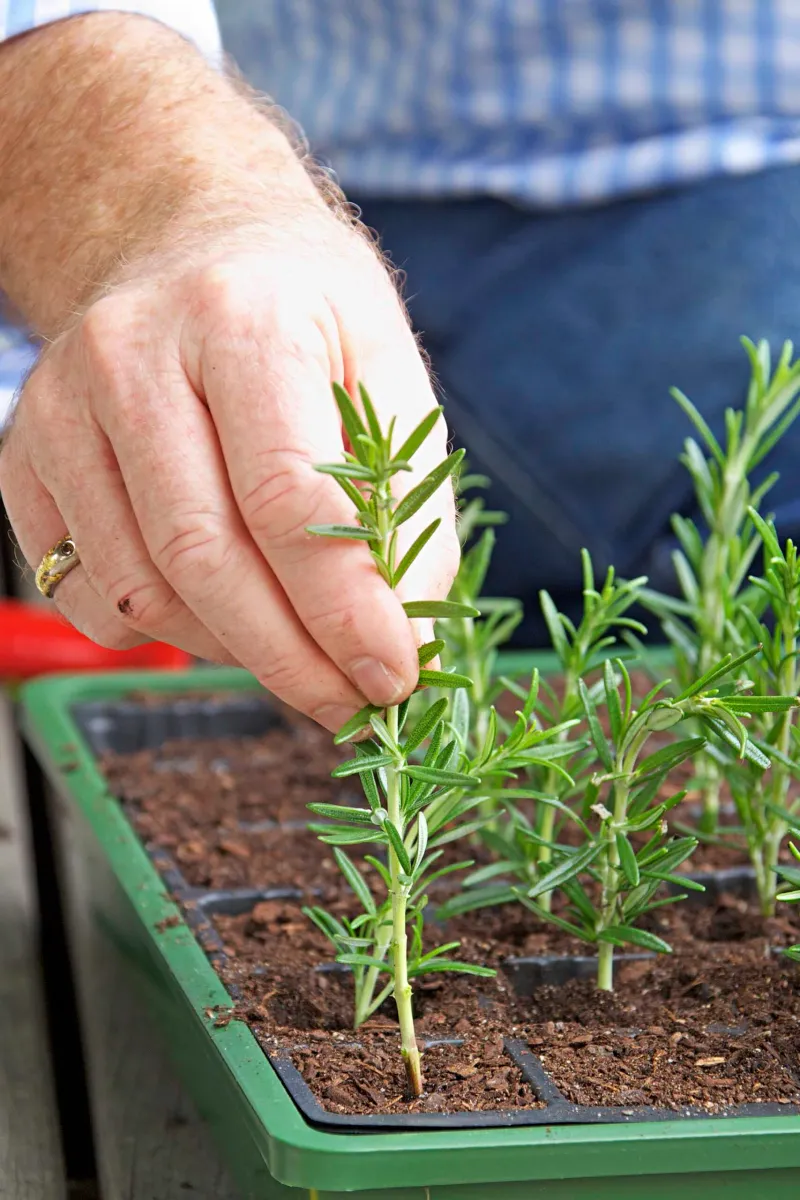
Early fall in California works almost like a free greenhouse. Days stay warm, soil holds summer heat, and the sun feels gentler than in July.
Cuttings soak up those conditions and root faster. Bright, indirect light suits them best.
A covered porch, the dappled shade of a tree, or a spot with gentle morning sun works beautifully. Harsh afternoon sun can scorch rootless cuttings, since they can’t yet replace lost water.
The goal is bright and cheerful, not blazing hot. Warmth at the roots matters most.
Cuttings root best when the mix stays around 65 to 75 degrees. A seedling heat mat under the pots gives a steady boost, especially as nights start dipping.
Many gardeners notice roots forming weeks sooner with bottom heat. That extra warmth can make a big difference this time of year.
Indoors, a sunny window can work, with pots turned every few days so stems don’t lean. A simple LED grow light hung a few inches above the leaves offers another solid choice.
Heater vents dry pots out fast, so placement away from them helps. Patience matters here, since rooting usually takes four to eight weeks.
Yanking cuttings up to peek is best resisted. A very gentle tug after about a month tells the story.
Slight resistance means roots are grabbing the mix, and fresh green growth at the tips offers another happy sign.
8. Move Pots Indoors Before Cold Nights
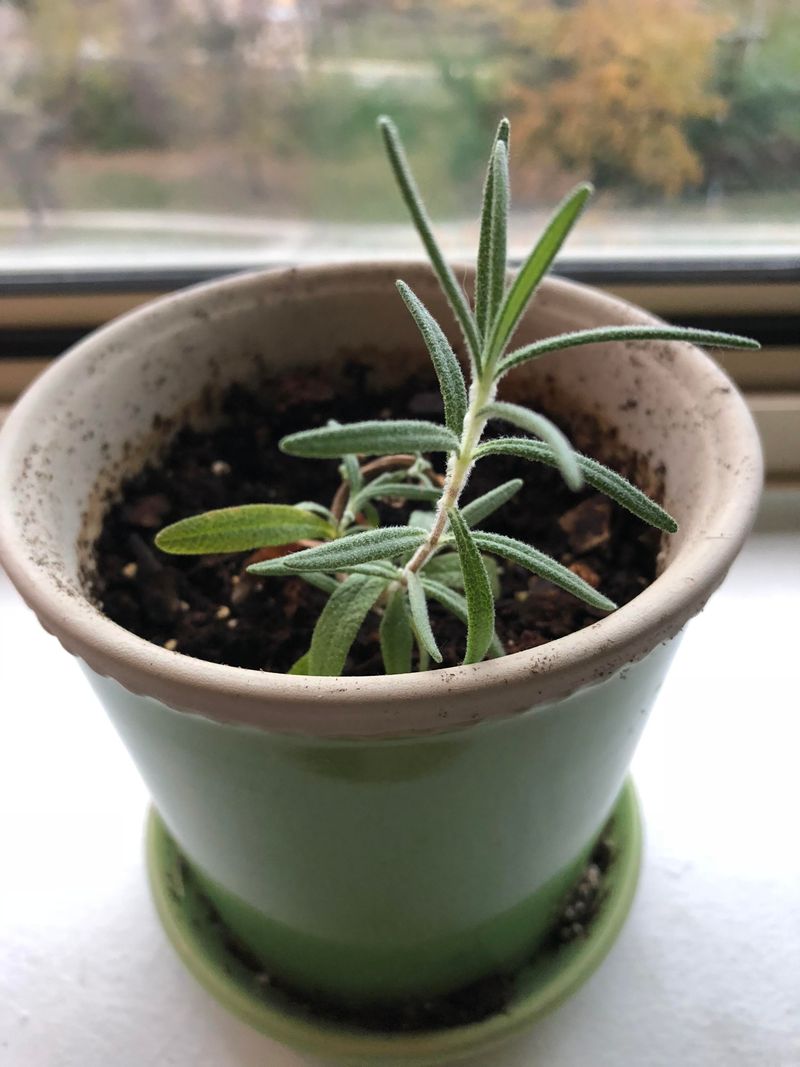
One clear November night can drop temperatures fast, even in mild parts of California. Inland valleys and foothill towns often see frost by late fall, and tender new roots handle that chill poorly.
Local forecasts deserve close attention now. Once nights start falling into the 40s, cuttings belong indoors or in a sheltered spot.
A bright windowsill, an enclosed porch, or a cold frame all work. Coastal gardeners may have extra time, while folks in places like Redding or Fresno benefit from moving pots sooner.
Indoor care stays much the same. Bright light, steady warmth, and barely moist mix keep progress on track.
Air inside runs drier, so pots need checking a bit more often. Grouping them together on a tray helps them share a little humidity.
Signs of success are easy to spot. New green shoots, roots peeking from drainage holes, and that gentle tug resistance all confirm rooting.
Once roots fill the pot, each plant can move into its own container with a well-draining potting mix. That extra room supports steady winter growth.
Planting outdoors works best after spring warms up, usually following the last frost. A few hours outside each day beforehand helps young plants toughen up.
A sunny, well-drained garden spot makes the ideal permanent home. By summer, those small cuttings can grow into bushy, fragrant plants ready for the grill, with plenty to share.