8 Houseplant Jobs To Finish Before Bringing Them Indoors This Fall
Stowaways could be riding on your porch plants right now. You can’t see them, but aphids, spider mites, and slugs cling to stems and soil.
Cold snaps can arrive with little warning, so you need a plan. Watch the forecast, and bring your tender plants indoors before nights turn frosty.
Inspect each leaf underside with a flashlight, because mites love hiding there. Rinse foliage with a gentle spray of water to knock pests loose.
Soil needs attention too, since eggs and larvae can hide in and just below the surface. Scrub pots with soapy water, and trim yellowing or damaged leaves.
Then isolate your plants in a sunroom or a sheltered garage for several weeks. A separation period reveals hidden hitchhikers before they reach your sofa.
Winter windows deliver weaker sun, so you should move pots closer to glass. Water sparingly, because slow growth needs much less moisture.
1. Inspect Every Leaf For Hidden Pests
Picture a tiny aphid packing its bags and moving into your kitchen for winter. That uninvited guest is easier to stop outside than inside.
Start by grabbing a flashlight and a magnifying glass if you have one. Bright light helps you spot little specks that hide in plain sight.
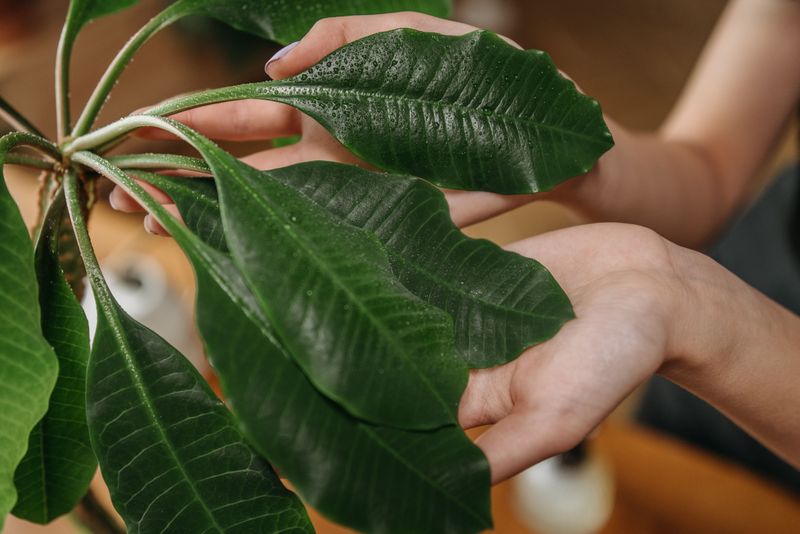
Flip each leaf over and look closely at the underside. Spider mites, mealybugs, and aphids love to camp out in spots you overlook.
Check where leaves meet the stems, since bugs enjoy those cozy little corners. Look for fine webbing, sticky spots, or white cottony fluff.
Brown dots, curling edges, or yellow speckles can also be warning signs. Healthy leaves usually look smooth and uniform in color across the surface.
Keep a notebook handy and jot down which plants show trouble. Those notes help you track progress and spot patterns from one season to the next.
Take your time with plants that have thick, crowded foliage. Ferns and bushy plants can hide a large group of bugs deep inside.
Ask a friend to double check the leaves you examined. Fresh eyes catch small details that you might skim past after several minutes of looking.
If you find trouble, set that plant aside from the rest of the group. Keeping it separate stops pests from spreading to its healthy neighbors.
A careful look now can save time and trouble in January. Your indoor plants have a better chance of staying green and healthy through winter.
2. Rinse Off Dust And Stowaway Bugs
Ever notice how a summer outdoors leaves plants looking a bit grubby? Dust, pollen, and tiny critters build up on leaves over the months.
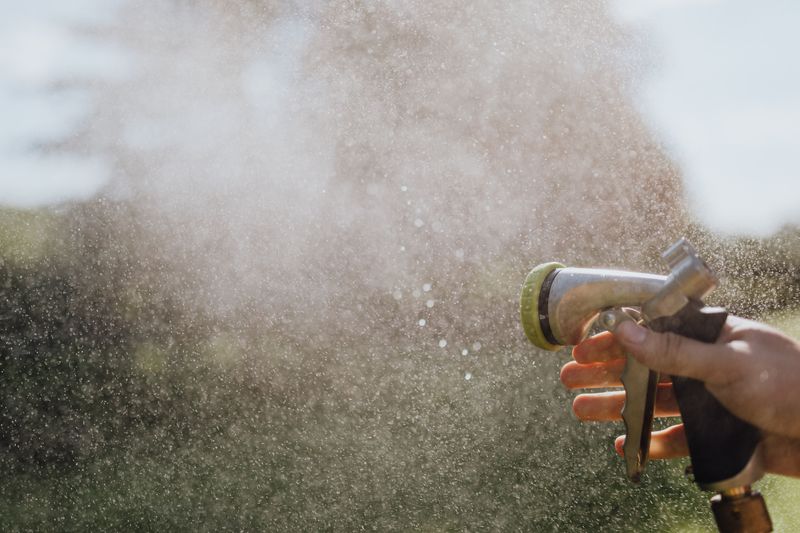
A gentle shower with the garden hose works well here. Set the nozzle to a soft mist so you do not tear delicate leaves.
Spray the tops and bottoms of each leaf, moving slowly around the plant. The water knocks loose many bugs before they can sneak indoors.
Choose a spot on the lawn or driveway where runoff can drain freely. Muddy water then stays away from your other plants and garden beds.
Pick a sunny morning for this job if you can, even a crisp October one in New Jersey. Plants dry faster in daylight, which helps prevent mold and leaf spots.
Smaller pots can go right into a sink or bathtub instead. Lukewarm water feels kinder to tropical plants than icy hose water.
Hold the soil in place with your hand or a towel while rinsing. A muddy waterfall pouring across the patio or bathroom floor is no fun.
Give large leaves a little extra attention with a soft cloth. Wiping gently removes sticky residue that a spray alone may leave behind.
Clean leaves also soak up light better once they move inside. Winter sunshine is weaker, so each bit of light counts.
Let each plant drip dry for a few hours before carrying it in. Think of it as a spa day before the big move.
3. Treat Problems With Insecticidal Soap

Gardeners have used soapy water on pests for well over a century. That old trick still works, and it is gentle on many plants.
Insecticidal soap breaks down the soft outer layer of bugs like aphids and mites. It only works on contact, so thorough coverage matters a lot.
You can buy ready-made spray at many garden centers. Store-bought versions are made for plant leaves when used as directed, though some plants need extra care.
Read the label closely before you mix or spray anything. Dilution rates differ between brands, and following the directions protects both your plants and your family.
Spray each surface, including stems and the undersides of leaves. Missing a spot gives surviving bugs a chance to bounce back quickly.
Test a small area first on plants with fuzzy or delicate leaves. Wait a day and look for brown edges or spots before spraying more.
Skip spraying in hot afternoon sun, since that can stress the foliage. Early morning or a cloudy day gives strong results.
Wear gloves and keep the spray away from pets and children. Store the bottle on a high shelf once you finish.
Many pest problems need two or three treatments spaced about a week apart. New bugs hatch from eggs, so repeat sprays catch them too.
Neem oil is another handy option if soap does not do the trick. Either way, finish treating before the first frost arrives, which can come as early as October in northern parts of New Jersey.
4. Prune Leggy And Damaged Growth
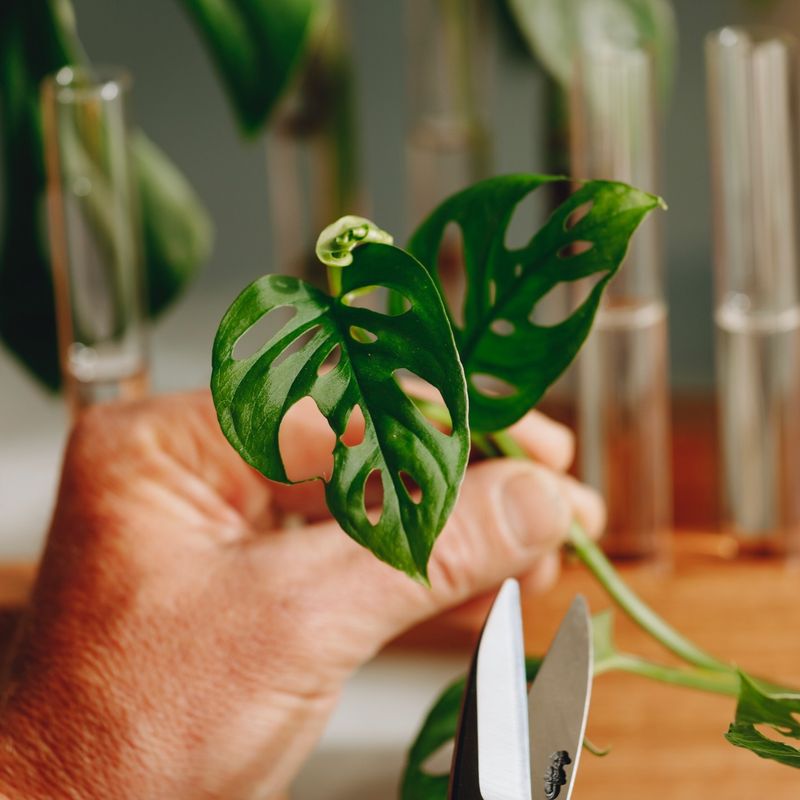
Summer growth can get a little wild, like hair after a long vacation. Some stems stretch long and floppy while others turn brown or crispy.
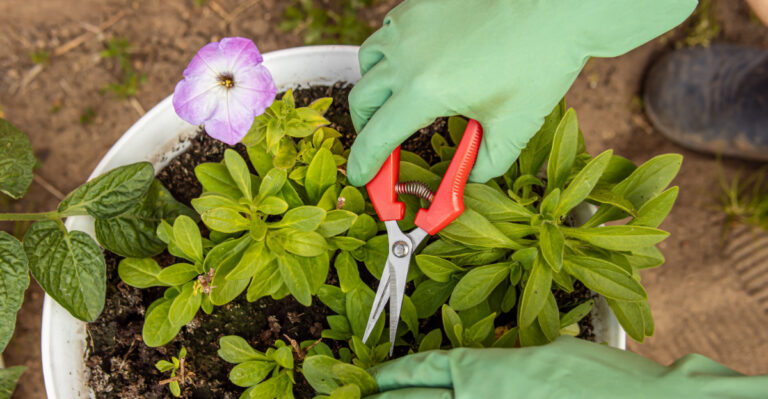
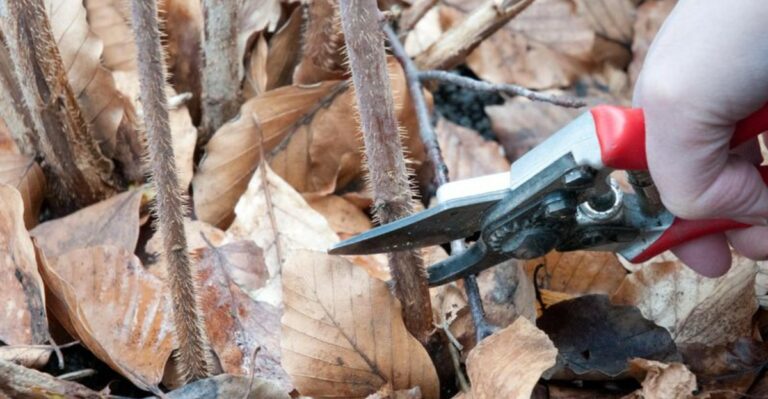
Grab clean, sharp scissors or pruning shears before you start. Wipe the blades with rubbing alcohol so you do not spread germs between plants.
Snip off yellow, brown, or broken leaves first. These tired parts waste energy and can attract pests or mold once indoors.
Work in good light so you can see each node clearly. A small headlamp or a sunny spot on the porch makes the task easier.
Next, look for long, skinny stems with few leaves along them. Cutting them back encourages bushier, fuller growth over the coming months.
Make each cut just above a leaf node, where a leaf joins the stem. New shoots often pop out right from that spot.
Step back after a few snips and study the overall shape. Balanced plants grow evenly and lean less toward the window.
Do not remove more than about one third of the plant at once. Heavy trimming can stress your green buddy right before a big change.
A smaller plant also fits more easily on windowsills and shelves. Space indoors tends to be tighter than on a roomy summer porch.
Save healthy cuttings from plants like pothos or coleus. Pop them in water, and you might grow free baby plants by winter.
5. Repot Plants That Outgrew Their Homes
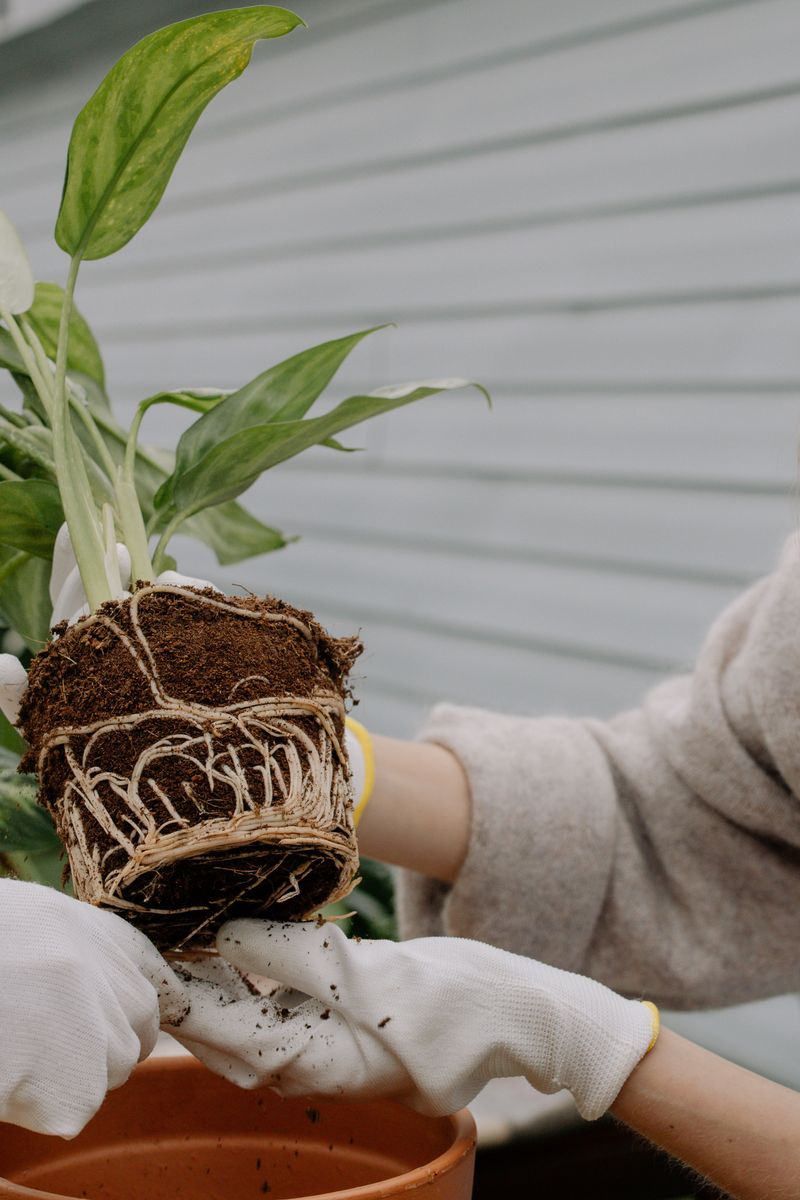
Roots poking out of drainage holes are like toes peeking out of tiny shoes. Your plant is politely asking for a bigger home.
Summer is a busy growing season, so many plants fill their pots fast. Fall is a fine time to check, though spring repotting works well too if the roots look healthy.
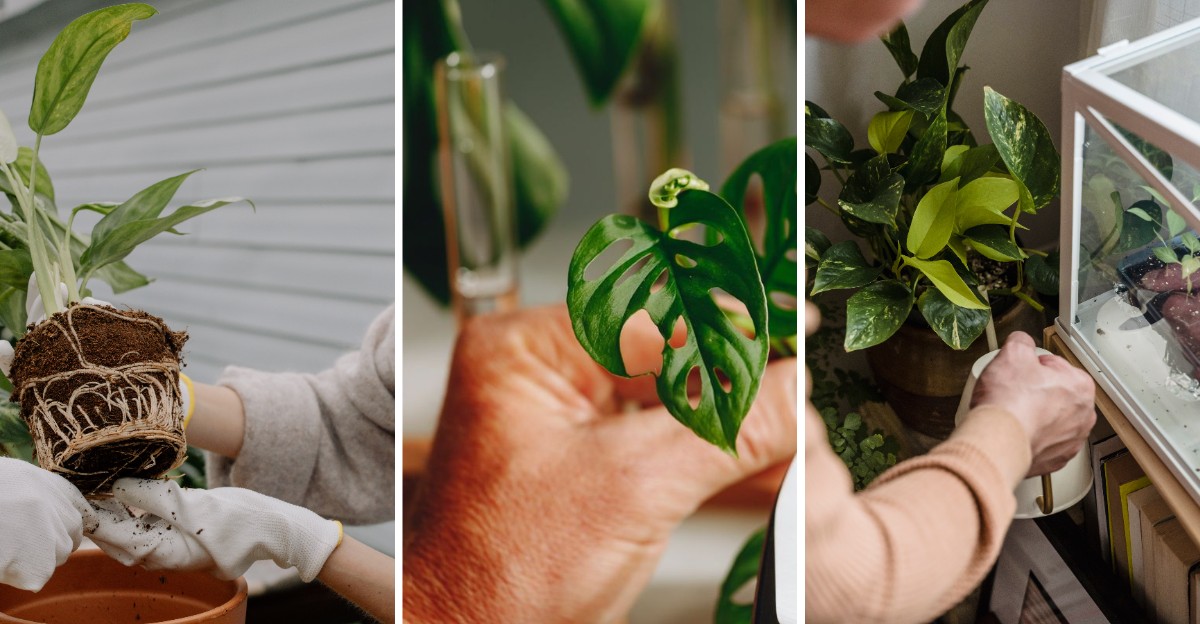
Slide the plant gently out of its container to peek at the roots. Tightly circling roots mean the plant is officially root-bound.
Water the plant a day before the move to make roots easier to handle. Slightly moist soil holds together and protects delicate roots.
Choose a new pot just one or two inches wider than the old one. A giant pot holds too much water and can cause soggy roots.
Make sure the new container has drainage holes in the bottom. Standing water indoors is a recipe for root rot and fungus gnats.
Use fresh potting mix instead of garden soil from your yard. Bagged mix is lighter, drains better, and carries fewer surprise critters.
Add a thin layer of fresh mix at the bottom before setting the plant down. Keep the crown level with the soil surface and leave a little space below the rim so stems stay healthy.
Loosen circling roots gently with your fingers before planting. This helps them spread out and grab nutrients from the new soil.
Water well after repotting, then let the plant rest outside for a few days. That short break helps it recover before moving into the house.
6. Clean The Outside Of Every Pot
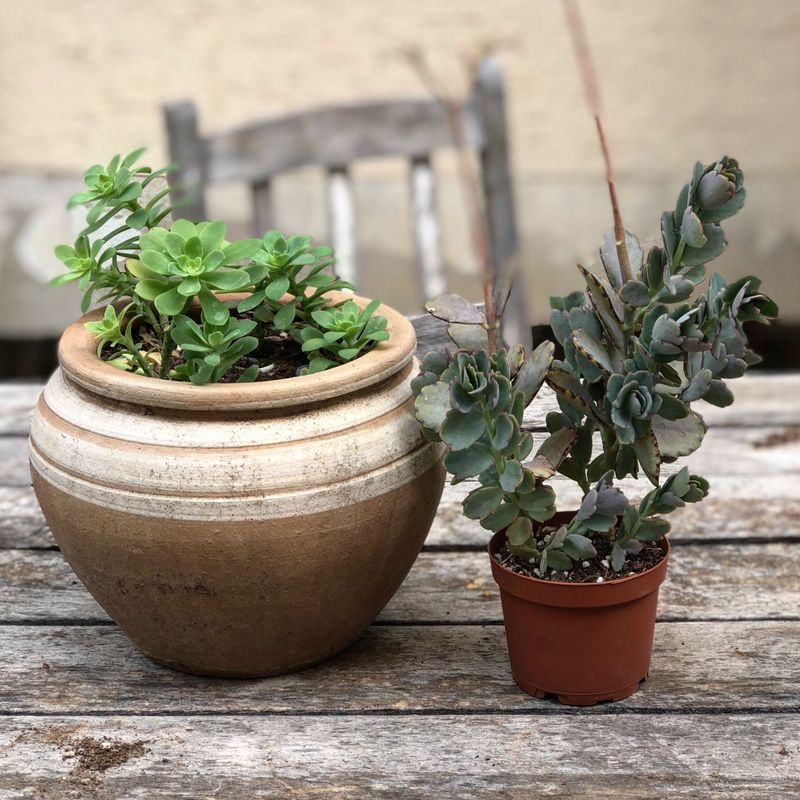
Outdoor pots can hide more than you expect. The bottom of a container can hide slugs, earwigs, and even tiny spider egg sacs.
Tip each pot over carefully and take a good look underneath. You might be surprised by who has been living there through the summer.
Brush away dirt, cobwebs, and old leaves with a stiff scrub brush. A bucket of warm, soapy water makes the job much faster.
Pay special attention to saucers that sat outside collecting rainwater. Mosquito larvae and algae love those little puddles.
Terracotta pots often get white crusty stains from minerals in water. A mix of vinegar and water helps scrub those spots away.
Dry the pots in the sun for a short while after scrubbing. Warm air helps surfaces dry and keeps musty smells away.
Clean pots look nicer on your shelves and windowsills, too. A muddy ring can leave a mark on a fresh wooden table.
Check the drainage holes while you work. Clear any clogs with a thin stick so water flows out freely once the plant is inside.
Consider adding cork pads or felt under pots before setting them down. These protect floors and furniture from scratches and water marks.
Rinse each pot well so no soap stays on the surface. A quick wipe with a dry towel finishes the job nicely.
7. Check The Soil For Uninvited Guests
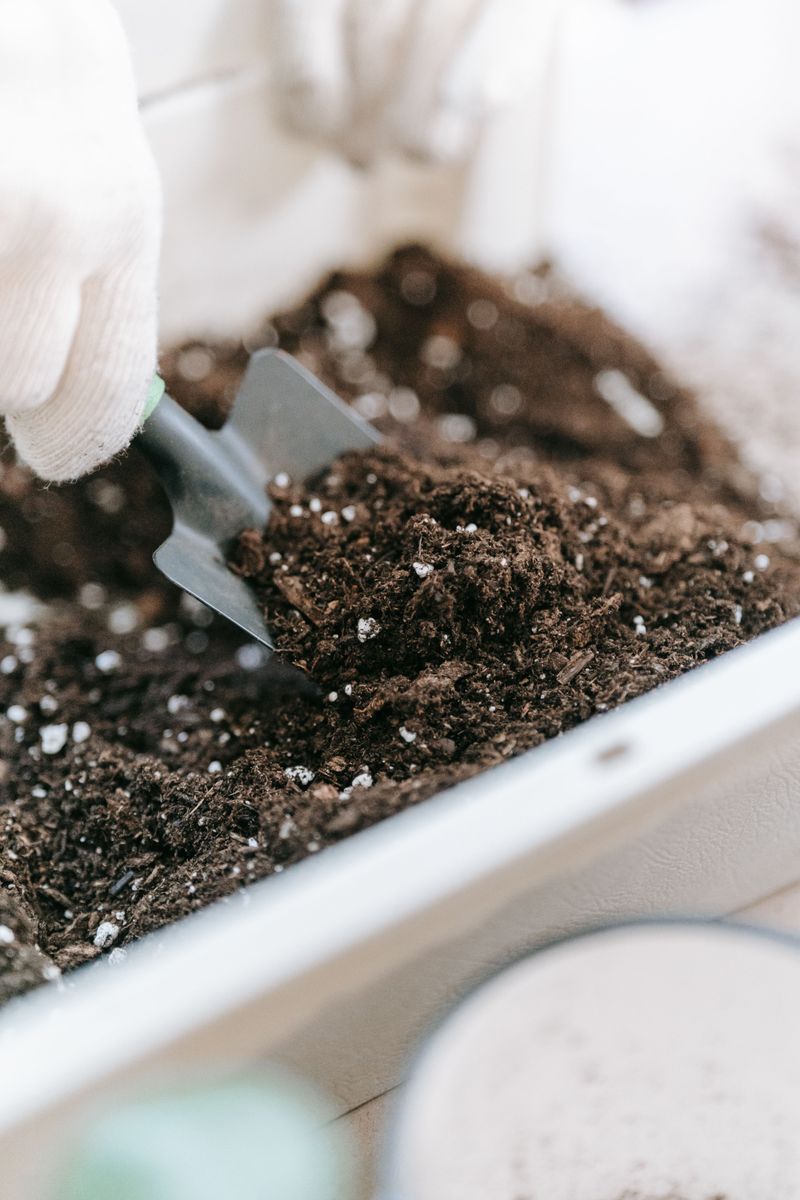
Soil is basically an underground apartment complex for bugs. Ants, pill bugs, and grubs might have moved in while you were busy.
One clever trick is the soaking method, which suits many tropicals but not succulents or cacti. Set the whole pot in a bucket of lukewarm water for about fifteen minutes.
The water slowly fills air pockets in the soil. Hiding critters will crawl or float up to the surface looking for air.
Keep a small flashlight nearby during the soaking step. Moving shapes near the surface are easier to spot when the light hits the water.
Scoop out anything that appears, then let the pot drain well. Make sure it does not sit in water for hours afterward.
Fungus gnats are another common soil pest worth watching. Tiny flying bugs near the soil surface usually mean their larvae live below.
Look closely at the drainage holes too. Small worms and tiny bugs sometimes slip out of those openings when the soil becomes wet.
Letting the top inch of soil dry out helps break their life cycle. Yellow sticky traps also catch adults before they lay more eggs.
You can scrape off the top layer of old soil and add fresh mix. This removes eggs and gives roots a little nutrient boost.
Soil checks take a bit of patience, but they pay off. A clean pot gives your household a better shot at a calm winter.
8. Prepare Them Slowly For Lower Light
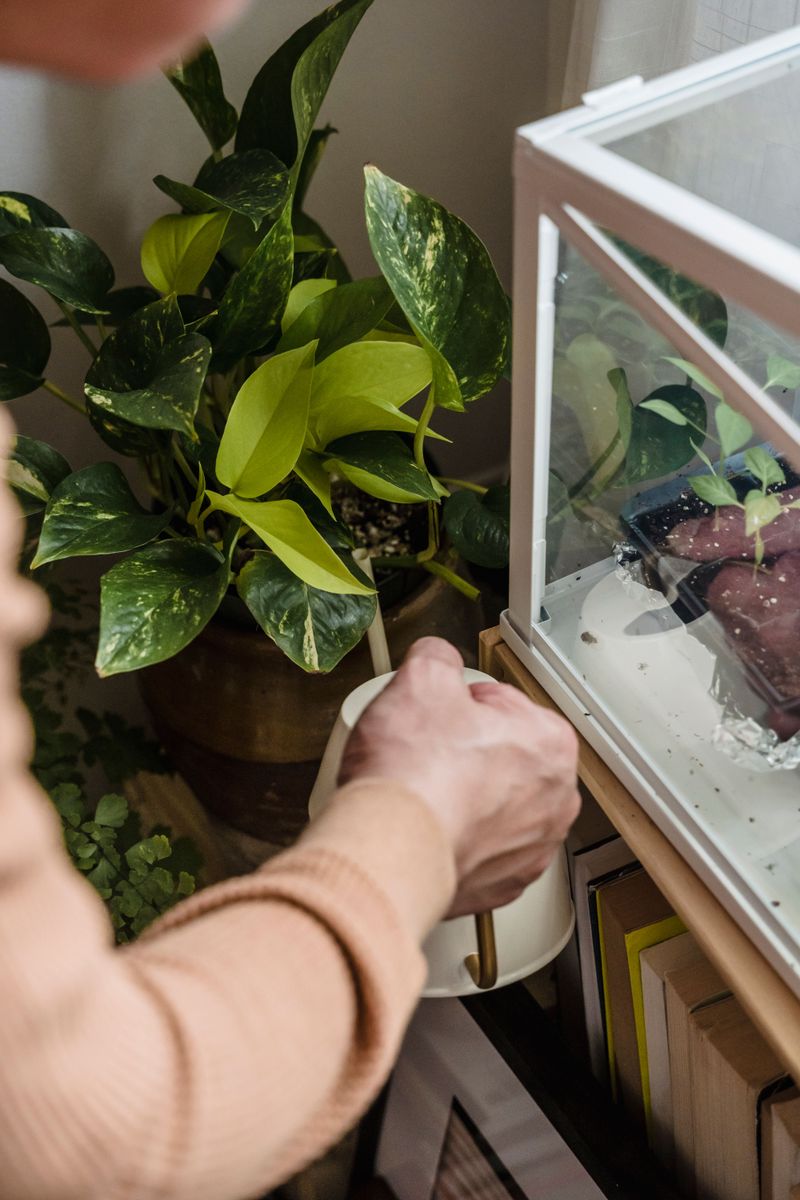
Imagine walking out of bright sunshine into a dim movie theater. Plants go through a similar adjustment when they suddenly move indoors.
Indoor light is much weaker than outdoor sunshine, even near a window. Sudden changes can make leaves turn yellow and drop off quickly.
Help them adjust by moving pots into a shady outdoor spot first. A covered porch or under a tree works well for about a week.
After that, bring them inside for a few hours each day. Slowly increase their indoor time until they stay in for good.
Watch the weather forecast closely during October, especially if you garden in New Jersey, where chilly nights can show up early. Many tropical plants want to come inside before nights drop below about fifty degrees Fahrenheit.
Once indoors, place plants near your brightest windows. South and west windows tend to get strong light during shorter fall days.
Rotate each pot a quarter turn once a week. Even exposure keeps stems upright and gives leaves on the shaded side a fair share of light.
Keep them away from heaters, radiators, and drafty doors. Hot, dry air and chilly gusts both stress plants quickly.
Wipe dusty leaves with a damp cloth during winter. A clean surface captures more of the weak sunshine that reaches your windowsill.
Expect a few leaves to drop even when you follow each tip. That is just your plant settling into its cozy winter home.