How To Build A Mini Terrarium Garden In An Afternoon
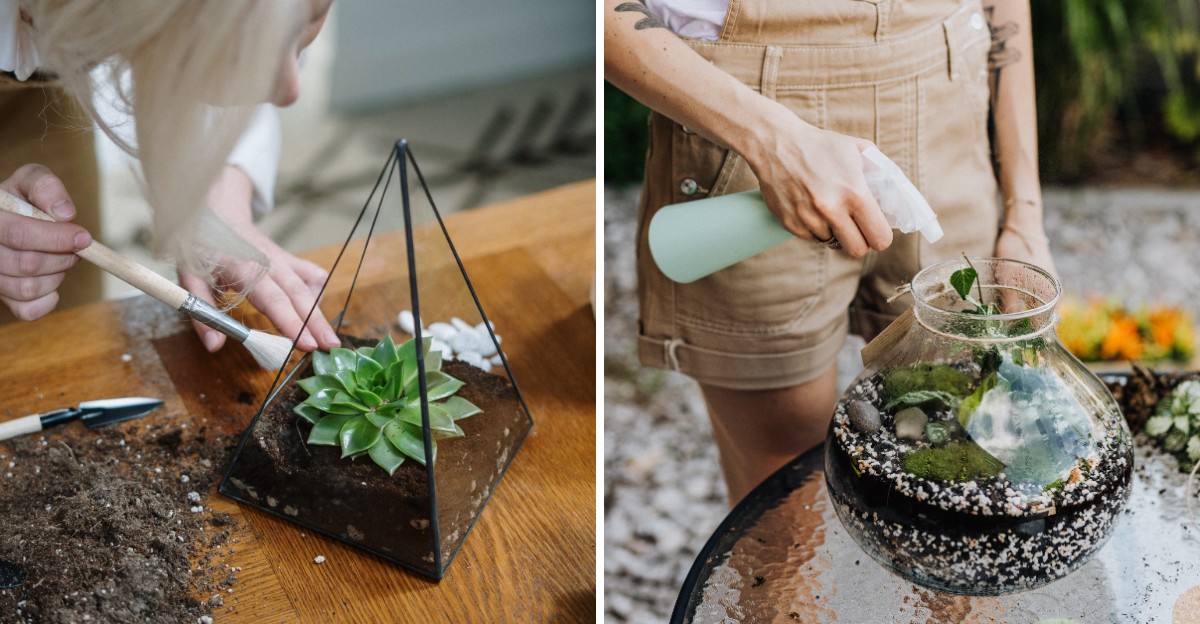
Imagine a sealed glass world fogging up on your desk. You mist the soil, then watch the glass recycle its own moisture for months.
Droplets bead along the walls and trickle back to the roots. Fresh moss, a smooth stone, and a tiny fern fit inside a clear jar.
October gives you a great excuse because chilly weather keeps you inside. Gray windows lose their gloom when a glowing green scene sits beside them.
Skip the backyard, the heavy shovel, and the famous green thumb. Cheap supplies like activated charcoal, pebbles, and potting mix cover your needs.
Patient fingers matter more than expensive tools. Spend an afternoon layering, planting, and sculpting your miniature landscape.
Evening arrives, and you own a low-maintenance display that lasts through winter. Your houseplants might pout, so give the newcomer its own shelf across the room.
1. Choose A Clear Glass Container
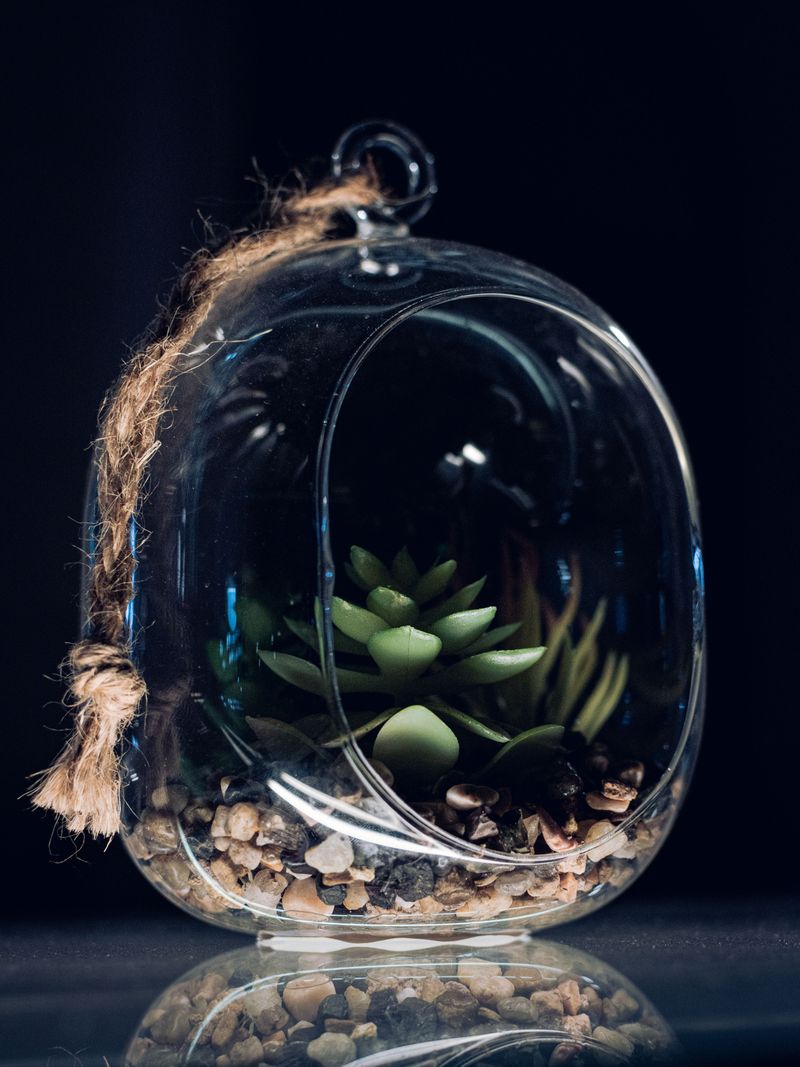
Your first glass garden can live in a pickle jar, though it may smell faintly of dill. The plants will not mind one bit, and neither will you.
Your container sets the stage for everything else you build. Clear glass works best because light needs to reach the leaves inside.
Look around your kitchen before you head to the store. Mason jars, fishbowls, vases, and cookie jars all make wonderful little homes.
Size matters more than you might think at first. A jar about six to ten inches tall gives plants room to stretch.
Also think about the opening at the top of the container. A wide mouth lets your hands fit inside, which makes planting much easier.
Narrow openings look elegant, but they can turn planting into a frustrating game. Long tweezers help, though beginners usually prefer wider jars.
Next, decide whether you want a lid or an open top. Closed jars hold moisture and suit ferns, while open bowls suit succulents.
Before you start, wash the glass with warm, soapy water and dry it well. Clean glass helps curb mold and lets you admire every leaf.
Local thrift stores often have shelves of odd glassware just waiting for a second life. A dollar jar can look great once it fills with green.
Pick something that makes you smile when you glance at it. You will be looking at this little world for months to come.
2. Gather Your Tools And Supplies
It is truly frustrating to reach for the soil and realize you forgot to buy it. A quick checklist saves you a second trip to the store.
Start with the basics for your layers. You will need small pebbles, activated charcoal, and potting soil made for indoor plants.
Charcoal sounds strange, but it plays a helpful role. It helps absorb odors and can keep the trapped air smelling fresh, too.
Many garden centers sell bags made just for small aquariums or glass gardens. Pet stores carry it too, sometimes for a lower price.
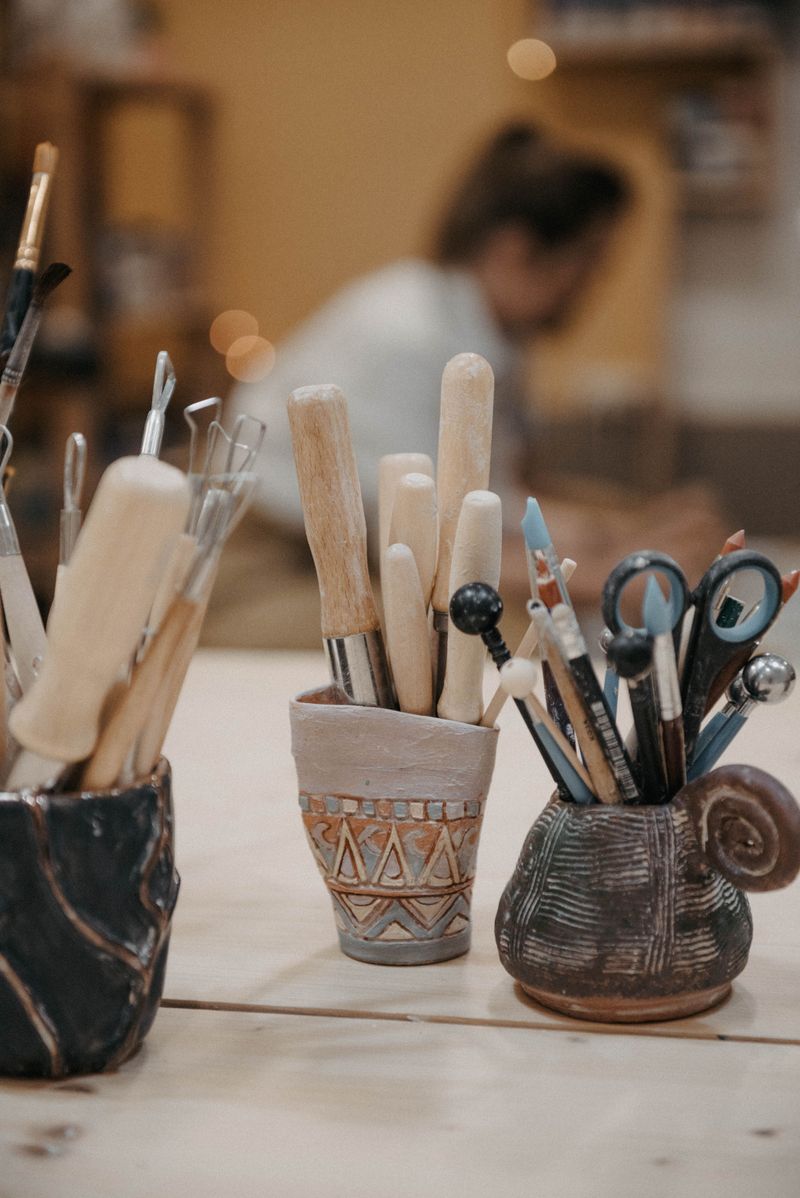
For tools, raid your kitchen drawers and junk drawer first. A spoon, chopsticks, and a paintbrush can handle most of the work.
Chopsticks push plants into tight spots without squishing roots. A soft paintbrush sweeps loose dirt off leaves and the inside of the glass.
A spray bottle is another handy helper to keep nearby. It lets you water gently without flooding your tiny landscape.
Lay down newspaper or an old towel before you begin. Soil has a sneaky way of ending up on many nearby surfaces.
Gather everything onto one tray so it stays within easy reach. Working this way feels calm, organized, and a little like being a chef.
Paper towels are worth having close by for quick cleanups. Smudged glass hides your hard work, so wipe as you go.
Grab a snack and some music too, since the afternoon goes by fast. Happy builders tend to make happier little gardens.
3. Build A Drainage Layer At The Bottom
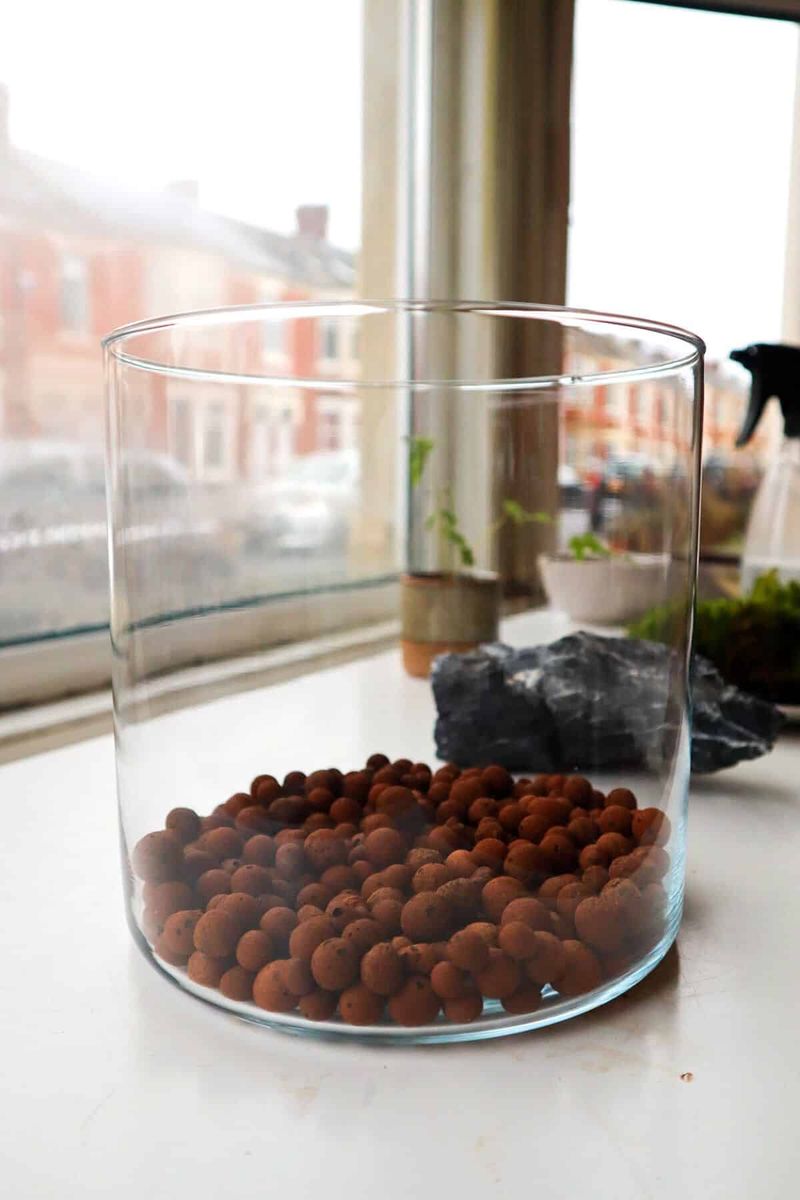
Imagine wearing soggy socks all day long. Plant roots struggle the same way when water pools around them with nowhere to go.
Glass jars have no holes in the bottom, unlike regular flower pots. That means you need a hidden reservoir for runoff, so water lightly.
Pour about one to two inches of small pebbles into the jar first. Aquarium gravel, river rocks, or crushed lava rock all work well.
Tilt the jar slightly as you pour so stones do not crack the glass. Then shake it gently to level the layer out.
Next, sprinkle a thin layer of activated charcoal over the rocks. About half an inch is plenty for most small containers.
Some builders add a piece of mesh or dried moss on top next. This barrier keeps soil from sifting down into the stones.
Coffee filters cut into circles make a cheap and clever barrier too. Just trim one to fit the width of your jar.
Colored stones can add a playful stripe you see through the glass. Blue looks like a hidden river, and sandy tones feel like a beach.
People in the 1800s grew ferns in sealed glass cases on ships. Those cases helped plants survive long ocean trips without much care.
Their secret was a sealed, humid environment, much like a closed jar today. Take your time here, because a solid base supports everything above.
4. Add The Right Soil Mix
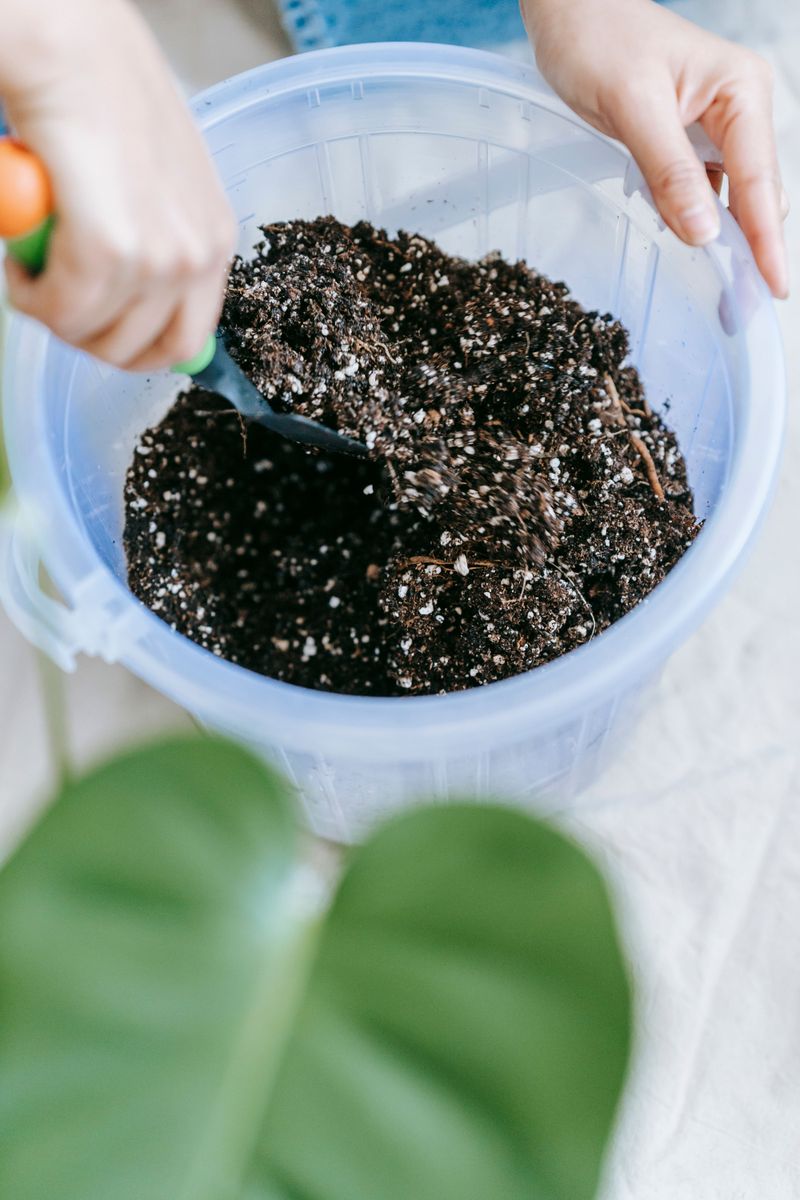
Soil is the cozy bed where your plants will sleep, eat, and grow. Picking the right kind matters more than expected.
Regular garden dirt from outside is not the best choice here. It can carry bugs, weed seeds, and packs down too tightly.
Instead, grab a bag of indoor potting mix from any garden store. It feels light and fluffy, which helps roots breathe.
Your plant choice decides which mix works best for your jar. Ferns and moss enjoy rich soil that holds a little moisture.
Succulents and cacti want something sandy and quick to dry out. Look for bags labeled cactus mix if you plan a desert theme.
Spoon the soil over your barrier layer until it is about two inches deep. Deeper jars can hold a little more for bigger roots.
Try shaping small hills and valleys instead of leaving it flat. Gentle slopes make your mini landscape look more natural and interesting.
Press the soil down lightly with the back of a spoon. Packing it too hard squeezes out the air roots need.
If the mix feels dusty and dry, mist it before planting. Damp soil holds its shape and makes digging holes much easier.
Think of this step as frosting a cake before the decorations go on. A smooth, even layer gives everything else a happy home.
Leftover soil keeps well in a sealed bag under the sink. You might want it later for a second jar or a refresh.
5. Pick Small Plants For Your Jar
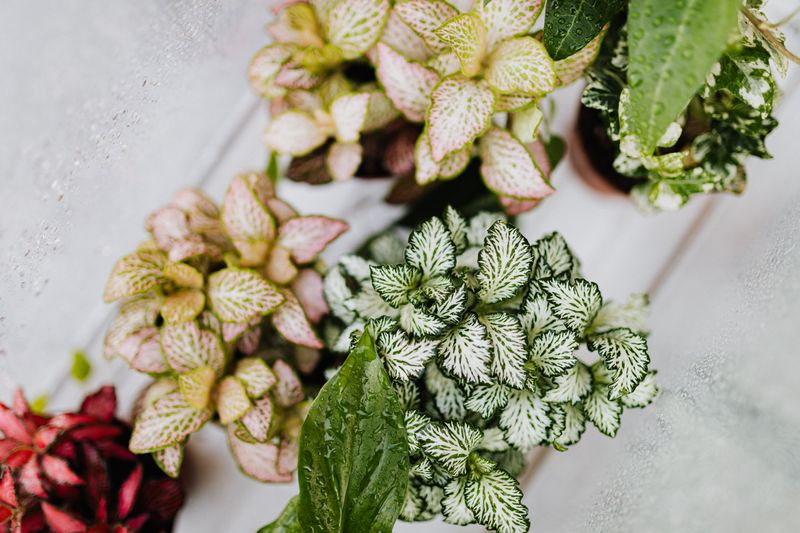
Walking into a plant shop can feel like a candy store for grown-ups. Before you grab everything green, think small and slow-growing.
Tiny jars need tiny plants that will not outgrow their home quickly. Look for pots labeled two inches or smaller.
For closed jars, pick plants that love moist, steamy air. Fittonia, also called the nerve plant, has bright pink or white veins.
Baby tears, small ferns, and cushion moss also thrive in humid spaces. Their soft textures turn the jar into a misty Oregon forest.
Open bowls suit plants that prefer drier conditions and more airflow. Small succulents like echeveria and haworthia look great in sunny spots.
Avoid mixing desert plants with jungle plants in the same container. One group will get too much water while the other stays thirsty.
Three to five plants usually fill a medium jar nicely. Choose different heights and leaf shapes so your design looks lively.
A tall plant can sit in the back like a tree. Shorter, spreading plants then fill the front like a grassy meadow.
Autumn can be a good time to shop because some stores clear summer stock. You might find healthy little plants on sale.
Check leaves for brown spots, sticky residue, or tiny crawling bugs. Healthy plants should look perky, bright, and firm to the touch.
Ask a store worker for help if a label confuses you. Most plant people love chatting about their favorite tiny green friends.
Bring a photo of your jar along on your trip. It helps you picture how each plant will fit inside.
6. Plant With A Gentle Hand
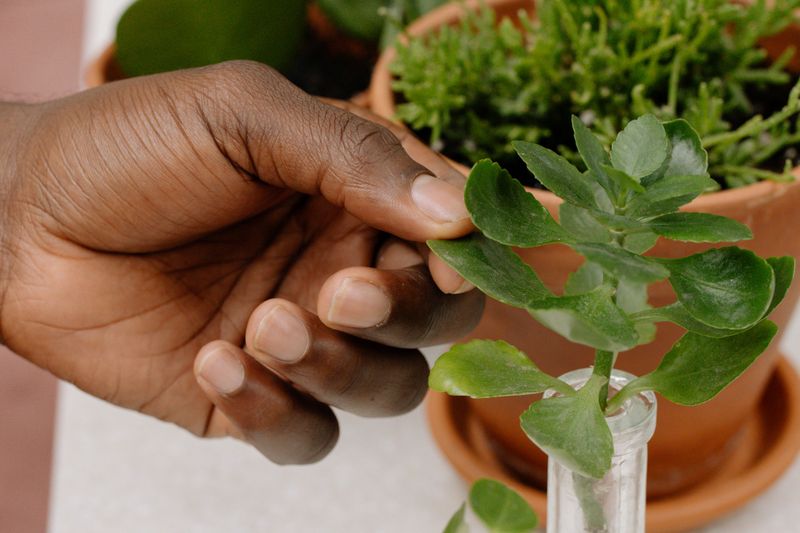
This part feels delicate, so take your time and enjoy the process. Steady hands and a calm mood work wonders.
Squeeze the plastic pot gently to loosen the plant. Then tip it sideways and ease the plant out by its base.
Shake off some of the old soil from the roots. If roots are wound in tight circles, tease them apart with your fingers.
Big root balls can be trimmed a little with clean scissors. Plants handle a small haircut better than you might expect.
Use a spoon or chopstick to dig a small hole in your soil. Start with the tallest plant in the back or center.
Lower the plant into the hole and pull soil around its base. Press lightly so it stands up straight without wobbling.
Work your way forward with shorter plants, leaving space between each one. Crowded leaves trap too much moisture and can turn mushy.
Narrow jars make this tricky, so let your tools do the reaching. Long tweezers or chopsticks act like extra skinny fingers.
If a plant flops over, prop it with a small stone. Roots usually settle in and hold firm within a week or two.
Once everything is planted, brush loose dirt off the leaves. Then wipe the inside of the glass with a damp paper towel.
Step back and look at your jar from every side. Small tweaks now are much easier than moving plants later.
Give yourself a high five at this point. The hardest part of the whole afternoon is now behind you.
7. Decorate With Stones, Moss, And Tiny Figures
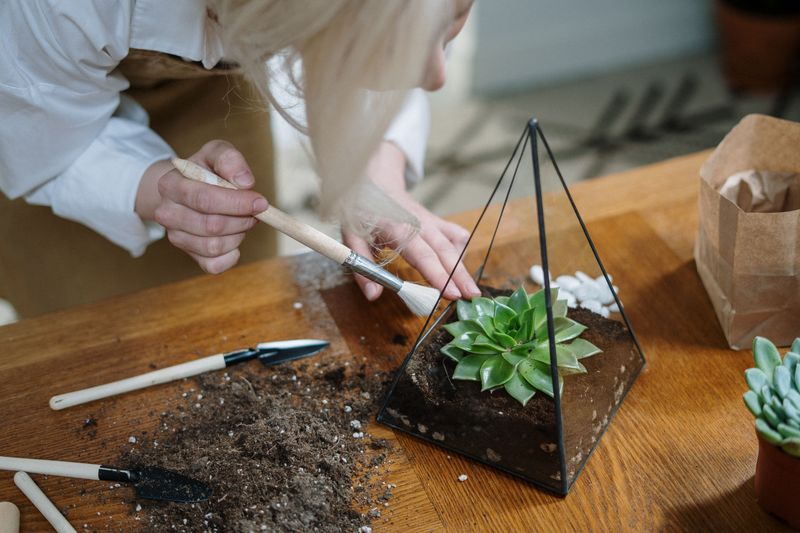
A sleepy fox curled on a mossy rock can turn a jar into a storybook scene. Decorations give your garden its own personality.
Start with moss to cover bare soil between plants. Sheet moss or mood moss adds a soft green carpet that holds moisture.
Tear the moss into pieces and press them gently into place. Mist them right away so they stay plump and bright.
Next, add a few stones or bits of driftwood. Larger rocks look like mountains, while tiny pebbles can form a winding path.
Colored sand can create a pretend stream or beach. Pour it slowly through a paper cone for neat, clean lines.
Now comes the playful part, the tiny figurines. Little mushrooms, cabins, animals, or garden gnomes add charm and a sense of scale.
Since it is October, you could add a mini pumpkin or a tiny ghost. Swap them out later for snowmen when winter arrives.
Choose decorations made of glass, ceramic, or plastic. Painted wood or metal can rust, peel, or grow mold in damp air.
Try not to overload the scene with too many objects. Two or three special pieces usually look better than a crowded shelf.
Leave some open space so your plants can still shine. A little breathing room makes each item stand out more.
Kids especially love this step, so invite a younger sibling to help. Their wild ideas often lead to the most memorable designs.
Snap a photo once you finish decorating your scene. Comparing it to future photos shows how much your garden grows.
8. Water And Place Your Garden Wisely
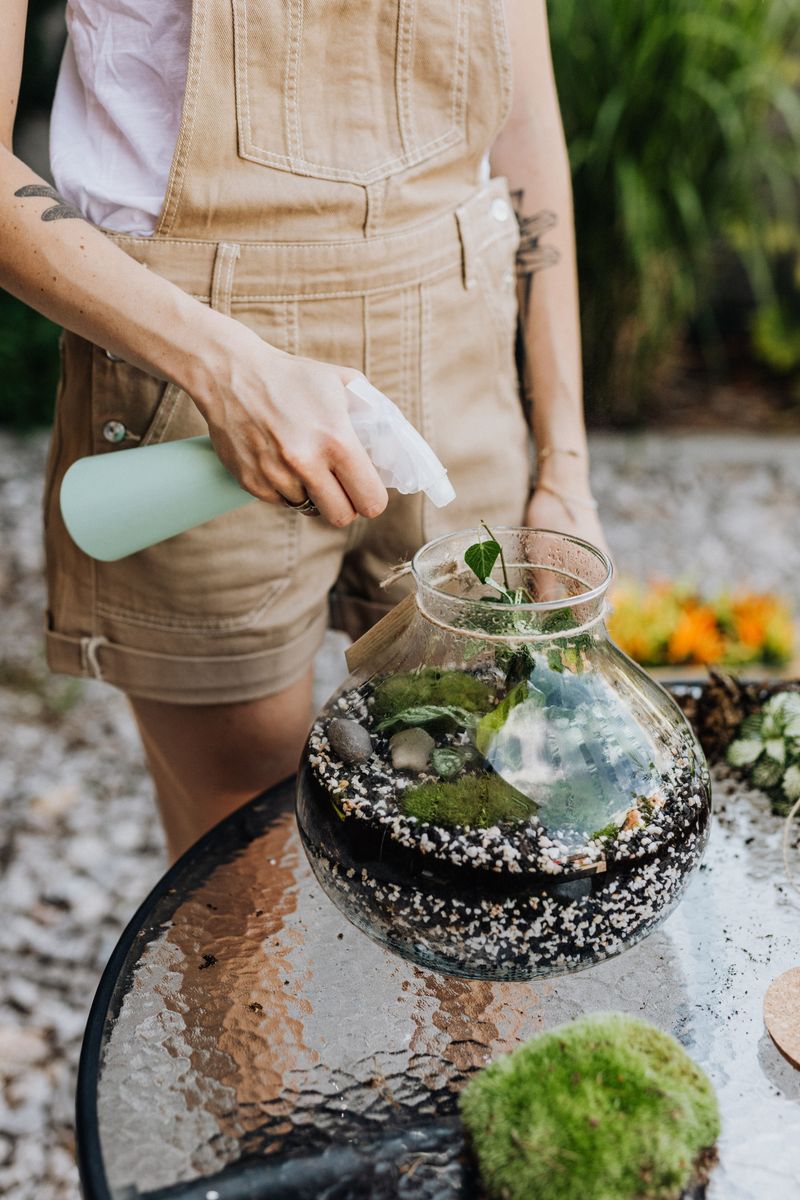
Too much love can harm a tiny garden faster than you think. Watering a jar is more about sips than big gulps.
After planting, lightly mist closed jars until the soil looks damp. Stop before puddles form in your rock layer below.
Closed jars recycle their own water like a tiny Oregon drizzle. Moisture rises, beads on the glass, and drips back onto the soil.
A little fog in the morning is a healthy sign. Heavy fog all day means too much water, so open the lid for a while.
Open bowls dry out faster and need water once the top soil feels dry. Succulents may only need a soil soak every two weeks.
Poke your finger into the soil to check for moisture. If it feels dry an inch down, it is time to water.
Where you place the jar matters just as much. Closed jars like bright, indirect light, while open succulent bowls enjoy brighter spots.
Direct sunlight can heat a closed jar far too quickly for plants. Leaves may scorch, so shade closed jars well.
Keep the jar away from heaters, which switch on more as autumn nights cool down. Dry, hot air stresses plants quickly.
Turn the jar a quarter turn every week so plants grow evenly. Otherwise, they lean toward the light like curious sunflowers.
Trim leaves that touch the glass or turn brown with clean scissors. A quick tidy each month keeps your scene looking sharp.