7 Proven Steps To Revive Your Overwatered Christmas Cactus In North Carolina
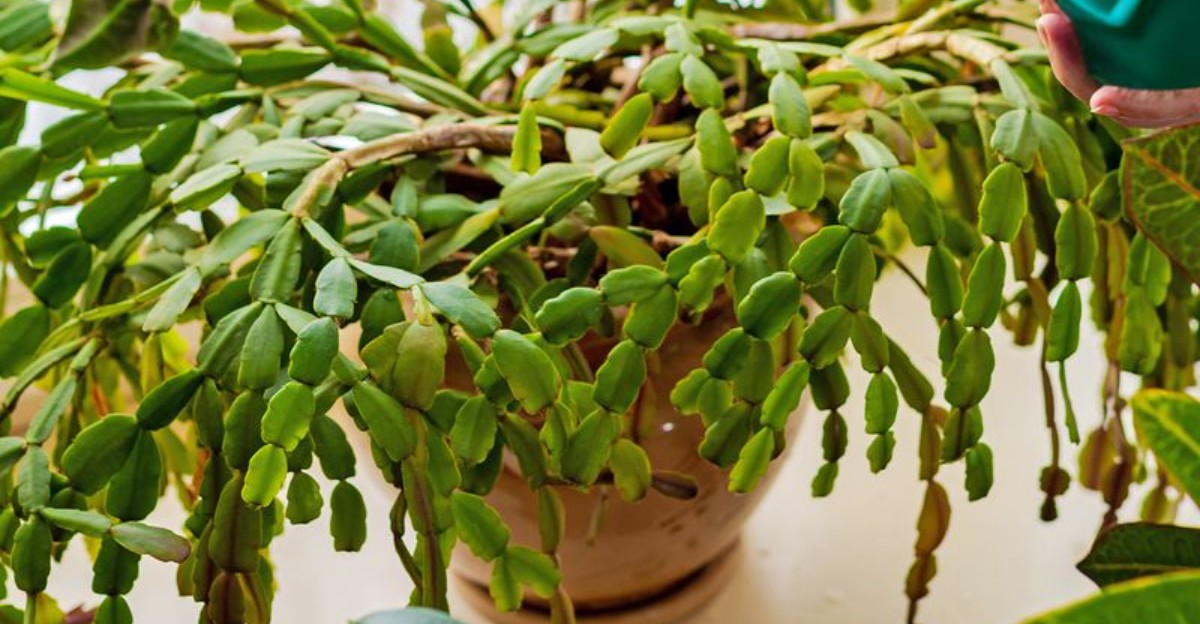
The leaves go limp, then soft. The base turns dark, and the whole plant slumps over. A soggy Christmas cactus looks hopeless, but it can often be saved.
The cause is almost always roots sitting in wet soil with no air. Humid North Carolina homes make the problem more common, especially when a pot has no drainage hole. Speed matters here.
Every day in wet soil gives rot more time to spread. The fix is a short series of steps, and most take only minutes. You will check the roots, remove what is damaged, and give the plant a fresh start.
Even a few healthy segments can grow into a full plant again. Follow the steps in order, and you give it a real chance.
1. Recognize The Signs Of Overwatering
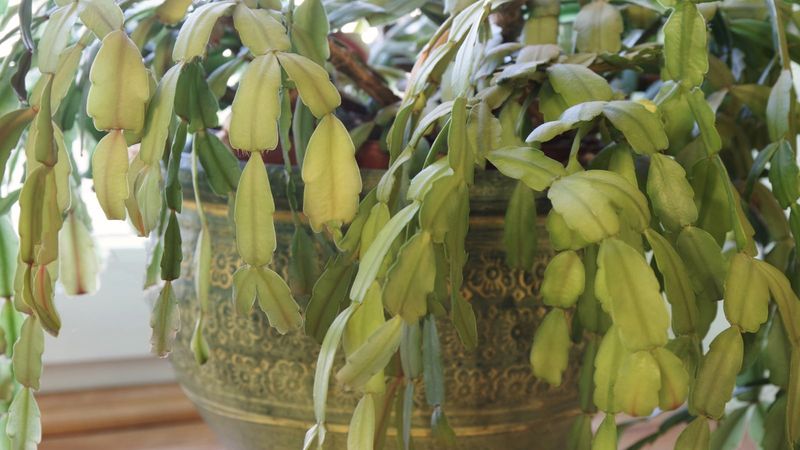
Your Christmas cactus has a quiet way of asking for help, and droopy stems are usually its first message. Overwatering ranks as one of the most common problems with this plant. Spotting trouble early gives you the best shot at a full recovery.
Start by looking at the flat stem segments. Healthy ones feel firm and plump, a bit like a fresh snap pea. When they turn limp, yellow, see-through, or mushy, too much water is often to blame.
Next, press a finger into the soil. If it still feels wet several days after your last watering, the roots are sitting in soggy conditions they simply cannot handle. A Christmas cactus likes moisture, but it never wants to stay soaked.
Give the plant a gentle touch, too. Segments that fall off at the slightest bump are a warning sign. So is a soft or darkened spot at the base, right where the stems meet the soil.
Finally, trust your nose. A sour or rotten smell coming from the pot usually means roots have started to break down below the surface. That odor is hard to miss once you notice it.
Here in North Carolina, these problems sneak up fast. Our humid air slows how quickly soil dries, especially during cool fall and winter months when the plant grows slowly and drinks less. A watering schedule that worked in July can drown roots in December.
Keep an eye out for any mix of these clues. One limp stem might mean little, but several signs together point clearly to overwatering. Catching them now sets you up for every step that follows.
2. Stop Watering And Check The Drainage
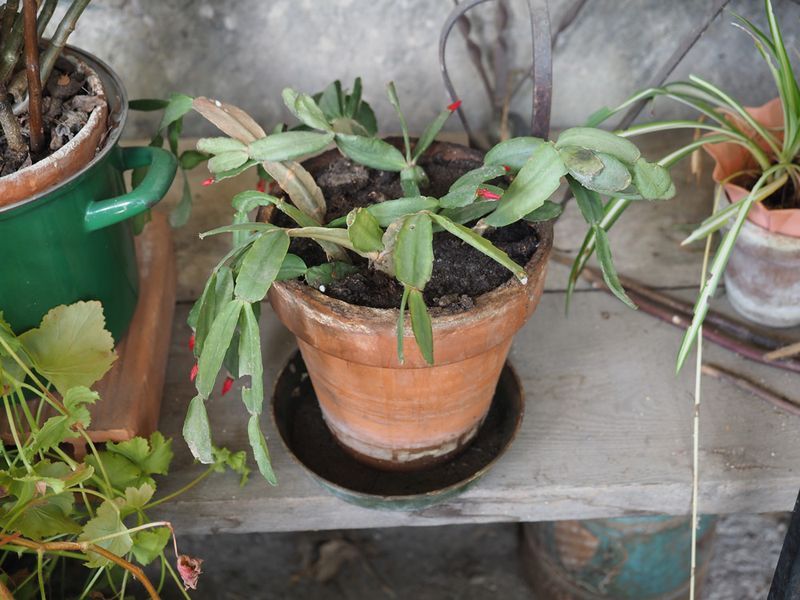
Put down the watering can, right now. It sounds simple, yet many caring plant owners keep watering a droopy cactus because they think it looks thirsty. Adding more water to soggy soil only feeds root rot and makes things worse.
Once you stop, look underneath the pot. Water often collects in the saucer or inside a decorative outer pot, where you cannot see it. Pour out every drop, since roots sitting in that hidden puddle stay wet around the clock.
Now turn the pot over and check the bottom. A good container needs at least one drainage hole so extra water can escape. Without one, water pools at the base and slowly suffocates the roots.
Your North Carolina Garden Changes Every Week. Your Plan Should Too.
Gardening in North Carolina changes quickly throughout the season. Every Friday you’ll receive a simple weekly plan showing exactly what to plant, prune, fertilize, harvest, and protect so you never miss the right timing.
Many gift plants come in shiny foil wraps or pretty ceramic pots with no holes at all. Those holiday packages look lovely on a mantel, but they work like a bathtub with the plug stuck in.
Shoppers across North Carolina bring these plants home every December without realizing the risk.
If your plant lives in one of these covers, remove it or poke holes in the foil. You can still use the decorative pot later, as long as you empty it after each watering. That small habit protects the roots for years.
After that, move the cactus to a bright spot with indirect light. An east-facing window works nicely, and a room with gentle air movement helps the soil dry faster. A small fan set on low nearby can also help during muggy weeks.
These quick fixes buy your plant valuable time. With water no longer piling up, the roots finally get a chance to breathe again.
3. Unpot The Plant And Inspect The Roots
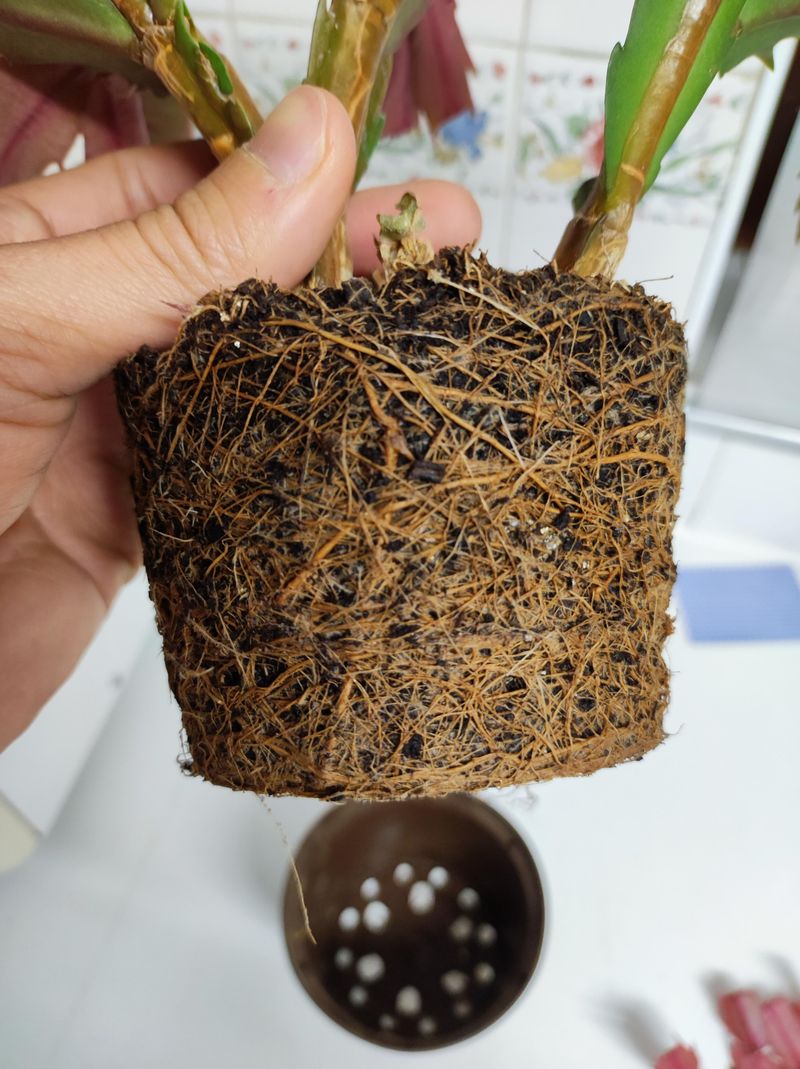
Below the soil line is where the real story hides. Stems can only tell you so much, but roots reveal exactly how much damage has happened. A quick look now helps you decide what comes next.
Spread some newspaper on a table first, because this part gets messy. Turn the pot on its side and gently tap the edges. Then hold the plant at its base and slide it out slowly, without yanking on the stems.
If it sticks, run a butter knife around the inside of the pot. Plastic pots can also be squeezed lightly to loosen the soil. Patience matters here, since fragile stems snap easily.
Once the plant is free, crumble away as much wet soil as you can with your fingers. Soggy soil clings tightly, so take your time. You might rinse the roots under lukewarm water to see them clearly.
Now study what you find. Healthy roots look white to light tan and feel firm, almost like cooked spaghetti that still has some bite. Rotted roots look brown or black, feel mushy, and may pull apart or slip off their outer skin when touched.
Check the base of the stems as well. Soft, dark tissue there means rot has started moving upward into the plant. Firm, green stem bases are a hopeful sign.
North Carolina homes often stay warm indoors during winter, and warm, waterlogged soil is exactly where rot organisms thrive.
That combination can turn a small problem into a big one in just days. Looking at the roots early lets you act before trouble spreads any further.
4. Trim Away Rotted Roots And Segments
Think of this step as a careful haircut that saves the whole plant. Rotted roots and mushy stems cannot heal, no matter how much you hope they will. Leaving them in place only lets rot creep into the healthy parts.
Grab a pair of sharp scissors or small pruners first. Wipe the blades with rubbing alcohol before you begin, since dirty tools can spread germs from one cut to the next. Clean them again between cuts if you find a lot of rot.
Start with the roots. Snip off anything soft, dark, slimy, or stringy, cutting back to firm, pale tissue. It may feel like you are removing too much, but a smaller, healthy root system beats a large, rotting one every time.
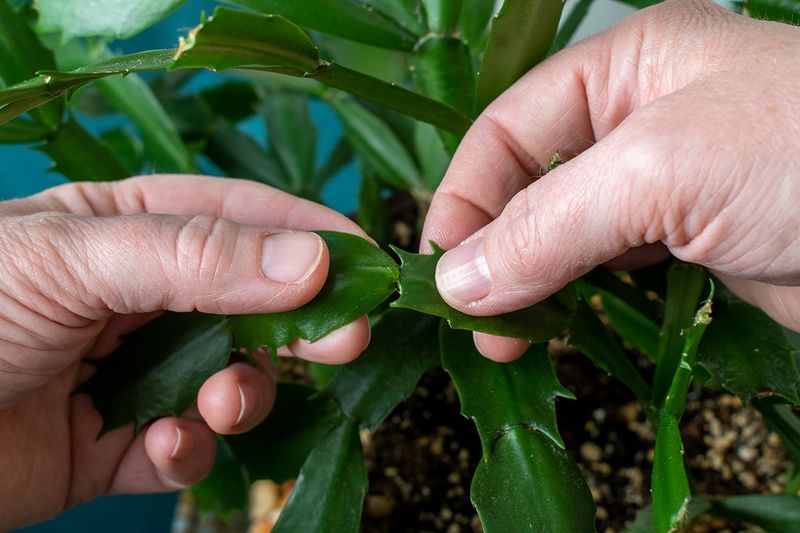
Move on to the stems after that. Any segment that looks translucent, mushy, or blackened should come off. Cut just below the damaged area, or twist off the whole segment at its joint.
Save any firm, green pieces that break off along the way. They can become new plants later, which you will read about in the final step. Set them aside on a dry paper towel.
When the trimming is done, lay the plant on a clean towel in a shady, airy spot. Let the root ball dry for a few hours, or up to a full day. Those fresh cuts form a protective layer that helps block new infection.
Gardeners across North Carolina know that fast action often makes the difference. Removing rot quickly gives your Christmas cactus its best chance to rebound strong. A little bravery with the scissors pays off in fresh new growth.
5. Repot In Fresh, Fast-Draining Mix
Out in the wild, Christmas cactus does not grow in garden dirt at all. In the coastal mountains of Brazil, it clings to tree branches and rocky ledges, soaking up rain and drying quickly. Recreating that airy home is the secret to a happy plant.
Toss the old soil instead of reusing it. Soggy mix may carry rot organisms, and it has likely broken down into a dense mess that holds too much water. Fresh soil gives the roots a clean slate.
Choose a clean pot with drainage holes next. Size matters more than most people think. Pick one that fits the remaining roots snugly, often the same size as before or even a little smaller, because extra soil holds extra water.
Clay pots work especially well, since they breathe and help soil dry faster. If you reuse an old container, scrub it with soapy water first. A rinse with a mild bleach solution adds extra protection.
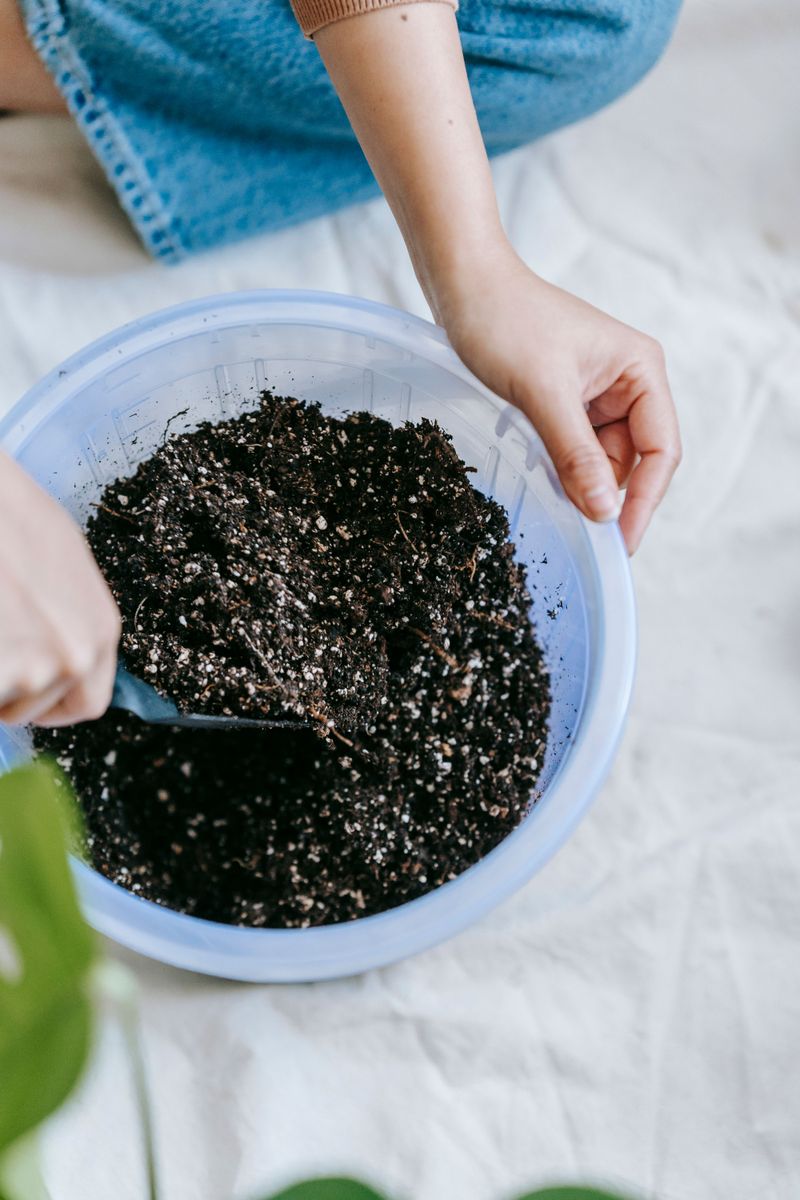
For the mix, combine regular potting soil, orchid bark, and perlite in roughly equal parts. A store-bought cactus mix with some bark stirred in also works nicely. The finished blend should feel chunky and loose, never heavy.
Set the plant at the same depth it grew before. Burying stems too deeply invites rot, while planting too high leaves roots exposed. Gently firm the mix around the base so the plant stands upright.
North Carolina summers bring thick, sticky humidity, and winters can stay damp for weeks. A fast-draining mix acts like insurance against those conditions. Your cactus will thank you with steady growth and fewer soggy surprises down the road.
6. Wait To Water And Help It Recover
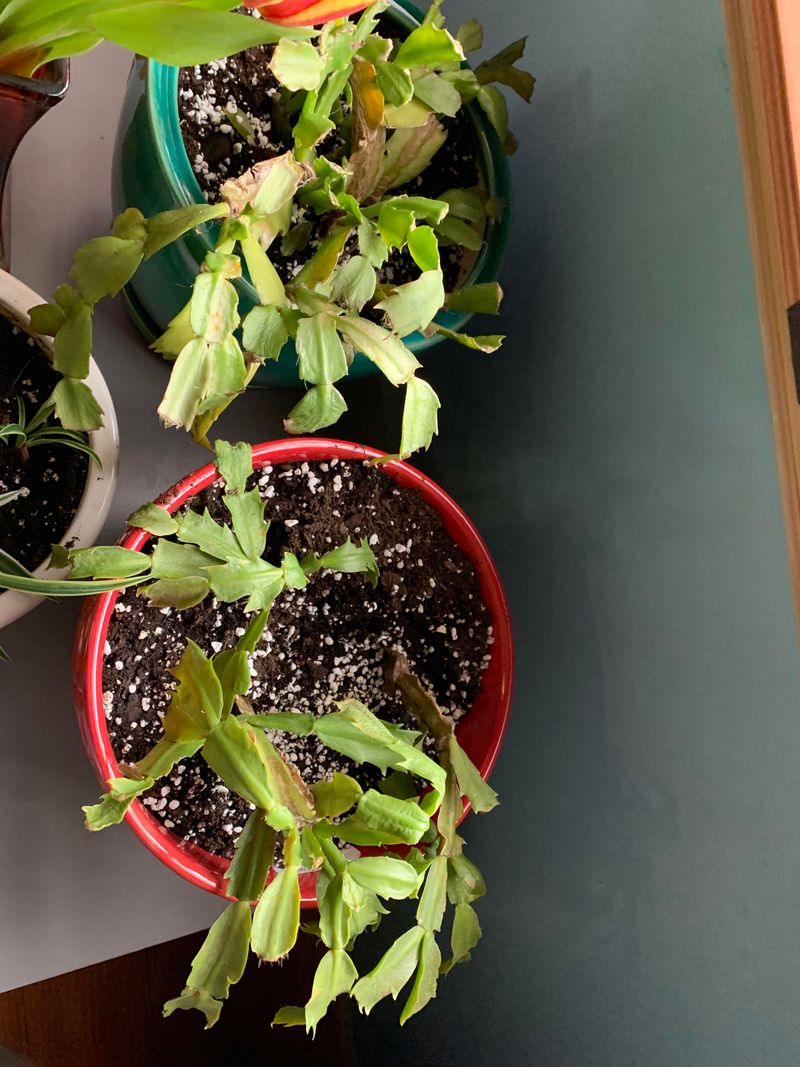
Patience might be the hardest part of the whole rescue. Right after repotting, you will feel the urge to give your plant a nice drink. Hold off, because trimmed roots need a few days to heal before they can take up water safely.
Wait about five days to a week before watering. Then water lightly, just enough to dampen the mix without soaking it. Let any extra drain out completely.
From then on, use the finger test. Push a finger about an inch into the soil, and water only when that top inch feels dry. This simple check works far better than any calendar.
Light plays a big role in healing, too. Bright, indirect sunlight helps the plant make energy for new roots. Harsh afternoon sun, on the other hand, can scorch weak stems and turn them reddish.
Temperature swings cause stress as well. Christmas cactus prefers a steady range of about 60 to 70 degrees. Keep it away from heat vents, fireplaces, drafty doors, and chilly windows on frosty nights.
Many North Carolina homes rely on heat pumps, which can blow warm, dry air in bursts and then cool off again. Those ups and downs are tough on a recovering plant. Placing it a few feet away from vents makes a real difference.
Skip fertilizer for at least a month. Damaged roots cannot handle the extra salts, and feeding too soon can burn them.
Once you spot fresh green segments forming at the stem tips, you will know your cactus has turned the corner and is ready for normal care again.
7. Root Healthy Cuttings As A Backup
Grandma’s Christmas cactus might be older than you are. Across North Carolina, these plants often pass from one generation to the next, blooming every holiday season for decades. Some families have kept the same plant going for fifty years or more.
That history is exactly why cuttings make such a smart backup plan. Even if the main plant struggles to recover, healthy stem pieces can grow into brand-new plants. Each one will be an exact copy of the parent, with the same flower color and growth habit.
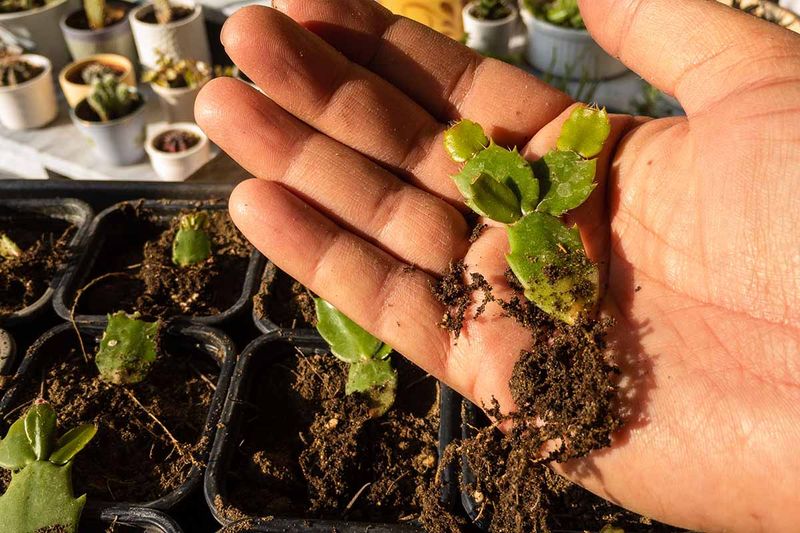
Better still, Christmas cactus roots very easily. Look for firm, green pieces that have two to three segments each. Gently twist them off at a joint, or snip them with clean scissors.
Next, set the cuttings on a paper towel for a day or two. The cut ends will dry and form a light callus. That protective seal helps prevent rot once they go into soil.
Fill a small pot with slightly moist, fast-draining mix, like the blend you used for repotting. Push each cutting about an inch deep, with the bottom segment standing upright. You can tuck several cuttings into one pot for a fuller look.
Place the pot in bright, indirect light and water lightly whenever the mix starts to dry. Avoid soaking it, since young cuttings rot just as easily as older plants. Within a few weeks, gentle resistance when you tug lightly means roots have formed.
Extra plants make wonderful gifts, too. Sharing a piece of a family heirloom with siblings, friends, or neighbors keeps the tradition blooming for years to come.