Smart Ways To Use All That Basil Growing In Your New York Garden
Your basil somehow didn’t get the memo about fall. Right now, your New York garden still smells like a pizza shop.
The clock is ticking, though. Basil is one of the first herbs to blacken when near-frost nights arrive, so the next cold snap could end the party overnight.
So what do you do with a mountain of green leaves before the season ends? Harvest it all soon, ideally before the next chilly night.
There are plenty of clever, tasty, and thrifty ways to use it. Some fill your freezer with summer flavor, others brighten your kitchen all winter, and a few make great gifts for neighbors.
1. Harvest Everything Before Nights Dip Below 50 Degrees
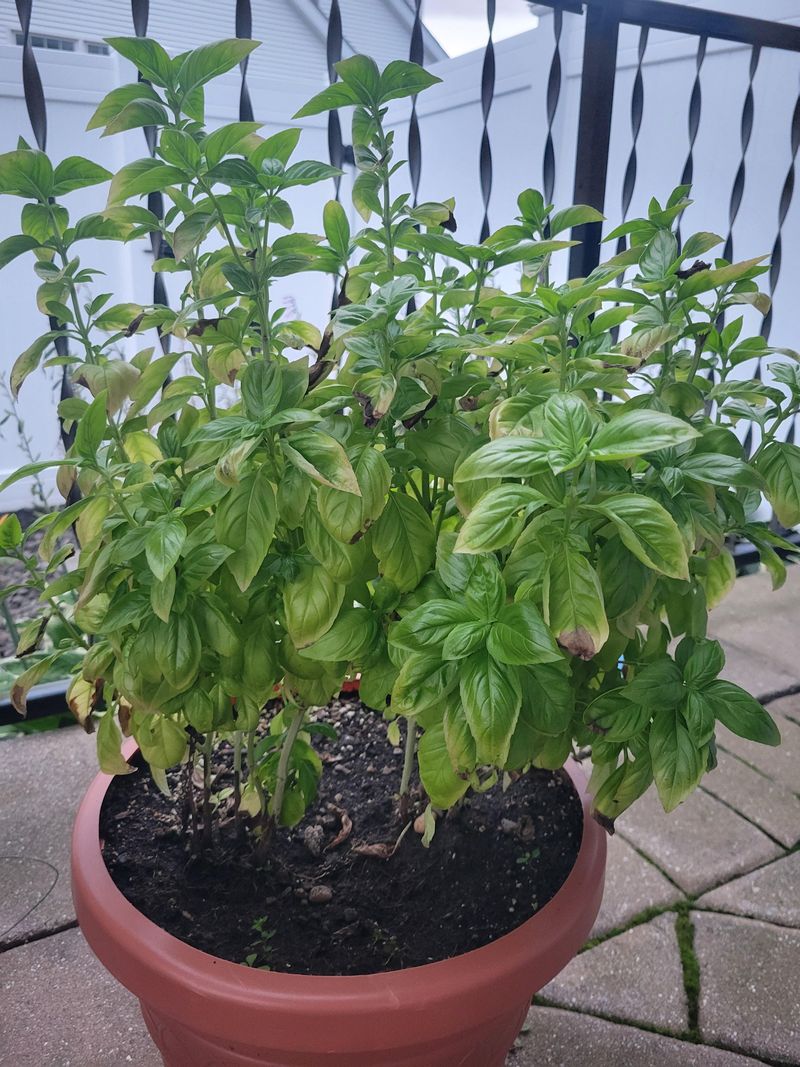
Basil is a sun lover that sulks the moment autumn air turns crisp. Nights below 50 degrees stress the plants, and growth slows sharply once temps fall under 59.
A single light frost can wipe out a whole patch overnight. In upstate New York, frost may show up in October, while New York City often waits until November.
Watch the forecast closely as September winds down. Once nights start sliding toward 50 degrees, plan a full harvest before the leaves turn black and limp.
Timing your cutting makes a real difference in flavor. Head out in the early morning after the dew dries but before the midday heat arrives.
Leaves picked then hold the most essential oils, so they taste and smell their best. Bring a large bowl or basket, since a big plant yields more than you expect.
During summer, weekly trims keep plants bushy and slow down flowering. Flowers can make leaves taste bitter, so pinching them off helps all season.
For normal harvests, cut just above a pair of leaves and take no more than one third. At season’s end, however, feel free to clip every last stem.
Skip the fridge when storing fresh basil, because cold air turns the leaves dark. Instead, set the stems in a glass of water on the counter like flowers.
Handled this way, your bundle stays perky for several days. That gives you time to try the ideas below without any rush or wasted leaves.
2. Blend A Big Batch Of Pesto
Ask any Italian grandmother, and she will tell you pesto means pounding. The name comes from an old word for crushing, since cooks once ground it by hand with a mortar.
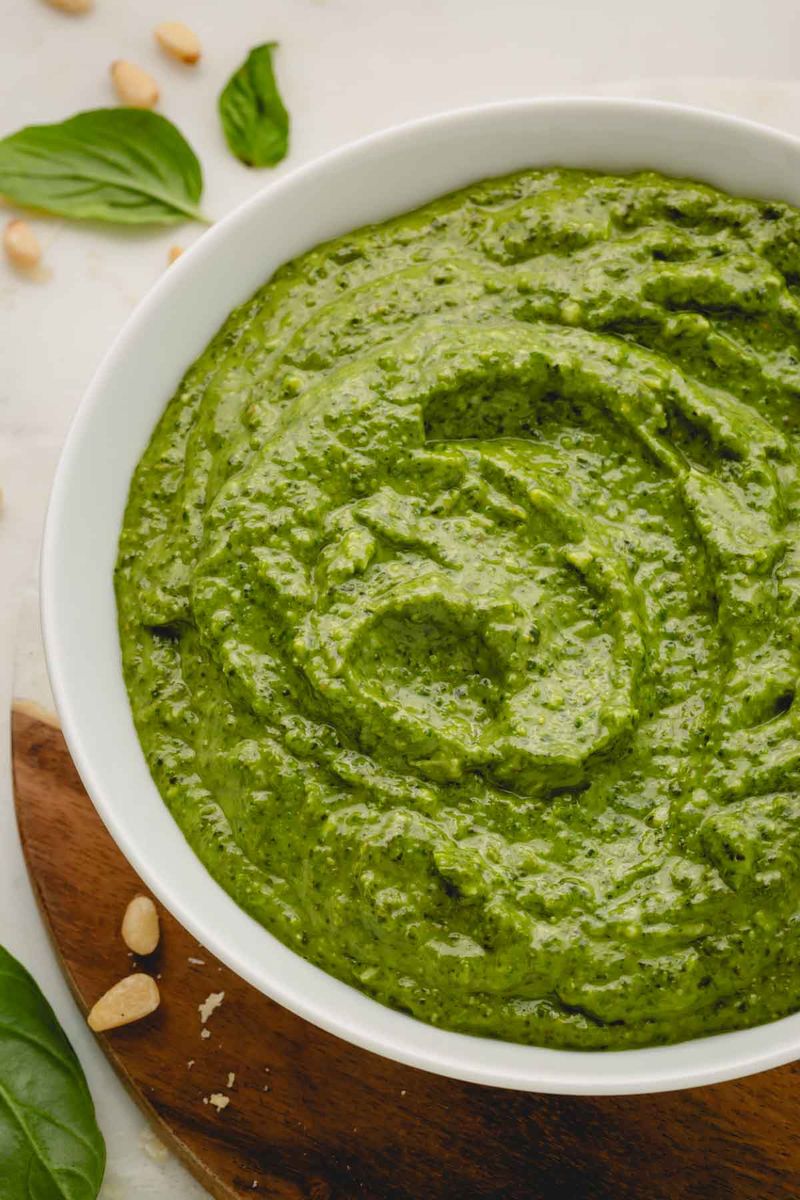
Luckily, a food processor makes the job quick and easy today. A typical batch needs about two packed cups of basil leaves.
Add half a cup of good olive oil and a quarter cup of nuts. Pine nuts are classic, but walnuts or cashews work well and often cost less.
Finish the list with half a cup of grated Parmesan and a few garlic cloves. Some cooks toss in parsley to help the sauce stay bright green.
Start by pulsing the garlic and nuts until they look crumbly. Next, add the basil and a pinch of salt, then drizzle in oil while the machine runs.
Your New York Garden Changes Every Week. Your Plan Should Too.
Gardening in New York changes quickly throughout the season. Every Friday you’ll receive a simple weekly plan showing exactly what to plant, prune, fertilize, harvest, and protect so you never miss the right timing.
Stir in the cheese at the end for the best texture. Want milder garlic flavor?
Toast the cloves first so they turn sweet and mellow.
Fresh pesto lasts about four or five days in the refrigerator. For longer storage, the freezer is your best friend.
Spoon pesto into containers and cover the top with a thin layer of oil. That simple seal blocks air and keeps the color from turning brown.
Please skip canning pesto, because oil and basil can carry a serious botulism risk. Frozen pesto stays tasty for six months to a year.
3. Freeze Chopped Basil In Ice Cube Trays
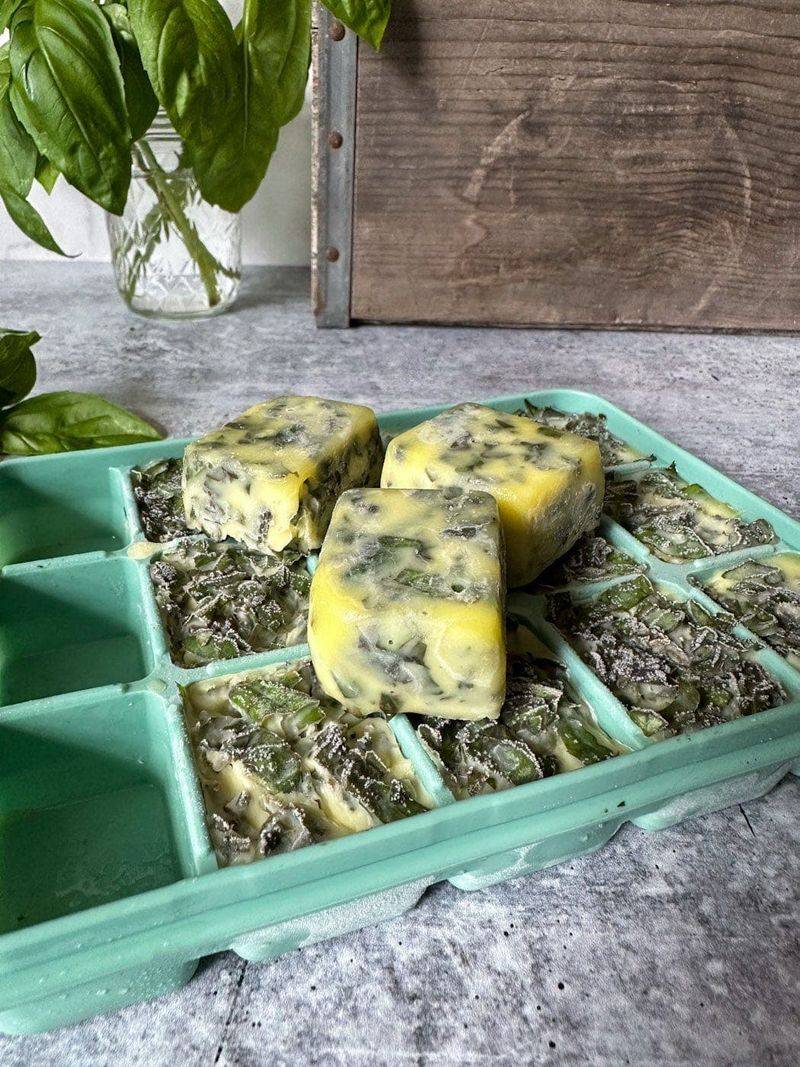
Picture a snowy January night when you drop a little green cube into simmering sauce. Suddenly the whole kitchen smells like July, and that small trick costs almost nothing.
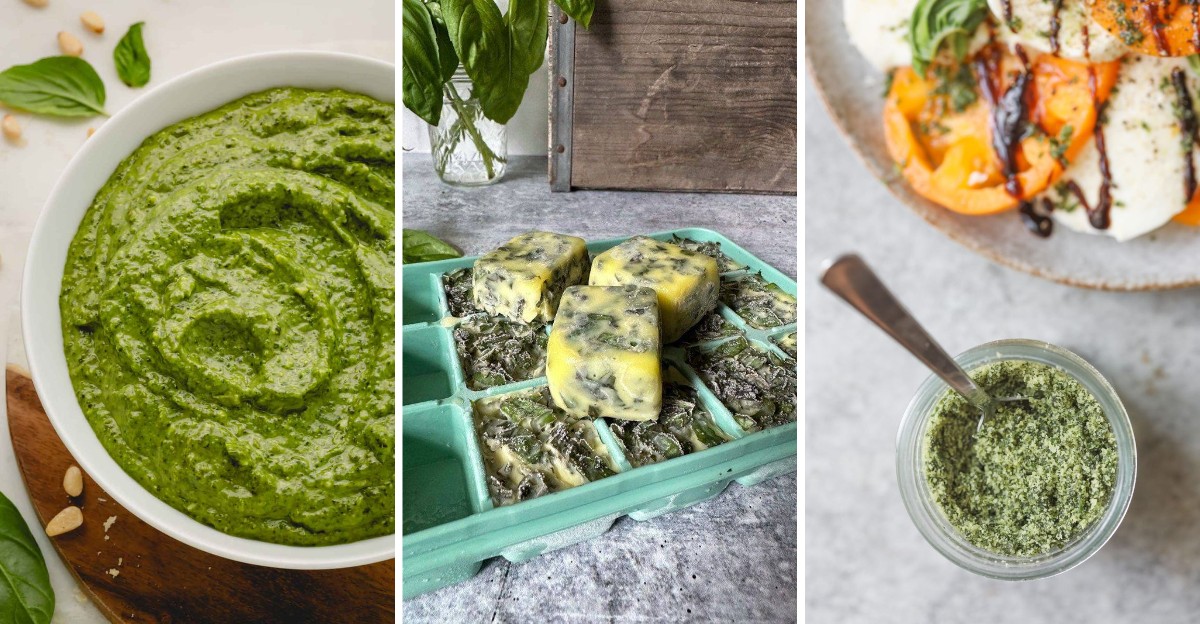
Freezing basil in olive oil protects both color and flavor. The oil wraps each leaf, blocking air and holding in those fragrant natural oils.
First, wash the leaves and pull them off the stems. Dry them very well with a salad spinner and paper towels to prevent damaging ice crystals.
Next, chop the basil finely and pack it into each slot of an ice cube tray. Pour olive oil over the top until every bit of green sits underneath.
Another option is blending leaves with a little oil into a pourable paste. Try about one tablespoon of oil for every packed cup of basil.
Broth or water can stand in for oil if you prefer. Plain water does make leaves a bit mushy, though, so oil usually wins for texture.
Freeze the trays for a few hours or overnight until solid. Then pop out the cubes and store them in heavy freezer bags or airtight containers.
These little flavor bombs go straight into soups and sauces without thawing. They hold their freshest taste for six to nine months.
Feeling creative? Mix in minced garlic or lemon zest for custom blends, and label each bag so you remember what is inside.
4. Dry Leaves For Winter Cooking
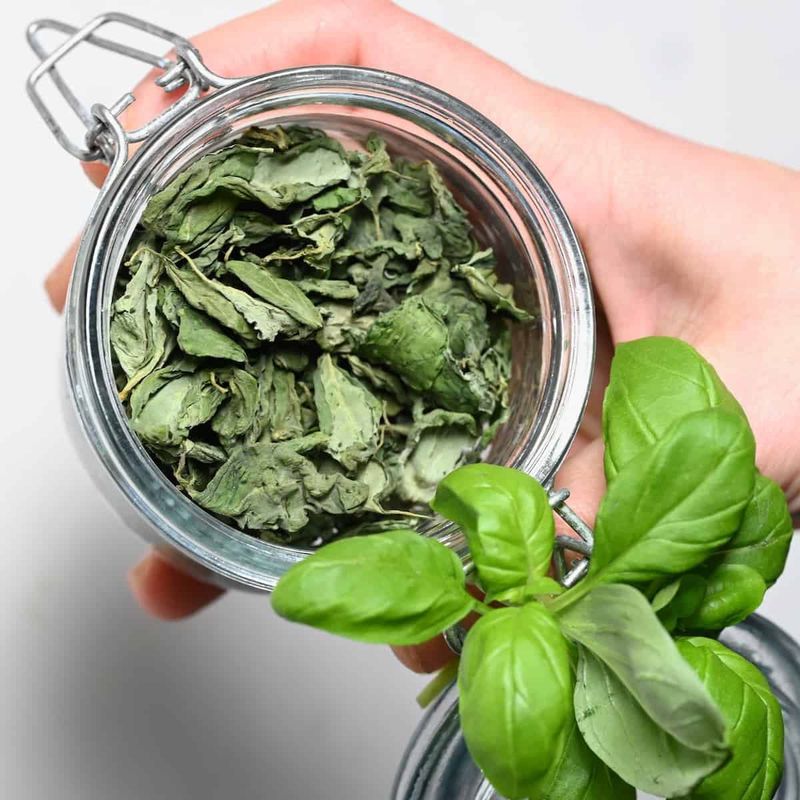
There is something cozy about bundles of herbs hanging in a kitchen. Drying basil gives you that old farmhouse charm along with seasoning for months ahead.
Properly dried leaves can last from several months up to two years. Start by rinsing gently, then patting every leaf completely dry to stop mold.
Air drying is the simplest method of all. Tie four to six stems together and hang them upside down somewhere warm, dry, and out of direct sun.
Expect the process to take one to two weeks. Check the bundles often for crispness and any fuzzy spots.
In a hurry? Your oven can help using its lowest setting, often between 100 and 170 degrees.
Spread leaves on parchment in one layer and prop the door open slightly.
Oven drying usually takes 45 minutes to two hours. Check every 15 to 30 minutes so the leaves crumble easily without scorching.
A food dehydrator offers steady control on its herb setting, around 90 to 115 degrees. Damp summers can stretch drying time, so be patient.
Store finished leaves whole in glass jars in a cool, dark cupboard. Crush them only right before cooking to release their full flavor.
Here is a handy swap to remember. One teaspoon of dried basil equals about one tablespoon of fresh, and it works best added early to stews.
5. Make Bright Basil Vinegar
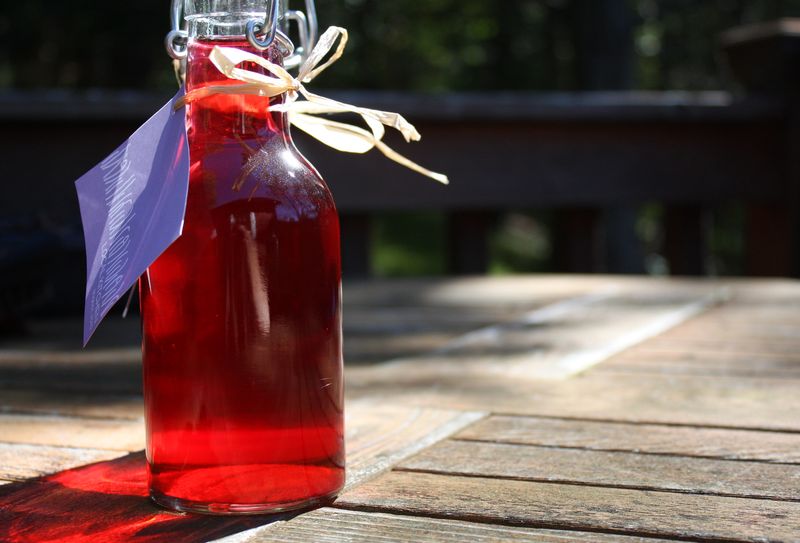
Few pantry gifts look as pretty as a bottle of basil vinegar. Toss in a few purple basil flowers, and the liquid turns a lovely rosy pink.
Basil vinegar shines in salad dressings, marinades, and drizzles over roasted vegetables. Both the leaves and the edible flowers work well here.
Pick a mild vinegar so the herb flavor can stand out. White wine or champagne vinegar are top choices for a clean, gentle taste.
Apple cider vinegar works too, though it may overpower the basil. Rice vinegar is sweet and mild but should infuse in the fridge because of lower acidity.
For a warm infusion, heat vinegar until it barely simmers. Pack clean, dry basil into a sterilized jar about two thirds full, then pour the vinegar over it.
Keep every leaf fully submerged to prevent darkening. If your lid is metal, place parchment underneath so the vinegar does not corrode it.
Let the jar sit in a cool, dark spot for three days to two weeks. Taste along the way and stop when the flavor feels just right.
Prefer no heat? Muddle basil in room temperature vinegar and let it steep for at least two weeks.
Strain out the leaves when finished and bottle the vinegar. It keeps its best flavor for six months to a year in a dark pantry.
6. Mix Up Fragrant Basil Salt
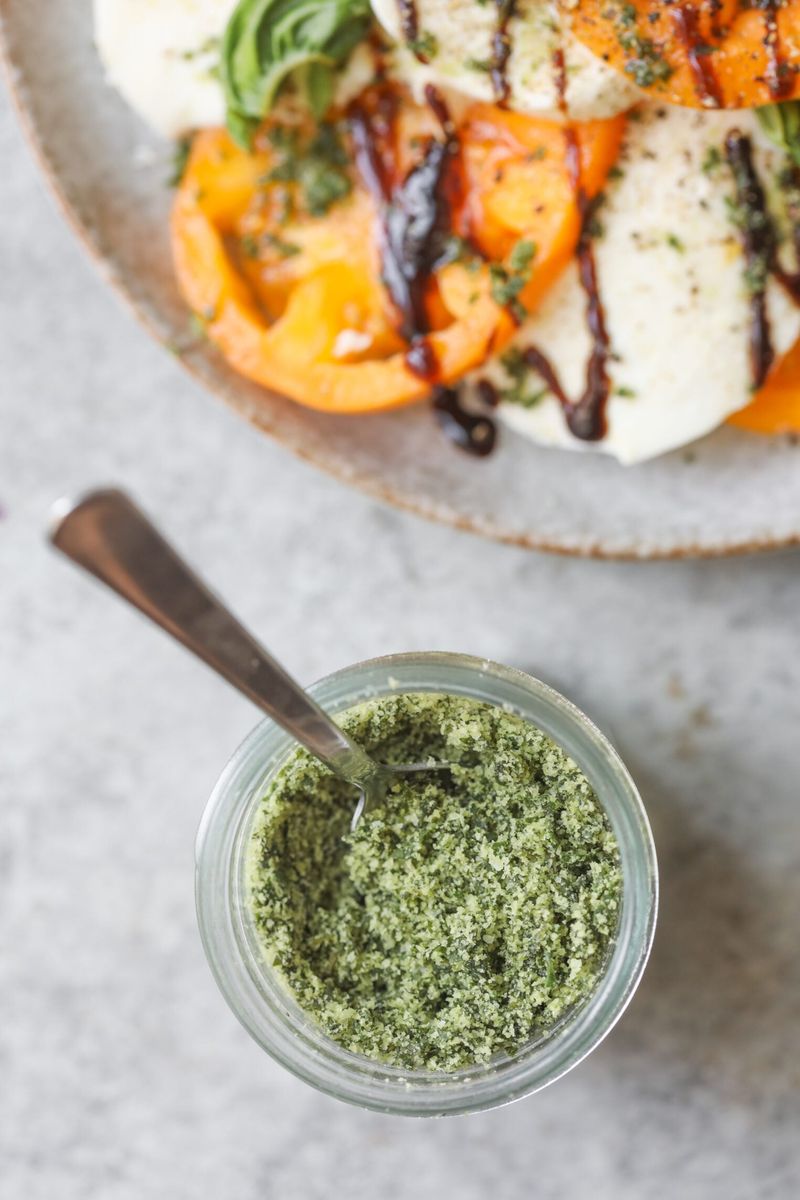
Two ingredients, ten minutes of work, and a jar that smells like summer for a year. Basil salt might be the easiest kitchen magic trick around.
Sprinkle it over fresh tomatoes, eggs, pasta, or roasted vegetables. Some people even rim cocktail or lemonade glasses with it for a fun twist.
You need fresh basil leaves and a coarse salt like kosher or sea salt. A good starting ratio is two cups of loosely packed leaves to half a cup of salt.
Recipes vary quite a bit, so adjust to your own taste. More basil gives a greener, bolder flavor.
Rinse the leaves and dry them very well first. Leftover moisture causes clumps and can lead to spoilage.
Pulse the basil and salt together in a food processor until bright green and sandy. Stop before it turns into fine powder.
The mix will feel damp, so it needs drying next. Spread it thinly on parchment and let it air dry for one to two days, stirring now and then.
You can speed things up in a low oven around 170 degrees for under an hour. Stir halfway, since the goal is drying rather than cooking.
Break up clumps once it is fully dry, then store it in an airtight glass jar. Salt naturally preserves, and the flavor peaks during the first year.
7. Root Cuttings On A Sunny Windowsill
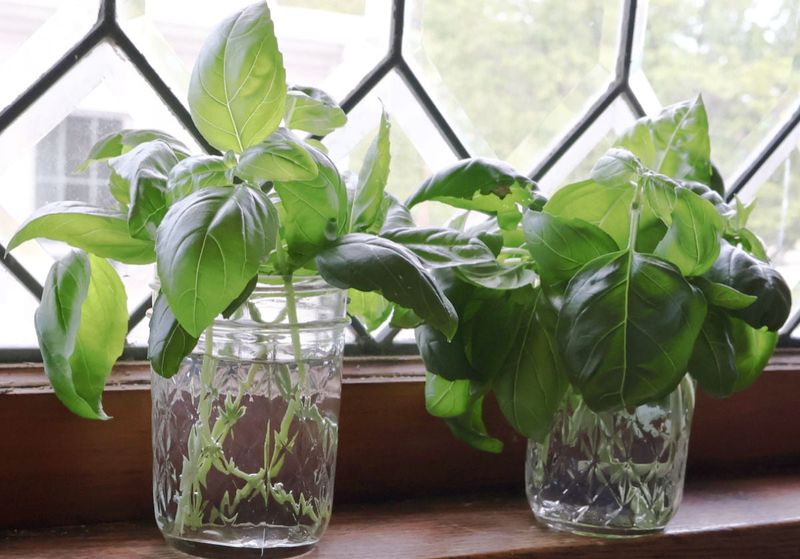
Free plants are the best kind of plants. With a jar of water and a sunny window, one basil stem can become a whole new herb garden.
Even a small New York apartment has room for this project. Choose healthy stems three to six inches long that have no flowers yet.
Cut each stem just below a leaf node, where leaves meet the main stalk. Roots grow mainly from these little joints.
Strip the leaves from the bottom two or three inches. Keep a few top leaves, since they make food for the cutting.
Set the stems in small glass jars of water so one node stays underwater. Mason jars work great and look cheerful on a sill.
Bright, indirect light or gentle morning sun suits cuttings best. Harsh afternoon rays can shock these delicate young stems.
Swap in fresh room temperature water every few days. Clean water carries oxygen and helps prevent slimy fungus.
Keep the room between 60 and 70 degrees, with nights above 50. Tiny white roots usually appear within five to fourteen days.
Once roots reach about one inch, plant them in good, well-draining potting soil. Water right away and keep the soil evenly moist.
Shield new transplants from strong sun for about a week. In a few more weeks, you can start snipping fresh leaves again.
8. Pot Up A Plant For Indoors
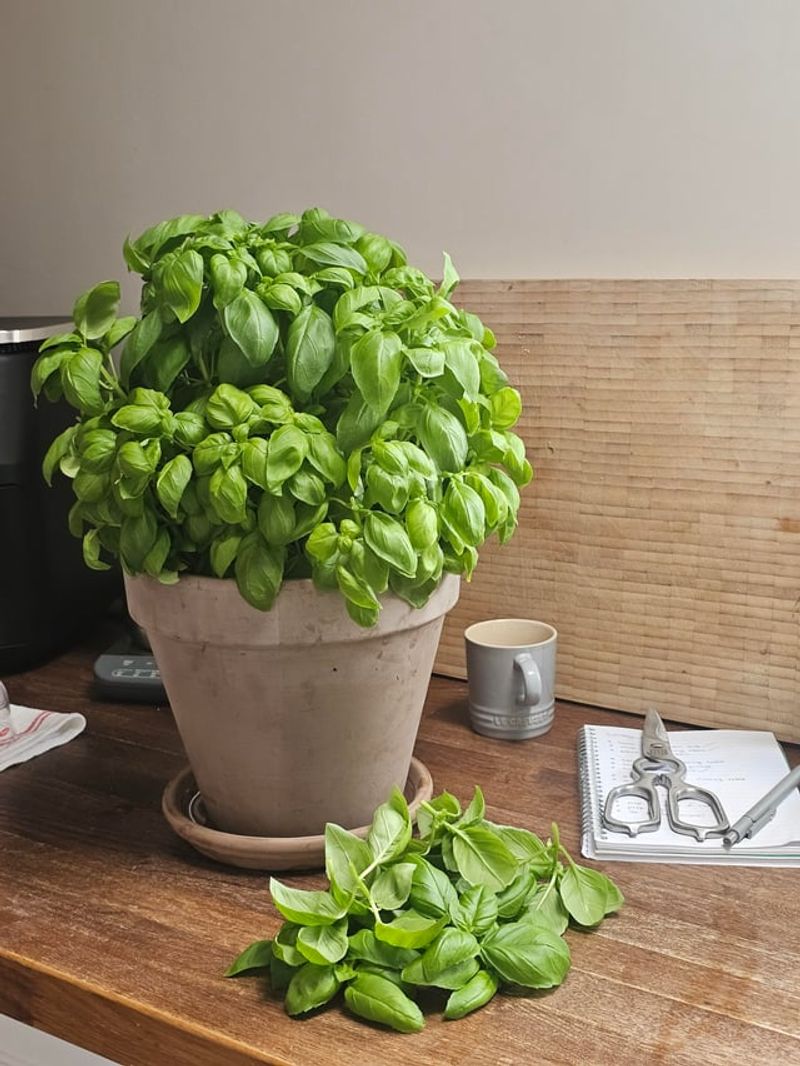
Why say goodbye to basil when you can simply invite it inside? A potted plant on the windowsill keeps fresh leaves within reach through a long New York winter.
Bring it indoors before nights fall below 50 degrees and before the first frost. Indoor basil grows more slowly, so expect a smaller harvest.
Small plants or rooted cuttings adjust better than huge garden specimens. If moving a big one, dig up as many roots as possible to ease the shock.
Pick a pot with drainage holes and at least six to eight inches of depth. Wider pots dry out less quickly and support stronger growth.
Fill it with quality potting mix rather than garden soil. Garden dirt packs down in containers and drains poorly.
Light matters most of all for indoor basil. Aim for six to eight hours of sun from a south or west window.
Turn the pot weekly so the plant grows evenly. A full-spectrum grow light helps on gray winter days.
Keep leaves away from icy window glass on frosty nights. Cold panes can damage tender foliage quickly.
Water when the top inch of soil feels dry, then empty the saucer. Feed lightly with half-strength fertilizer every four to six weeks.
Pinch the tips often to keep things bushy and stop flowers. Watch for aphids or spider mites, and treat them with insecticidal soap if needed.
9. Toss Leaves Into Soups And Sauces
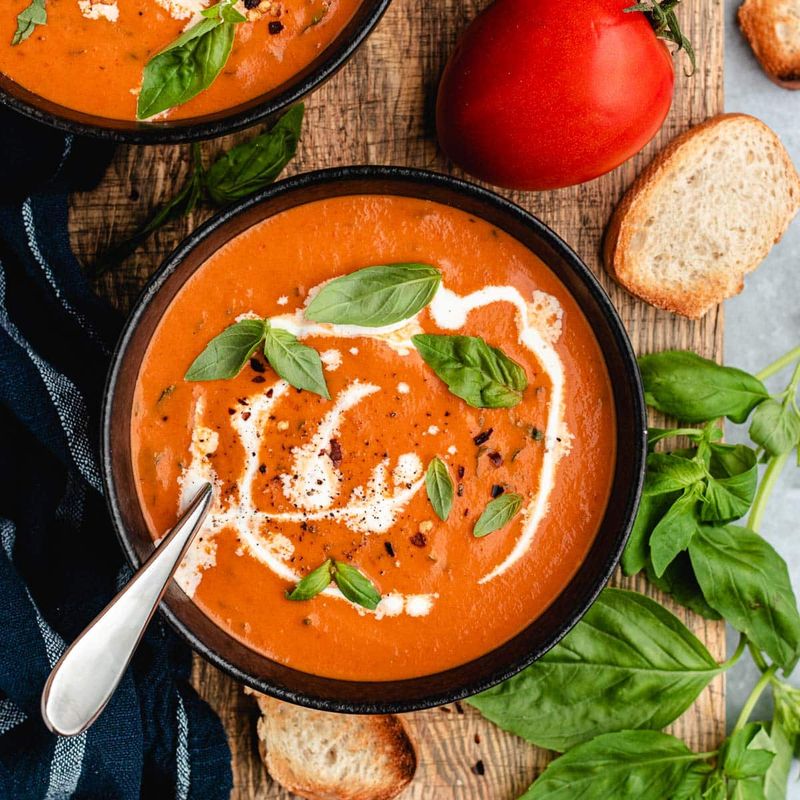
Tomato soup without basil feels a little like a song missing its chorus. Those green leaves add the lift that turns a simple pot into something special.
Timing is the real secret here. Fresh basil tastes best when added during the last three to five minutes of cooking or right before serving.
Long simmering dulls its delicate aroma and can even bring bitterness. Some cooks pull the pot off the heat right after adding leaves to let them gently steep.
Got a huge pile of leaves? Add a handful early for a mellow background note, then finish with fresh ones for a bright pop.
Dried basil works the opposite way. It needs time in the pot, so stir it in early.
Tear leaves by hand instead of chopping when you can. Tearing bruises them less, which helps keep them from turning black.
Basil fits beautifully in marinara, tomato basil soup, lasagna, and creamy pasta sauces. It also pairs well with lemon chicken and cherry tomato pasta.
Different varieties bring different personalities to the pot. Genovese is the classic Italian choice, perfect for finishing pizza and sauces.
Thai basil carries a light licorice flavor and handles heat better than most types. Use it in curries and stir-fries that cook longer.
Large Leaf and Mammoth types have sturdy leaves that stand up in hearty sauces. They also make great sandwich toppers.
10. Share Bundles With Neighbors
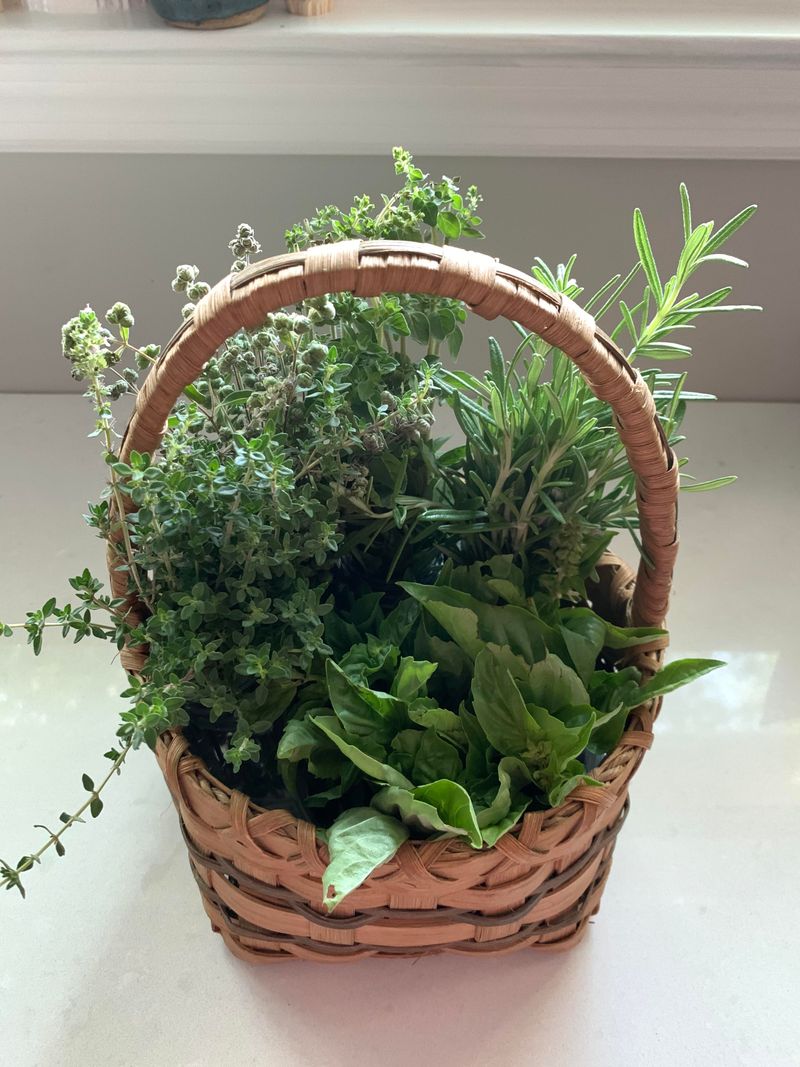
Nothing breaks the ice on a city block quite like a handful of fresh basil. Your extra harvest could start a friendship with the neighbor you only wave to.
Sharing also cuts food waste, which feels good for everyone. In a busy place like New York, small gifts like this help build real community.
Try making a simple herb bouquet in a mason jar with water. Tie on twine or ribbon and add a note with recipe ideas.
Tuck in a few garden flowers for extra charm. If carrying stems loose, wrap them, mist lightly, and keep them cool to prevent wilting.
Preserved goodies make thoughtful gifts too. Little jars of basil salt, bottles of vinegar, or frozen pesto stretch the summer much longer.
A quick text to friends can find eager takers fast. Informal harvest swaps let you trade basil for tomatoes, peppers, or homemade jam.
Community gardeners often share surplus with fellow growers. Local food pantries may also welcome fresh herbs for families in need.
Some gardeners plant basil near sidewalks with a pick your own sign. Check local rules first before trying this idea.
Giving often brings surprises in return. Neighbors may swap gardening tips, family recipes, or preserving tricks you never knew.
Best of all, sharing spreads happiness on both sides of the doorstep. Your basil ends up feeding people and connections at the same time.