8 Mistakes Everyone Makes When Starting A Gravel Garden
Why does the gravel bed you dreamed of look so messy by spring? You imagined crunchy stones, tough plants, and a yard that tends itself.
Then surprise sprouts appear, stones slide, and puddles linger. Neighborhood cats treat your new bed as a luxury restroom.
In temperate climates, October gives you cool air, soft rain, and warm soil. Transplants settle fast, and you can haul heavy rock without overheating.
Small errors, though, can turn your pebble paradise into a lumpy, weedy headache. Skip the sturdy edging, and you will sweep stray stones off your lawn.
Choose round pea gravel, and you will chase runaway pebbles across your path. Ignore drainage and you will step around muddy puddles after storms.
Cats will review your work, and you want glowing praise. Dodge blunders, and you earn a tidy, tough showpiece the cats respect.
1. Skipping Proper Soil Prep And Drainage
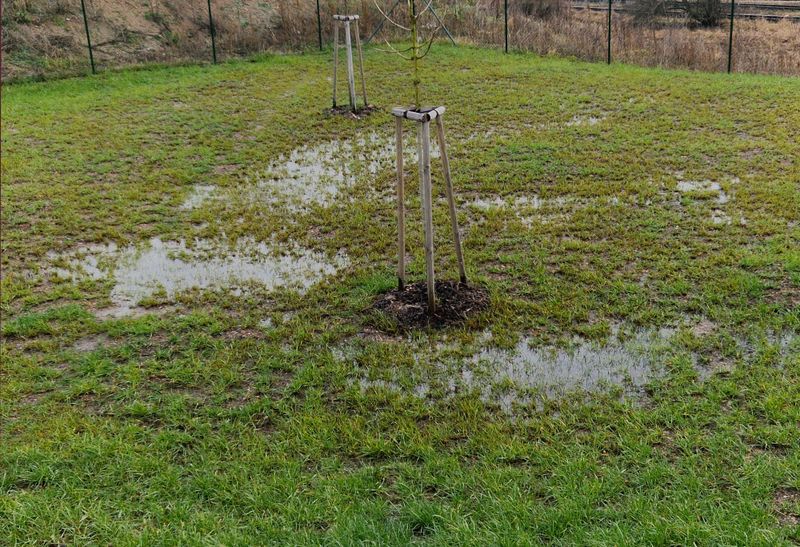
Picture someone dumping two tons of stone straight onto hard clay and calling it done. By spring, water stood on the surface after every rain.
Gravel gardens depend on water slipping away fast, not sitting around like a lazy houseguest. Heavy clay, common along Colorado’s Front Range, holds moisture, and dry-loving plants do not tolerate soggy roots.
Start by clearing grass, roots, and old weeds from the whole area. A flat spade or a rented sod cutter makes the job much quicker.
Next, loosen the soil about eight to twelve inches deep with a garden fork. If it feels sticky and heavy, mix in generous amounts of coarse grit or gravel, or build a raised mound.
Try a simple drainage test before you buy a single plant. Dig a hole one foot deep, fill it twice, and time how fast it drains the second time.
If the water drains within a few hours, you are in good shape for dry-loving plants. If it lingers overnight, you need more grit or a gentle slope to guide runoff.
October makes this chore much easier on your back and your mood. The ground is still workable, and autumn rain shows you where puddles like to form.
Skipping prep might save a weekend now, but it can mean extra work in later seasons. Treat the soil like a foundation, because the rest of the garden depends on it.
Take photos after a heavy rain to spot low areas. Those pictures become a handy map when you start shaping beds and paths.
2. Choosing The Wrong Size And Type Of Gravel
Not all stones are created equal, and your choice matters more than color. Picking gravel is a bit like picking shoes for a long hike.
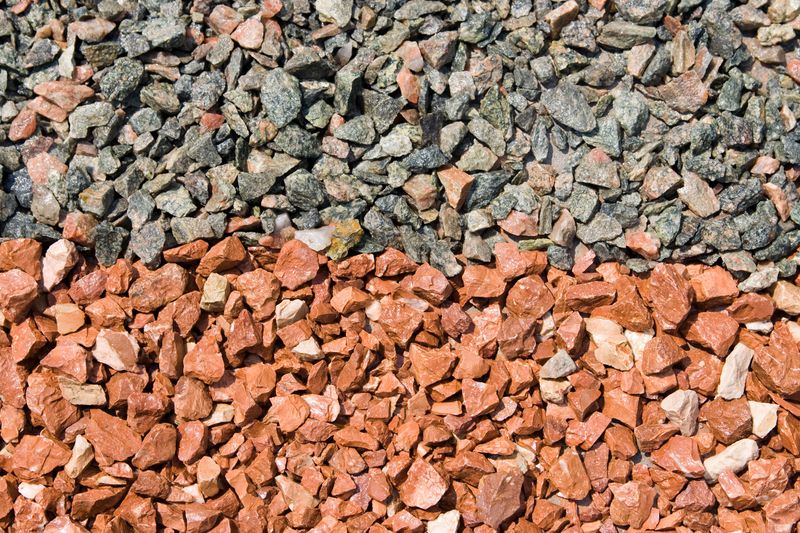
Smooth pea gravel looks lovely, but those round pebbles roll under your feet like marbles. They also wander onto lawns, patios, and into the treads of every boot.
Angular crushed stone locks together better because its sharp edges grip each other. It creates a firmer surface for walking and stays put during windy, rainy weeks.
Size matters too, so aim for pieces around a quarter inch to three quarters of an inch. Tiny grit can blow around, while huge chunks make planting small seedlings tricky.
Think about color as well, since light stones bounce sunlight and dark stones soak up heat. Pale gravel can brighten a shady corner, while darker shades suit hot, sunny beds.
Local stone, such as the crushed granite sold across Colorado, often looks natural and can cost less to deliver. It also matches nearby rocks and soil, so the garden blends into its surroundings.
Before ordering a full truckload, grab a small bag and spread it in a test patch. Walk on it, rake it, and see how it looks wet after rain.
Some suppliers run end-of-season discounts in autumn, so ask about prices. Just check that the bags say washed, since dusty gravel can clog the soil below.
A little homework now saves you from shoveling the wrong rocks twice. Your back will send you a thank-you card.
3. Laying The Weed Fabric The Wrong Way
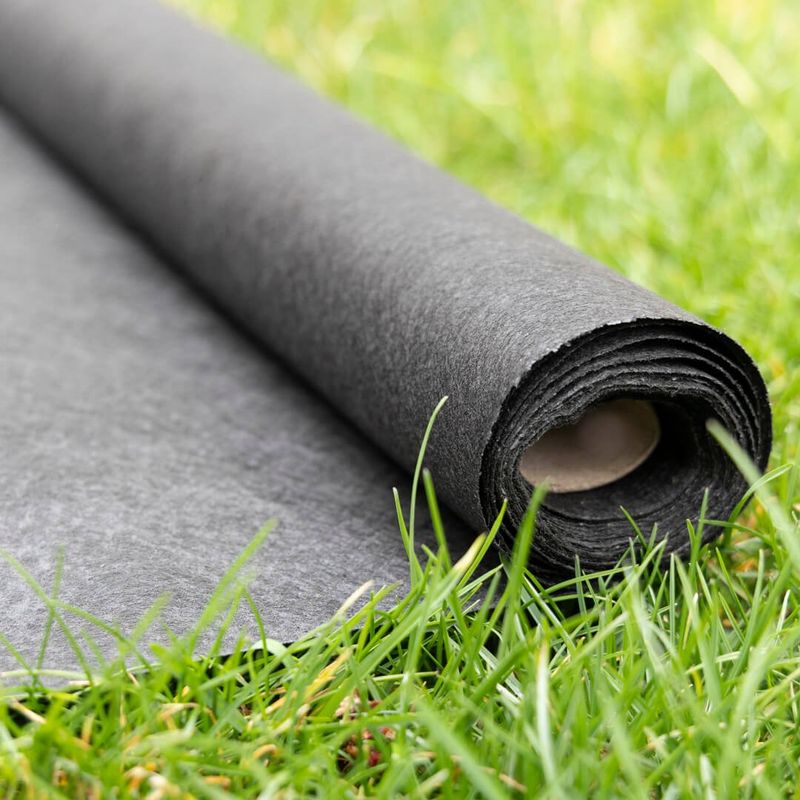
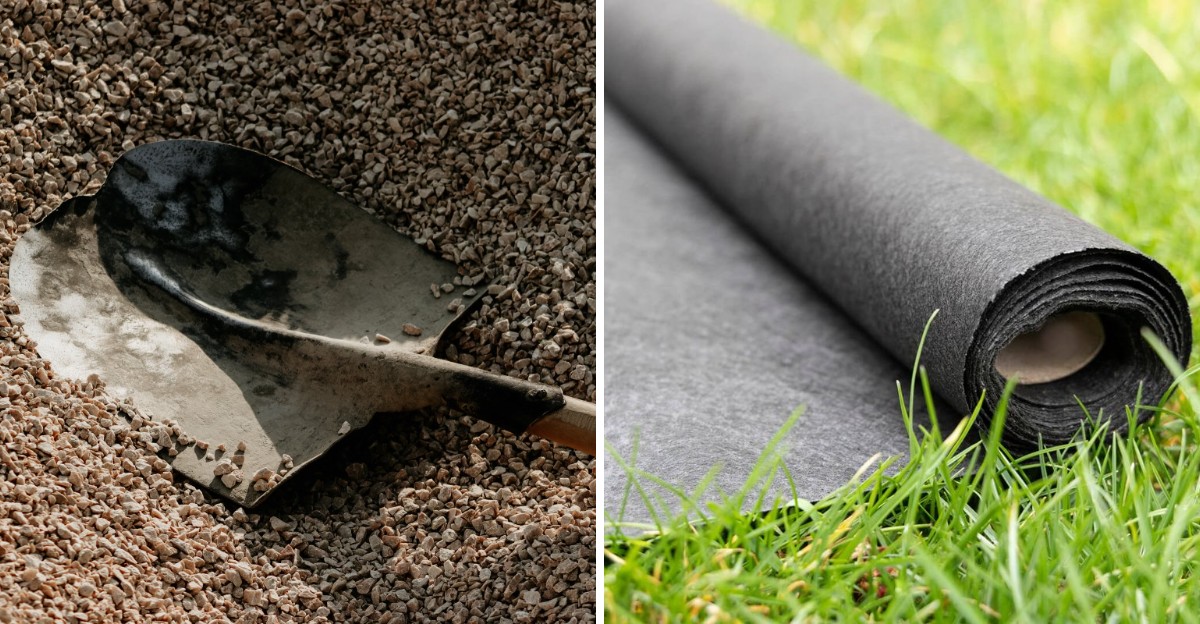
Many gardeners lay black plastic and are unhappy with the results within a year. Water pooled on top, soil became waterlogged, and plants struggled to breathe.
Plastic sheeting blocks air and water, which roots need to grow strong. If you use a barrier, choose a woven, water-permeable landscape fabric, or skip it in some spots.
Lay the fabric after your soil prep, smoothing out wrinkles as you go. Overlap the edges by at least six inches so persistent weeds cannot squeeze through.
Pin it down with metal garden staples every one to two feet along seams and corners. Loose fabric flaps in the wind and works its way up through the stones.
When planting, cut a small X shape instead of a large circle. Fold the flaps back around the root ball, then tuck them in afterward.
Some gardeners skip fabric so plants can drop seeds and spread naturally. That approach works well, but it means a bit more weeding during the first year.
Keep in mind that fabric does not stop every weed forever. Wind-blown seeds land on top of the gravel and sprout right there in collected dust.
Set aside ten minutes each week to pull those small weeds while roots are shallow. A quick tug now beats wrestling a stubborn dandelion in July.
Done right, a breathable barrier can help hold back weeds for a few seasons. Many extension services discourage fabric under gravel long term, since debris collects on top and weeds root into it.
Done wrong, it ends up loose and uneven. Buy a little extra fabric for patching torn spots later. Spare pieces also help when you expand beds next season.
4. Picking Thirsty Plants That Struggle In Dry Soil
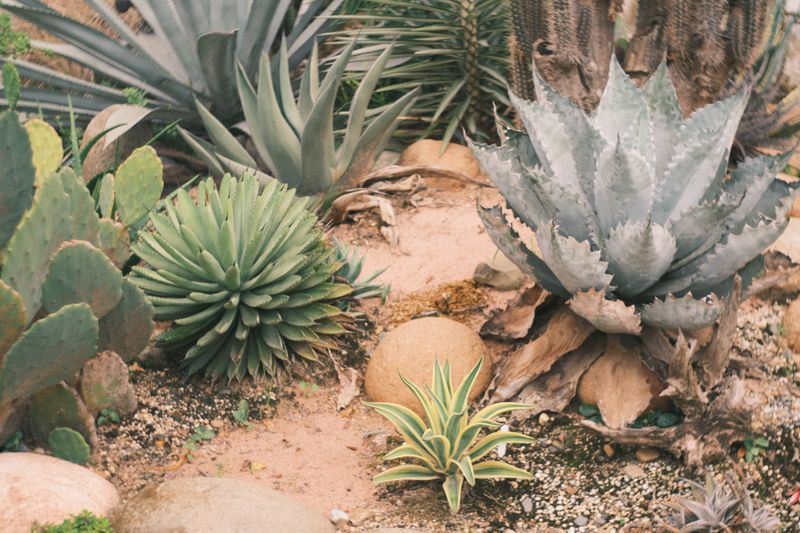
Imagine a fern sitting in hot stones under August sun, wilting by noon. Some plants simply do not belong in a gravel garden, no matter how pretty they look.
Gravel beds stay dry, sunny, and lean on nutrients most of the year. Leafy, thirsty plants that love rich, damp soil will wilt and struggle there.
Instead, look for drought-tolerant plants that come from dry, rocky places. Lavender, sedum, yarrow, thyme, and ornamental grasses all feel right at home.
Mediterranean herbs like rosemary and sage handle heat and add a lovely scent, though rosemary needs shelter in cold winters. Brush past them on a warm afternoon and the whole path smells like dinner.
Read plant tags carefully and look for words like full sun and well-drained soil. Skip anything labeled moist or bog, since those plants want wet feet.
Small plants often settle in better than big, expensive ones. Their roots adjust quickly to lean conditions and grow deep in search of water.
In mild climates, October is a smart time to plant because cooler air reduces stress on young roots. Warm soil still encourages growth, giving plants a head start before winter arrives.
Group plants with similar water needs together so watering stays simple. Mixing thirsty and thrifty plants in one spot leaves somebody unhappy.
Visit a public dry garden, such as Denver Botanic Gardens in Colorado, or ask a local nursery what thrives in your region. Local experts know which plants survive your winters and shrug off summer heat.
Choose wisely, and your garden will look great with little fuss. Your fern can happily live in a shady pot somewhere else.
5. Spreading The Gravel Too Thin Or Too Thick
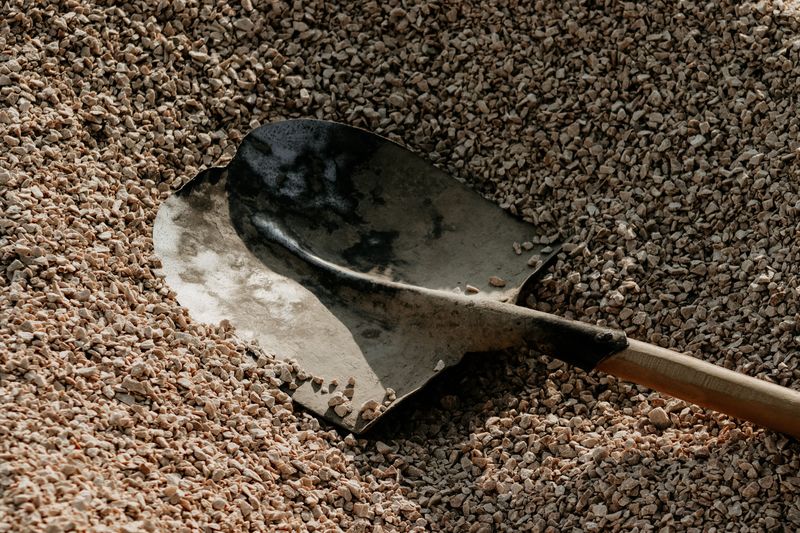
Gravel depth is one of those details people guess at, and guessing goes wrong fast. Too little looks patchy, while too much makes walking feel like trudging through sand.
For most planted beds, a layer about two to three inches deep works well. It hides the fabric or soil below and still lets water soak through easily.
A thin layer of only an inch lets weeds poke through and soil show. Birds and rain can also scatter the stones, leaving bare patches over time.
Piling on five or six inches creates different problems. Stems of small plants can rot, and the surface becomes wobbly underfoot.
Paths need a little more thought than flower beds. Use a firm base of compacted crushed stone, then add a thinner top layer.
To figure out how much to buy, measure length and width in feet. Multiply those numbers, then multiply by depth in feet to get cubic feet.
Divide that number by twenty-seven to find cubic yards, which is how US suppliers sell bulk gravel. Elsewhere, it is often sold by tonne or cubic meter.
Add about ten percent extra for settling and filling odd corners. Spread the gravel with a sturdy rake, working in small sections at a time. A long board laid on top helps you spot high and low areas.
Around each plant, pull the stones back slightly from the stem. A small gap keeps the crown dry and helps prevent rot.
Check depth again after the first few heavy autumn storms. Top off thin spots so the garden looks neat heading into winter.
6. Forgetting To Add Sturdy Edging
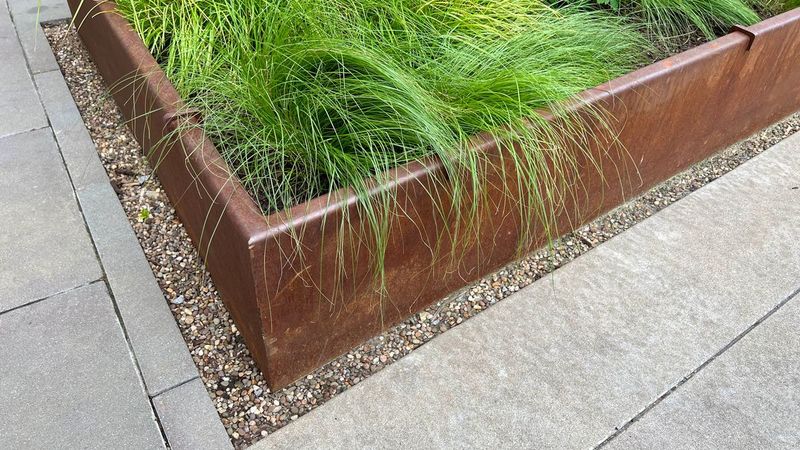
Stones migrate, and without borders they can wander far. One day you find pebbles in the lawn, the next day in your kitchen.
Edging acts like a fence for your gravel, holding everything in its proper place. It also gives the garden crisp lines that make the whole yard look finished.
Popular choices include steel strips, brick, natural stone, and treated wood. Steel edging is thin and modern, while brick adds warm, old-fashioned charm.
Plastic edging is cheap, but it often heaves up after a cold winter. If your budget allows, sturdier materials last many years longer.
Install edging before spreading any gravel, not after. Dig a narrow trench and set the border about an inch above the finished gravel, except beside a lawn, where flush edging lets the mower pass.
Away from the lawn, that small lip stops stones from spilling over when you rake or walk. Next to lawns, sink the edging deep enough to block creeping grass roots.
Grass loves sneaking into gravel, and pulling it out later is a real chore. Curved edges look natural, but they need flexible materials like steel or small pavers. Straight lines suit formal designs and are easier for beginners to install.
Fall is a handy time for this project because cooler weather makes digging trenches comfortable. The soil is soft from rain, so stakes slide in without a fight.
Good edging might feel like an extra step at first. Later, you will be glad you are not chasing rocks with a broom.
7. Overwatering And Overfeeding New Plants
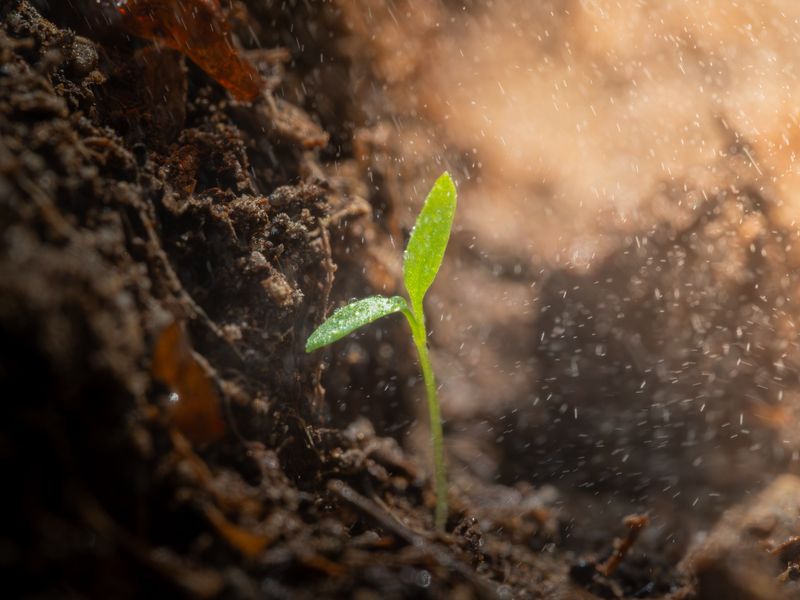
Love can be smothering, especially when it comes from a watering can. Many new gravel gardeners care so much that they overwater and overfeed their plants.
Dry-loving plants grow tough by searching for water deep in the ground. If you water every day, roots stay shallow and lazy near the surface.
During the first few weeks, water new plants deeply once or twice a week. After they settle in, cut back slowly until rain does most of the work.
Stick a finger into the soil beside each plant before reaching for the hose. If it feels damp an inch down, skip watering that day.
In October, cooler temperatures and autumn rain mean plants need much less help. Watering too much now can lead to soggy roots heading into frost.
Fertilizer is another trap that catches eager gardeners. Rich feeding makes plants grow floppy and soft, losing their compact, sturdy shape.
Most gravel garden plants evolved in poor, stony soil with few nutrients. They actually look better and flower more when you hold back on fertilizer.
If a plant looks pale, check drainage and watering first, then consider a light sprinkle of compost in spring. Skip strong chemical feeds, which can burn roots and encourage weed growth.
Think of your plants like hardy hikers who prefer a granola bar over a buffet. A little support goes a long way when conditions are naturally lean.
Step back and trust the plants to toughen up. Your water bill will shrink, and the garden will reward your patience.
8. Ignoring Weeds And Fallen Leaves In Autumn
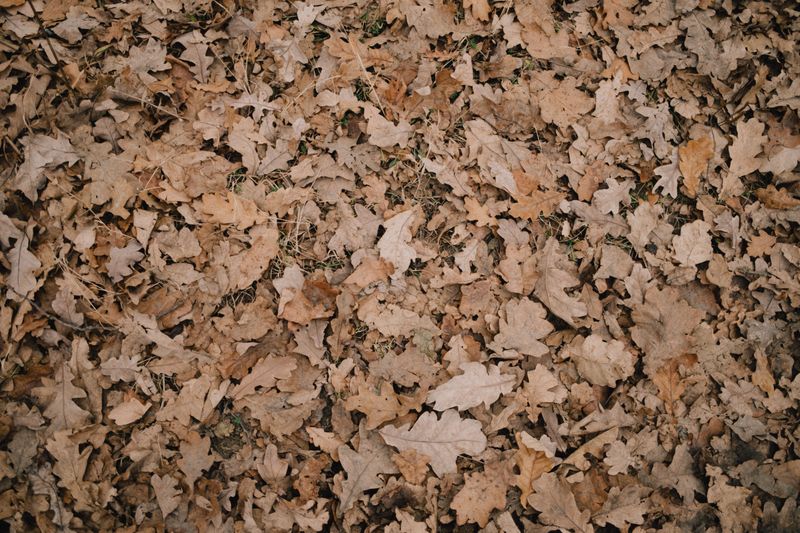
Autumn leaves look charming on the trees, but they can create problems once they land on gravel. Soggy piles break down into rich compost right on top of your stones.
That compost layer becomes a cozy bed for weed seeds blowing in on the wind. Before long, weeds can take over the gravel.
Rake or blow leaves off your gravel at least once a week in October. A leaf blower on a low setting moves leaves without scattering stones too much.
Save those leaves for your compost bin or vegetable beds instead of tossing them. They make great mulch where rich soil is actually welcome.
Weeds also love fall, since cool, damp weather helps seeds sprout quickly. Pull small weeds now before they settle in and spread seeds for next year.
A narrow weeding tool or an old kitchen fork works great between stones. Pull after rain, when the soil is soft and roots slide out easily.
Some gardeners use boiling water or vinegar on weeds poking through paths, though household vinegar is weak and needs repeat treatments. Keep these away from your favorite plants, since they harm anything they touch.
Leave seed heads on well-behaved grasses and flowers for winter interest and hungry birds, but cut back plants that self-seed aggressively. Finches and sparrows will happily snack on them during chilly mornings.
A quick weekly walk through the garden keeps small chores from becoming big projects. Grab a warm drink, wear a cozy sweater, and enjoy the crunch underfoot.
Stay on top of fall cleanup, and spring will greet you with tidy stones. Rake the stones level before the first frost, and spring cleanup takes minutes.