How To Store Beets So They Last All Winter
You reach for a beet in January and find it soft as worn flannel. Wrinkled roots greet you in cellars across the country just when your plate needs color.
Skin loses moisture fast when cellar air runs warm or dry. Chill your roots to just above freezing and the sugars stay put.
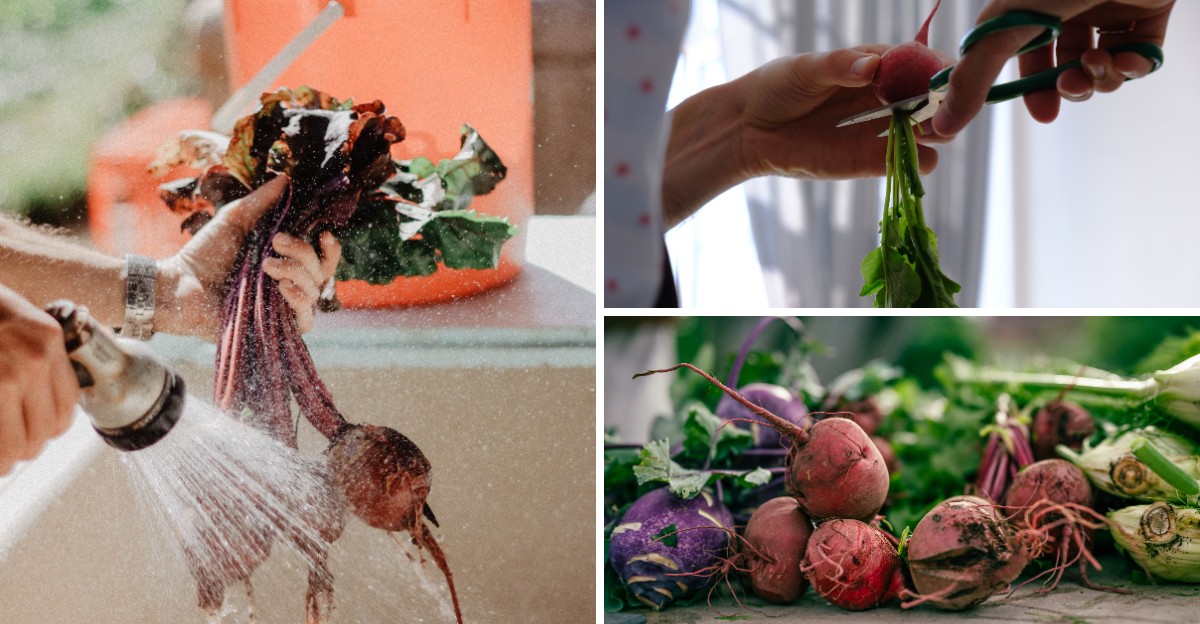
Trim the tops, leaving an inch of stem so juice stays inside. Brush off soil but skip the rinse, because water invites mold.
Pack roots in damp sand inside a crate with ventilation slots. Set the crate off the floor and away from apples.
Inspect the pile at short intervals and remove softening roots to protect neighbors. Firm, glossy roots become your proof that it works.
Cold, damp cellars give you the head start, so add the right crate too. Build it and you savor crimson in March.
1. Harvest Before The First Hard Freeze
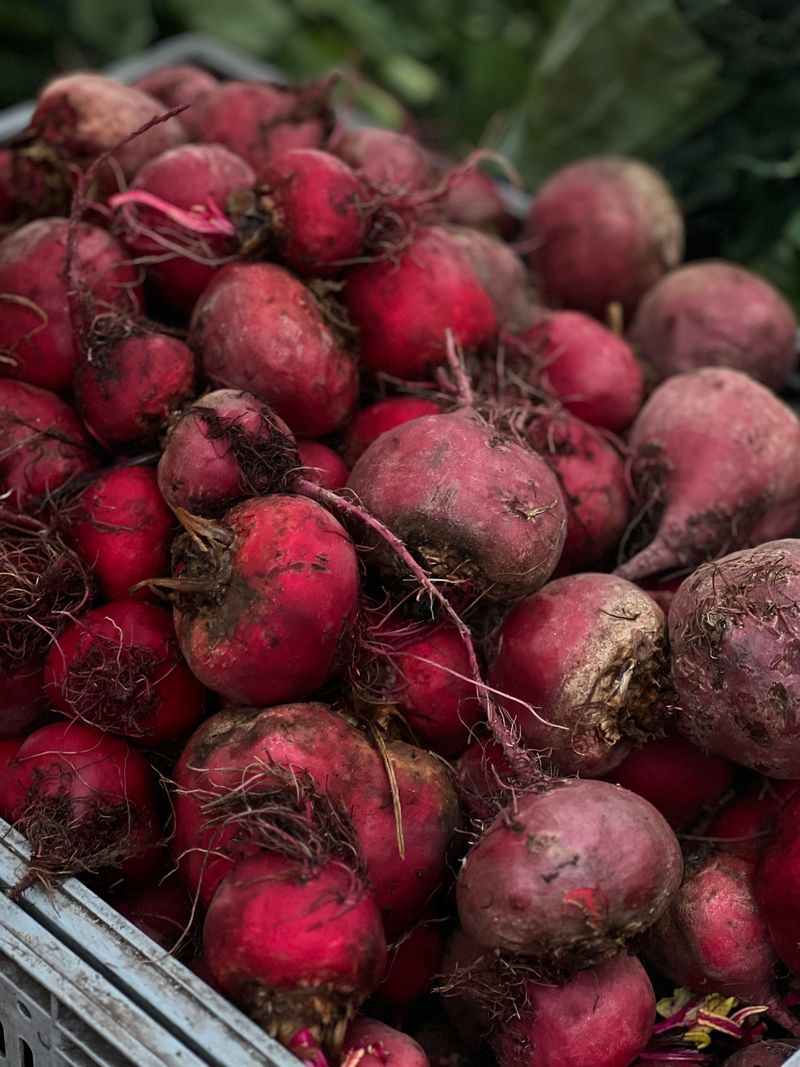
My grandmother swore beets tasted sweeter after a light frost, and she was right. Cold nights push the roots to store extra sugar, which gives them a candy-like flavor.
Still, there is a big difference between a light frost and a hard freeze. Temperatures below about 25°F (-4°C) can freeze the roots and make them very soft.
In temperate Northern Hemisphere climates, mid to late October is the best harvest window. Keep an eye on the weather forecast and plan your harvest before the deep cold arrives.
Pick a dry day if you can, since muddy roots are harder to clean and store. Soil that is a little damp, though, lets the roots slide out more easily.
Loosen the ground with a garden fork a few inches away from each plant. Then gently lift the beets instead of pulling them by their leafy tops.
Size matters for storage too, so look for roots about two to three inches wide. Giant ones can turn woody, while tiny ones shrivel quickly in storage.
Any small beets left behind can stay in the ground a little longer under mulch. A thick layer of straw protects them during mild autumn weeks.
Timing your harvest well sets up everything that follows in this process. Get this first step right, and winter meals will thank you.
Write down your harvest date in a notebook or on your phone. Next year, you can compare results and fine-tune your timing even better.
2. Twist Off The Greens The Right Way
Ever notice how a cut flower wilts fast once it leaves the plant? Beet roots behave the same way when their leafy tops keep pulling out moisture.
Those leaves lose water to the air and draw it from the root even after harvest. Removing them quickly helps the beets stay plump and firm much longer.
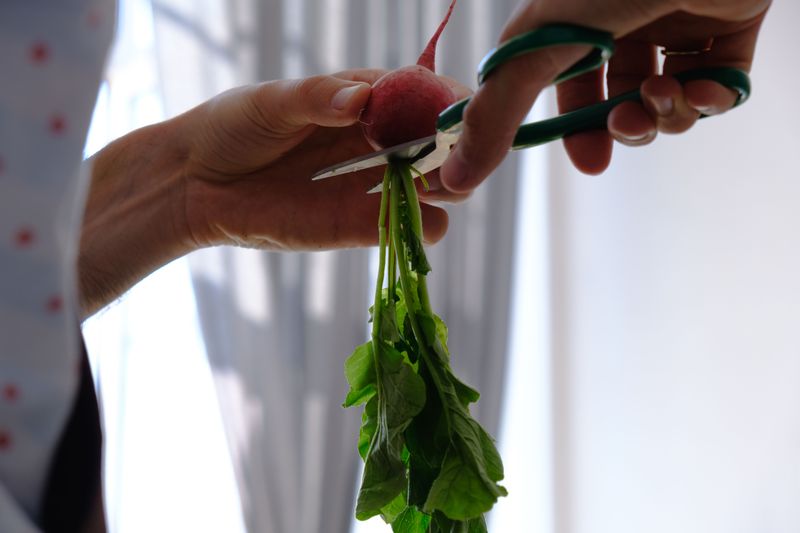
Grab the greens and twist them off about one or two inches above the root. Leaving a short stub keeps the root from losing juice and color.
A knife works too, but be careful not to slice into the root itself. Any cut into the red flesh opens a doorway for mold and decay.
Leave the long, skinny tail at the bottom alone as well. Trimming it causes the same juice loss and shortens storage life.
Please do not toss those greens into the compost pile right away. Beet leaves taste a lot like Swiss chard and are packed with vitamins.
Saute them with garlic and olive oil for a quick side dish. You can also freeze them after a short blanch for winter soups.
Store fresh greens separately in a plastic bag in the fridge. Eat them within a few days, since they wilt much faster than the roots.
Think of this step as giving your beets a fresh haircut before a long nap. A neat trim now pays off with crisp, juicy roots months later. Your tidy beets will stay ready for months.
3. Skip The Wash And Brush Off The Dirt
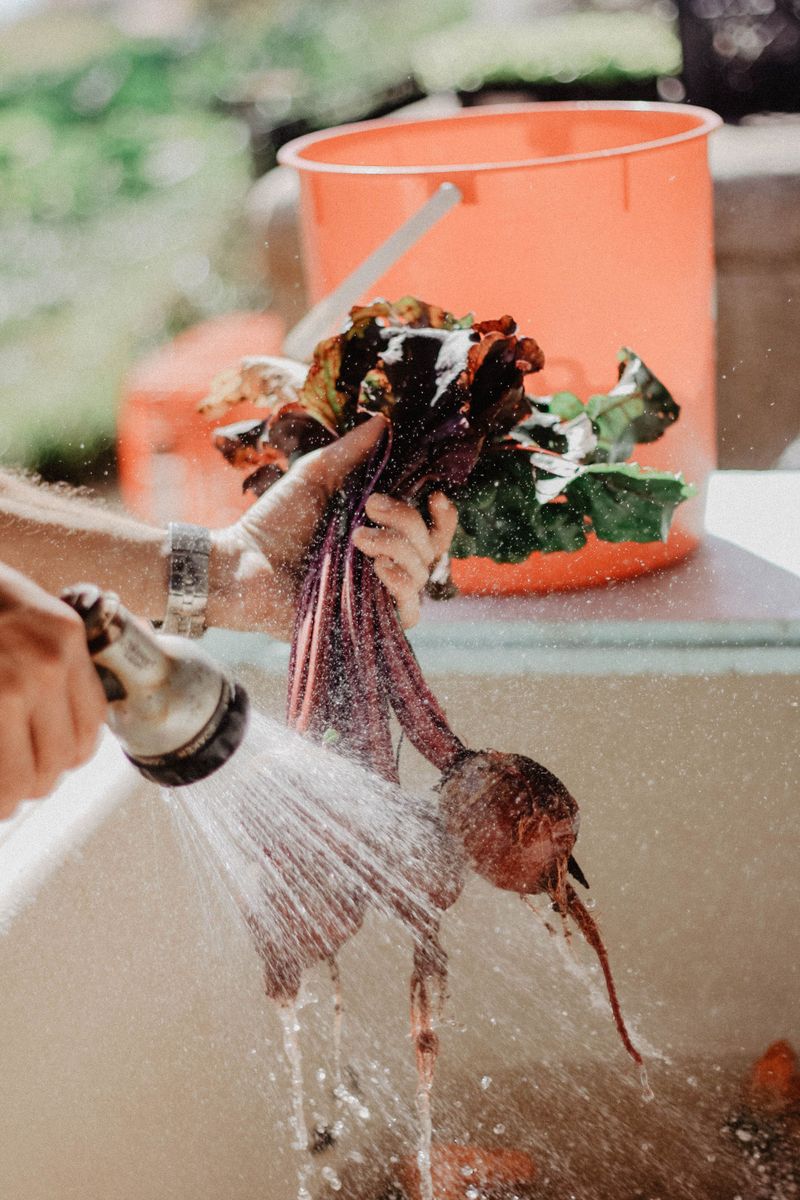
Here is a tip that feels a little backward at first. Dirty beets often store better than freshly scrubbed ones.
Washing can scuff the skin, which helps moisture escape from the root. Water also clings to the roots and invites mold to settle in.
Instead, let the beets sit in a shady, airy spot for a few hours. The soil clinging to them will dry out and become easy to remove.
Use your hands or a soft vegetable brush to knock off big clumps. A little leftover dust is perfectly fine.
Avoid rubbing too hard, since scraped skin lets microbes enter. The root may then spoil early. Keep the roots out of direct sunlight while they dry. Strong sun can overheat and soften them.
Some gardeners call this step curing, though beets need only a short rest. Potatoes need a week or two, and onions often need two to four weeks.
Save the real washing for the day you plan to cook them. A quick rinse under the faucet takes seconds and brings back that bright shine.
A little garden dirt is basically free packaging for your harvest. Your future self will appreciate the firm, sweet roots waiting in storage.
Skipping the wash saves effort and helps storage. Few chores are this easy to skip with such great results.
4. Sort Out The Damaged Roots First
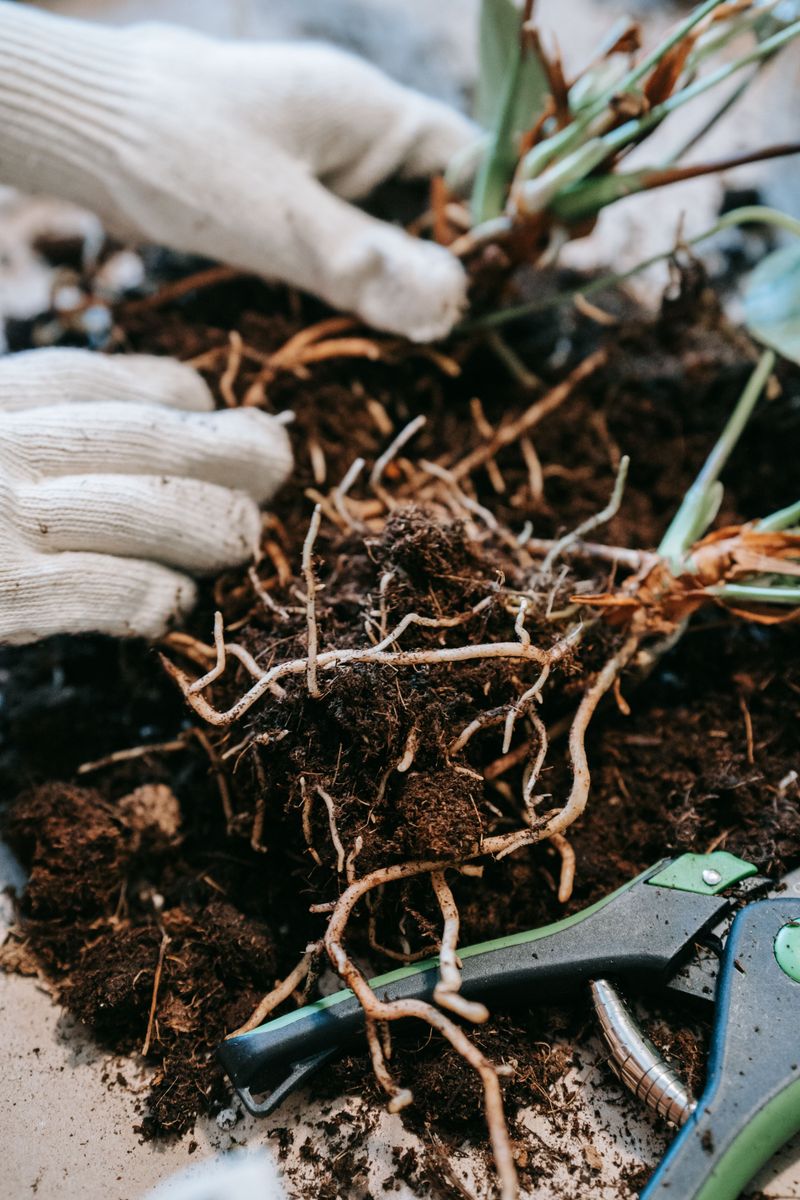
One spoiled beet can affect the roots next to it. Rot can spread from one root to its neighbors.
Before storing anything, lay your harvest out on a table or tarp. Look over each beet carefully, turning it in your hands like a detective.
Set aside any roots with deep cuts, soft spots, or animal damage. Cracked or split beets belong in this pile too.
Minor blemishes are fine. Cut away damaged areas, then roast, pickle, or add the beets to borscht this week. Discard any beet that is moldy or slimy.
Next, sort the healthy beets by size. Smaller roots lose moisture faster, so plan to eat them first.
Medium beets around two to three inches across are the best size for storage. Their thick skin and solid flesh hold up well for months.
Very large beets may look impressive, but they can turn tough over time. Use them early in the season for the best texture and taste.
Many kids enjoy helping with this job, and it makes a great family project. Give them a basket for keepers and another for the kitchen.
Sorting takes maybe fifteen minutes for a typical home garden harvest. That small effort protects all the hard work you put in since spring.
Only firm, undamaged beets go into your storage bins. Your kitchen gets the rest right away, so nothing goes to waste.
5. Keep A Small Stash In The Fridge
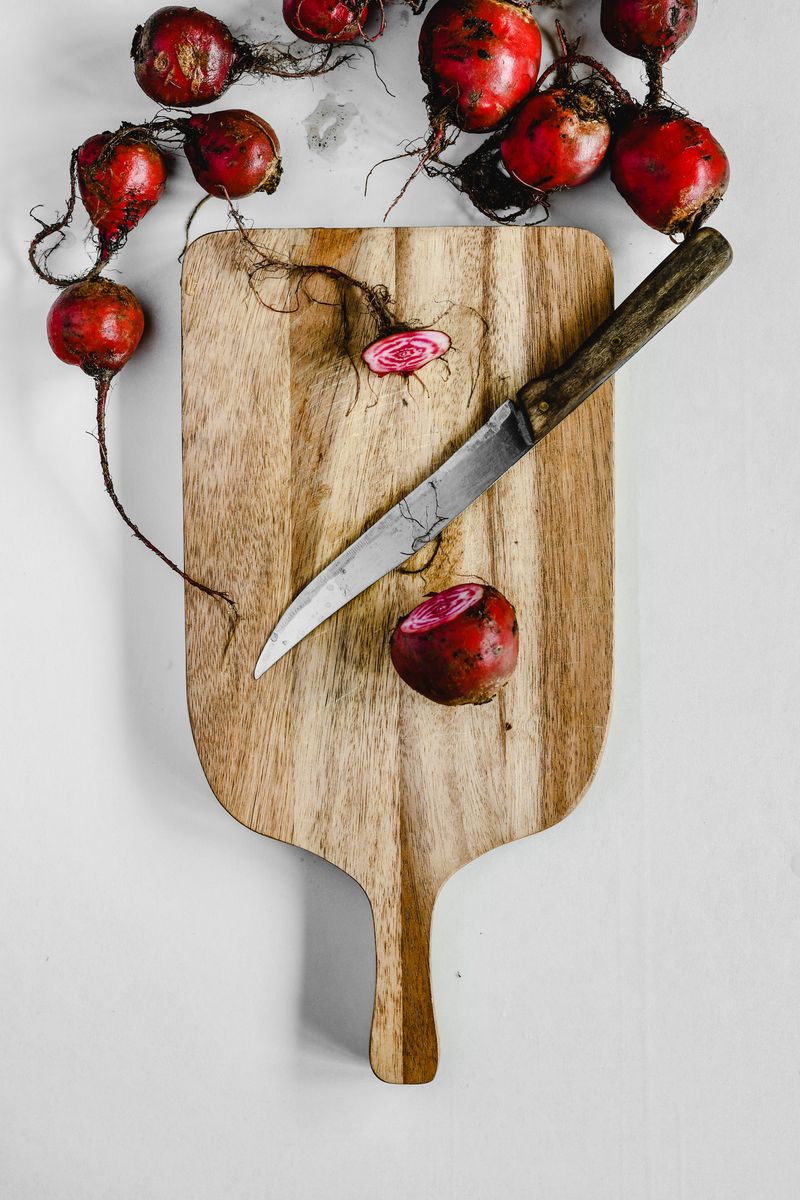
Not everyone has a basement or root cellar, and that is perfectly okay. Your refrigerator can keep beets fresh for several weeks, often up to two months.
The crisper drawer works best because it holds a bit more humidity. Beets love cold, damp air, and that drawer gives them exactly that.
Place unwashed, trimmed beets inside a plastic bag with a few small holes. The holes let extra moisture escape so mold does not form.
Some people tuck a slightly damp paper towel into the bag as well. It keeps the air moist without making the roots soggy.
Try to keep the fridge between 32 and 40 degrees Fahrenheit. A cheap fridge thermometer helps you check the temperature in seconds.
Keep beets away from apples, pears, and bananas if possible. Those fruits release a gas called ethylene that can shorten the storage life of some vegetables.
Your fridge space may be limited, so this method suits smaller harvests. A dozen beets fit nicely in one drawer with room to spare.
Peek inside the bag every week or two for signs of trouble. Pull out any soft or slimy roots right away to protect the rest.
Apartment gardeners and farmers market fans can use this trick with ease. Buy a big bag in October, and enjoy sweet roots well into winter.
The fridge may not feel as charming as an old stone cellar. Still, it gets the job done with no fuss and no shovel required.
6. Pack Them In Damp Sand Or Sawdust
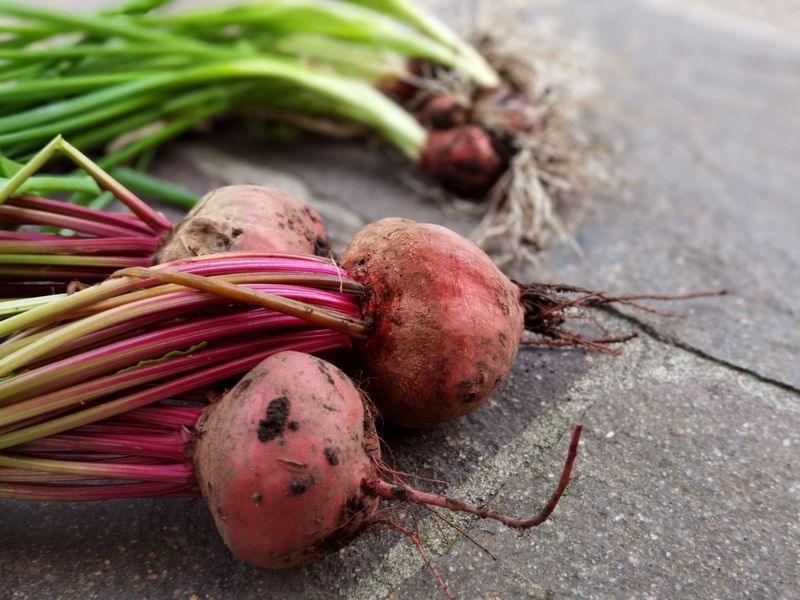
Long before electric fridges, families buried their root crops in boxes of sand. Pioneers relied on this trick to eat fresh vegetables through snowy months.
The idea is simple and surprisingly clever. Damp sand or sawdust surrounds each beet, keeping moisture in and stopping roots from touching each other.
Start with a sturdy wooden crate, plastic bin, or old cooler. Spread about two inches of slightly damp sand across the bottom.
Set a layer of beets on top, leaving a little space between each root. Cover them fully with more sand, then add another layer of beets.
Keep stacking until the container is full or your beets run out. Finish with a thick sand layer on top to seal everything in.
The sand should feel like a wrung-out sponge, not wet or muddy. Too much water leads to rot, while dry sand pulls moisture from the roots.
Sawdust, peat moss, or coconut coir work well if sand is hard to find. Avoid sawdust from treated or painted wood, since chemicals can soak in.
Store the container somewhere dark and near 32 to 40°F, like an unheated basement corner. Beets kept that cold often stay firm for four to five months.
Digging out a beet in February feels a bit like treasure hunting. Kids often enjoy brushing away the sand to find the red prize inside. Traditional methods last for a reason. This one costs almost nothing and works well.
7. Set Up A Cool Root Cellar Spot
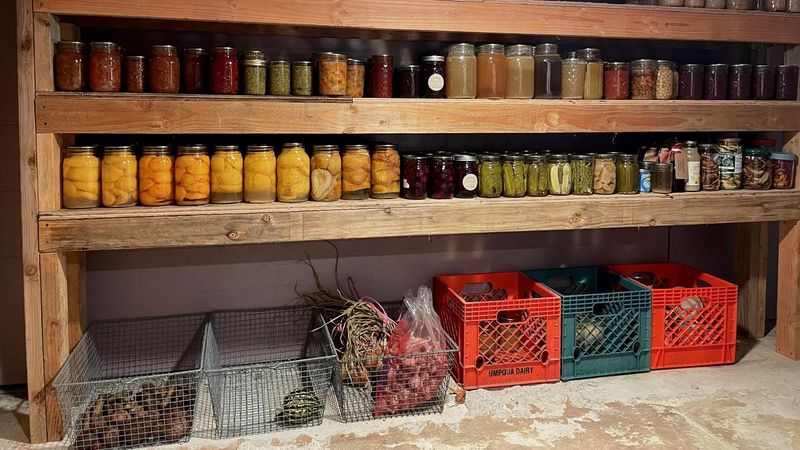
Imagine a space that is cool, dark, and a little damp. Beets keep well in a spot like that. The ideal storage temperature sits between 32 and 40 degrees Fahrenheit. Humidity should stay high, around 90 to 95 percent, so roots stay juicy.
A real root cellar is wonderful, but most homes do not have one. Luckily, you can create a similar spot with a little creativity.
An unheated basement corner often works well, especially near an outside wall. Garages and enclosed porches can also do the job in many regions.
Watch out for freezing temperatures in very cold climates, especially during January cold snaps. An old blanket or straw bales around your bins adds helpful insulation.
Some gardeners even bury a clean trash can in the ground for storage. Layer beets with straw inside, add a lid, and pile mulch on top.
Darkness helps too, since light and warmth can prompt roots to sprout new leaves. Sprouting uses up the root’s reserves and leaves the beet soft and less flavorful.
Place a thermometer with a humidity gauge in your storage area. These small tools are inexpensive and remove the guesswork.
If the air feels too dry, set a pan of water nearby. A damp towel over the bins can also add moisture in a pinch.
Building your own mini cellar can feel like a fun weekend project. Your future soups, salads, and roasted dinners will be glad you did.
8. Check Your Stash Every Few Weeks
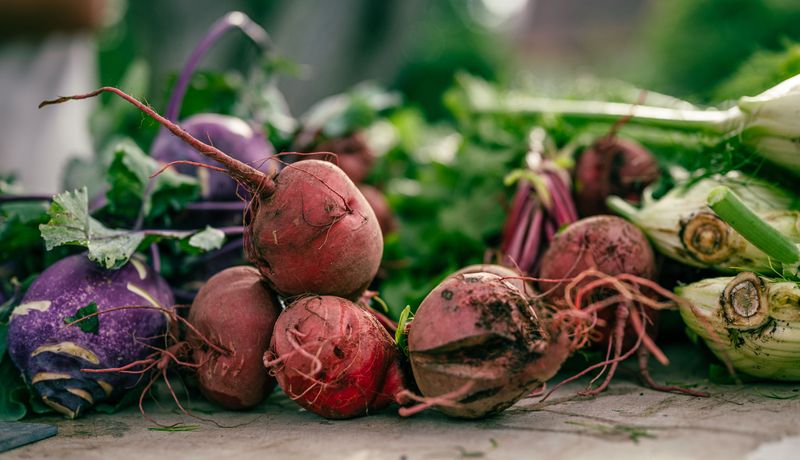
Storing beets is not a set-it-and-forget-it kind of job. A quick check every two or three weeks keeps small problems from growing.
Think of yourself as a friendly inspector making the rounds. Grab a flashlight and gently feel each beet you can reach.
Healthy roots feel firm and heavy, like a smooth stone. Soft, shriveled, or slimy ones need attention right away.
A slightly wrinkled beet is still fine to eat, so move it to the kitchen. Peel it, roast it, and enjoy its sweet, earthy flavor tonight.
Moldy or mushy beets should leave the bin and head for compost. Check the neighbors around them, since rot can spread.
Look for tiny sprouts poking from the tops as well. Sprouts mean the area is too warm, and possibly too bright, for long storage.
Notice the sand or packing material while you are at it. Mist it lightly with water if it feels dry and crumbly.
Keep a simple notebook near your storage spot to track what you find. Notes help you spot patterns and improve your setup next fall.
Many gardeners pull out a few beets during each check for dinner. That way, the oldest roots get eaten first and nothing sits too long.
A few minutes of checking can save many beets from the compost heap. With steady care, you might enjoy homegrown beets well into spring.
Picture slicing a bright red root in March while snow melts outside. That moment makes every quick check worth it.