How To Help Panhandle Plants Recover From Saltwater And Storm Surge After Isaias
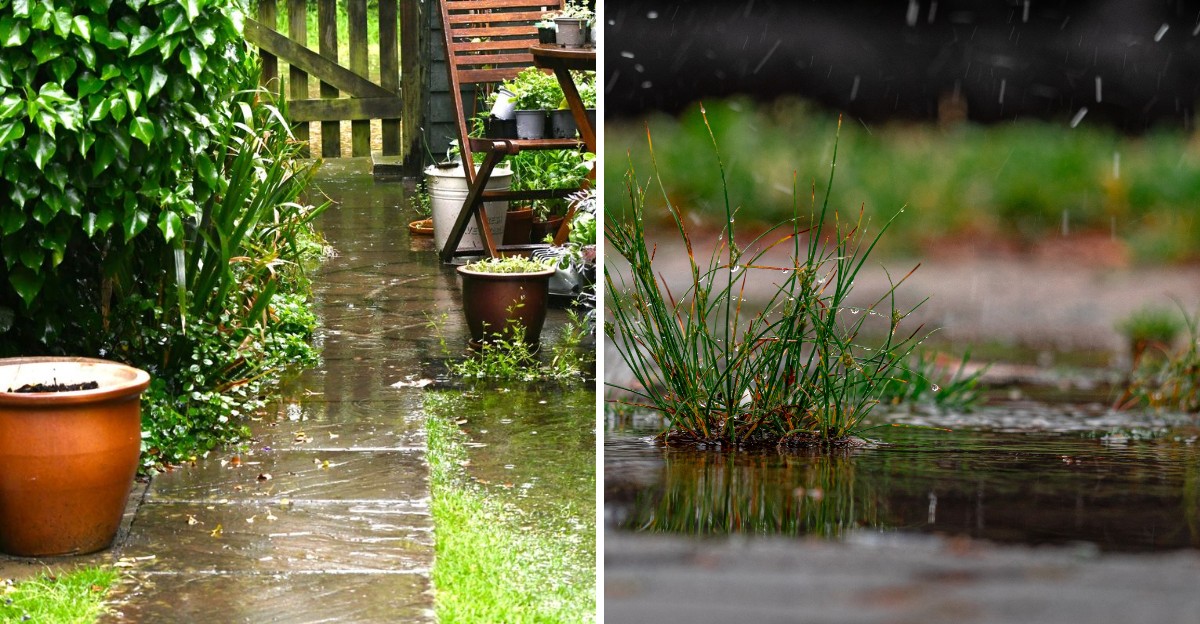
Saltwater can leave a Florida Panhandle garden in rough shape long after Hurricane Isaias has moved on. Leaves turn brown at the edges, grass takes on a scorched look, and shrubs that once thrived may suddenly look out of sorts.
The damage isn’t always obvious right away, either.
Storm surge brings a nasty double whammy: salt can build up in the soil, while flooding can leave roots short of the oxygen they need. Add broken branches and soggy ground to the mix, and it’s easy to make matters worse with well-intentioned cleanup.
The good news is that some plants can bounce back, but the right response depends on how much salt reached the roots and how long the soil stayed flooded.
A few careful steps can help you assess the damage and give stressed plants a better chance at recovery.
Knowing what to do first can make all the difference in the weeks after the storm.
1. Rinse Salt Off The Leaves With Fresh Water
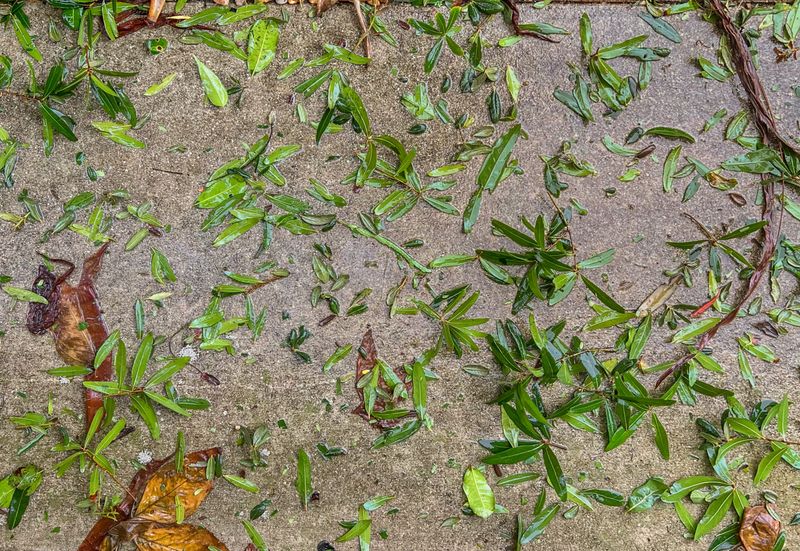
Picture salt crystals sitting on a leaf like tiny shards of glass in the sun. Every hour they stay, they pull moisture from plant tissue and cause brown, scorched edges.
Your best move is a good rinse within 48 to 72 hours after the water drops. Use a garden hose with a soft shower setting and soak each plant well.
Wash both the tops and the undersides of the leaves. Salt hides underneath, and those hidden spots can burn just as badly as the shiny side facing up.
Some plants may wear a thick coat of mud instead of a light dusting. For those, wet the leaves with plain water first so the grime starts to loosen.
For ordinary salt residue, stick with fresh water rather than dish soap. Rinse the leaves gently, including their undersides, and repeat if salt or mud remains.
Avoid scrubbing or using a forceful spray that could injure already-stressed foliage.
Skip the pressure washer, even if it seems faster. That powerful blast can tear leaves, strip bark, and do more harm than the salt itself.
Clean leaves can soak up sunlight again and make food for the plant. Think of it as giving your garden a fresh face after a rough night out.
2. Flush The Root Zone Once The Surge Recedes
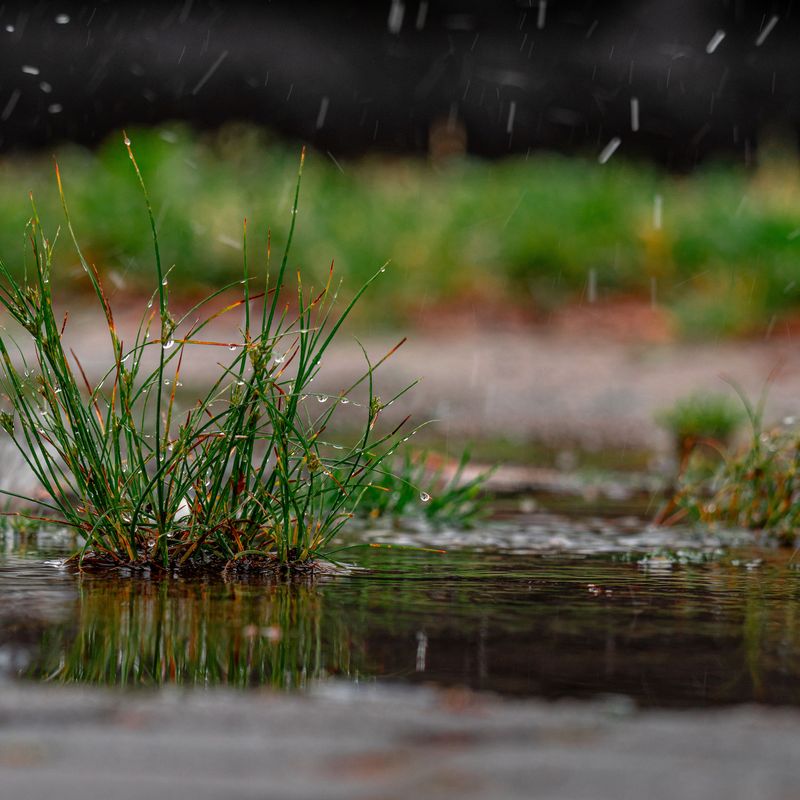
Here is a strange twist: soggy ground can still leave a plant thirsty. Salt in the soil makes it hard for roots to drink, so plants act like they are in a drought.
Fresh water is the fix. Heavy, repeated watering dissolves salt and carries it down below the roots where it does less harm.
Florida Panhandle gardeners get a lucky break here. Sandy soil drains fast, so salt washes out much more easily than it does in thick clay.
Fresh water can help carry soluble salts below the root zone, but the amount needed depends on the soil, drainage, and degree of contamination. Apply water gradually and allow it to drain between sessions rather than flooding an already waterlogged area.
Your Florida Garden Changes Every Week. Your Plan Should Too.
Gardening in Florida changes quickly throughout the season. Every Friday you’ll receive a simple weekly plan showing exactly what to plant, prune, fertilize, harvest, and protect so you never miss the right timing.
Apply about one inch of water per session. Let it soak in and drain, then repeat over the next several days or weeks.
A simple tuna can or rain gauge helps you measure each round. Set it in the bed, run the sprinkler, and stop once it fills to one inch.
Before you start, check your water source. If you use a shallow well or irrigation pond, surge water may have tainted it, and salty water would undo all your hard work.
Rain helps too, so let a good storm shower count toward your total.
3. Clear Away Mud And Sediment Around Plants
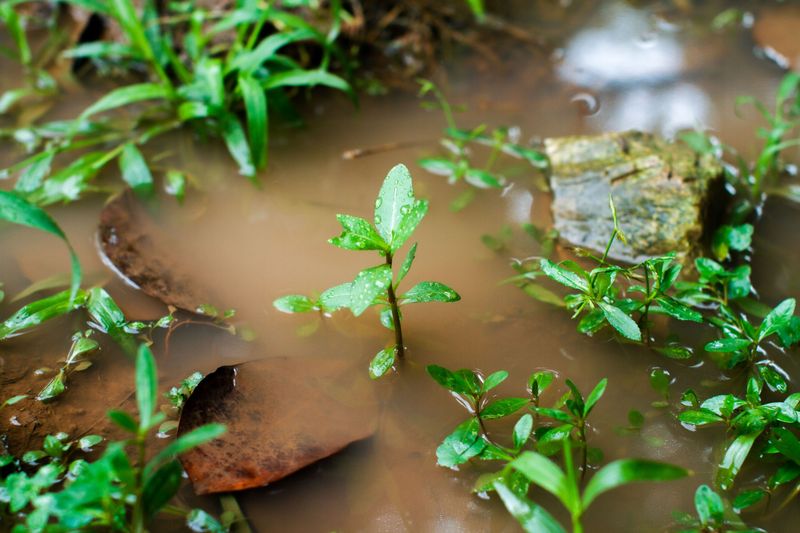
Storm surge has a messy habit of leaving gifts behind. Mud, sand, and bits of seaweed can pile up around trunks and stems like an unwanted blanket.
That layer is more than ugly. Thick sediment blocks air from reaching the roots and can smother leaves that sit close to the ground.
Start by scooping debris away from the base of each plant. Work slowly with a shovel or hand trowel so you do not nick bark or tear shallow roots.
As the mud dries, it often forms a hard crust that cracks like an old sidewalk. If that crust is thicker than about 2 inches, break it up and haul it away.
Lawns and ground covers need attention as well. Remove most of the washed-in soil, then wait until grass tips poke through.
Once you can see those green tips, rinse the leftover grit down below the blades. A gentle shower from the hose works nicely for this job.
Wear gloves and sturdy boots while you clean. Surge mud can hide sharp objects, and it may carry germs you do not want on your skin.
A clear base lets roots breathe again, and that breath of air helps the whole plant bounce back.
4. Raise Flooded Container Plants Onto Blocks
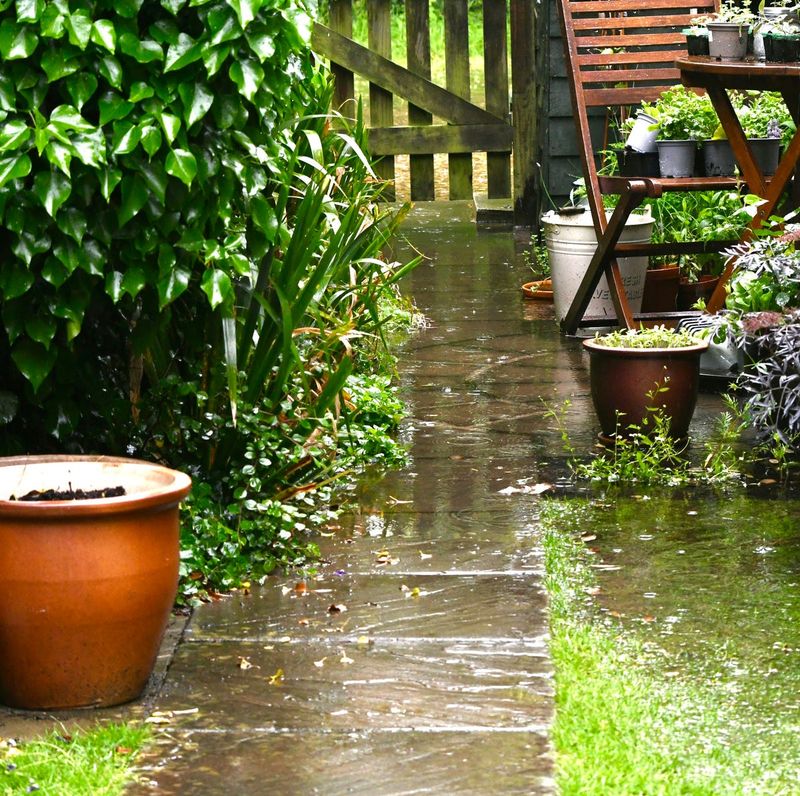
Potted plants have it rough after a flood. Water rushes into the container, then sits there like a bathtub with the drain plugged.
A quick lift can change everything. Set each pot on bricks, wooden blocks, or store-bought pot feet to give it some breathing room.
That small gap does two big jobs. Extra water drips out freely, and air moves under the pot to help the soil dry.
Soggy soil invites trouble fast. Fungus, root rot, and yellowing leaves tend to show up when roots sit in water for days.
While you are at it, flip a few pots on their sides and peek at the drainage holes. Roots, mud, or small shells can plug them up after a storm.
Poke the holes clear with a stick or pencil. Then water the pot deeply with fresh water to push out salt that soaked into the mix.
For badly flooded containers, consider repotting with fresh potting soil. Old mix can hold onto salt for a long time.
Fun fact: gardeners in rainy places like England have used pot feet for centuries. Your patio can borrow that old trick and keep your favorite potted plants happy and dry.
5. Hold Off On Fertilizer
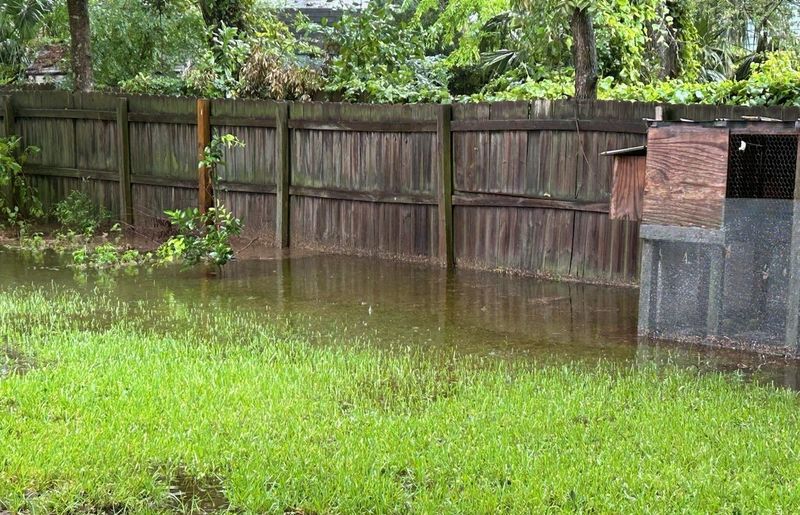
You might feel the urge to feed a struggling plant right away. It seems kind, like bringing soup to a sick friend.
In this case, though, that soup is salty. Most fertilizers contain salts, and adding more to soil already loaded with sea salt can raise the stress level.
Roots that just went through a flood are tender and easily hurt. A dose of fertilizer now could burn them and slow recovery.
So put the bag back on the shelf for a while. Wait until you see strong, healthy new growth before offering any food.
When that time comes, choose a balanced product and follow the label closely. More is not better here, and heavy doses can damage fragile roots.
Trees ask for even more patience. Some experts suggest waiting 1 to 3 years so damaged roots can rebuild before you feed them.
In the meantime, focus on rinsing salt from foliage, flushing the root zone where drainage allows, and removing sediment without disturbing roots. Once the soil has drained and plants begin recovering, consider adding compost where appropriate to improve soil condition.
Compost is not a substitute for flushing soluble salts from the soil.
6. Watch For New Growth Before You Prune
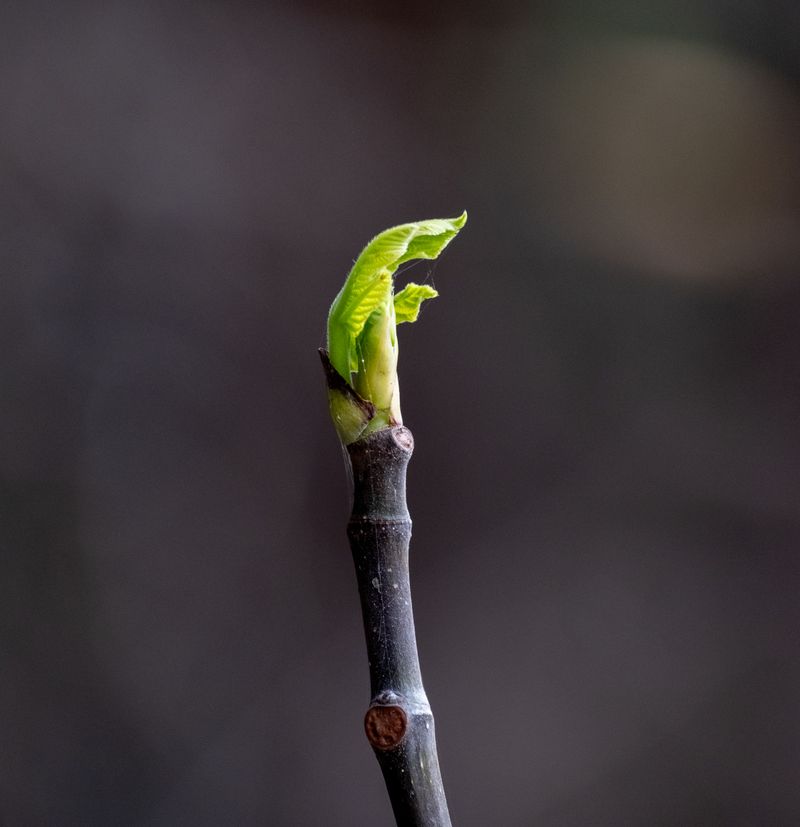
Brown leaves everywhere can make anyone reach for the pruning shears. Hold that thought, and maybe hold those shears behind your back for now.
Salt spray mostly harms leaves, and that damage is often just on the surface. Many plants drop scorched leaves on their own and push out fresh ones within weeks.
Cutting too much too soon adds stress to a plant that is already worn out. Each leaf left behind, even a spotted one, may still help make food.
So play detective instead. Scratch a twig lightly with your thumbnail and look for green tissue underneath the bark.
Once new buds and leaves appear, you will know which parts are thriving. That is your signal to start trimming.
Remove broken, diseased, or clearly lifeless branches with clean, sharp tools. Cut back to healthy wood so the wound can seal properly.
Jagged, torn limbs deserve special care. Trim the ragged section back to smooth, undamaged wood to help it heal well.
Avoid heavy pruning while the plant is recovering. Once new growth makes the extent of the damage clearer, remove declined or broken branches with clean, sharp tools.
For major limb damage or large trees, consult a qualified arborist.
Hanging branches over a roof or walkway are the exception. Safety comes first, so handle those right away.
7. Sandy Soils Usually Don’t Need Gypsum
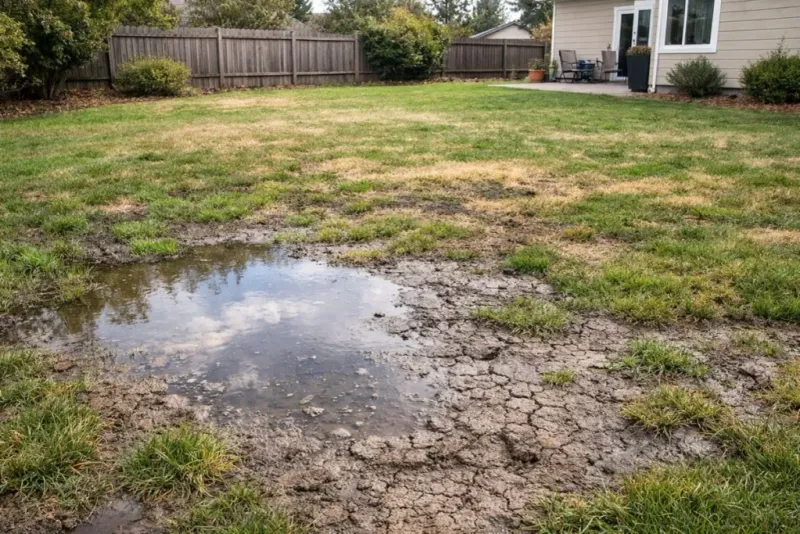
Walk into any garden center after a hurricane, and someone may point you toward gypsum. It is a popular fix, but it is not right for every yard.
Gypsum supplies calcium and can help improve certain soils affected by excess sodium, but it is not a cure for every type of saltwater contamination. Much of the Panhandle has sandy soil, where gypsum may not be necessary.
For most saltwater-affected landscapes, fresh water and good drainage are key; consider a soil test before applying gypsum.
Adding gypsum to sandy ground often does little good. Worse, it can raise the total amount of dissolved minerals if there is not enough fresh water to flush things out.
Think of it like adding extra seasoning to a dish that is already salty. You end up with more of what you were trying to remove.
Gypsum shines in poorly drained clay, especially soil with lots of sodium. There, it can loosen the ground and help air and water move.
A handful-of-soil squeeze test can offer a rough clue about texture, but it cannot reliably diagnose salinity or determine whether gypsum is needed. A soil test is the better guide..
Before buying any bags, talk with a local expert. A quick conversation could save you money and keep your soil in better balance.
8. Ask Your County Extension Office About Testing Soil For Salt
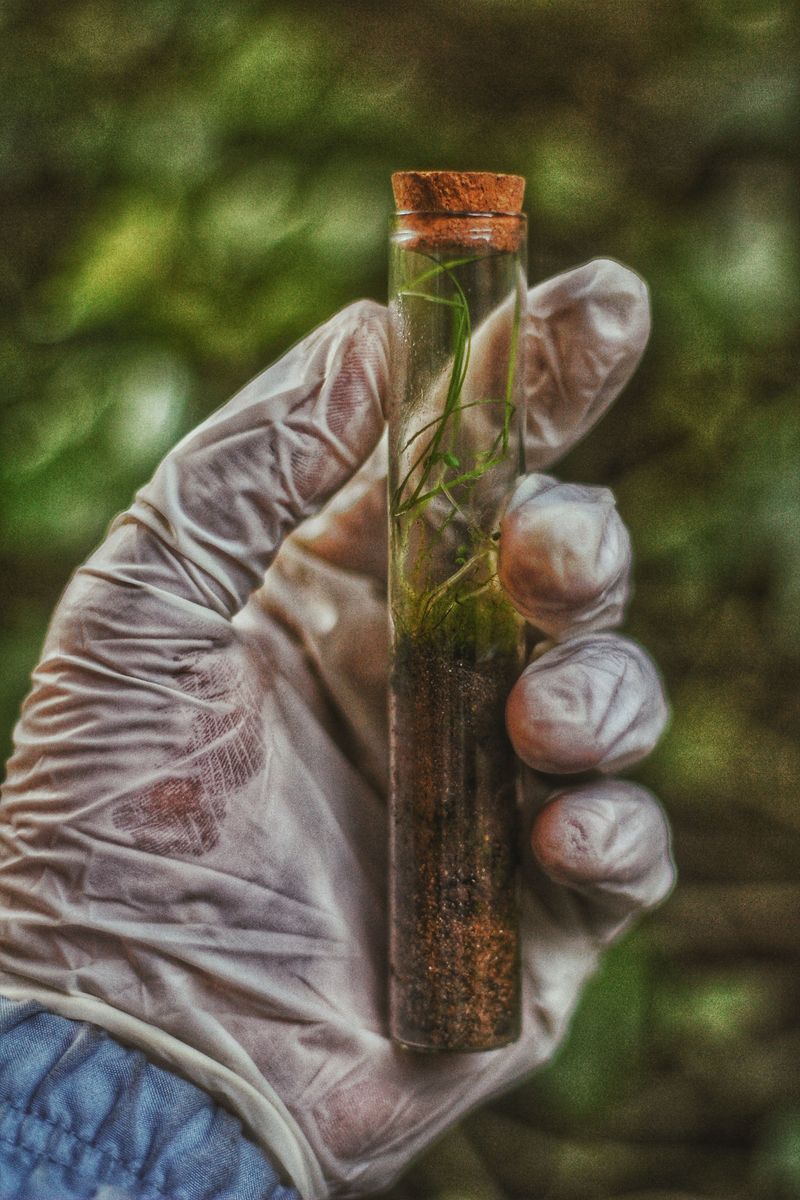
Guessing is no fun when your favorite azaleas are on the line. A soil test turns that worry into real numbers you can act on.
Your County Extension office is a hidden gem many people forget about. In Florida, these offices are run with UF/IFAS and staffed by folks who love helping gardeners.
Many offices offer soil tests that measure salt levels. They often check electrical conductivity, which tells how much dissolved salt is hiding in the dirt.
Tests may also show pH and other key nutrients. Together, that information paints a clear picture of how much the surge affected your yard.
Give the office a call or visit its website first. Ask which tests are available, how much they cost, and how to collect a proper sample.
Usually, you will dig small amounts from several spots and mix them together. Following their directions makes your results much more accurate.
The best part comes after the lab work. Extension agents can explain what the numbers mean and suggest next steps for your specific beds.
Many offices also run Master Gardener programs. Those volunteers can answer questions by phone, which feels like having a plant-savvy neighbor on speed dial.
9. Replant With Salt-Tolerant Natives
Sometimes a plant simply cannot bounce back, no matter how much love you give it. That empty spot is also a fresh chance to plant smarter.
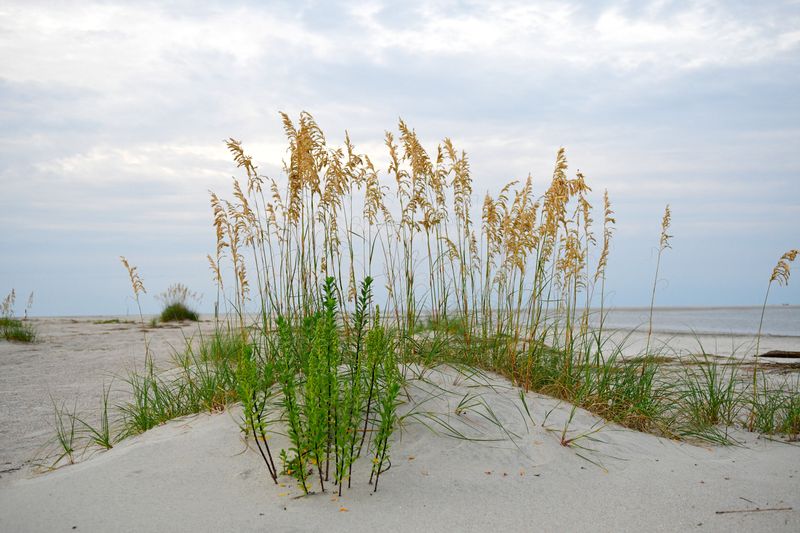
Salt-tolerant native plants are often better choices for coastal gardens exposed to salty air, wind, and sandy conditions. However, tolerance varies by species: a plant that handles salt spray may not survive prolonged saltwater flooding or storm surge.
Choose plants suited to the specific conditions in your yard.
Their deep, sturdy roots also hold soil in place. That helps stop erosion the next time a storm comes knocking.
For low plants, try beach sunflower, beach verbena, or sea purslane. Railroad vine and beach morning glory spread fast and cover bare sand nicely.
Grasses like sea oats, saltmeadow cordgrass, and smooth cordgrass add soft movement. Sea oats are even protected by Florida law because they guard the dunes so well.
Need shrubs or trees? Seagrape, necklace pod, buttonwood, and bay cedar are good picks, while live oak and southern red cedar make tough, shady anchors.
Natives still need regular watering while they settle in. Give them steady drinks for the first few months until roots spread out.
For more ideas, check UF/IFAS Gardening Solutions or the Florida Native Plant Guide for Coastal Landscapes. Both offer helpful lists matched to your area.