Easy Ideas For Setting Up Your Ohio Hostas To Come Back Even Better Next Spring
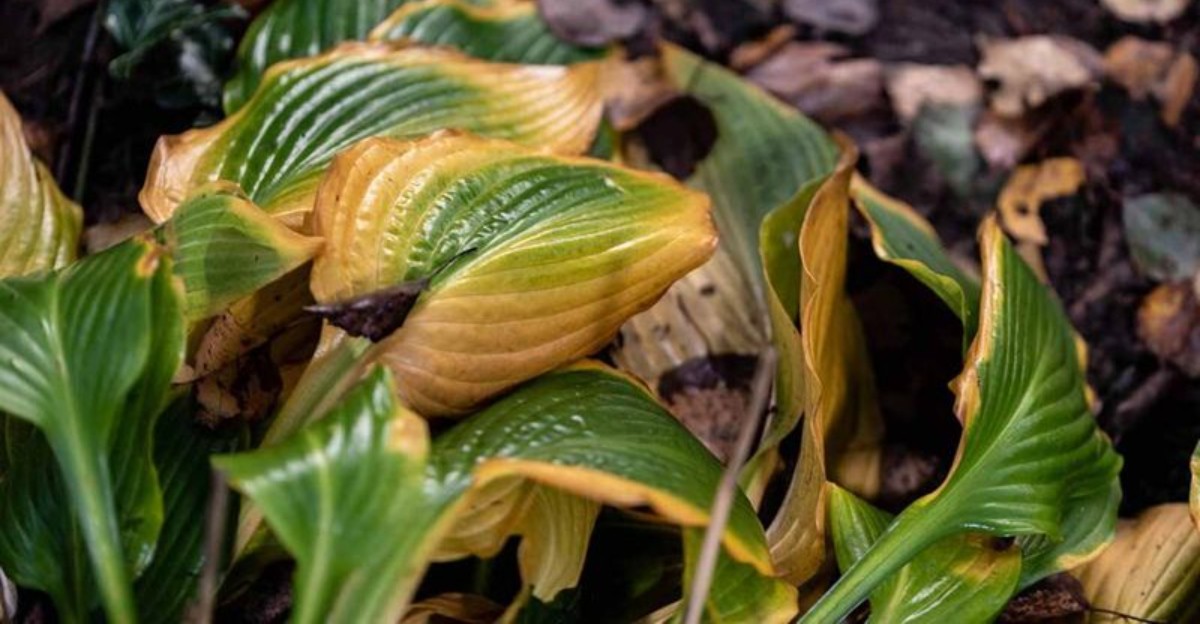
Those yellowing, floppy hostas look like the end of the story. They’re really the opening scene of next year’s show.
Ohio gardeners who nail this stretch get fuller clumps, bigger leaves, and fewer slug battles come May. The ones who skip it wonder why their plants look thin and tired.
Same hosta, same yard, completely different spring.
None of the ideas take much muscle or money. A handful need only a few minutes on a quiet afternoon.
A couple feel almost too simple to matter, which is exactly why plenty of people skip them.
The clock does run, though. Wait for the first hard freeze and some of the best moves slip out of reach.
Make a plan before that freeze arrives. Your hostas will do the rest.
1. Wait For The First Hard Frost To Flatten The Leaves
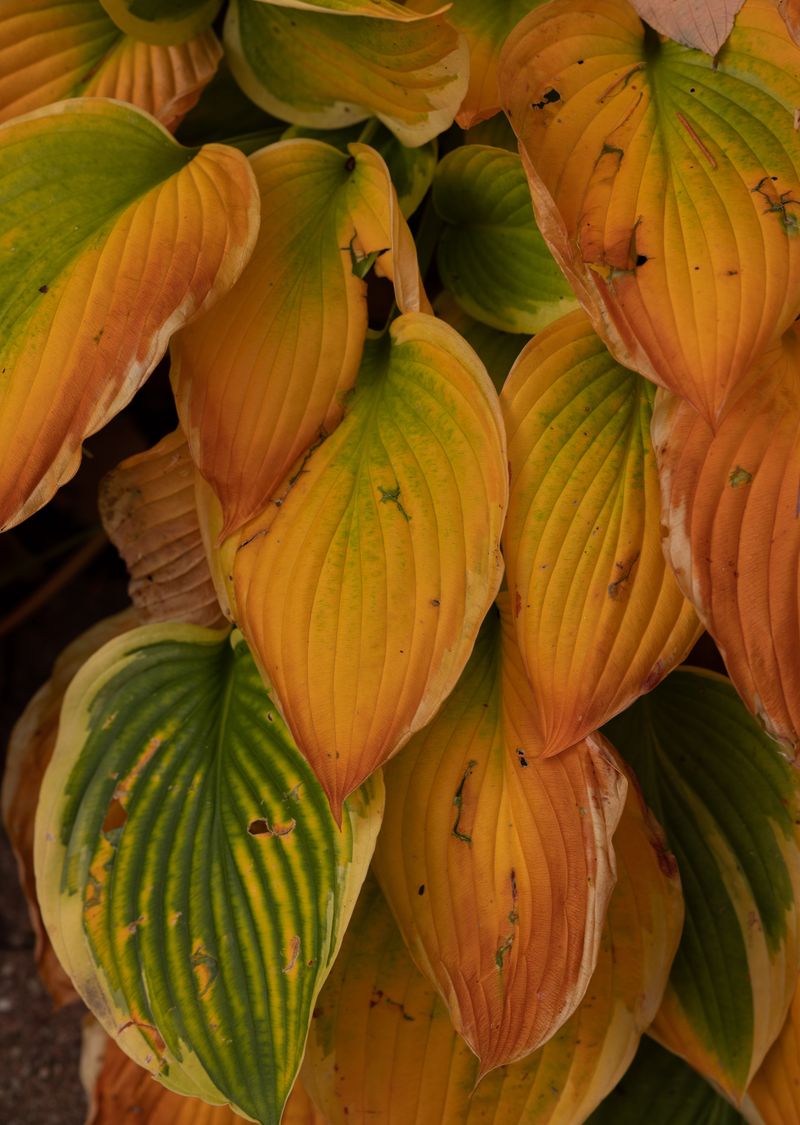
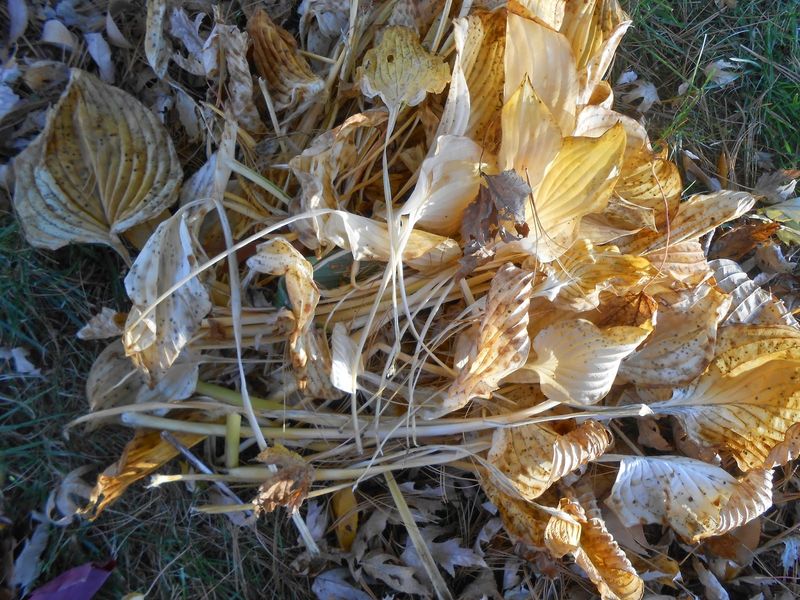
Patience pays off with hostas, and fall is a great time to practice it. Those floppy leaves may look tired, but they are still busy working for the plant.
As the weather cools, the leaves send stored food, called carbohydrates, back down into the crown. That stored energy is what fuels big, healthy leaves when spring arrives.
If you cut too early, you rob the plant of that boost.
So when should you grab your pruners? The best signal is the first hard frost, when temperatures dip into the upper 20s overnight.
The next morning, the leaves turn mushy, see-through, and flat against the ground.
In Central Ohio, that usually happens in mid to late October. Northern Ohio might see it a little sooner, while southern parts of the state can wait a bit longer.
Not every year follows the script, though. If your leaves have yellowed and slumped on their own, you can start cleanup without waiting for frost.
On the flip side, some years stay mild well into fall. If your hostas are still green and standing tall around Halloween, go ahead and cut them anyway.
Waiting much longer gives slugs extra time to lay eggs in the leaves. A quick check of the weather forecast each week can help you pick the right moment.
2. Cut The Foliage Back Close To The Ground
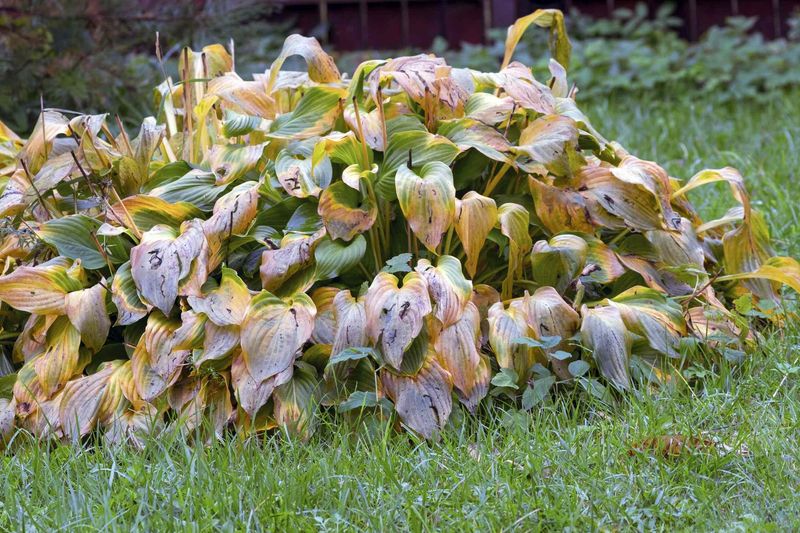
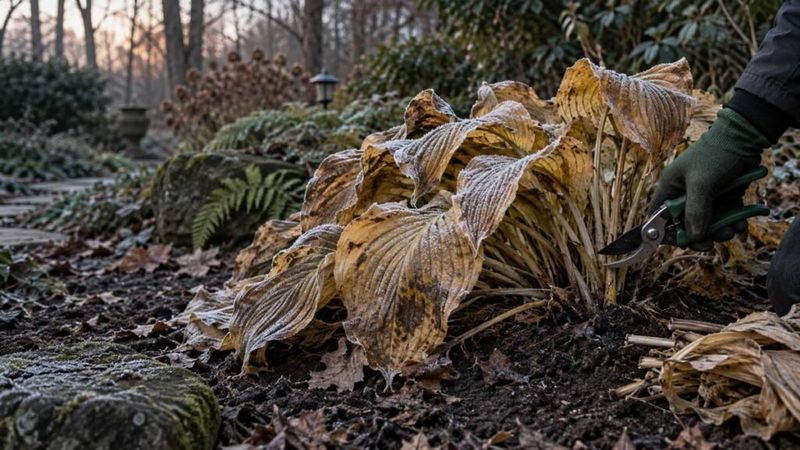
Picture a fresh haircut for your garden bed. Once the leaves have flopped, it is time to tidy things up with a clean, short trim.
Aim to cut the stems about 2 to 3 inches above the crown. The crown is the tight cluster at the base where next year’s buds are waiting.
Snipping into it can hurt those buds, so take your time and stay just above it.
Some gardeners like to cut right down to the soil line. That works fine too, as long as you are careful around the base and any little pointed shoots.
Leaving short stubs has a handy bonus. Those little stems act like tiny flags, helping you spot where each plant lives when spring rolls around.
Tools matter more than you might think. Sharp bypass pruners make clean cuts that heal quickly, while dull blades can crush and tear stems.
Your Ohio Garden Changes Every Week. Your Plan Should Too.
Gardening in Ohio changes quickly throughout the season. Every Friday you’ll receive a simple weekly plan showing exactly what to plant, prune, fertilize, harvest, and protect so you never miss the right timing.
A serrated kitchen knife also works well, especially on big clumps with lots of stems. Grab a handful of stems, hold them together, and saw through them in one smooth motion.
Wear gloves, because soggy hosta leaves can feel slimy and cold. Keep a bucket or tarp next to you so the cut pieces go straight into it instead of onto the ground.
3. Clear Away Every Leaf To Remove Slug Eggs
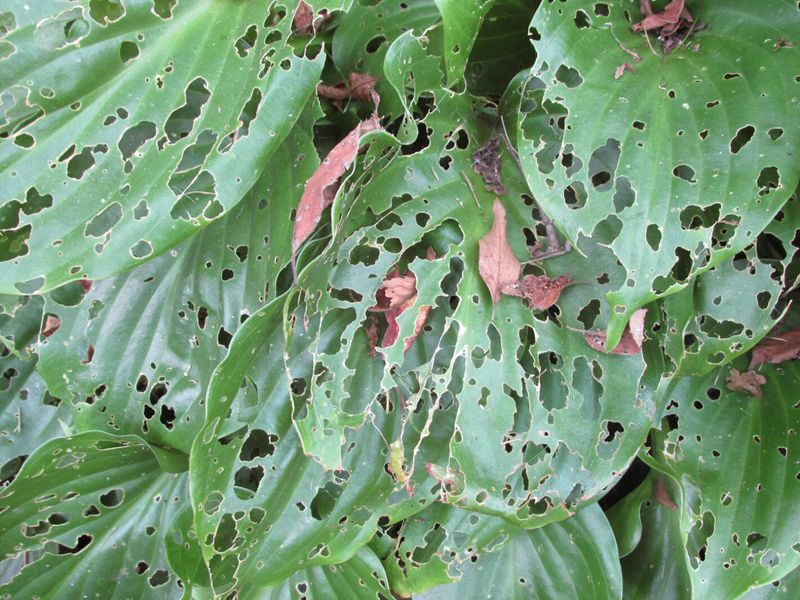
Slugs are sneaky planners. While you are raking leaves and sipping cider, they are tucking clusters of tiny, jelly-like eggs into soggy plant debris.
Those eggs sit quietly all winter. Then, as soon as spring warms up, they hatch into hungry little slugs ready to chew holes in your brand new hosta leaves.
Rotting leaves are basically a cozy hotel for these pests. They stay moist, dark, and sheltered, which is just what slugs love.
Your job is to close that hotel down. After cutting back, rake and pick up every scrap of leaf from the bed.
Check closely around the crown, since bits of leaf often get stuck down in the center.
Use your fingers to gently pull out anything wedged in there. It only takes a minute per plant, and it can make a big difference.
Composting is fine for healthy leaves, but keep the pile far from your hosta bed. A hot compost pile can help destroy slug eggs.
Mulch matters too. Keep it no deeper than 2 inches around hostas, because thick, wet mulch is another favorite hideout.
Fewer hiding spots in fall means far fewer slimy surprises next spring.
4. Bag Up Diseased Leaves Instead Of Leaving Them
Here is a gardening rule worth remembering: what you leave behind can come back to haunt you. Sick leaves are a perfect example.
Take a close look at your hostas before you cut. Brown spots, odd streaks, mushy patches, or strange yellow areas can all point to disease or pests.
Those leaves should not stay in the bed. Germs and pests can ride out winter in the old foliage and spread to healthy plants in spring.
You might be tempted to toss them in the compost bin. Unless your pile gets very hot, though, it may not destroy the problem.
Many backyard piles simply do not heat up enough.
The safer choice is to bag them up. Most Ohio cities and towns offer yard waste pickup, and paper yard bags are easy to find at hardware stores.
Clean tools are just as important as clean beds. Wipe your pruners with rubbing alcohol or a mild bleach mix between plants, especially if something looks off.
This simple habit keeps you from carrying viruses or crown disease from one hosta to the next. It might feel like extra fuss, but your healthy plants will thank you with stronger leaves next year.
5. Cutting Back Can Clear Out Hosta Nematodes Too
Did you know some hosta pests are too small to see without a microscope? Foliar nematodes are tiny worms that live inside the leaves.
You cannot spot the worms themselves, but you can spot their damage. Look for yellow patches that turn into brown streaks running between the leaf veins.
The pattern often looks like stripes or wedges.
These little troublemakers spend winter inside old hosta foliage. When spring rains arrive, they swim up onto fresh leaves and start feeding again.
That is where your fall cleanup becomes a secret weapon. By cutting back and removing infected leaves, you take away their winter home.
Fewer nematodes survive, and fewer reach next year’s growth.
Splashing water helps them spread from leaf to leaf and plant to plant. Watering at the base of your hostas, rather than spraying from above, can help slow them down.
Tools can carry them too, which is one more reason to wipe your blades clean between plants. A quick spritz of disinfectant goes a long way.
Bag any streaked leaves instead of composting them. If one plant has a serious problem year after year, you may want to remove it so the rest of your bed stays healthy.
6. Skip The Fertilizer Until Spring
Feeding your plants in fall might seem like a kind gesture. For hostas, it can do more harm than good.
Fertilizer tells a plant to grow. In late fall, that is the wrong message, because any tender new growth can get damaged when the cold snaps in.
Your hostas are trying to slow down and rest. Let them nap without a late snack.
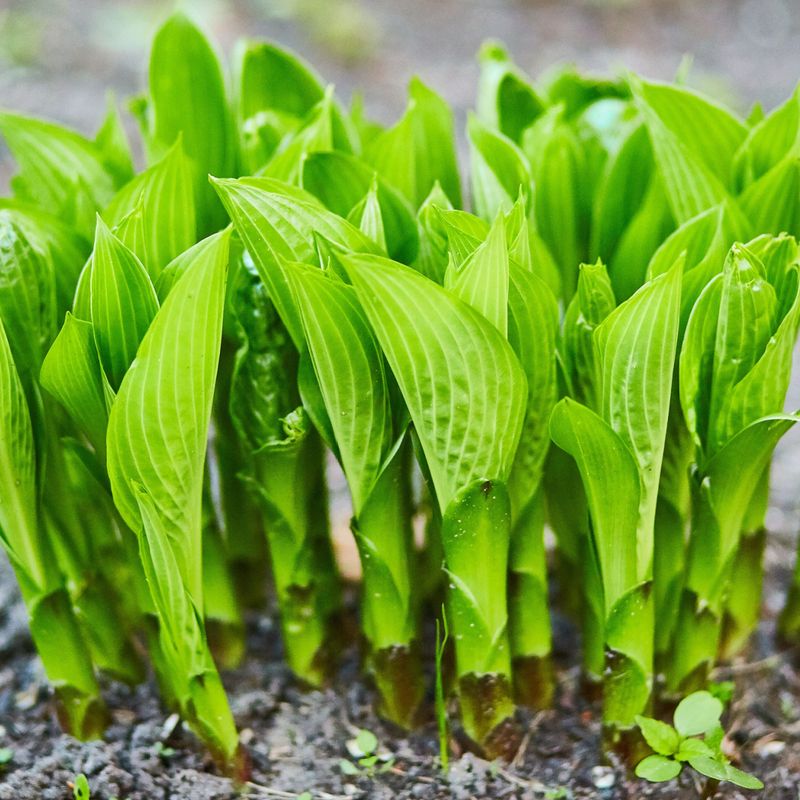
The best time to feed is early spring, right when the pointy shoots start poking through the soil. That is when the plant is hungry and ready to put the food to good use.
A balanced, slow-release fertilizer such as a 10-10-10 formula works nicely. Sprinkle it around the plant, not right on the crown, and water it in.
Prefer a more natural route? Spread an inch or so of compost around your hostas instead.
It feeds the soil slowly and improves its texture over time.
Hostas love rich, loose soil filled with organic matter that still drains well. Much of Ohio has heavy clay, so adding compost each spring can really help.
Write a reminder on your calendar for April. That way, you will not forget the spring feeding once the season gets busy.
7. Mulch New Transplants After The Ground Freezes
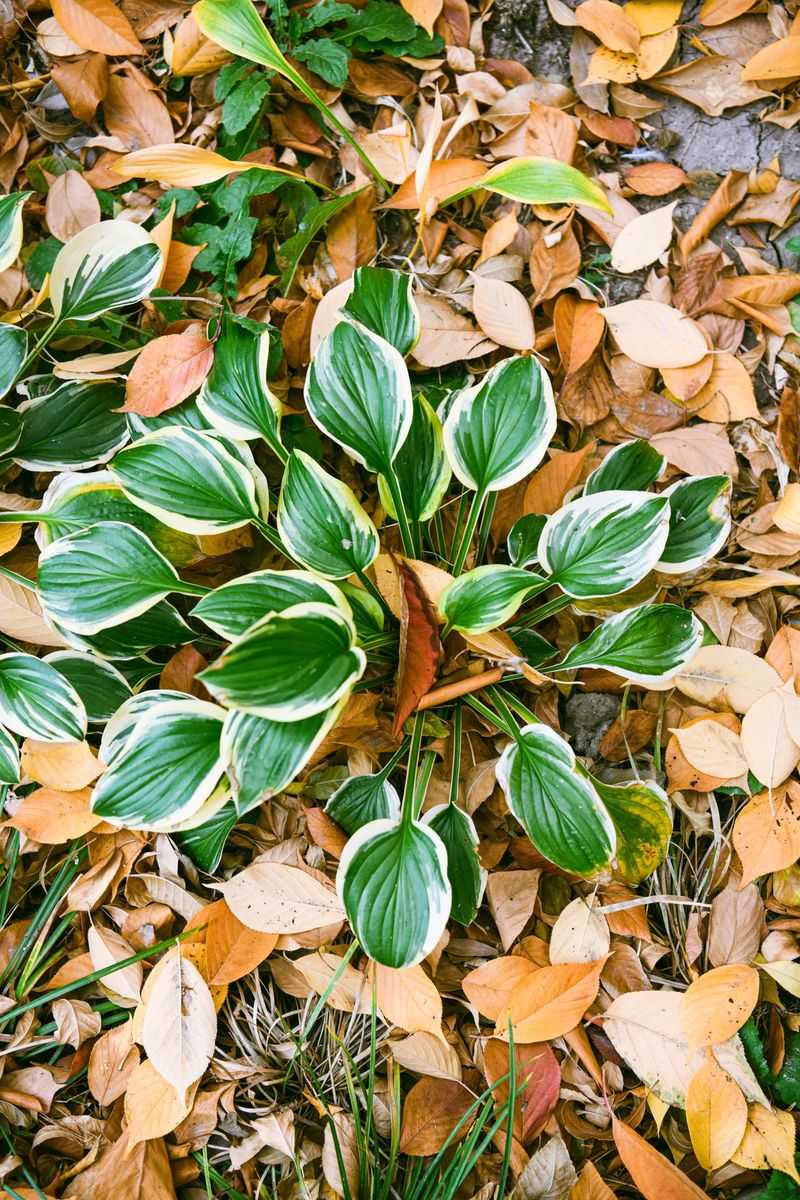
Ohio winters love to play games. One week the ground is frozen solid, and the next it thaws into mud before freezing again.
That back-and-forth is rough on young hostas. Each freeze and thaw can push shallow crowns right up out of the soil, a problem called frost heaving.
Exposed roots then dry out in the cold wind.
New transplants and fresh divisions are the most at risk. Their smaller root systems have not had time to grip the ground firmly.
A light blanket of mulch helps keep the soil evenly frozen. The trick is timing, so wait until the ground has actually frozen before you spread it.
Mulching too early can invite mice and keep the soil from cooling.
Use about 1 inch of shredded leaves or compost over the crown. Pine needles and straw also make great winter covers because they stay light and airy.
Skip heavy piles of hardwood mulch. They hold too much moisture and can smother the crown.
Older, well-rooted hostas usually handle winter just fine on their own. In very cold zones where the ground stays frozen all season, mulching may not be needed.
Focus your effort on the newest plants.
8. Pull That Mulch Back In Spring So Crowns Don’t Rot
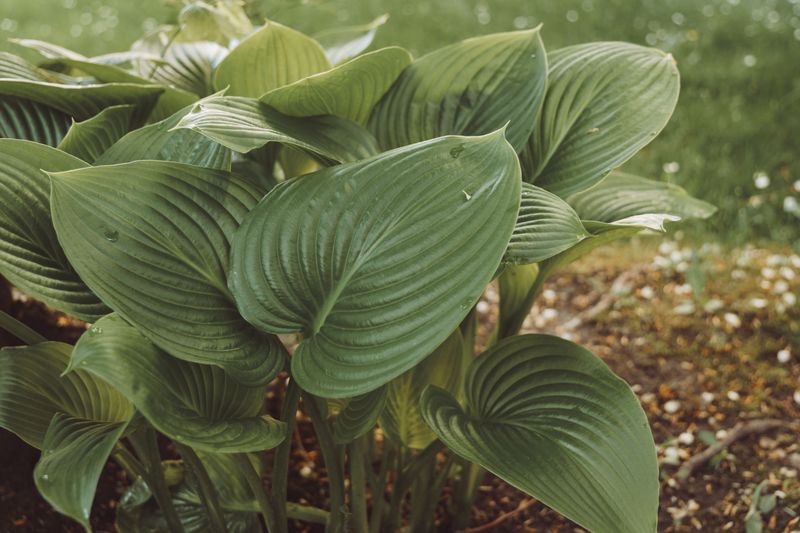
Spring cleanup is the second half of the winter mulch story. That cozy blanket that protected your hostas can turn into a soggy problem once the weather warms.
Wet mulch sitting on a crown holds in moisture and cold. That combination can lead to rot and slow down fresh growth.
So as the days get milder, gently rake the winter mulch away from each plant. A soft leaf rake or your gloved hands work best, since the new shoots snap easily.
Hold off on adding fresh mulch for a little while. Wait until the shoots are a couple of inches tall.
By then, the soil has warmed, and you can clearly see where each plant sits.
Spreading mulch over cold, wet soil too early can keep the ground chilly. That delays the moment your hostas unfurl their first leaves.
Old mulch can also hide leftover slug eggs from last fall. Clearing it away and replacing it with a fresh layer gives you a clean start.
When you do mulch, leave a small ring of bare soil around the crown. Keeping mulch a few inches back lets the base breathe and dry out between rains.
9. Mark Where Each Hosta Sits Before It Disappears
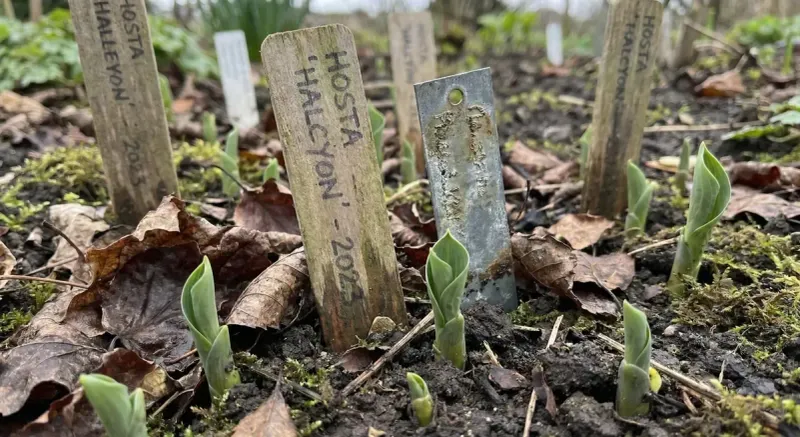
Every gardener has a story about stabbing a shovel right into a hidden plant. Hostas are famous for causing that oops moment.
Once winter settles in, they vanish below ground with no trace at all. By March, that bare patch of soil looks like the perfect spot for something new.
A little planning now saves a lot of heartache later. Before your hostas fully disappear, mark each one with a stake or label.
Simple plastic plant labels work great. Write the hosta’s name with a permanent marker or garden pen, then push the label deep enough that frost will not lift it out.
Wooden stakes, painted rocks, or even old spoons can do the job too. Pick something that stands out against bare soil and fallen leaves.
Fun fact: there are thousands of named hosta varieties. Writing down which is which helps you remember your favorites and track how each one grows.
Some gardeners also snap a quick phone photo of their beds in summer. Comparing it to the bare winter ground makes spring planning much easier.
Markers also remind family members and pets where not to step. Your hostas will get a safe, quiet winter and a strong start next spring.