Don’t Throw Away Beet Greens When You Can Do This With Them Instead
Those leafy tops in your compost bin hold more vitamin K and vitamin A than the sweet red root. I was honestly shocked to learn this, and I have tossed bunches of them for years without a second thought.
The plant belongs to the same species as Swiss chard, so the leaves taste mild and slightly earthy. The stems often carry a bright ruby color, and they soften nicely in a hot pan with garlic.
In October, many farmers markets sell fresh bunches with the tops still attached. Look for the ones with perky leafy tops, since cool fall weather helps keep the greens tender and sweet.
Personally, I now treat those tops like a free bonus vegetable that comes with the beets. So what can you actually make with a pile of leafy scraps sitting on your kitchen counter tonight?
1. You Can Cook Them Just Like Spinach
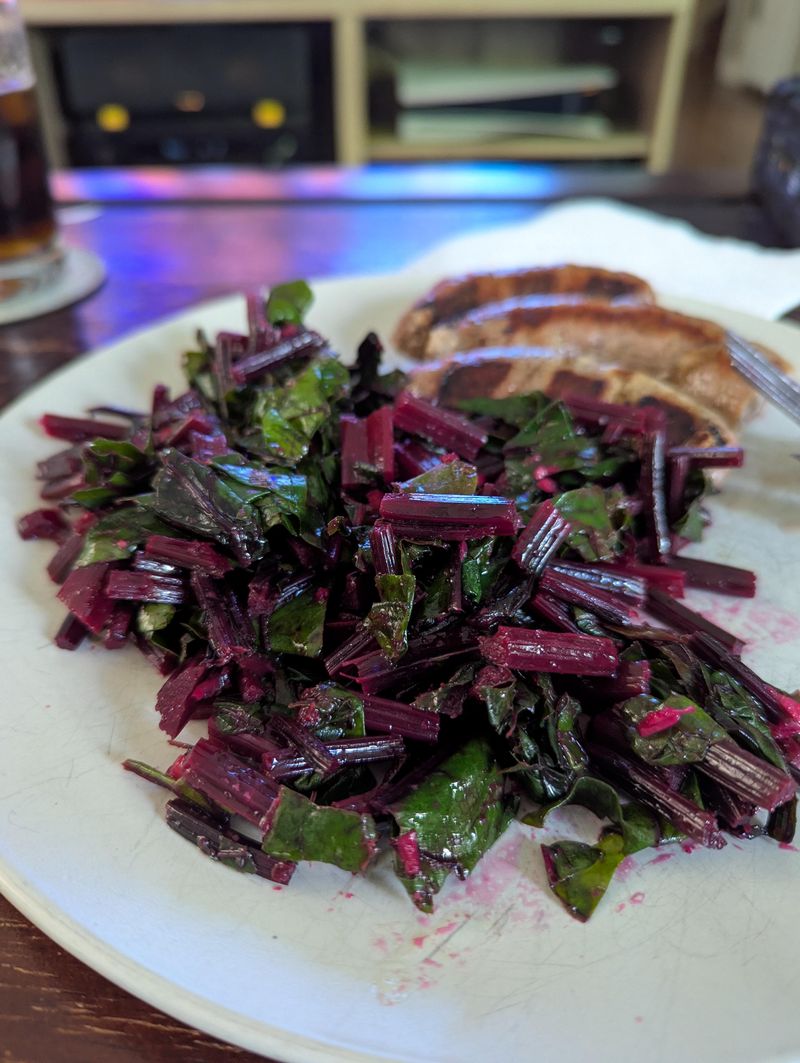
Grandma had the right idea when she chopped beet tops into her skillet instead of feeding them to the trash. Beet greens are edible, tender, and work in almost any recipe that calls for spinach or Swiss chard.
Botanists list beets and chard as the same species, Beta vulgaris, which explains their similar flavor and texture. The leaves taste mild with a gentle earthy note, while the colorful stems add a slight crunch.
Nutrition is the real surprise here, since USDA data shows the greens pack lots of vitamin K and vitamin A. They also offer vitamin C, potassium, fiber, and iron, which makes them far more than kitchen scraps.
Cooking softens the leaves quickly, so you can turn a big pile into a small side dish within minutes. Toss them into soups, pasta, omelets, or grain bowls the same way you would use spinach leaves.
Like spinach and chard, beet greens contain oxalates, which some people with kidney stone concerns may need to limit. Cooking can reduce oxalate levels a bit, and your doctor can offer advice for your specific health needs.
Fall is a lovely time to try them, because cool October nights help beet leaves stay tender and sweet. Many farmers markets still sell beets with their tops attached, so you get two vegetables in one bunch.
Start small by mixing a handful of chopped greens into a dish you already love and enjoy often. Once you taste the results, those leafy tops will likely earn a permanent spot in your weekly meals.
2. Your Freshest Leaves Start With Smart Storage
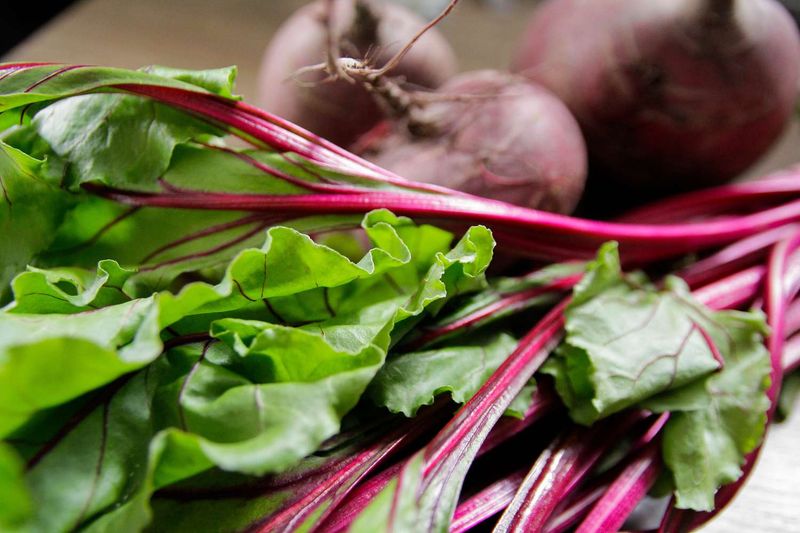
Ever bought a gorgeous bunch of beets, only to find limp, yellow leaves in the fridge two days later? That sad wilting happens fast, but a few simple storage habits can keep your greens crisp much longer.
The first move is to cut the tops off as soon as you get home from the store. Leave about an inch of stem on each root, since attached leaves keep pulling moisture from the beets.
University extension guides suggest storing the greens separately in a plastic bag inside the crisper drawer of your fridge. Wrapping them loosely in a slightly damp paper towel helps hold humidity without making the leaves soggy or slimy.
Try to use the greens within two or three days, because their quality drops quickly after that point. The roots last much longer, often several weeks in the fridge when stored in a bag without tops.
Hold off on washing the leaves until right before cooking, since extra water encourages spoilage and slimy spots. When it is time to cook, swish them in a big bowl of cool water to remove grit.
Beet leaves grow close to the soil, so sandy bits often hide in the creases near the stems. Lift the greens out of the water instead of pouring them into a strainer, and the dirt stays behind.
Pick bunches with bright, perky leaves and avoid any that look yellow, torn, or slimy at the market. Fresh October beets usually have sturdy tops, which makes this season a great time to practice good storage.
3. A Quick Sauté Beats The Trash Can
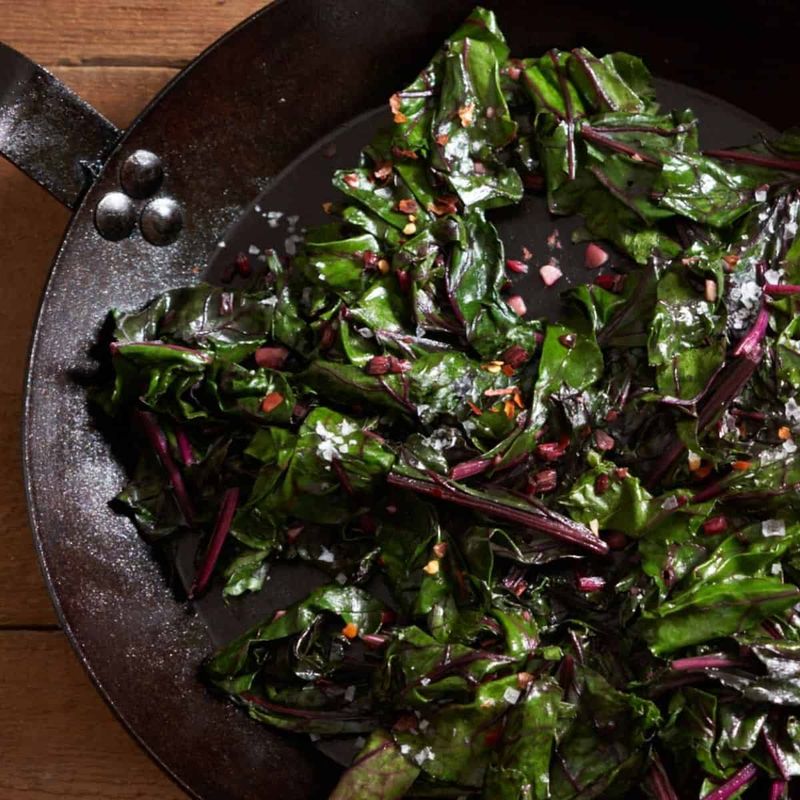
Sizzling garlic, a splash of olive oil, and a heap of beet greens can become dinner in ten minutes. Honestly, a simple sauté is my favorite way to use them, and it feels a bit like kitchen magic.
Begin by separating the stems from the leaves, because the thicker stems need a few extra minutes to soften. Chop the stems into small pieces about the size of peas, and slice the leaves into wide ribbons.
Warm a tablespoon of olive oil in a large pan over medium heat, then add the chopped stems first. Stir them for about three minutes, along with a little sliced onion or minced garlic for extra flavor.
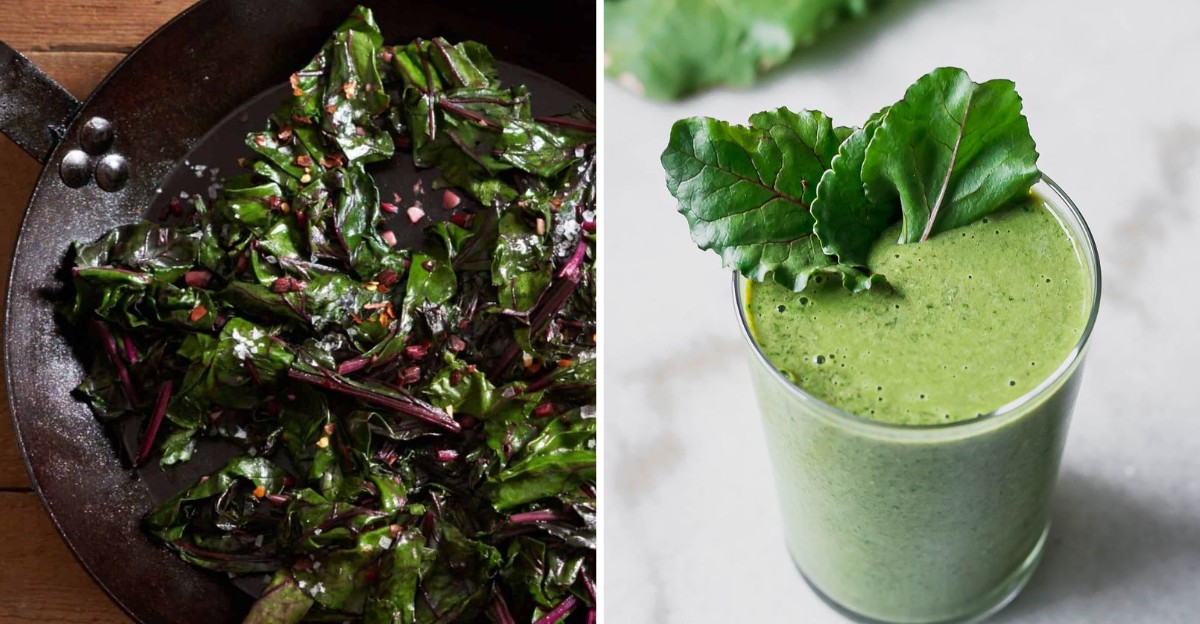
Next, pile in the leaves and toss them gently until they shrink down and turn a deep, glossy green. A large bunch cooks down to a surprisingly small amount, so do not worry if the pan looks overloaded.
Finish the dish with a pinch of salt, a squeeze of lemon juice, or a drizzle of balsamic vinegar. Acid brightens the earthy taste, and a sprinkle of feta or toasted nuts adds a nice salty crunch.
Serve the greens beside roasted beets for a cozy fall plate that uses the whole vegetable from top to bottom. They also taste great folded into scrambled eggs, stirred into risotto, or piled on warm toast for breakfast.
Leftovers keep well in a covered container in the fridge for three or four days after cooking. Reheat them gently in a pan, and they will taste nearly as good as the first time around.
4. Your Smoothies Could Use A Leafy Boost
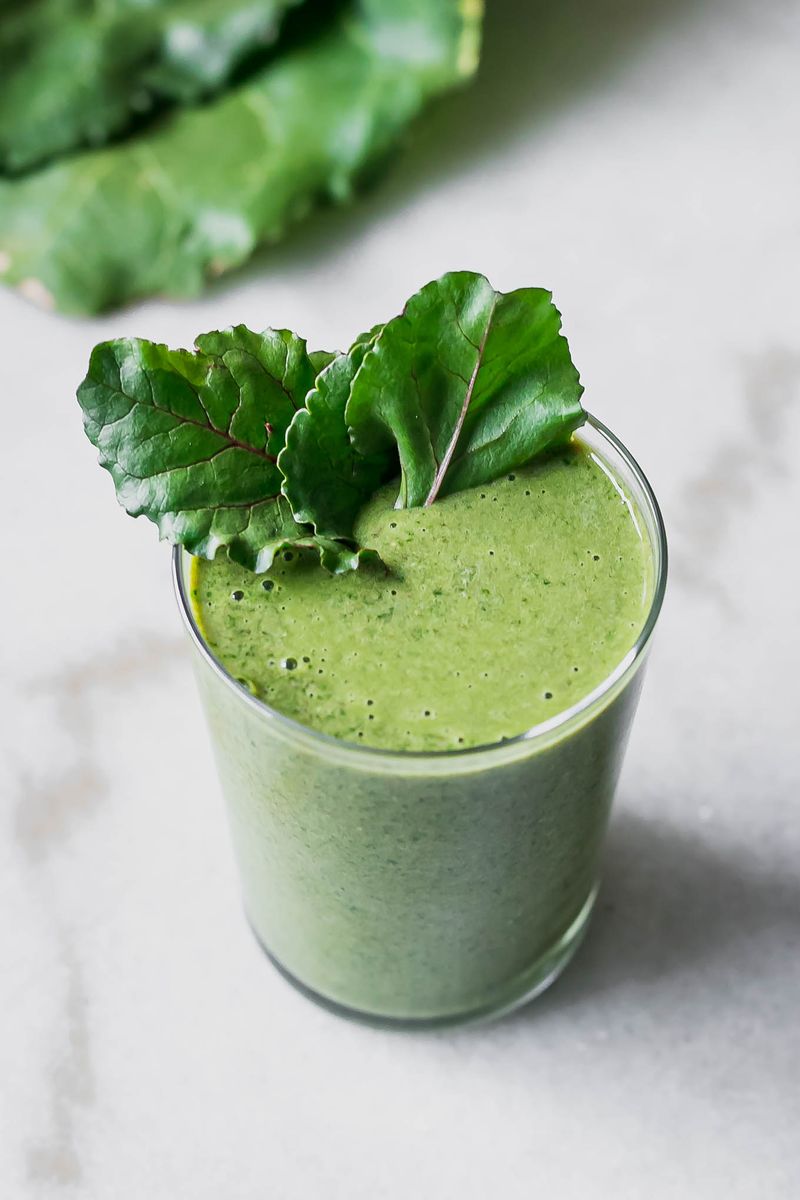
Raw beet greens are safe for most people to eat, and young, tender leaves blend smoothly into drinks and salads. Adding a handful to your morning smoothie is a sneaky way to enjoy more greens without much effort.
Sweet fruits like bananas, pineapple, and frozen berries do a great job of hiding the mild earthy taste. Start with about one cup of chopped leaves, then add more once your taste buds adjust to the flavor.
Remove the thick stems before blending, since they can leave stringy bits that make the texture feel gritty. Save those stems for a stir fry or a quick pickle, so nothing goes to waste in your kitchen.
Salads are another fun option, especially with the small baby leaves found on young beets in fall gardens. Mix them with lettuce, apple slices, goat cheese, and walnuts for a colorful plate with lots of crunch.
Larger, older leaves can taste tougher and slightly bitter when raw, so they often work better when cooked. A quick massage with lemon juice and olive oil can soften them a little for a hearty salad.
Keep in mind that raw greens can hold more oxalates than boiled ones, so variety in your meals matters. Rotating beet greens with kale, lettuce, and other leafy vegetables gives you a nice mix of nutrients.
Washing raw leaves carefully matters too, because soil can cling to the stems and hide in leaf folds. A good rinse under cool running water, followed by a salad spinner, gets them clean and ready fast.
5. Extra Bunches Freeze Better Than You Expect
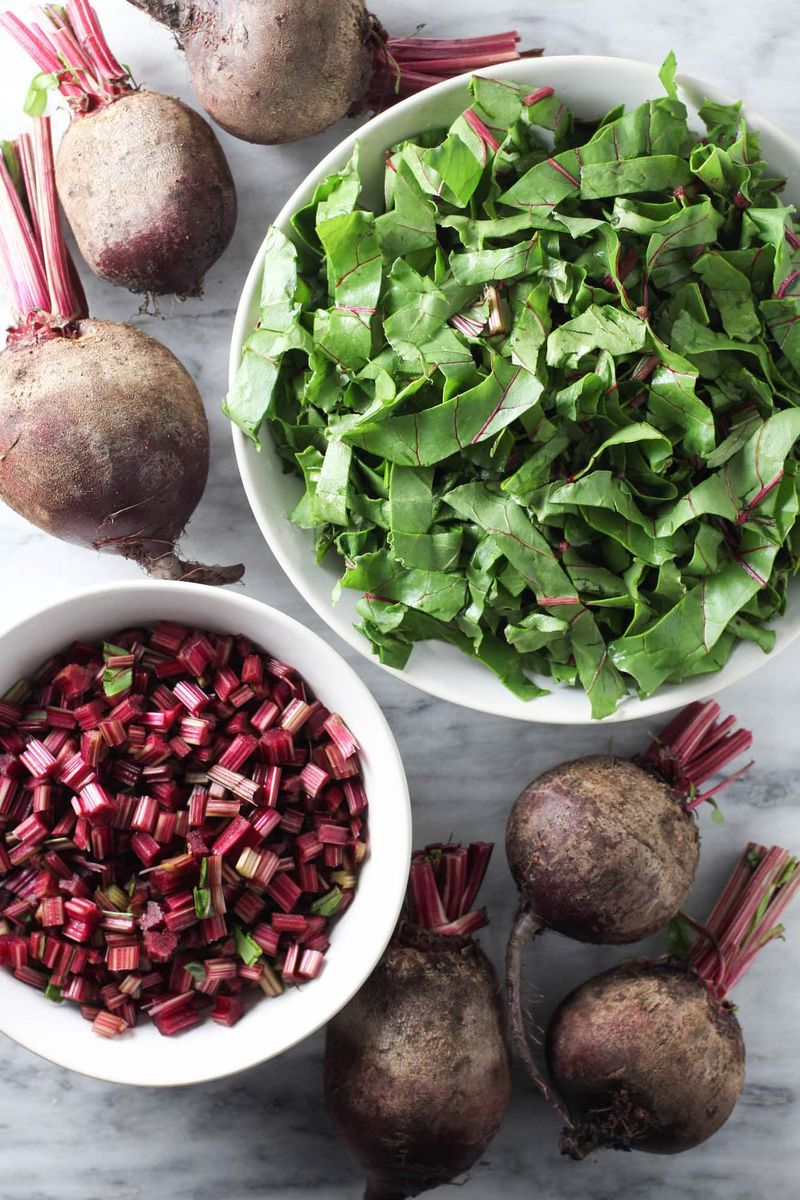
Got more beet greens than you can eat this week, especially after a big October harvest from the garden? Freezing them takes very little time, and the leaves keep well for months in a cold freezer.
The National Center for Home Food Preservation recommends blanching leafy greens before freezing to protect their color and flavor. Blanching means a short dip in boiling water, followed by a quick plunge into a bowl of ice water.
For beet greens and similar leaves, about two minutes in boiling water is the usual recommended time. This short heat treatment slows the natural enzymes that cause leaves to fade, toughen, and lose flavor in storage.
Wash the greens well first, remove tough stems, and work in small batches so the water stays boiling. After the ice bath, squeeze out as much water as possible with your hands or a clean towel.
Pack the greens into freezer bags or containers, press out extra air, and label each one with the date. Some cooks freeze small portions in muffin tins first, then pop the green pucks into a larger bag.
Frozen greens usually keep their best quality for about eight to twelve months at zero degrees Fahrenheit. The texture turns soft after thawing, so they shine in soups, stews, casseroles, and cheesy baked dishes.
Toss a frozen portion straight into a simmering pot of winter soup, and no thawing is needed at all. I love opening the freezer in January and finding a bright reminder of crisp fall market days.
6. The Compost Pile Is Your Backup Plan
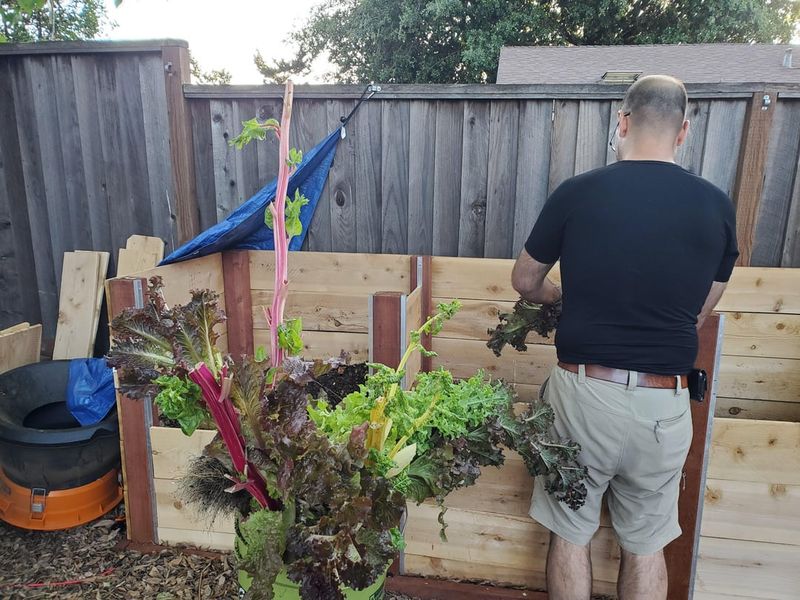
Even the most determined home cook ends up with a few wilted or chewed leaves that nobody wants to eat. Those leftovers still have value, because beet greens break down quickly and feed the soil in your compost.
Extension services classify fresh vegetable scraps as green materials, which supply nitrogen to a healthy compost pile. Mix them with brown materials like dry leaves or shredded paper to keep the pile balanced and smelling fresh.
October makes this easy, since fallen leaves pile up in nearly every yard and provide plenty of brown material. Chop the beet greens into smaller pieces before adding them, and they will break down even faster.
Turning the pile every week or two adds oxygen, which lets busy microbes do their important work. Keep the compost about as damp as a wrung-out sponge for the best results through fall and winter.
Apartment dwellers without a backyard can check for curbside food scrap pickup or community compost drop-off sites nearby. A small countertop bin with a lid keeps scraps tidy until you are ready to carry them out.
Finished compost returns to the garden as rich, dark soil that helps next year’s beets grow strong and leafy. I like how that cycle turns a handful of scraps into food for future harvests in my own backyard.
Still, composting works best as a backup plan after you have enjoyed the fresh greens at the table. Eat what you can, freeze what you cannot, and let the garden happily take care of the rest.
7. Turn Them Into A Bright Green Pesto
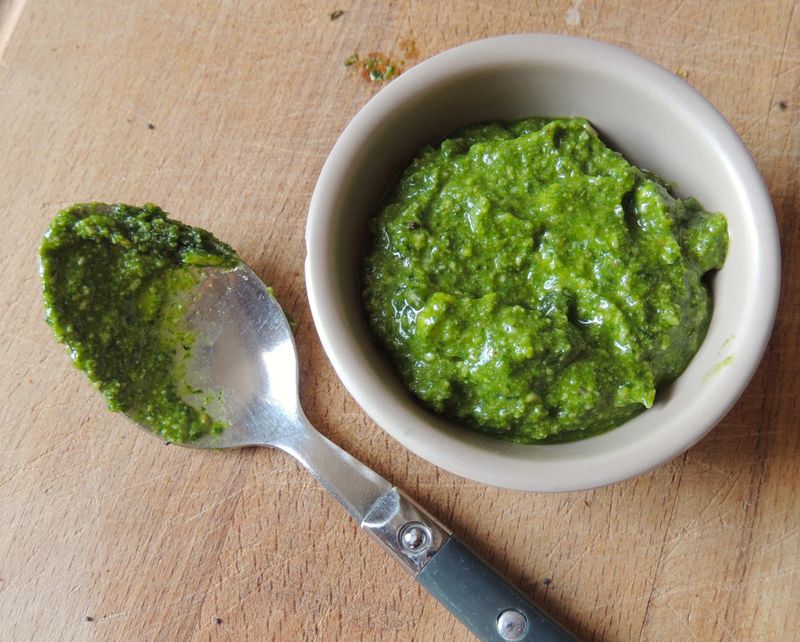
Pesto is a tasty way to use a big bunch of greens that might otherwise wilt before dinner. Beet greens blend into a spread with a mild, earthy flavor that works well on sandwiches, pasta, and roasted vegetables.
Start by blanching the leaves for about thirty seconds, then squeeze out the extra water. This step softens any bitterness and keeps the color vibrant once everything is blended together.
Add the leaves to a food processor with a small handful of walnuts or sunflower seeds, a garlic clove, and a squeeze of lemon juice. Pulse the mixture, then slowly pour in olive oil until it reaches a smooth, spoonable texture.
Stir in grated Parmesan at the end, along with a pinch of salt to taste. A little extra lemon juice can brighten the flavor if the pesto tastes too earthy.
Spread it on toast, toss it with warm pasta, or spoon it over roasted potatoes for an easy weeknight meal. It also makes a colorful topping for eggs, grain bowls, and baked fish.
Store leftover pesto in a covered jar in the fridge and use it within a few days. A thin layer of olive oil on top helps keep the surface from darkening.
For longer storage, freeze the pesto in an ice cube tray and move the cubes to a freezer bag once solid. You can drop a cube into soup or melt it into pasta whenever you want a quick burst of flavor.
8. Don’t Forget The Stems And Pickle Them
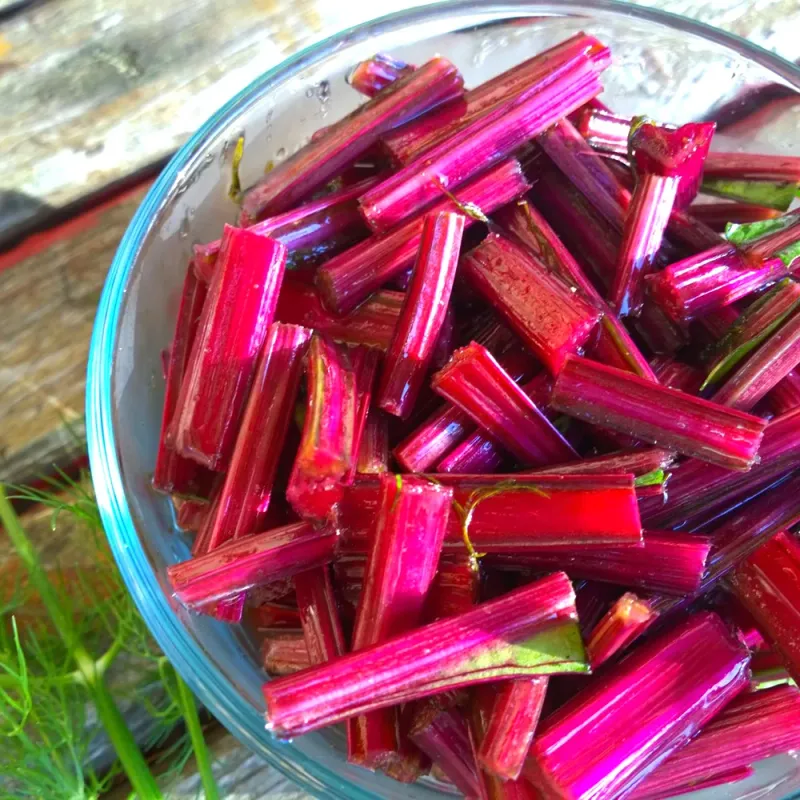
Those colorful stems are easy to overlook, but they make a crunchy, tangy snack when pickled. A quick pickle turns a handful of scraps into a bright topping for sandwiches, tacos, and salads.
Trim the stems into pieces about two or three inches long and pack them into a clean jar. Stems from red and golden beets add a lovely pink or yellow tint to the liquid.
Warm equal parts vinegar and water in a small pot with a spoonful of sugar and a pinch of salt. Stir until everything dissolves, then pour the warm mixture over the stems until they are fully covered.
Let the jar cool on the counter, then seal it and place it in the fridge. The stems taste good after a few hours, and the flavor keeps getting better over the next day or two.
Keep the jar refrigerated and enjoy the pickles within about two weeks. Always use clean utensils when you take some out, since that helps the pickles stay fresh longer.
Chopped pickled stems add a nice crunch to grain bowls, potato salad, and avocado toast. You can also dice them small and stir them into a simple slaw for extra color.