How To Protect Hydrangeas From Winter Damage
Your pruning shears could remove next summer’s blooms in seconds. Those blue and pink mopheads already carry next year’s buds on old stems.
Frost can nip the tender buds before you spot trouble. Wind pulls moisture from exposed stems faster than roots can replace it.
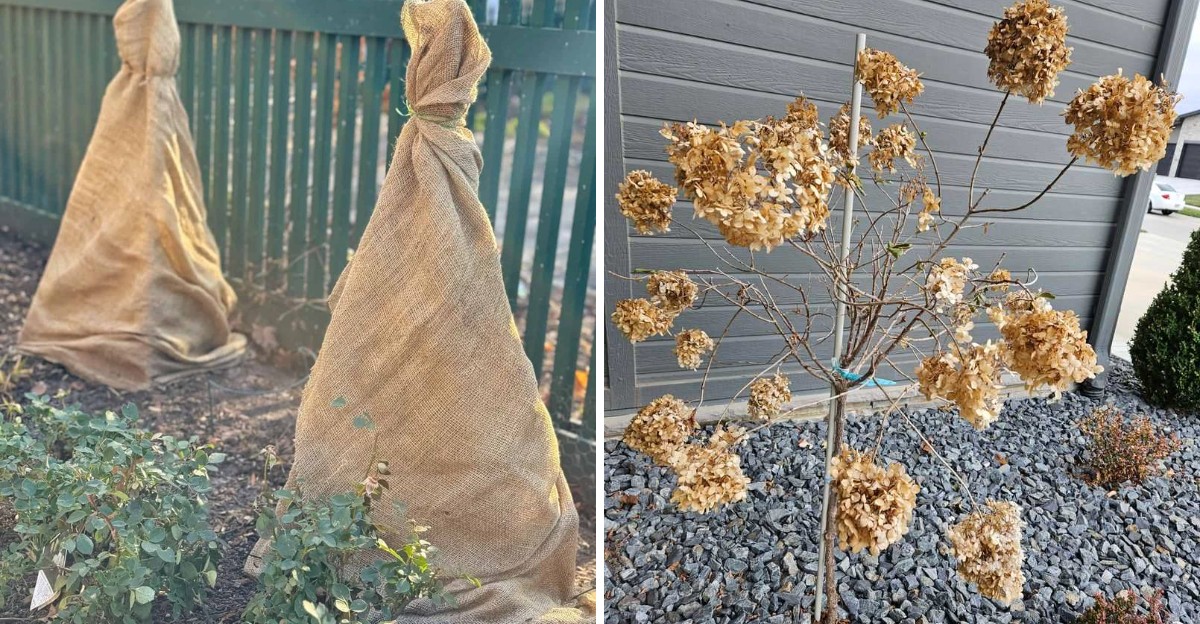
Chicken wire and shredded leaves can build a sturdy shelter around the entire plant. Burlap wraps stop wind without trapping moisture the way plastic does.
Timing matters more than expense, and you control the calendar. Removing only brittle wood in spring spares the buds your plant built.
Water deeply before the soil freezes because roots absorb through early winter. Gentle protection now decides whether you cut armfuls of blooms next July.
Simple hardware store materials do the job without fancy covers. Soon you will see how a simple burlap cage shields buds in icy weather.
1. Know Which Type Of Hydrangea You Have
Two gardeners can treat their shrubs the same way and get opposite results in June. The secret usually comes down to which kind of hydrangea each one planted.
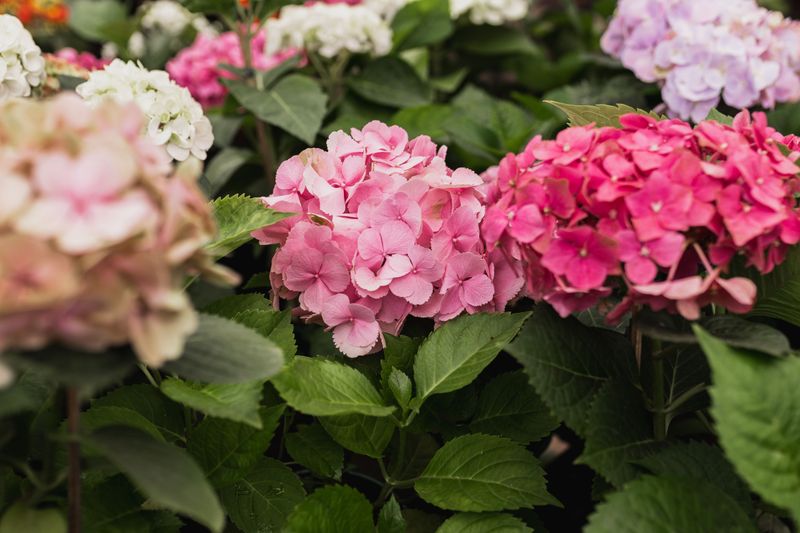
Bigleaf and mountain hydrangeas bloom on old wood, meaning last year’s stems. Their flower buds form in late summer and must survive the cold to bloom.
Oakleaf and climbing hydrangeas also bloom on old wood, while reblooming bigleaf types flower on both old and new wood.
Panicle and smooth hydrangeas bloom on new wood that grows each spring. They shrug off freezing weather much better because their buds have not formed yet.
Not sure which one sits in your yard? Look closely at the flower shape and the leaf size for clues.
Bigleaf types have big, glossy leaves and round mophead or flat lacecap blooms. Panicle types grow cone-shaped flower clusters that often fade from white to pink.
Smooth hydrangeas, like the popular Annabelle, have huge white snowball flowers on thin stems. Oakleaf hydrangeas have leaves shaped like oak leaves, which makes them easy to spot.
Your growing zone matters as well, since colder areas put more stress on tender buds. Gardeners in zone 5 and colder should pay extra attention to bigleaf varieties.
Once you know your type, you can decide how much protection it needs. Old wood bloomers need the most care, while new wood bloomers need a lighter touch.
Checking the plant tag or asking a local nursery works great too. Snap a photo of your shrub and bring it along for a fast answer.
2. Hold Off On Fall Pruning
Autumn has a funny way of making tidy gardeners reach for their clippers. Hold that thought, because cutting old wood bloomers now can remove next summer’s flowers.
Many hydrangeas set their flower buds in August and September. Those tiny buds are tucked at the tips of the stems right now, waiting for spring.
Cutting the stems back in October removes those buds for the season. You would end up with a leafy green shrub and few or no blooms to show off.
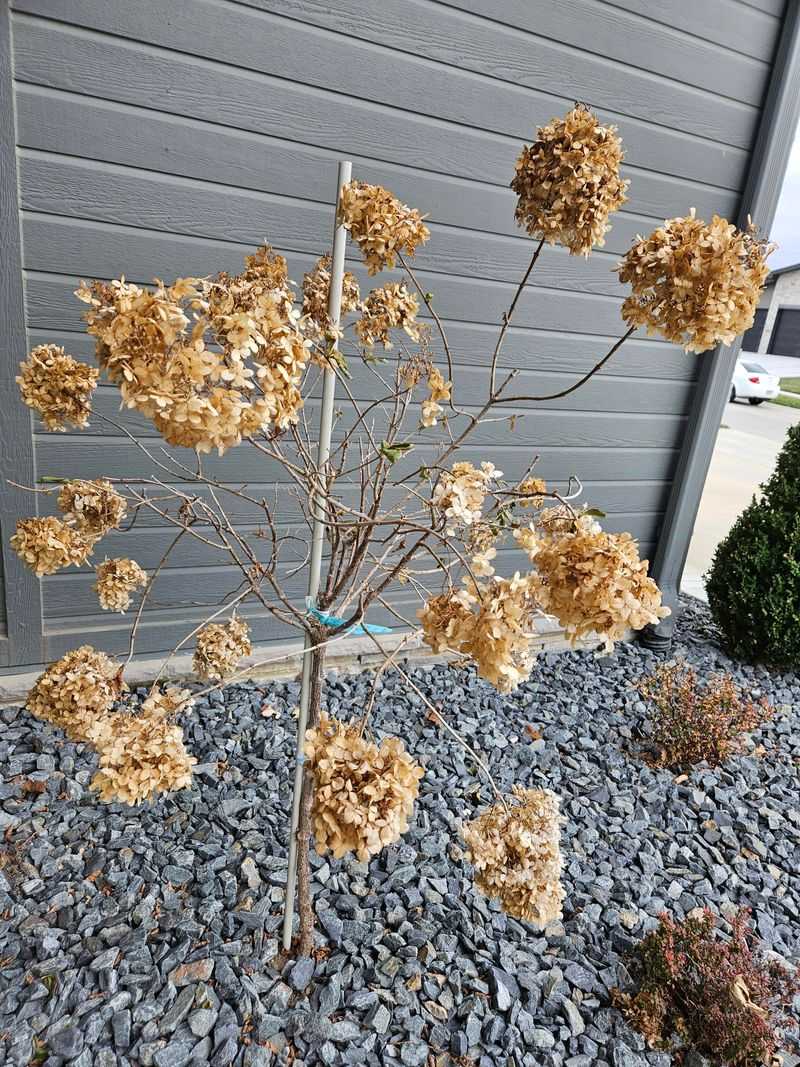
Old flower heads can stay put through the cold months. Their dry petals look pretty with frost on them, and they give a little shelter to buds below.
Helpful insects may also shelter in the hollow stems during winter. Leaving the stems in place gives small creatures a spot to rest through the cold months.
So what can you trim this fall? Clear out broken branches only. Save brittle, gray, hollow wood for spring.
Panicle and smooth hydrangeas are more forgiving about timing. Still, late winter or early spring is the best window to shape them.
Fresh cuts made in fall can push out soft new growth before a freeze. That tender growth gets damaged quickly and weakens the whole plant.
A simple rule helps a lot here: prune right after flowering, not before winter. Write it on a sticky note inside your garage if your memory needs a nudge.
Put the pruners in the shed and enjoy a lazy afternoon instead. Your hydrangeas will reward your patience with a big show next summer.
3. Water Deeply Before The Ground Freezes
Dry plants face more winter injury, which surprises a lot of new gardeners. Moist soil holds heat better than dry soil and keeps roots safer on chilly nights.
Fall often brings cool, breezy days that dry out the ground without you noticing. Hydrangeas, whose name comes from Greek words for water vessel, love moisture.
Give each shrub a deep, slow drink once a week until the ground freezes. A garden hose on a gentle trickle for about 20 minutes works nicely.
Aim for the soil around the roots instead of splashing the leaves. Wet leaves in cold weather can invite mold and fungus problems.
Push a finger two inches into the dirt to check moisture. If it feels dry, it is time to water again.
Morning is the best time to water during autumn. The plant has all day to soak it up before temperatures drop at night.
Rain gauges are cheap and help you track how much water nature already provided. About one inch per week is a solid target for most yards.
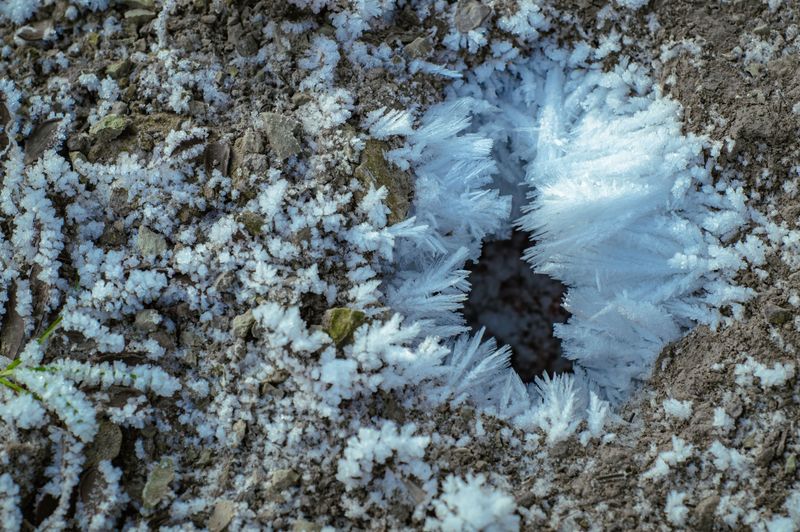
Hold off on watering once the soil is already frozen. Soggy, icy soil can stress roots, so timing matters.
Newly planted hydrangeas need even more attention this time of year. Their roots are still small and cannot reach deep water easily.
Think of it as packing a water bottle before a long hike. A well-watered shrub heads into the cold months strong, steady, and ready for spring.
4. Spread A Thick Layer Of Mulch
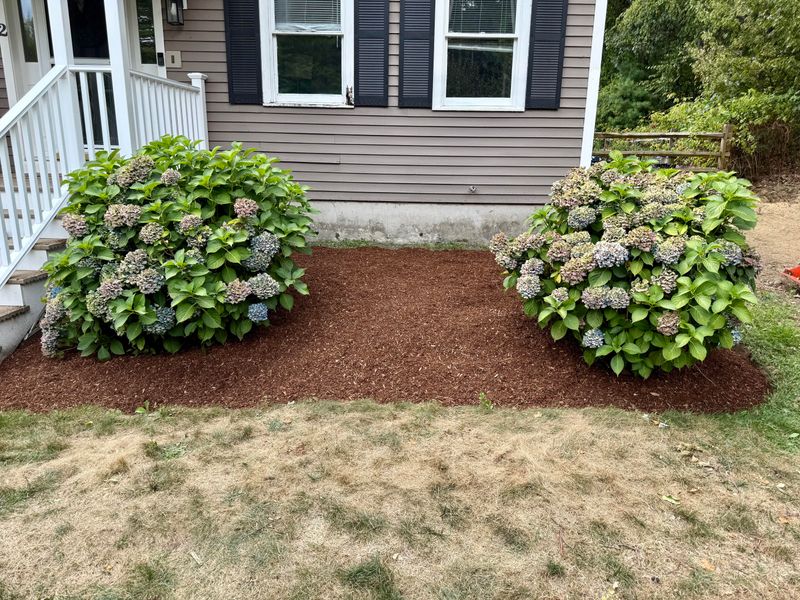
Imagine standing barefoot on frozen ground all winter long. Hydrangea roots go through something similar when the soil around them has no cover at all.
A thick layer of mulch acts like a fluffy blanket for the root zone. It keeps soil temperatures steadier and reduces sudden freeze and thaw swings.
Those swings are stressful for the plant. Repeated freezing and thawing can push roots up out of the soil, a problem gardeners call frost heave.
Spread four to six inches of shredded bark, pine straw, or chopped leaves. Cover an area about as wide as the branches reach.
Wait until the ground cools down a bit, usually late October or November. Mulching too early can invite mice to build cozy winter homes inside.
Keep the mulch a few inches away from the main stems. Piling it right against the bark can trap moisture and cause rot.
Chopped leaves are free and work wonderfully. Run a lawn mower over a pile of fallen leaves, then scoop up the shredded bits.
Pine straw is light and lets water through easily, which makes it great for hydrangeas. Bloom color depends on soil acidity and aluminum, not on the mulch you choose.
Mulch also feeds the soil slowly as it rots over the months. By spring, worms will have pulled some of it into the ground for you.
Mulch is an affordable way to protect roots for a whole season. Even a few bags cost little compared with replacing a damaged shrub.
5. Build A Burlap And Leaf Cage
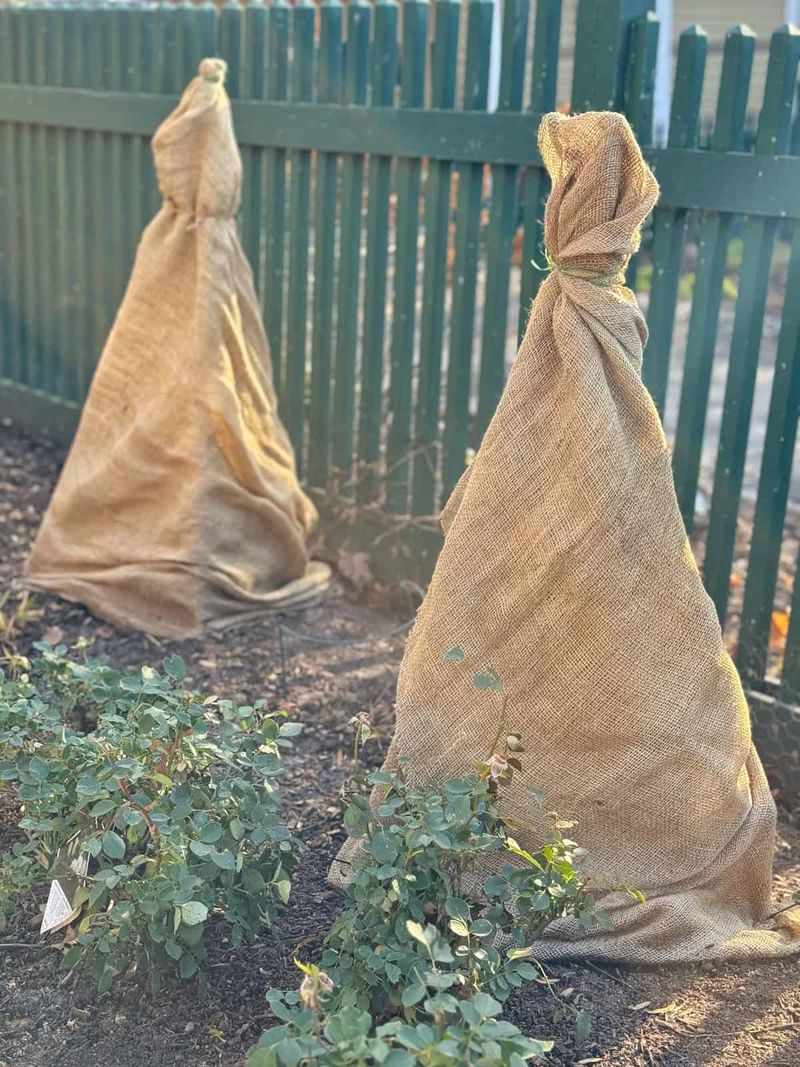
Picture a small burlap tower standing in your yard, stuffed with crunchy leaves. Neighbors might giggle, but your hydrangea will be sitting pretty until spring.
A burlap cage is a common way to guard bigleaf hydrangeas in cold zones. It shields the flower buds from icy winds and sharp temperature drops.
Start by pounding four wooden stakes or metal posts into the ground around the shrub. Place them just outside the spread of the branches.
Next, wrap burlap around the stakes and staple or tie it in place. Leave the top open so moisture can escape and air can move.
Fill the inside loosely with dry oak leaves or straw. Oak leaves work well because they stay fluffy and do not pack down into a soggy mat.
Avoid plastic wrap, since it traps heat on sunny days and moisture on wet ones. That combo can overheat buds or encourage mold inside the cage.
Wait until after a few hard frosts before building the cage, often in November. Your shrub needs time to settle into its sleepy winter mode first.
Plan on about five yards of burlap for a small to medium shrub. Larger plants need more, with pieces overlapped and pinned together.
Chicken wire works too if you cannot find burlap at the store. Line it with leaves the same way and secure it with zip ties.
Gardeners in cold climates often use this trick. Some even decorate their cages with holiday ribbons to make them look festive.
6. Shield Potted Plants From Hard Freezes
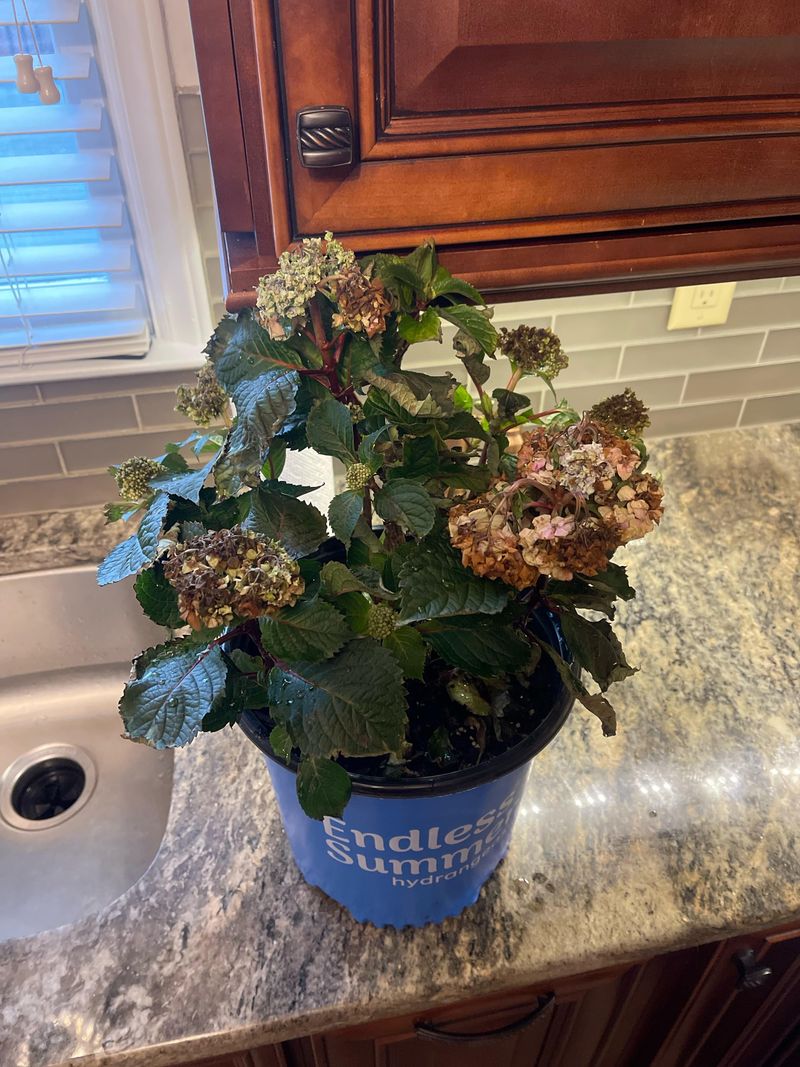
Containers are a bit like apartments with paper-thin walls. Roots inside a pot feel the cold from every side, not just from above.
Plants in the ground get insulation from tons of surrounding soil. Potted hydrangeas lose that cushion, so their roots can freeze much faster.
Moving the pot into an unheated garage or shed is the easiest fix. The space stays cold enough for rest but blocks the coldest temperatures.
Avoid bringing it into a warm living room, though. Indoor heat can trick the plant into waking up way too early.
No garage space? Group pots together against a sheltered wall, then wrap them with bubble wrap or old blankets.
Sinking the pot into a garden bed is another clever move. The surrounding soil hugs the container and keeps the roots more comfortable.
Water potted hydrangeas lightly every few weeks during winter storage. Soil should feel slightly damp but not soaking wet or muddy.
Check stored pots once a month for pests or mold. Pull off any soggy leaves and let in fresh air when the weather is mild.
Lifting heavy pots can be tricky, so a plant dolly with wheels saves your back. Ask a friend to help with the biggest ones.
Terra cotta pots can crack when wet soil freezes and expands inside them. Plastic, resin, or fiberglass containers handle cold weather much better.
Treat your container plants like guests that need a cool, sheltered spot during cold snaps. A little shelter now means healthy buds when you roll them back outside.
7. Skip The Late-Season Fertilizer

Feeding a plant in October is like handing a kid soda right before bedtime. The energy boost comes at a poor time.
Fertilizer, especially the kind high in nitrogen, pushes out fresh leaves and stems. That soft new growth has no time to toughen up before frost arrives.
Tender shoots are easily hurt by frost and can blacken after a freeze. The plant also spends energy it should save for winter.
Stop feeding hydrangeas by late July or August in many regions. That gives stems several weeks to harden and prepare for colder days.
Cold acclimation is a natural process where wood thickens and sap slows down. Your shrub is basically zipping up its jacket for the season.
Watch out for lawn fertilizer that drifts into flower beds. Spreaders can toss granules several feet, so keep them pointed away from your shrubs.
Read every product label before buying, since some say winterizer but contain lots of nitrogen. Those blends are meant for grass, not flowering shrubs.
Compost is a common exception many gardeners make in fall. It releases nutrients slowly and improves soil without forcing a growth spurt.
Save the real feeding for spring when new leaves start to unfold. A balanced, slow-release fertilizer at that time gives plants exactly what they need.
Hydrangea color experiments with aluminum sulfate or lime should also wait until spring. Soil changes work best when roots are actively growing.
A quiet garden in fall is a healthy garden. Let your hydrangeas rest and resist the urge to fuss over them.
8. Uncover Plants Slowly In Spring
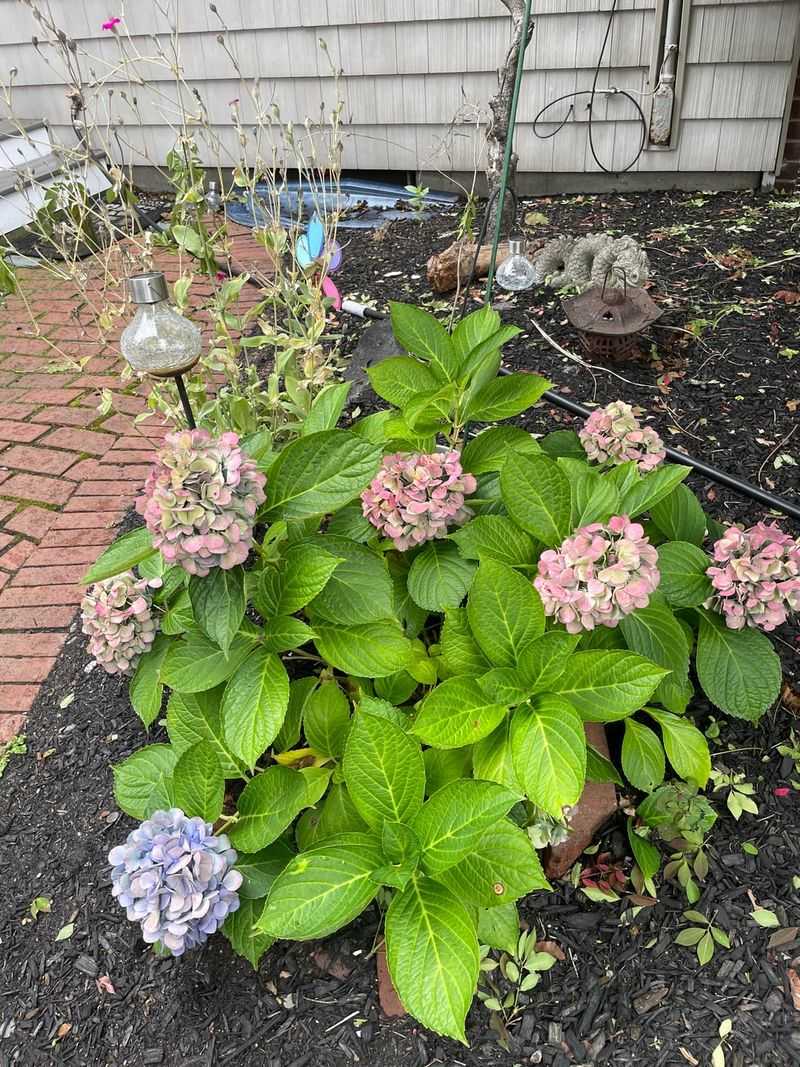
Spring weather tempts gardeners after months of gray skies. The moment a warm day pops up, you may want to remove the burlap and start gardening.
Patience pays off here, though. A sudden April frost can still affect those buds once they lose their cover.
Start removing protection gradually once nights stay above freezing for about a week. Take off half the leaves first, then the rest a few days later.
Clouds help too, so try uncovering plants on an overcast day. Bright sun on pale, tender buds can scorch them after months in the shade.
Pull mulch back slightly from the stems so the soil can warm up. Leave a thinner layer in place to hold moisture through spring.
Keep an old sheet or frost cloth nearby in case of a surprise cold snap. Toss it over the shrub in the evening and remove it the next morning.
Check your local last frost date online or with a county extension office. Last frost dates range from February in warm regions to June in cold ones.
Look closely at the stems before pruning anything. Green tissue under the bark when you scratch it means that branch is alive and well.
Wait until leaves start showing to trim back stems that stayed brown. That way, you avoid cutting healthy wood by mistake.
Watch for tiny green buds swelling along the branches as days lengthen. That sight is a little reward for all your fall effort.
Snap a photo of the first bloom when it opens in summer. You earned bragging rights, and your neighbors will want to know your secret.